
Signs of a Failing Cart Battery
Signs of a Failing Cart Battery
As a golf cart owner, it’s crucial to be aware of the signs that may indicate a failing battery. Recognizing these indicators early on can help prevent unexpected breakdowns and costly repairs. Here are the key signs to watch out for:
-
Diminished Speed and Power: If you notice a significant decrease in your golf cart's speed and power, it could be a sign of a failing battery. The vehicle may struggle to climb inclines or exhibit reduced acceleration, indicating that the battery is no longer providing sufficient energy to power the cart effectively.
-
Shortened Driving Range: A deteriorating battery often leads to a decreased driving range per charge. If you find that your golf cart can't travel as far as it used to on a single charge, it may be time to investigate the condition of the battery.
-
Slow Charging: When the battery takes longer than usual to recharge, it may be a red flag. A healthy battery should accept and hold a charge efficiently. If you notice that the charging process is taking longer than before, it could signal a problem with the battery's ability to retain energy.
-
Frequent Recharging: If you find yourself recharging the battery more frequently than usual, it could be an indication of a failing battery. A healthy battery should maintain its charge for an extended period, so an increase in the frequency of recharging may point to underlying issues.
-
Visible Damage or Corrosion: Physical signs of damage, such as cracks in the battery casing or corrosion on the terminals, should not be overlooked. These issues can compromise the battery's performance and longevity, so it's essential to address them promptly.
Understanding these signs can help you stay proactive in maintaining your golf cart’s battery health. By identifying these indicators early, you can take the necessary steps to address potential issues before they escalate.
Understanding the Charging System
For golf cart owners, understanding the charging system is pivotal in maintaining the longevity and performance of the battery. The charging system consists of several components working in harmony to ensure the battery receives the proper charge and voltage. Here’s a breakdown of the key elements:
-
Battery Charger: This crucial component is responsible for supplying the necessary electrical energy to the battery. It converts AC power from an outlet into DC power, which the battery requires for charging.
-
Charge Receptacle: The charge receptacle serves as the point of connection for the charger and the golf cart’s electrical system. It allows for the seamless transfer of electrical energy from the charger to the battery.
-
Onboard Computer: Many modern golf carts are equipped with an onboard computer that regulates the charging process. This computerized system monitors the battery’s voltage and temperature, ensuring safe and efficient charging.
-
DC-DC Converter: In electric golf carts, the DC-DC converter steps down the higher voltage from the battery pack to the lower voltage required for accessories and charging the 12-volt battery.
Understanding how these components work together is essential for diagnosing and resolving charging issues. By familiarizing yourself with the charging system, you can effectively troubleshoot potential problems and ensure the optimal functioning of your golf cart’s battery.
Common Charging Issues
While the charging system is designed to maintain the battery’s health, several common issues can arise, affecting the charging process and the overall performance of the golf cart. Recognizing these issues is vital for prompt resolution and preventing potential damage to the battery. Here are some prevalent charging issues to be mindful of:
-
Inadequate Charging: One common issue is when the battery fails to reach a full charge despite being connected to the charger for an extended period. This can stem from a faulty charger, a damaged receptacle, or poor electrical connections, impeding the efficient transfer of energy to the battery.
-
Overcharging: Overcharging occurs when the battery continues to receive a charge after reaching full capacity. This can lead to excessive heat generation and water loss within the battery, ultimately compromising its longevity and performance.
-
Undercharging: Conversely, undercharging results in the battery not reaching its full capacity during the charging process. This can occur due to a malfunctioning charger, inadequate voltage supply, or issues with the charge receptacle, leading to diminished battery performance.
-
Charger Faults: Malfunctioning chargers can pose significant charging issues. This may include a charger that fails to initiate the charging process, provides inconsistent voltage, or exhibits other electrical faults that hinder effective battery charging.
-
Temperature Sensitivity: Extreme temperatures can impact the charging process, with both high and low temperatures affecting the battery’s ability to accept and retain a charge. It’s essential to consider temperature variations when diagnosing charging issues.
Being aware of these common charging issues empowers golf cart owners to identify and address potential concerns proactively. By promptly resolving charging issues, you can safeguard the battery’s health and optimize the performance of your golf cart.
Diagnosing Battery Health
Assessing the health of your golf cart’s battery is crucial for maintaining its performance and longevity. By conducting regular checks and diagnostics, you can identify potential issues early and take the necessary steps to preserve the battery’s functionality. Here are key methods for diagnosing battery health:
-
Visual Inspection: Start by visually examining the battery for any signs of damage, such as cracks, bulges, or corrosion on the terminals. These visual cues can provide insights into the battery’s overall condition and potential issues that may impact its performance.
-
Battery Load Test: Performing a load test helps assess the battery’s capacity to deliver power. This test involves applying a load to the battery while monitoring its voltage, providing valuable information about the battery’s ability to sustain power output under load.
-
Specific Gravity Test: For lead-acid batteries, measuring the specific gravity of the electrolyte can offer insights into the battery’s state of charge and overall health. Deviations from the expected specific gravity levels can indicate issues with the battery’s internal components.
-
Voltage Analysis: Monitoring the battery’s voltage during charging and resting periods can reveal valuable information. An abnormally high or low voltage reading may indicate charging issues, cell imbalance, or internal battery problems that require attention.
-
Battery Management System (BMS) Diagnostics: In electric golf carts equipped with BMS, utilizing diagnostic tools to assess the system’s data can provide comprehensive insights into the battery’s performance, temperature, and charge balancing, aiding in early issue detection.
By employing these diagnostic methods, golf cart owners can gain a comprehensive understanding of their battery’s health and take proactive measures to address any identified issues. Regular battery diagnostics are instrumental in ensuring optimal performance and extending the lifespan of the battery.
Testing the Charging System
Conducting comprehensive tests on the golf cart’s charging system is essential for identifying potential issues and ensuring the efficient delivery of power to the battery. By systematically evaluating the various components of the charging system, golf cart owners can maintain the system’s functionality and address any underlying problems. Here’s how to effectively test the charging system:
-
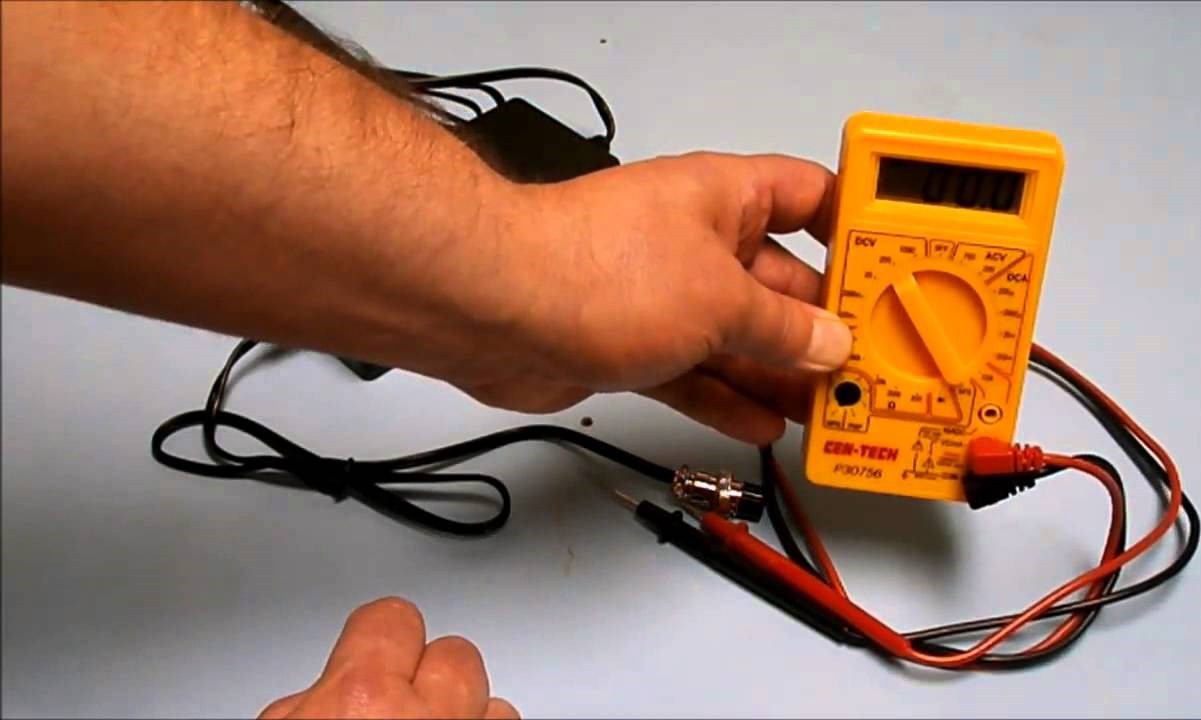
Charger Output Test: Begin by testing the charger’s output voltage and current to verify that it meets the manufacturer’s specifications. A deviation from the expected output may indicate a faulty charger that requires repair or replacement.
-
Charge Receptacle Inspection: Inspect the charge receptacle for any signs of damage, corrosion, or loose connections. Ensure that the receptacle’s contacts are clean and properly aligned to facilitate a secure connection with the charger.
-
Battery Voltage Verification: Measure the battery’s voltage before and after the charging process to assess the effectiveness of the charging system. Discrepancies in voltage readings can highlight charging inefficiencies or potential battery issues.
-
Onboard Computer Diagnostics: If the golf cart is equipped with an onboard computer, utilize diagnostic tools to assess the system’s performance data, including voltage levels, charge status, and any error codes that may indicate charging system malfunctions.
-
DC-DC Converter Test (Electric Carts): For electric golf carts, testing the DC-DC converter’s functionality is vital. Verify that the converter is stepping down the battery pack’s voltage to the appropriate level for accessories and charging the 12-volt battery.
By systematically testing each element of the charging system, golf cart owners can identify potential issues and ensure that the system operates optimally. Regular testing and maintenance of the charging system contribute to the overall health and performance of the golf cart’s battery, enhancing its reliability and longevity.
Steps to Take for Troubleshooting
When encountering charging issues or suspecting battery problems in your golf cart, it’s essential to undertake systematic troubleshooting steps to identify and address the underlying causes. By following a structured approach, you can effectively resolve issues and maintain the optimal functionality of the charging system and battery. Here are the key steps to take for troubleshooting:
-
Visual Inspection: Begin by visually inspecting the battery, charge receptacle, and charger for any visible damage, corrosion, or loose connections. Addressing physical issues can often resolve charging and performance issues.
-
Check Electrical Connections: Ensure that all electrical connections, including those between the charger, charge receptacle, and battery, are secure and free from corrosion. Poor connections can impede the flow of power and affect the charging process.
-
Test the Charger: Verify the charger’s functionality by testing its output voltage and current. If the charger fails to meet the manufacturer’s specifications, it may require repair or replacement.
-
Monitor Charging Process: Observe the charging process, noting the time taken to reach a full charge and any unusual behavior during charging. Anomalies such as overcharging, undercharging, or slow charging may indicate underlying issues.
-
Utilize Diagnostic Tools: If available, use diagnostic tools to assess the onboard computer’s data, voltage levels, and error codes. This can provide valuable insights into the charging system’s performance and potential malfunctions.
-
Consult a Professional: If troubleshooting efforts do not resolve the issues, seek assistance from a qualified technician or service center specializing in golf cart batteries and charging systems. Professional expertise can help diagnose and rectify complex issues effectively.
By following these troubleshooting steps, golf cart owners can systematically address charging issues and battery-related concerns, ensuring the reliable operation of the vehicle. Proactive troubleshooting and maintenance contribute to the longevity and performance of the golf cart’s battery and charging system.