
Checking the Volume Settings on Your Device
Before exploring specific solutions for boosting the volume on your Turtle Beach headset, it’s essential to start with the basics. One of the first steps is to check the volume settings on the device you are using with your headset. Whether it’s a gaming console, PC, or mobile device, ensuring that the output volume is appropriately configured can significantly impact the overall audio experience.
Begin by navigating to the settings or control panel of your device. Look for the audio or sound settings and locate the volume controls. Ensure that the volume is turned up to an adequate level, and there are no software limitations or restrictions that may be affecting the output volume.
If you are using a gaming console, such as an Xbox or PlayStation, access the audio settings within the system’s menu. Verify that the volume levels are adjusted to your preference and that any audio limitations or chat mix settings are appropriately configured.
For PC users, accessing the sound settings through the control panel or system preferences allows you to adjust the volume and confirm that the correct output device is selected. Additionally, checking the volume mixer to ensure that individual application volumes are maximized can also contribute to an overall volume boost.
When using a mobile device, such as a smartphone or tablet, check both the system-wide volume settings and the specific app or game settings. Some applications have their own volume controls, so it’s important to verify that these are optimized for the desired audio output.
By thoroughly examining and adjusting the volume settings on your device, you can lay a solid foundation for optimizing the audio performance of your Turtle Beach headset. This initial step is crucial in troubleshooting and addressing potential volume-related issues before delving into more advanced solutions.
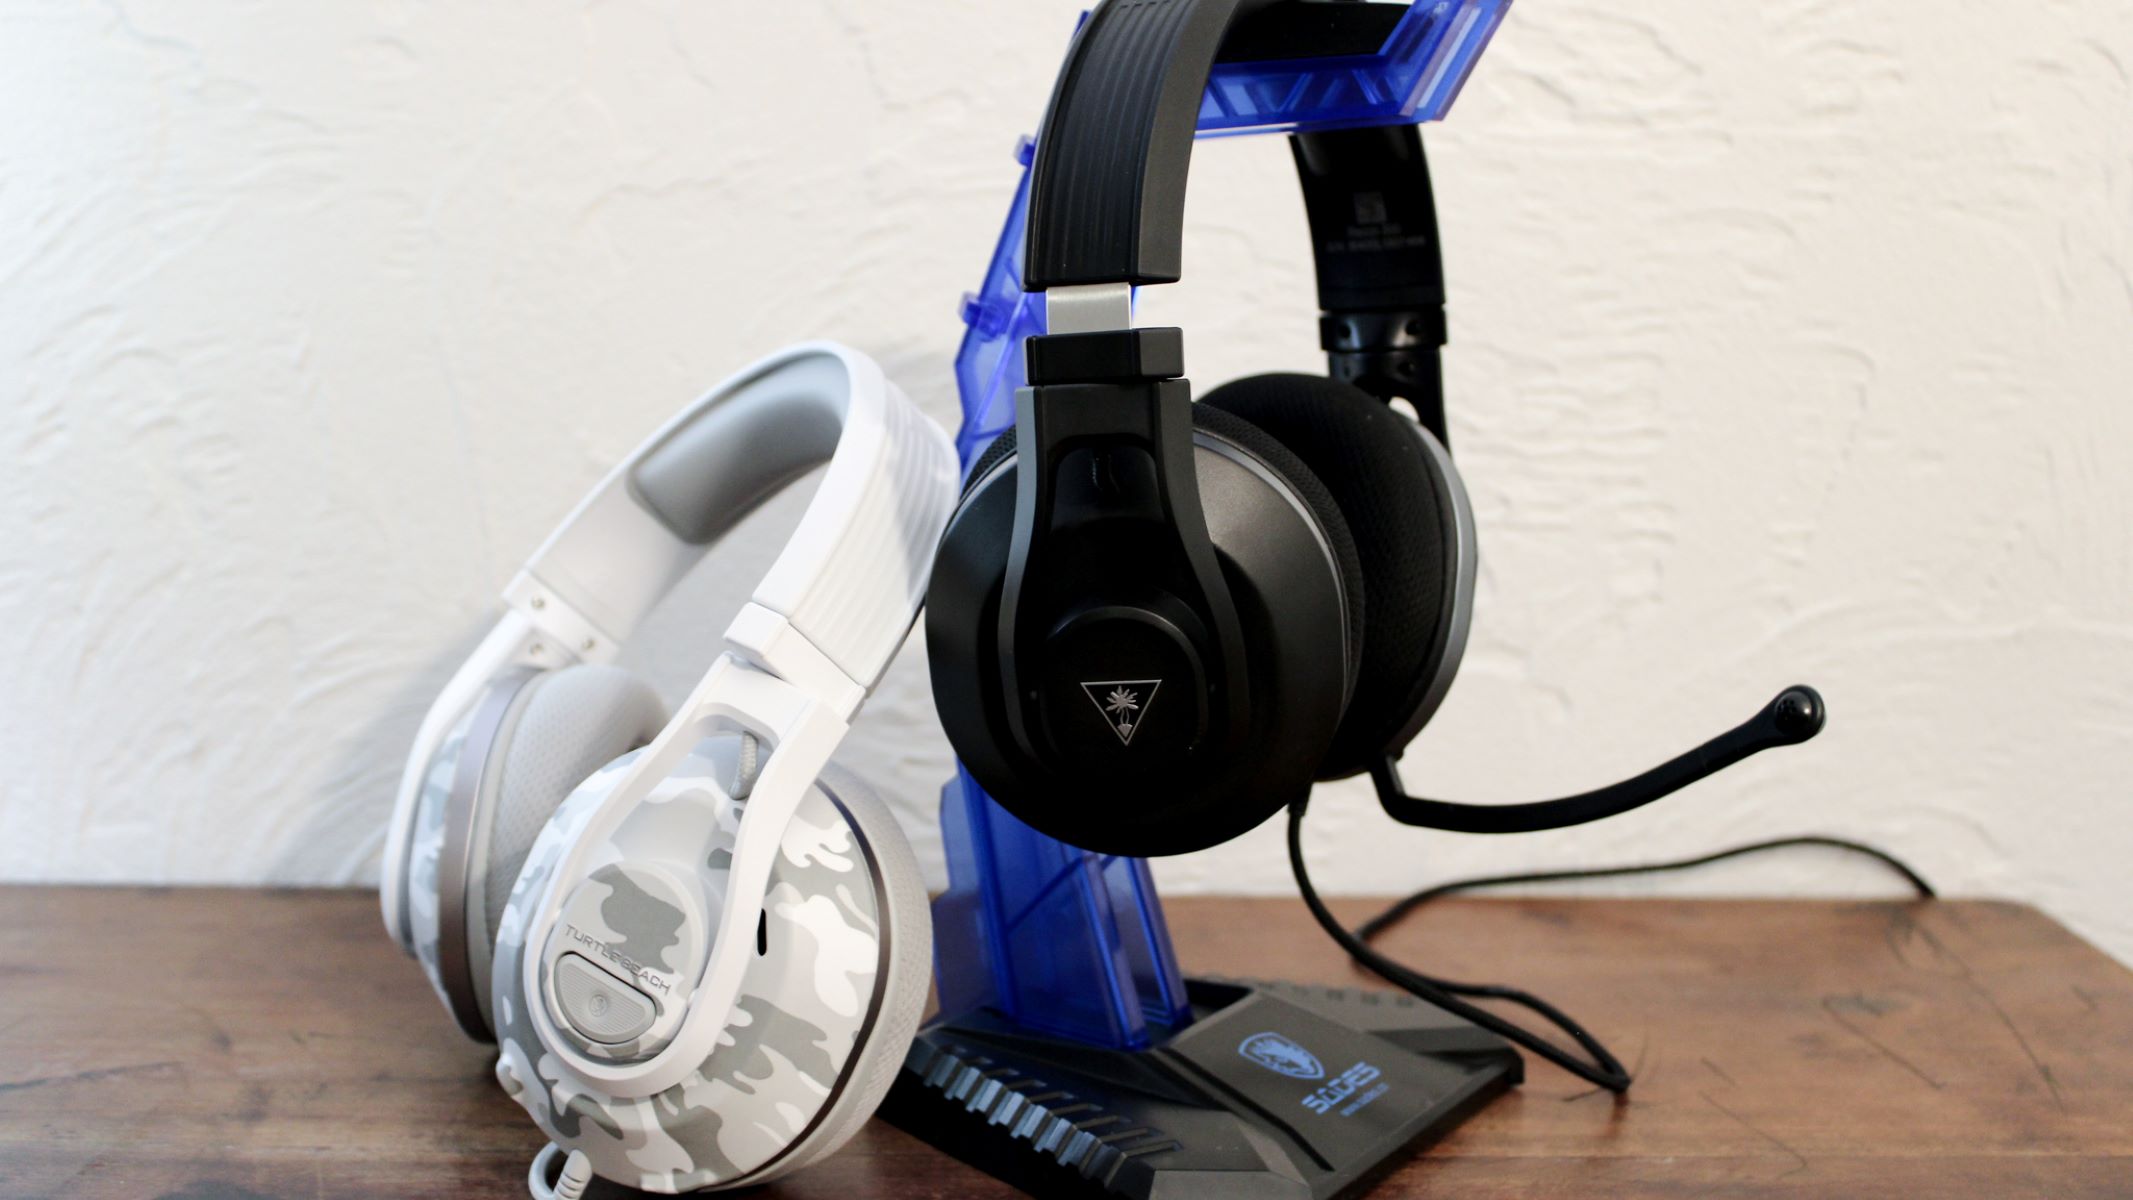
Adjusting the Volume on Your Turtle Beach Headset
Once you have verified the volume settings on your device, the next step is to adjust the volume directly on your Turtle Beach headset. Most Turtle Beach headsets are equipped with on-device controls that allow users to fine-tune the audio output to their preference.
Locate the volume control wheel or buttons on your Turtle Beach headset. Depending on the model, this may be positioned on the ear cup or inline on the headset cable. Adjust the volume to a comfortable level, ensuring that it is not set too low, which can result in diminished audio, or too high, which may lead to distortion or discomfort.
Some Turtle Beach headsets feature additional audio presets or modes that can impact the volume and overall sound profile. Experiment with these settings to find the configuration that best suits your audio preferences. Whether it’s a bass boost, vocal enhancement, or surround sound mode, these options can significantly influence the perceived volume and audio quality.
It’s important to note that some Turtle Beach headsets offer separate volume controls for game audio and chat audio. If you find that one source is overpowering the other, adjusting these individual volume levels can help achieve a balanced audio mix that aligns with your preferences.
Furthermore, if your Turtle Beach headset is equipped with a microphone monitoring feature, be mindful of the mic monitoring volume. This function allows you to hear your own voice in the headset, providing auditory feedback during voice communication. Adjusting the mic monitoring volume to a comfortable level can enhance the overall audio experience while communicating with teammates or fellow gamers.
By effectively utilizing the volume controls and additional audio settings on your Turtle Beach headset, you can tailor the audio output to your liking, ensuring an immersive and personalized listening experience.
Using the Turtle Beach Audio Hub App
The Turtle Beach Audio Hub app serves as a valuable tool for enhancing the functionality and performance of compatible Turtle Beach headsets. This intuitive application, available for download on mobile devices and computers, offers a range of features that can optimize the audio experience and address volume-related concerns.
After installing the Turtle Beach Audio Hub app, ensure that your Turtle Beach headset is paired with the device. Once connected, the app provides access to a variety of settings and customization options, including the ability to adjust the headset’s volume and audio presets.
One of the key features of the Turtle Beach Audio Hub app is the ability to fine-tune the headset’s audio settings through a user-friendly interface. Users can adjust the master volume, mic monitoring levels, and specific audio presets directly from their mobile device or computer, providing a convenient way to optimize the headset’s audio output to their preference.
Additionally, the app offers firmware update capabilities, allowing users to ensure that their Turtle Beach headset is running the latest software version. Firmware updates can introduce performance enhancements, bug fixes, and compatibility improvements, which can positively impact the overall audio experience, including volume management.
For headsets that support customizable audio presets, the Turtle Beach Audio Hub app enables users to create and save personalized EQ profiles. This feature empowers users to tailor the headset’s audio output to their specific preferences, including volume levels, frequency response, and spatial audio characteristics.
Furthermore, the app provides access to additional support resources, such as user guides, product information, and troubleshooting assistance. In the event of volume-related issues, the Turtle Beach Audio Hub app can offer valuable insights and recommendations for optimizing the headset’s performance.
By leveraging the capabilities of the Turtle Beach Audio Hub app, users can take advantage of advanced audio customization options, firmware updates, and support resources, ultimately contributing to an enhanced and tailored audio experience with their Turtle Beach headset.
Updating Your Turtle Beach Headset Firmware
Ensuring that your Turtle Beach headset’s firmware is up to date is crucial for maintaining optimal performance, including addressing volume-related issues and benefiting from the latest enhancements. Firmware updates can introduce improvements to audio processing, wireless connectivity, and overall headset functionality, making it essential to regularly check for and install firmware updates.
To begin the firmware update process, it’s advisable to visit the official Turtle Beach website or utilize the Turtle Beach Audio Hub app, if available for your specific headset model. These platforms typically provide access to the latest firmware updates and detailed instructions on how to install them.
Before initiating the update, it’s important to ensure that your Turtle Beach headset is fully charged or connected to a power source, as firmware updates typically require a stable power supply to prevent interruptions or potential issues during the update process.
Follow the provided instructions to download and install the latest firmware for your Turtle Beach headset. This may involve connecting the headset to your computer, mobile device, or gaming console and following the on-screen prompts to initiate the update process.
During the firmware update, it’s crucial to avoid disconnecting the headset or interrupting the update process, as this can lead to firmware corruption or incomplete installation. Patience is key, as the update may take several minutes to complete, depending on the size of the firmware package and the speed of the connection.
Once the firmware update is successfully installed, restart your Turtle Beach headset as instructed. This allows the updated firmware to take effect and ensures that the headset is operating with the latest software improvements, including potential enhancements related to volume management and audio performance.
Regularly checking for and installing firmware updates for your Turtle Beach headset is an essential maintenance practice that can contribute to a more reliable, optimized, and feature-rich audio experience. By staying up to date with firmware releases, users can mitigate potential volume-related issues and benefit from ongoing improvements to their Turtle Beach headset’s functionality.
Checking for Hardware Issues
When experiencing volume-related issues with your Turtle Beach headset, it’s important to consider the possibility of hardware-related factors that may be contributing to the problem. Conducting a thorough assessment of the headset’s physical components can help identify and address potential hardware issues that could impact the audio output.
Begin by inspecting the headset’s audio cables for any signs of damage, such as fraying, kinks, or exposed wiring. Ensure that the cables are securely connected to both the headset and the audio source, as loose or faulty connections can lead to audio inconsistencies, including reduced volume levels.
Examine the headset’s ear cups and speakers for any obstructions or debris that may be affecting the audio output. Dust, dirt, or foreign objects can impede sound transmission and result in muffled or diminished volume. Gently clean the ear cups and speakers using a soft, dry cloth to remove any potential obstructions.
If your Turtle Beach headset utilizes a detachable microphone, verify that the microphone connection is secure and free from damage. A faulty or improperly connected microphone can impact the headset’s overall audio performance, including volume levels during voice communication and in-game audio.
Check the headset’s battery or power source if applicable, ensuring that it is adequately charged or replaced if it is a rechargeable or replaceable battery. Insufficient power can lead to reduced volume output or intermittent audio issues, particularly in wireless or battery-powered headset models.
Inspect the headset’s physical controls, such as volume wheels, buttons, or switches, for any signs of wear, debris, or malfunctions. Clean the controls as needed and ensure that they are functioning correctly to facilitate precise volume adjustments and audio management.
If your Turtle Beach headset features customizable components, such as removable speaker plates or interchangeable parts, ensure that these elements are securely attached and aligned. Loose or misaligned components can impact the headset’s acoustics and audio performance, potentially affecting volume output and sound quality.
By meticulously examining the hardware components of your Turtle Beach headset, you can identify and address potential issues that may be contributing to volume-related concerns. Addressing hardware-related factors can significantly improve the headset’s audio performance and contribute to a more satisfying and immersive listening experience.
Using a Headphone Amplifier
When seeking to boost the volume and enhance the audio performance of your Turtle Beach headset, incorporating a headphone amplifier into your setup can be a valuable solution. A headphone amplifier, also known as a headphone amp, is a dedicated audio device designed to amplify the audio signal, resulting in increased volume, improved clarity, and enhanced dynamics.
Before integrating a headphone amplifier, it’s essential to ensure compatibility with your Turtle Beach headset. Many headphone amplifiers feature a standard 3.5mm or 1/4-inch headphone output, allowing them to be seamlessly connected to a wide range of wired headsets, including those produced by Turtle Beach.
Connect the headphone amplifier to your audio source, such as a gaming console, PC, or mobile device, using the appropriate audio cables. Ensure that the amplifier is powered and configured according to the manufacturer’s instructions, adjusting any gain or volume settings to align with your desired audio output level.
Once the headphone amplifier is integrated into your audio setup, you can experience a notable increase in volume and audio fidelity, particularly when driving high-impedance headphones or headsets that may benefit from additional power and amplification.
Headphone amplifiers are designed to deliver clean, robust amplification of the audio signal, resulting in a more dynamic and immersive listening experience. This can be especially advantageous for users seeking to elevate the volume levels of their Turtle Beach headset without compromising audio quality or introducing distortion.
Additionally, headphone amplifiers often feature customizable EQ settings and sound shaping options, allowing users to tailor the audio output to their preferences. This level of control can contribute to a more personalized and satisfying audio experience, accommodating individual preferences for volume, tonal balance, and spatial characteristics.
It’s important to note that the impact of a headphone amplifier on volume levels may vary depending on the specific model and impedance characteristics of your Turtle Beach headset. Experimenting with different gain settings and audio configurations can help determine the optimal combination for achieving the desired volume boost and audio refinement.
By incorporating a headphone amplifier into your audio setup, you can elevate the volume, clarity, and overall audio performance of your Turtle Beach headset, unlocking the full potential of your gaming and entertainment experience.
Using a Different Audio Source
When encountering volume-related challenges with your Turtle Beach headset, exploring alternative audio sources can offer a practical approach to addressing the issue. Different audio devices and platforms may present varying output capabilities, signal strengths, and audio processing methods, potentially influencing the perceived volume and overall audio performance of your headset.
Begin by testing your Turtle Beach headset with a different audio source, such as an alternative gaming console, PC, mobile device, or audio interface. By connecting the headset to a different device, you can assess whether the volume-related concerns are consistent across multiple platforms or if they are specific to a particular audio source.
When testing a different audio source, pay attention to the volume levels and audio characteristics experienced with your Turtle Beach headset. Compare the output volume and overall sound quality to your primary audio source, noting any discrepancies or improvements in volume performance.
Consider experimenting with various audio content, such as music, movies, or different video games, to gauge how the headset responds to different audio signals and genres. This can provide valuable insights into how the headset interacts with diverse audio sources and content types, shedding light on potential volume-related variations and optimizations.
If the volume performance of your Turtle Beach headset notably differs when connected to an alternative audio source, it may indicate that the original audio device or platform is contributing to the volume-related issues. In such cases, troubleshooting the original audio source, adjusting its settings, or exploring compatibility considerations can help mitigate the volume challenges.
Furthermore, testing your Turtle Beach headset with a different audio source can serve as a diagnostic step in identifying potential hardware or software factors that may be impacting the headset’s volume performance. By isolating the headset’s interaction with diverse audio sources, you can gather valuable data to inform potential solutions and adjustments.
Exploring a different audio source not only offers insights into the volume performance of your Turtle Beach headset but also presents an opportunity to evaluate the headset’s compatibility, versatility, and adaptability across various audio platforms and devices. This approach can aid in troubleshooting and optimizing the headset’s volume management, contributing to a more robust and adaptable audio experience.