
What is an OTG Cable?
An OTG (On-The-Go) cable is a handy accessory that enables direct connection between your Android device and other USB peripherals such as flash drives, keyboards, mice, and game controllers. This versatile cable essentially transforms your smartphone or tablet into a host device, allowing you to expand its functionality beyond the limitations of its built-in hardware.
OTG cables are equipped with a micro-USB connector on one end, which plugs into your Android device, and a standard USB port on the other end, where you can attach various USB devices. This straightforward yet powerful tool opens up a world of possibilities for your mobile device, making it more versatile and capable in a variety of situations.
Whether you want to transfer files between your phone and a USB drive, use a keyboard or mouse for more efficient typing and navigation, or even charge another device from your phone, an OTG cable is the key to unlocking these capabilities.
Checking Compatibility with Your Phone
Before diving into the world of OTG connectivity, it’s crucial to ensure that your Android device supports OTG functionality. While most modern Android smartphones and tablets are OTG-compatible, it’s always best to double-check to avoid any potential compatibility issues.
To determine if your device is OTG-capable, you can follow these simple steps:
- Check the Manufacturer’s Specifications: Visit the official website of your device’s manufacturer or refer to the user manual to verify OTG support. Manufacturers often provide detailed specifications outlining the supported features and accessories for their devices.
- Utilize OTG Checker Apps: There are several free apps available on the Google Play Store specifically designed to check OTG compatibility. Download one of these apps and follow the on-screen instructions to determine if your device can support OTG functionality.
- Physical Inspection: Examine the micro-USB or USB-C port on your device. If it has the OTG symbol (an arrow pointing towards a dot) next to it, this indicates OTG support. However, not all devices feature this marking, so it’s best to rely on the manufacturer’s specifications or OTG checker apps for confirmation.
By confirming your device’s compatibility with OTG, you can proceed with confidence, knowing that you have the green light to explore the myriad possibilities that OTG connectivity offers.
Connecting the OTG Cable to Your Phone
Connecting an OTG cable to your Android device is a straightforward process that can significantly enhance its functionality. Follow these simple steps to establish a successful connection:
- Ensure Your Device is Unlocked: Before connecting the OTG cable, ensure that your device is unlocked to allow access to the file system and enable the recognition of connected peripherals.
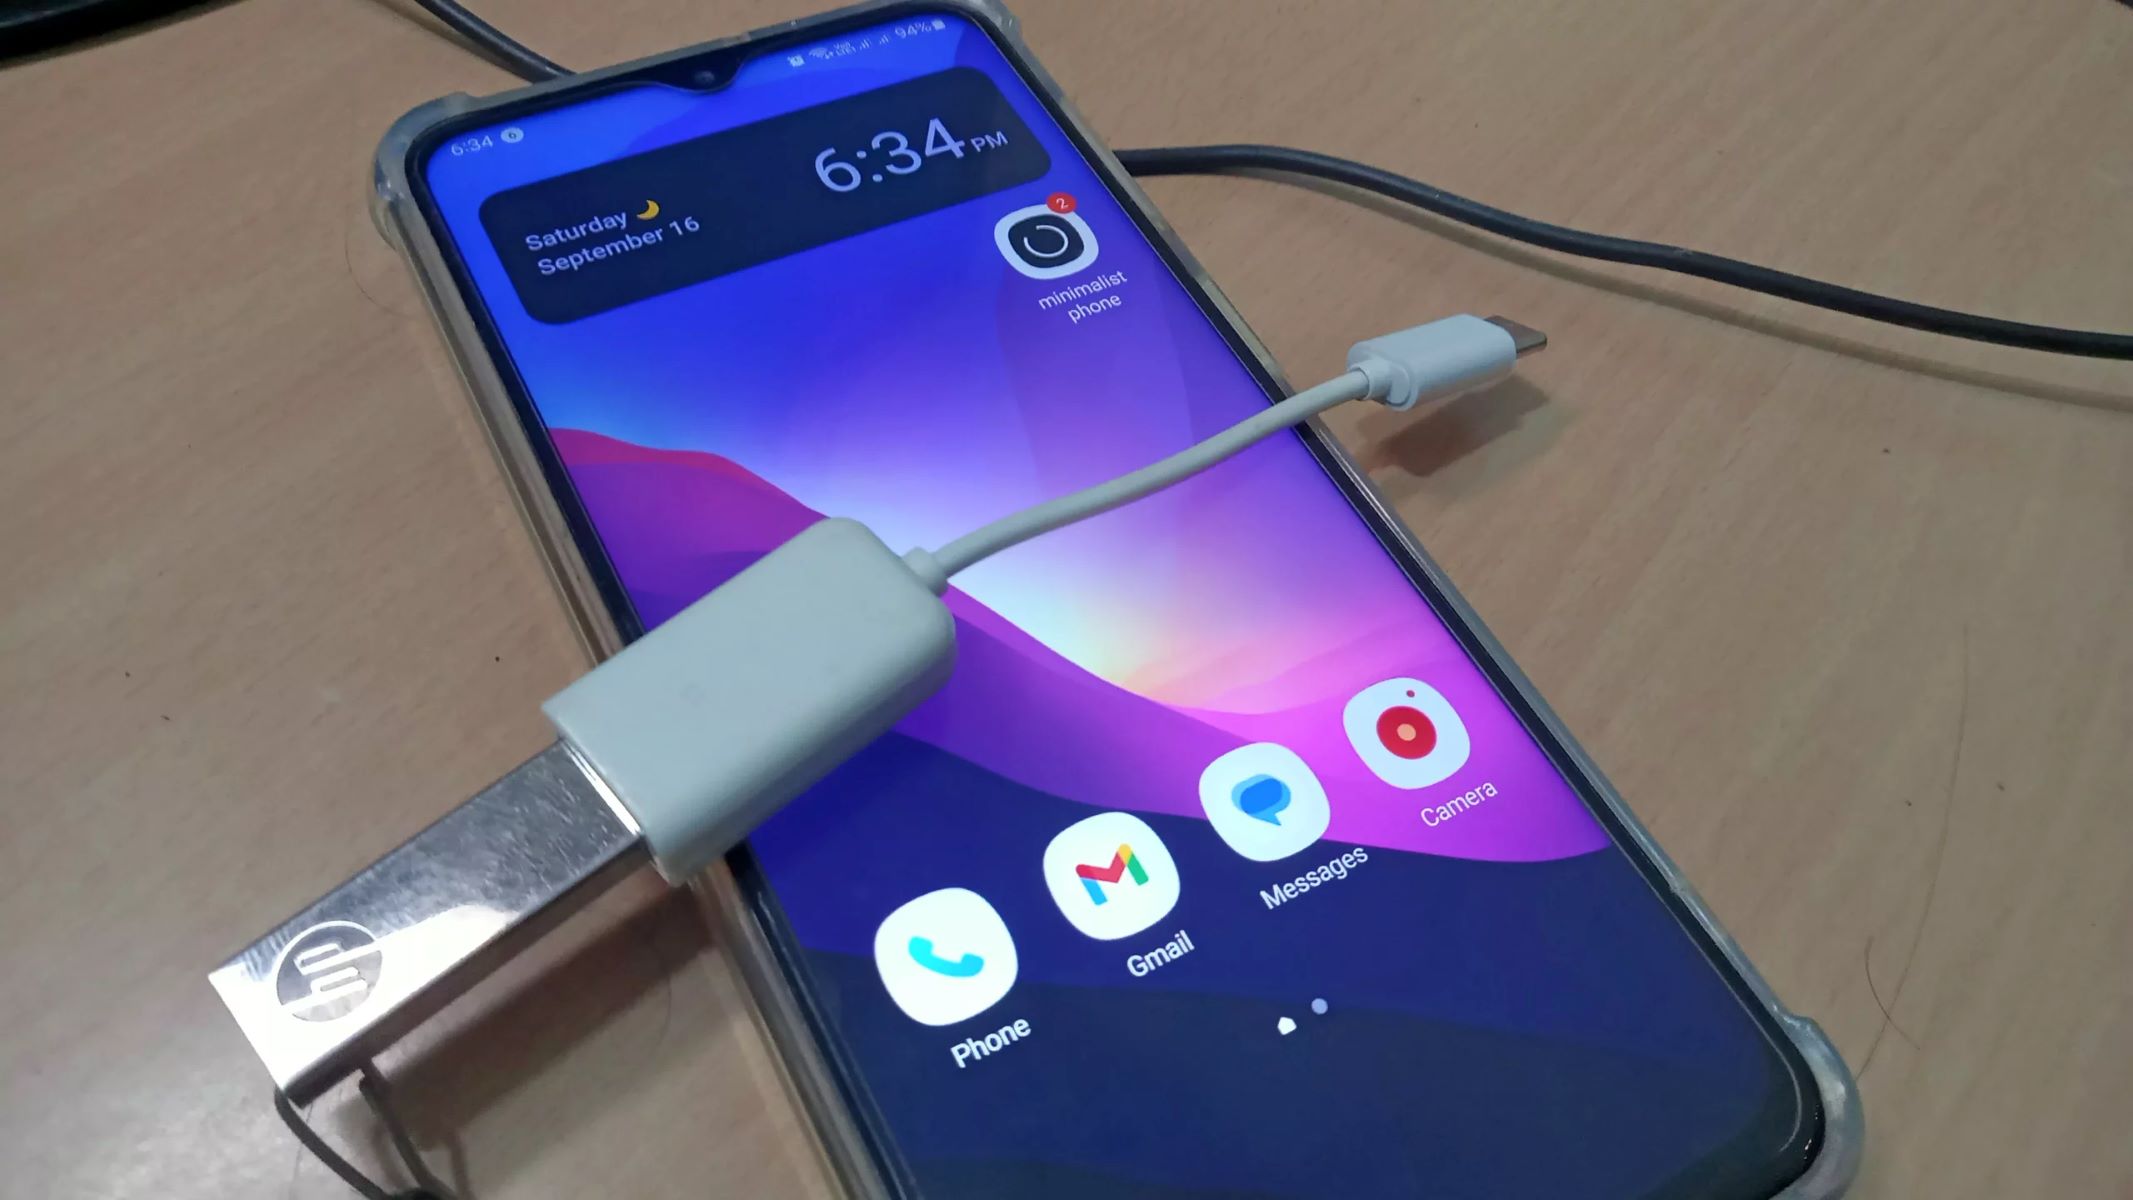
- Insert the Micro-USB or USB-C End: Take the micro-USB or USB-C end of the OTG cable and insert it into the corresponding port on your Android device. Apply gentle pressure to secure the connection, ensuring it is fully inserted.
- Connect the USB Peripheral: Once the OTG cable is firmly attached to your device, you can now connect the USB peripheral of your choice, such as a flash drive, keyboard, or mouse, to the standard USB port on the OTG cable.
- Wait for Recognition: Upon connecting the USB peripheral, your Android device should recognize it and, in most cases, automatically configure itself to work with the attached accessory. You may receive a notification confirming the successful connection.
It’s important to note that some USB peripherals may require specific apps or drivers to function optimally with your Android device. For example, if you’re connecting a game controller, you may need to download the corresponding app from the Play Store to ensure compatibility and seamless operation.
Once the OTG cable is successfully connected and the USB peripheral is recognized, you can start enjoying the expanded capabilities and convenience that OTG connectivity brings to your Android device.
Using the OTG Cable for Data Transfer
One of the most practical applications of an OTG cable is its ability to facilitate seamless data transfer between your Android device and USB storage devices. Whether you need to back up important files, share documents, or access media from a flash drive, the OTG cable empowers you to manage data efficiently on the go.
Here’s how you can leverage the OTG cable for data transfer:
- Connecting a USB Flash Drive: Plug your USB flash drive into the standard USB port of the OTG cable. Once connected, your Android device should recognize the flash drive and prompt you to access its contents using a file manager app.
- Navigating and Managing Files: Use a file manager app to navigate the contents of the connected USB flash drive. You can copy, move, or delete files as needed, providing you with a convenient way to organize and manage your data directly from your Android device.
- Transferring Files to and from Your Device: With the USB flash drive connected, you can easily transfer files between your Android device and the flash drive. This is particularly useful for backing up photos, videos, documents, and other important data to external storage, freeing up space on your device and ensuring your files are securely stored.
Additionally, the OTG cable allows you to connect other USB storage devices, such as external hard drives or memory card readers, to your Android device, expanding your data management capabilities even further.
By harnessing the power of the OTG cable for data transfer, you can streamline your file management tasks and enjoy the flexibility of accessing and transferring data across various storage devices with ease.
Using the OTG Cable for Charging
Aside from its data transfer capabilities, an OTG cable can also serve as a practical solution for charging other devices using your Android phone or tablet as a power source. This feature can be particularly useful in situations where traditional power sources are unavailable or when you need to charge a secondary device on the go.
Here’s how you can utilize the OTG cable for charging:
- Connect the OTG Cable to Your Android Device: Insert the micro-USB or USB-C end of the OTG cable into your Android device’s charging port, just as you would when connecting it for data transfer or using peripherals.
- Attach the Target Device: Once the OTG cable is connected to your Android device, you can then plug the other end of the OTG cable into the device you wish to charge, such as another smartphone, a Bluetooth headset, a smartwatch, or any other compatible gadget that utilizes a standard USB charging cable.
- Initiate the Charging Process: Upon connecting the target device, your Android device should recognize it as a charging source. Depending on the power output of your Android device and the charging requirements of the target device, the charging process will commence, providing a convenient and portable charging solution.
It’s important to note that while the OTG cable enables charging functionality for other devices, it may not be suitable for charging larger gadgets with higher power requirements, such as tablets or laptops, as they typically necessitate more substantial power sources.
By leveraging the OTG cable for charging, you can extend the utility of your Android device by offering a reliable and portable charging option for a variety of compatible gadgets, ensuring that you stay powered up and connected while on the move.
Troubleshooting Common Issues
While OTG cables offer a plethora of benefits, users may encounter occasional issues when utilizing them with their Android devices. Understanding and addressing these common challenges can help ensure a seamless OTG experience. Here are some troubleshooting tips for addressing potential issues:
- Device Recognition Problems: If your Android device fails to recognize the connected USB peripheral, try disconnecting and reconnecting the OTG cable. Additionally, ensure that the USB peripheral is functioning correctly and compatible with your device.
- Insufficient Power Output: In some cases, certain USB peripherals may require more power than your Android device can provide. If you encounter issues with charging or powering external devices, consider using a powered USB hub or an external power source to supplement the power requirements.
- Compatibility with Apps: Some USB peripherals, such as game controllers or specialized input devices, may require specific apps or drivers to function correctly with your Android device. Ensure that you have the necessary apps installed to enable seamless compatibility.
- File Transfer Errors: If you encounter errors during file transfers, ensure that the USB storage device is formatted correctly and that the files you are attempting to transfer are not corrupted. Using a different file manager app or restarting your device may also help resolve transfer issues.
- Physical Connection Problems: Check the integrity of the OTG cable and the USB peripherals for any physical damage or debris that may hinder proper connections. Cleaning the connectors and ensuring a secure fit can alleviate many connectivity issues.
By addressing these common issues and implementing the suggested troubleshooting steps, users can overcome potential challenges and make the most of their OTG cable, unlocking the full potential of their Android devices for enhanced productivity and convenience.