
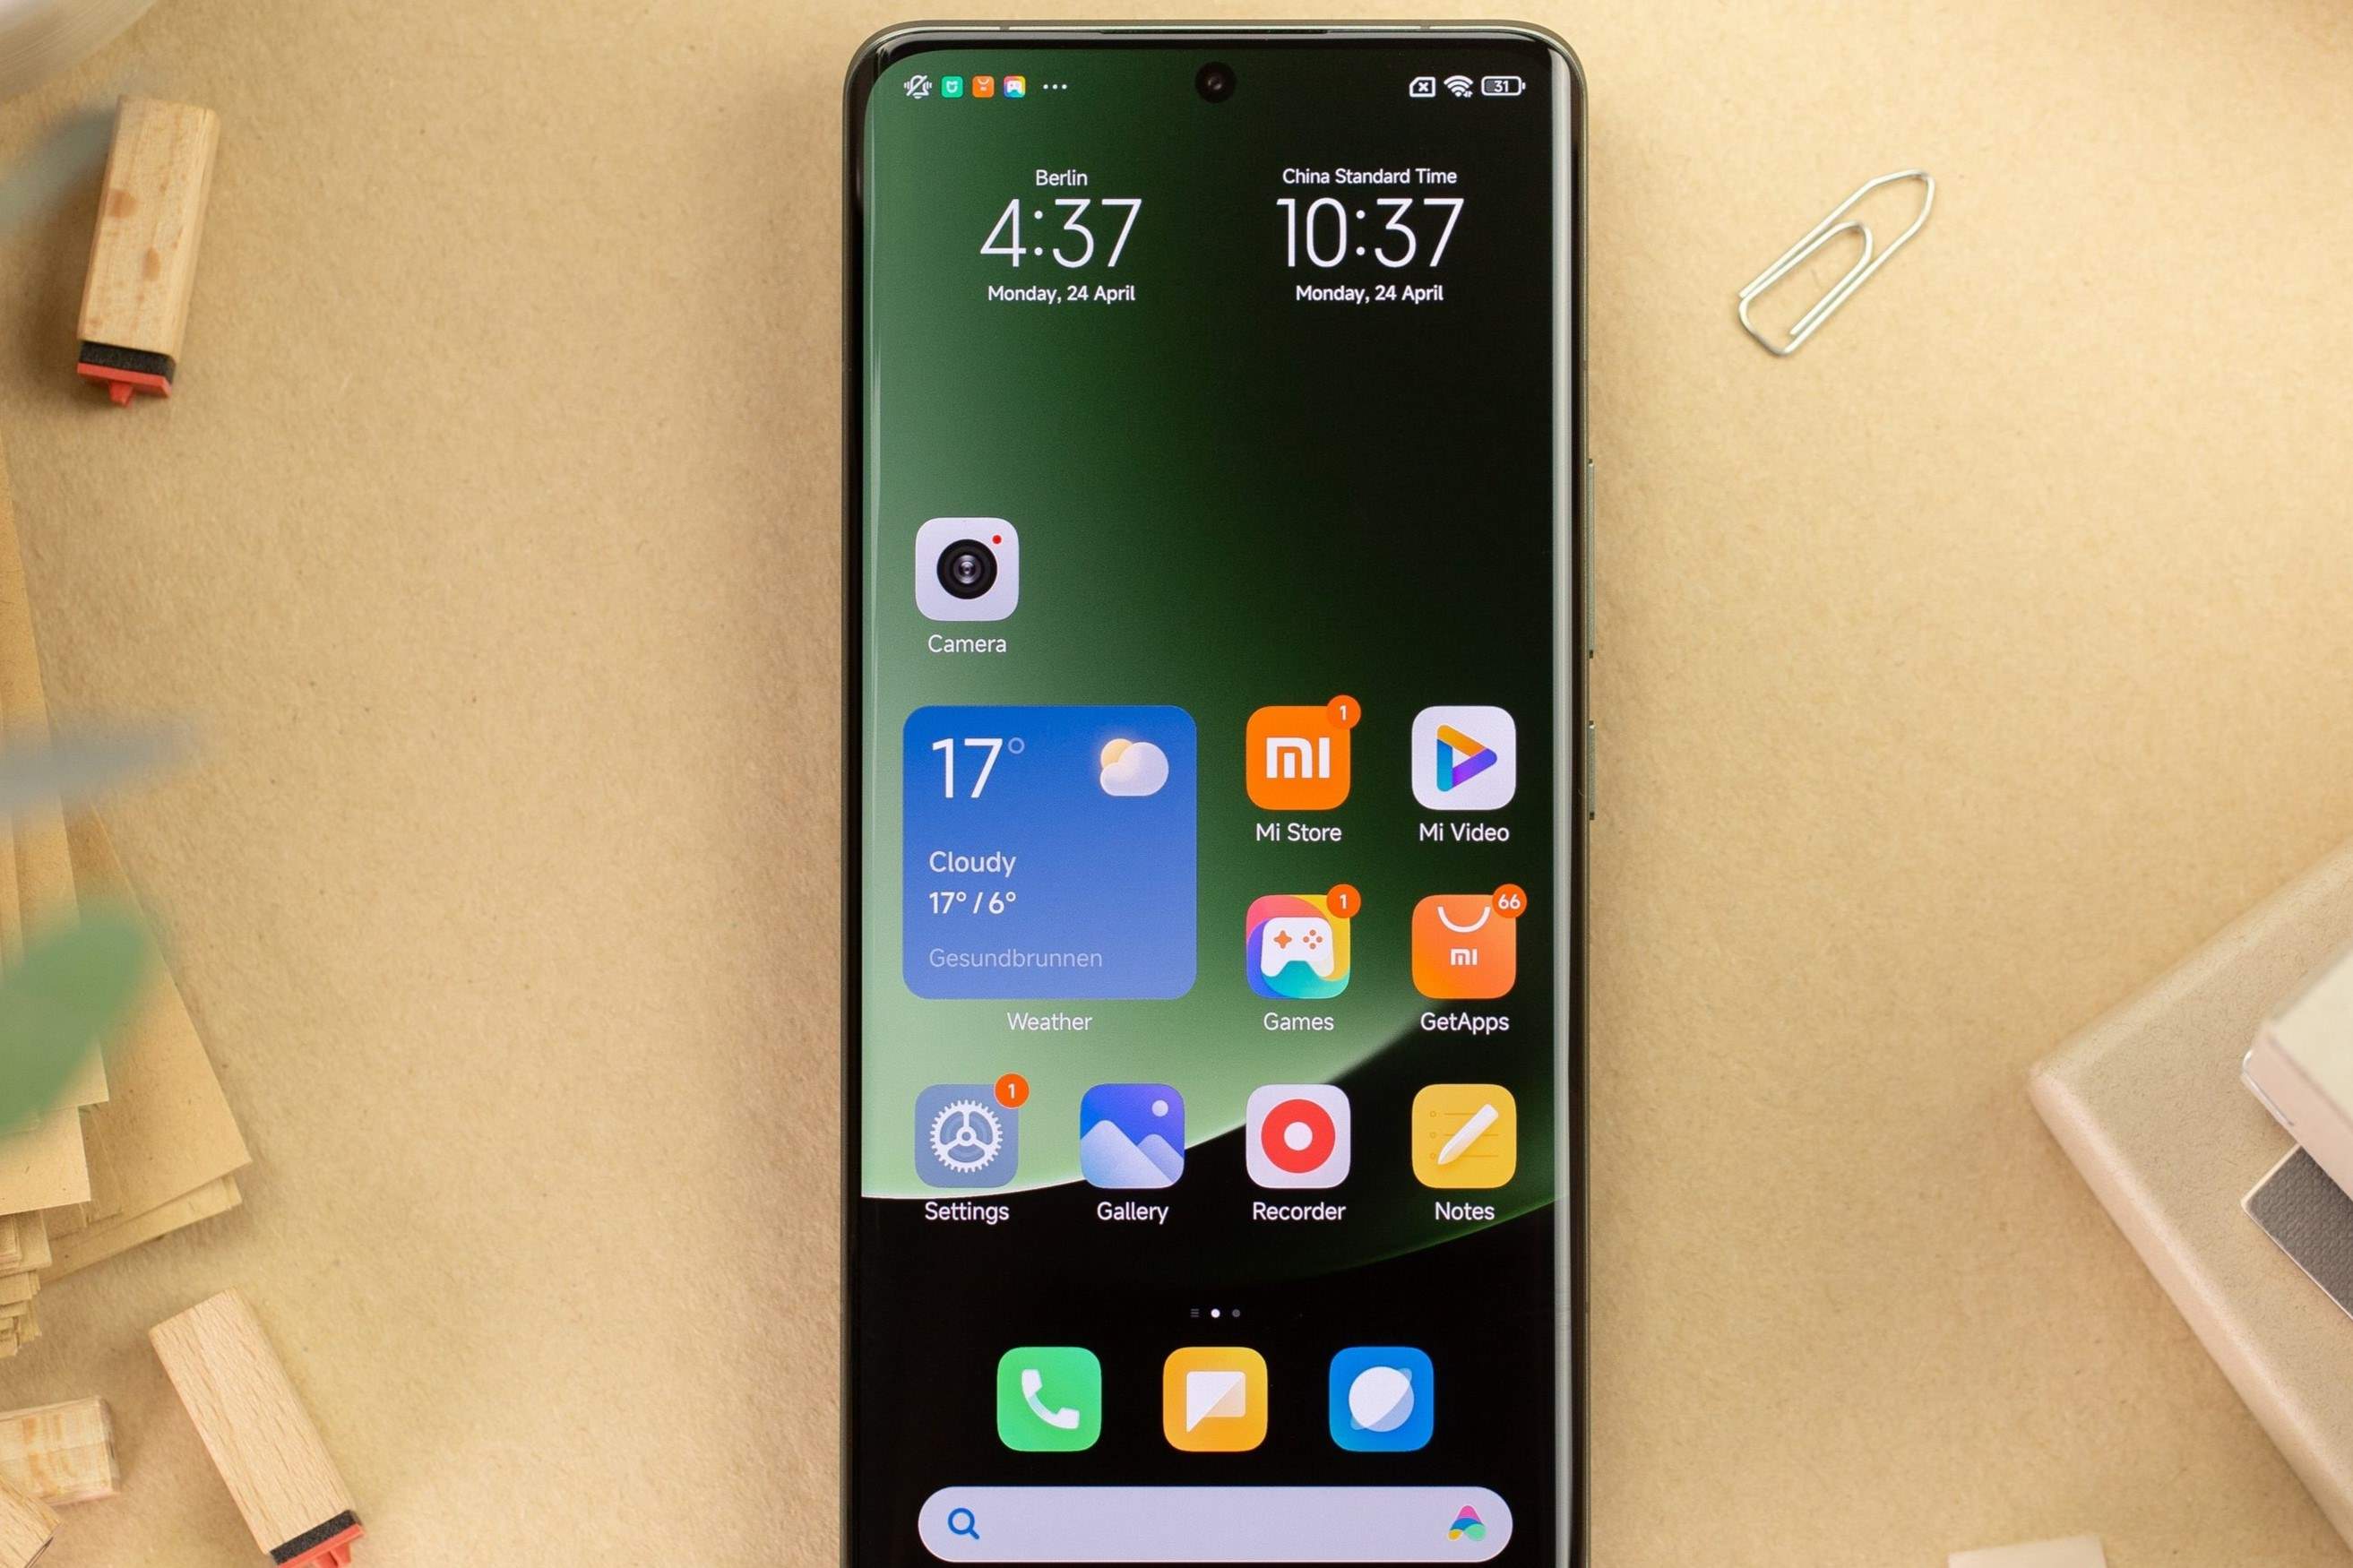
Checking the Current Time Settings
Before making any adjustments to the date and time settings on your Redmi device, it's essential to first check the current time settings. This simple yet crucial step ensures that you have accurate information about the existing configuration, allowing you to make informed decisions when making changes.
To check the current time settings on your Redmi device, follow these steps:
-
Navigate to Settings: Begin by unlocking your device and accessing the home screen. From there, locate and tap on the "Settings" app. This will open the main settings menu, providing access to various configuration options.
-
Select Additional Settings: Within the Settings menu, scroll down and tap on "Additional Settings." This section contains a range of supplementary configurations beyond the basic settings.
-
Access Date & Time Settings: Once in the Additional Settings menu, tap on "Date & Time." This will direct you to the specific settings related to the date and time configuration on your Redmi device.
-
Review Current Settings: Within the Date & Time settings, you will find the current date, time, and time zone configured on your device. Take a moment to review this information carefully, ensuring that it accurately reflects the current date and time in your location.
By following these simple steps, you can promptly verify the current time settings on your Redmi device. This initial check sets the stage for any necessary adjustments, ensuring that you have a clear understanding of the existing configuration before proceeding with any changes.
Adjusting the Date and Time
Ensuring that the date and time are accurately set on your Redmi device is essential for various reasons, including proper synchronization of notifications, accurate time stamps on messages and files, and seamless coordination with calendar events. If you find that the date and time on your device are incorrect, or if you need to manually adjust them for any other reason, the process is straightforward and can be easily accomplished through the device settings.
To adjust the date and time on your Redmi device, follow these simple steps:
-
Navigate to Date & Time Settings: Begin by unlocking your device and accessing the home screen. From there, navigate to the "Settings" app and tap on "Additional Settings." Within the Additional Settings menu, select "Date & Time." This will lead you to the specific settings related to the date and time configuration on your Redmi device.
-
Disable Automatic Date & Time: If the automatic date and time feature is enabled, you will need to disable it before making manual adjustments. Toggle off the "Automatic date & time" option to gain manual control over the date and time settings.
-
Adjust Date and Time: Once the automatic feature is disabled, you can proceed to manually adjust the date and time settings. Tap on "Set date" to input the correct date, and then tap on "Set time" to specify the accurate time. Ensure that you select the correct AM or PM designation for the time setting.
-
Confirm Changes: After inputting the desired date and time, review the settings to ensure accuracy. Double-check the date, time, and AM/PM designation to avoid any discrepancies.
-
Re-enable Automatic Date & Time (Optional): If you prefer to revert to automatic date and time settings after making manual adjustments, simply toggle the "Automatic date & time" option back on. This will allow your device to automatically synchronize with the network-provided date and time information.
By following these straightforward steps, you can effectively adjust the date and time settings on your Redmi device. Whether you need to correct an inaccurate date and time or manually set the configuration for specific purposes, this process empowers you to maintain precise date and time information tailored to your preferences.
Setting the Time Zone
Configuring the correct time zone on your Redmi device is vital to ensure that the displayed time accurately aligns with your geographical location. By setting the time zone, you enable your device to automatically adjust the displayed time based on your specific region, accounting for any differences in time offsets and daylight saving time observance. This feature is especially valuable for travelers and individuals residing in different time zones, as it ensures that the device reflects the local time accurately.
To set the time zone on your Redmi device, follow these steps:
-
Access Date & Time Settings: Begin by navigating to the "Settings" app on your device's home screen. From there, tap on "Additional Settings" and select "Date & Time" to access the specific time-related configurations.
-
Enable Automatic Time Zone: To ensure that your device automatically adjusts the time zone based on your location, toggle on the "Automatic time zone" option. This setting allows your device to utilize network-provided information to determine the correct time zone, ensuring accurate time representation without manual intervention.
-
Manually Select Time Zone (Optional): In certain situations, such as when traveling to a location with a different time zone or if the automatic feature is unavailable, you may need to manually select the time zone. To do this, tap on "Select time zone" and choose the appropriate time zone from the list provided. This manual selection ensures that your device reflects the correct local time, regardless of your physical location.
By following these straightforward steps, you can effectively set the time zone on your Redmi device, ensuring that the displayed time aligns with your specific geographical region. Whether you rely on the automatic time zone feature or need to manually select the time zone for precise time representation, this capability empowers you to maintain accurate time information tailored to your location.
Setting the time zone on your Redmi device is a simple yet essential aspect of configuring the date and time settings. By ensuring that the displayed time aligns with your geographical location, you can rely on accurate time representation for various activities, including scheduling events, coordinating with individuals in different time zones, and staying informed about local time differences during travel.
Enabling Automatic Date and Time
Enabling the automatic date and time feature on your Redmi device offers a convenient and reliable way to ensure that your device consistently displays the accurate date and time. By leveraging network-provided information, this feature eliminates the need for manual adjustments and safeguards against discrepancies that may arise due to changes in time or daylight saving transitions.
To enable automatic date and time on your Redmi device, follow these simple steps:
-
Access Date & Time Settings: Begin by navigating to the "Settings" app on your device's home screen. From there, tap on "Additional Settings" and select "Date & Time" to access the specific time-related configurations.
-
Toggle Automatic Date & Time: Within the Date & Time settings, locate the "Automatic date & time" option and toggle it on. Once enabled, your device will automatically synchronize with the network-provided date information, ensuring that the displayed date remains accurate without the need for manual intervention.
-
Verification: After enabling the automatic date and time feature, take a moment to verify that the date displayed on your device aligns with the current date. Additionally, you can cross-reference the date with external sources, such as websites or other devices, to confirm its accuracy.
Enabling automatic date and time on your Redmi device offers several benefits, including:
-
Accuracy: By relying on network-provided information, your device consistently displays the precise date, eliminating the possibility of manual errors or discrepancies.
-
Convenience: With automatic synchronization, you are relieved of the task of manually adjusting the date, allowing you to focus on utilizing your device without worrying about date-related inaccuracies.
-
Seamless Transitions: During daylight saving time changes or when traveling across time zones, the automatic date and time feature ensures that your device seamlessly adjusts to reflect the updated time, maintaining accuracy without user intervention.
By leveraging the automatic date and time feature on your Redmi device, you can trust that the displayed date remains accurate and aligned with the current information provided by the network. This capability contributes to a seamless and hassle-free user experience, allowing you to rely on your device for accurate date representation in various contexts.
Enabling Automatic Time Zone
Enabling the automatic time zone feature on your Redmi device is a pivotal step in ensuring that the displayed time accurately aligns with your geographical location. By leveraging network-provided information, this feature eliminates the need for manual time zone adjustments and safeguards against discrepancies that may arise due to changes in location or travel across different time zones.
To enable the automatic time zone feature on your Redmi device, follow these straightforward steps:
-
Access Date & Time Settings: Begin by navigating to the "Settings" app on your device's home screen. From there, tap on "Additional Settings" and select "Date & Time" to access the specific time-related configurations.
-
Toggle Automatic Time Zone: Within the Date & Time settings, locate the "Automatic time zone" option and toggle it on. Once enabled, your device will automatically synchronize with the network-provided time zone information, ensuring that the displayed time aligns with your current geographical location without the need for manual intervention.
-
Verification: After enabling the automatic time zone feature, take a moment to verify that the displayed time aligns with the local time in your geographical region. You can cross-reference the time with external sources or physical clocks to confirm its accuracy.
Enabling the automatic time zone feature on your Redmi device offers several significant advantages:
-
Accurate Time Representation: By relying on network-provided information, your device consistently displays the precise time for your specific geographical location, eliminating the need for manual time zone adjustments.
-
Seamless Transition Across Time Zones: When traveling across different time zones, the automatic time zone feature ensures that your device seamlessly adjusts to reflect the local time, maintaining accuracy without requiring user intervention.
-
Effortless Geographical Adaptation: Whether you are at home or traveling, the automatic time zone feature allows your device to adapt effortlessly to changes in location, providing you with accurate time representation without the hassle of manual time zone adjustments.
By leveraging the automatic time zone feature on your Redmi device, you can trust that the displayed time aligns with your current geographical location, offering a seamless and hassle-free experience. This capability empowers you to rely on your device for accurate time representation, whether at home or during travel, without the need for manual time zone adjustments.
Using 24-Hour Format
Utilizing the 24-hour format for time display offers a practical and globally recognized method of representing time. This format, also known as military time or the 24-hour clock, provides a straightforward and unambiguous way to convey time without the need for AM or PM designations. Whether for personal preference, professional use, or international communication, setting your Redmi device to display time in the 24-hour format can offer numerous benefits.
To configure your Redmi device to use the 24-hour format, follow these simple steps:
-
Access Date & Time Settings: Begin by unlocking your device and navigating to the "Settings" app. From there, tap on "Additional Settings" and select "Date & Time" to access the specific time-related configurations.
-
Select 24-Hour Format: Within the Date & Time settings, look for the time format or time display options. Tap on "Use 24-hour format" or a similar option to enable the display of time in the 24-hour format.
By enabling the 24-hour format on your Redmi device, you gain access to several advantages:
-
Clarity and Precision: The 24-hour format eliminates ambiguity and confusion that may arise from the AM/PM designation, providing clear and precise time representation.
-
International Compatibility: The 24-hour format is widely used across the globe, making it suitable for international communication and coordination without the need for time zone conversions.
-
Professional and Technical Settings: In professional environments, such as healthcare, aviation, military, and technology, the 24-hour format is commonly utilized for its precision and standardization.
-
Personal Preference: Many individuals prefer the 24-hour format for its straightforward representation of time, allowing for a seamless understanding of time progression throughout the day.
By embracing the 24-hour format on your Redmi device, you align with a widely recognized and practical time representation method that offers clarity, precision, and global compatibility. Whether for personal, professional, or international purposes, the 24-hour format provides a versatile and reliable approach to time display, enhancing your overall user experience.