
Types of Water Filters in KitchenAid Refrigerators
KitchenAid refrigerators are known for their reliable performance and high-quality filtration systems. When it comes to water filters, KitchenAid offers different types to suit various refrigerator models. Let’s explore the types of water filters commonly used in KitchenAid refrigerators:
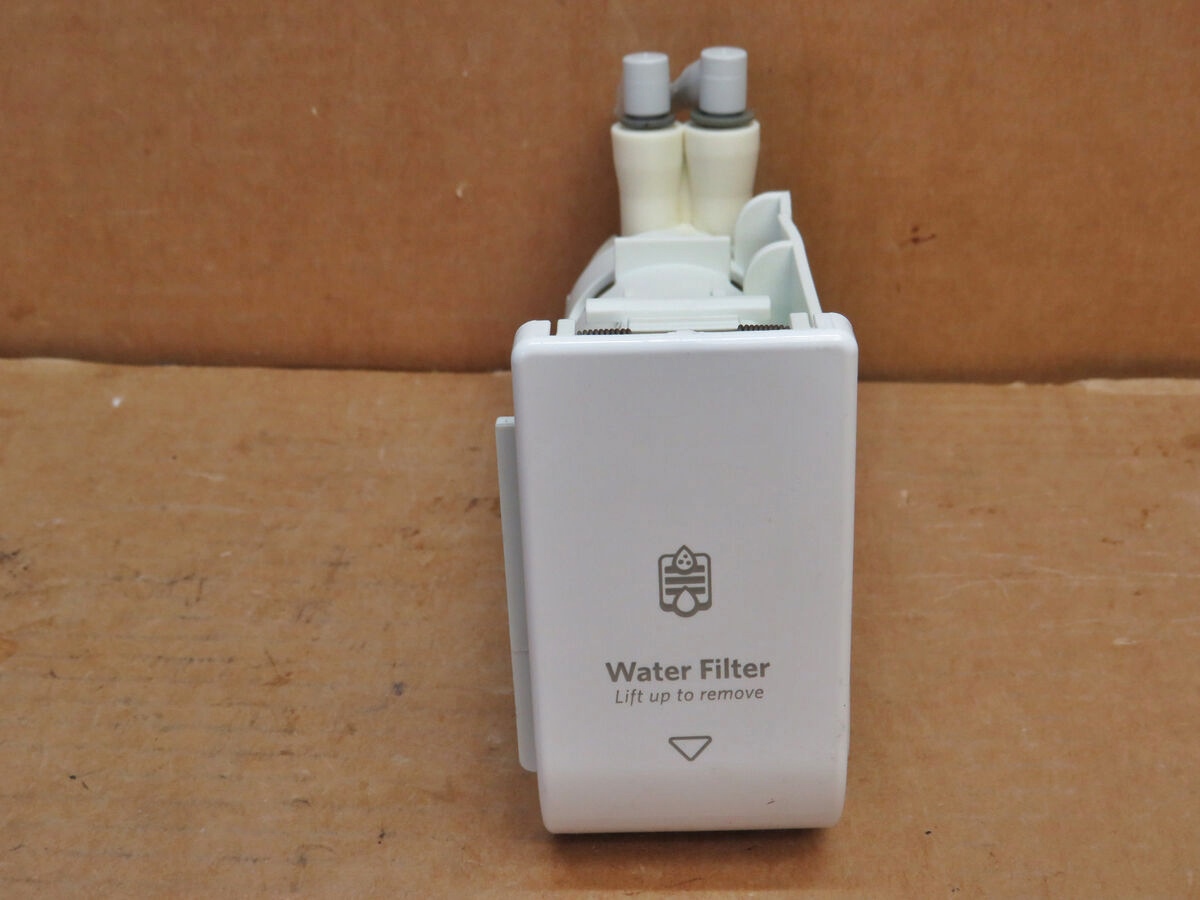
- Internal Water Filters: These filters are installed inside the refrigerator, typically at the back or top portion of the refrigerator compartment. They are compact and provide excellent filtration by removing impurities such as chlorine, lead, and other harmful contaminants. Internal water filters are easily accessible and can be replaced without much hassle.
- External Water Filters: Unlike internal filters, external water filters are installed outside the refrigerator, typically in the water supply line behind the fridge. These filters are larger in size and offer the same level of filtration as internal filters. External water filters are commonly used in KitchenAid refrigerators that do not have space inside the refrigerator compartments for installing an internal filter.
- In-Line Water Filters: In-line water filters are similar to external filters as they are also installed outside the refrigerator. However, these filters are designed specifically for KitchenAid refrigerators with an ice maker and a water dispenser. In-line water filters are connected to the water supply line and effectively remove impurities before the water reaches the ice maker and dispenser.
- EveryDrop Water Filters: EveryDrop is a brand of water filters approved by KitchenAid. These filters are designed to deliver clean and fresh-tasting water by reducing contaminants. EveryDrop water filters are available in various sizes and configurations, catering to different KitchenAid refrigerator models. They are known for their efficient filtration and easy installation.
It’s important to note that the specific type of water filter will depend on your KitchenAid refrigerator model. It’s recommended to refer to the refrigerator’s user manual or contact KitchenAid customer support to determine the compatible water filter for your specific model.
Common Locations of Water Filters in KitchenAid Refrigerators
Knowing the location of your water filter in your KitchenAid refrigerator is essential for easy maintenance and replacement. Here are the common locations where you can find water filters in different types of KitchenAid refrigerators:
1. Side-by-Side Refrigerators:
In KitchenAid side-by-side refrigerators, the water filter is usually located in the upper right corner of the refrigerator compartment. Look for a cylindrical or rectangular housing that houses the water filter cartridge. Some models may have a push-button or twist-and-release mechanism to remove the filter.
2. French Door Refrigerators:
For KitchenAid French door refrigerators, the water filter is commonly located in the upper right corner of the refrigerator compartment. It can be accessed by opening the right-hand refrigerator door and looking for a filter housing. Similar to side-by-side models, the filter may have a push-button or twist-and-release mechanism for easy removal.
3. Bottom Freezer Refrigerators:
In KitchenAid bottom freezer refrigerators, the water filter is typically located in the upper right corner of the refrigerator compartment. To access it, open the refrigerator door and look for a filter housing at the back wall. The filter housing may have a push-button or twist-and-release mechanism.
It’s important to note that the exact location of the water filter may vary slightly depending on the specific model and design of your KitchenAid refrigerator. Refer to your refrigerator’s user manual or contact KitchenAid customer support for precise instructions on locating the water filter.
Once you have located the water filter, it’s essential to follow the manufacturer’s guidelines for proper maintenance and replacement. Regularly changing the water filter ensures that your KitchenAid refrigerator continues to provide clean and safe drinking water.
Locating the Water Filter in your KitchenAid Side-by-Side Refrigerator
If you own a KitchenAid side-by-side refrigerator, locating the water filter is a straightforward process. Follow these steps to find the water filter in your KitchenAid side-by-side refrigerator:
- Open the refrigerator door and locate the control panel on the top front of the refrigerator compartment.
- Look for a small button or tab labeled “Filter” or “Water Filter.” This button/tab is often located next to the temperature controls or the water/ice dispenser.
- Gently press the button or pull the tab to release the filter housing.
- Once released, the filter housing will swing downwards, revealing the water filter cartridge.
- Remove the old filter cartridge by twisting it counterclockwise or following the specific instructions provided by the manufacturer.
- Insert the new filter cartridge into the housing and twist it clockwise until it locks into place.
- Close the filter housing by pushing it upward until it clicks into position.
- Finally, run a few cups of water through the dispenser to purge any air and ensure proper functioning of the new filter.
It’s important to note that the above steps are general guidelines. The exact process for locating and replacing the water filter may vary slightly depending on the specific model of your KitchenAid side-by-side refrigerator. Refer to your refrigerator’s user manual for precise instructions and diagrams.
Remember to replace the water filter every six months or as recommended by the manufacturer to maintain optimal performance and ensure that your KitchenAid side-by-side refrigerator continues to provide clean, filtered water for you and your family.
Finding the Water Filter in your KitchenAid French Door Refrigerator
If you own a KitchenAid French door refrigerator, locating the water filter is a relatively simple process. Follow these steps to find the water filter in your KitchenAid French door refrigerator:
- Open the right-hand refrigerator door.
- Locate the control panel on the upper right corner of the refrigerator compartment. The control panel may display temperature settings, dispenser options, and other refrigerator functions.
- Look for a button or tab labeled “Filter” or “Water Filter” on the control panel. This button or tab is usually positioned next to the temperature controls or the water/ice dispenser options.
- Gently press the button or pull the tab labeled “Filter” to release the filter housing.
- The filter housing will swing outwards or downwards, providing access to the water filter cartridge.
- Remove the old filter cartridge by twisting it counterclockwise or following the specific instructions provided by the manufacturer.
- Insert the new filter cartridge into the housing and twist it clockwise until it locks into place.
- Close the filter housing by pushing it back into position until it clicks into place.
- Once the filter is replaced, run a few cups of water through the dispenser to flush any air and ensure proper functioning of the new filter.
It’s important to note that these steps are general guidelines and may vary slightly depending on the specific model of your KitchenAid French door refrigerator. For precise instructions and diagrams, refer to your refrigerator’s user manual.
Remember to replace the water filter in your KitchenAid French door refrigerator every six months or as recommended by the manufacturer. This ensures that you and your family continue to enjoy clean, filtered water from your refrigerator dispenser.
Locating the Water Filter in your KitchenAid Bottom Freezer Refrigerator
If you have a KitchenAid bottom freezer refrigerator, locating the water filter is a simple process. Follow these steps to find the water filter in your KitchenAid bottom freezer refrigerator:
- Open the refrigerator door.
- Look for the control panel on the upper right corner of the refrigerator compartment. This panel may display temperature settings, ice and water dispenser controls, and other refrigerator functions.
- Find the button or tab labeled “Filter” or “Water Filter” on the control panel. It is usually situated next to the temperature controls or the options for the ice and water dispenser.
- Gently press the button or pull the tab labeled “Filter” to release the filter housing.
- The filter housing will swing down or sideways, exposing the water filter cartridge.
- To remove the existing filter cartridge, twist it counterclockwise or follow the specific instructions provided by the manufacturer.
- Insert the new filter cartridge into the housing and twist it clockwise until it locks into place.
- Close the filter housing by pushing it back up or to the original position until it clicks into place.
- Once you have replaced the filter, run a few cups of water through the dispenser to clear any air and ensure that the new filter functions properly.
It’s important to note that these steps are general guidelines and may vary slightly depending on the model and design of your KitchenAid bottom freezer refrigerator. For precise instructions and illustrations, consult your refrigerator’s user manual.
Remember to replace the water filter in your KitchenAid bottom freezer refrigerator every six months or as recommended by the manufacturer. This regular filter replacement will ensure that you have access to clean and filtered water from your refrigerator dispenser.
How to Replace the Water Filter in a KitchenAid Refrigerator
Replacing the water filter in your KitchenAid refrigerator is a simple process. Follow these steps to replace the water filter in your KitchenAid refrigerator:
- Locate the water filter housing. The specific location of the housing will depend on the type and model of your KitchenAid refrigerator. Refer to your refrigerator’s user manual for the exact location.
- Once you have located the housing, open the housing by pushing the release button or turning the locking knob, depending on the design of your refrigerator.
- Gently pull out the old water filter cartridge from the housing. Make sure to properly discard the old filter.
- Prepare the new water filter cartridge by removing any packaging or protective seals. Some filters may require soaking in water for a specified period before installation. Follow the instructions provided with your replacement filter.
- Insert the new filter cartridge into the housing. Align the filter with the grooves inside the housing and push it in until it is securely seated.
- Carefully close the water filter housing by pushing it back into place or turning the locking knob, ensuring that it is firmly closed and locked.
- Run water through the dispenser for a few minutes to flush out any air or debris that may have accumulated during the filter replacement process.
- Check for any leaks around the filter housing or connections. If you notice any leaks, make sure the housing is properly closed or contact customer support for assistance.
It’s worth noting that the specific steps for replacing the water filter may vary slightly depending on the model of your KitchenAid refrigerator. Always consult your refrigerator’s user manual for detailed instructions and any model-specific guidelines.
Remember to replace the water filter in your KitchenAid refrigerator every six months or as recommended by the manufacturer. Regular replacement ensures that you have access to clean and filtered water, providing peace of mind for you and your family.
Troubleshooting Common Issues with Water Filters in KitchenAid Refrigerators
While KitchenAid refrigerators are known for their reliable water filtration systems, you may encounter some common issues with the water filters. Here are some troubleshooting tips to address these issues:
- No water flow: If your KitchenAid refrigerator is not dispensing water or there is no water flow after replacing the water filter, ensure that the filter is properly installed. Check for any obstructions or clogs in the water lines or dispenser. Additionally, verify that the water supply to the refrigerator is not blocked or turned off.
- Low water pressure: If the water pressure from your KitchenAid refrigerator’s dispenser is low, check the water supply valve to ensure it is fully open. A partially closed valve can affect the water pressure. If the water pressure is still low, try replacing the water filter as a clogged or old filter can restrict water flow.
- Strange taste or odor: If you notice an unpleasant taste or odor in the water after replacing the filter, it could be due to the presence of chlorine or other impurities. Run a few cups of water through the dispenser to flush out any trapped air or stagnant water. If the taste or odor persists, consider replacing the water filter with a new one.
- Leaking water: If you notice water leaking from the filter housing or connections, check that the filter is correctly installed and firmly seated. Inspect the O-ring or gasket for any damage or wear and replace if necessary. Tighten any loose connections. If the issue persists, contact KitchenAid customer support for assistance.
- Filter indicator light not resetting: Some KitchenAid refrigerators have a filter indicator light that needs to be reset after replacing the water filter. Refer to your refrigerator’s user manual for specific instructions on how to reset the filter indicator light. It may involve pressing and holding a button or a specific combination of buttons on the control panel.
If you are unable to troubleshoot or resolve the issue with your KitchenAid refrigerator’s water filter, it is recommended to consult the refrigerator’s user manual or contact KitchenAid customer support for further assistance. They will be able to provide specific guidance based on your refrigerator model and troubleshoot any issues you may encounter.