
What is a Rear Projection Screen?
A rear projection screen is a specially designed display surface that allows images and videos to be projected from behind the screen rather than in front of it. Unlike traditional displays, where the projector is positioned in front of the screen, rear projection screens place the projector behind the screen, creating a unique viewing experience.
These screens are typically made of specialized materials that enhance the projection quality and provide excellent visibility from various angles. Rear projection screens are commonly used in home theaters, conference rooms, live events, and retail displays. They offer a seamless and immersive visual experience with vibrant colors and high-resolution imagery.
The technology behind rear projection screens involves projecting the image onto the back of the screen, which then reflects and diffuses the light towards the audience. This method creates a sharper and brighter image compared to front projection screens, as it eliminates any interference from ambient light sources.
Rear projection screens are widely used in situations where the audience needs to interact with the displayed content. They are commonly used in trade shows, exhibitions, and presentations, as they allow for easy integration of touch and interactive technologies.
Moreover, rear projection screens are known for their wide viewing angles, making them ideal for large audiences. Regardless of where spectators are seated, they can enjoy a clear and distortion-free view of the projected content.
Overall, rear projection screens offer a versatile and immersive solution for displaying content. Whether it’s for entertainment, presentations, or advertising purposes, these screens provide a unique visual experience that captivates the audience and enhances the overall viewing experience.
How does a Rear Projection Screen work?
Rear projection screens employ a specific mechanism to display images and videos. Understanding how they work can provide valuable insights into their functionality and advantages over traditional front projection systems.
The primary component of a rear projection screen is a translucent material known as the screen substrate. This substrate is typically made of specialized optical-grade materials, such as acrylic or glass, that are designed to maximize the transmission of light.
To create the projected image, a projector is positioned behind the rear projection screen. The projector emits light, which passes through the lens, projecting the image onto the backside of the screen substrate. The projected image is then reflected and diffused, appearing on the front side of the screen for viewers to see.
One of the key elements in the functionality of a rear projection screen is the use of ambient light-rejecting properties. This means that the screen is designed to minimize the impact of ambient light, ensuring a clear and vibrant image even in well-lit environments.
Rear projection screens achieve ambient light rejection through various methods. Some screens utilize micro-optical coatings or structures that selectively reflect the projected light while absorbing or diffusing ambient light. This helps to maintain high contrast and minimize undesirable reflections.
Another critical aspect of rear projection screens is their wide viewing angles. Unlike front projection systems, where the image quality degrades as the viewing angle increases, rear projection screens offer consistent image quality regardless of the viewer’s position. This is advantageous in situations where a large number of people need to view the screen simultaneously.
In addition to the viewing angle advantage, rear projection screens also eliminate the risk of shadows being cast on the screen by presenters or performers. Since the projector is positioned behind the screen, there is no obstruction between the projector and the audience, ensuring a clear and unobstructed view for everyone.
Overall, the mechanism of a rear projection screen involves projecting the image onto the backside of a specialized screen substrate and utilizing ambient light-rejecting properties to deliver a vibrant and high-quality image. The combination of these features makes rear projection screens an excellent choice for various applications that require large, high-quality displays.
Technologies used in Rear Projection Screens
Rear projection screens make use of various technologies to deliver impressive visual experiences. These technologies contribute to the superior image quality, clarity, and versatility of rear projection screens. Let’s explore some of the key technologies employed in these screens.
1. DLP (Digital Light Processing): DLP technology utilizes micro mirrors to reflect and modulate light, resulting in high-resolution and vibrant images. This technology offers excellent color accuracy, contrast, and fast response times, making it a popular choice for rear projection screens.
2. LCD (Liquid Crystal Display): LCD technology uses liquid crystal molecules to control the passage of light. Rear projection screens with LCD technology provide sharp and clear images with precise color reproduction. LCD screens are also known for their wide color gamut and high brightness levels.
3. LCoS (Liquid Crystal on Silicon): LCoS technology combines the benefits of LCD and DLP technologies. It uses liquid crystals on a reflective silicon surface to produce high-resolution images with exceptional color accuracy and contrast. LCoS screens deliver smooth and lifelike visuals, making them ideal for rear projection applications.
4. LED (Light Emitting Diode): LED technology is increasingly being used in rear projection screens due to its energy efficiency, long lifespan, and enhanced color reproduction capabilities. LED-based screens offer vibrant and saturated colors, deep blacks, and high brightness levels, resulting in stunning visual experiences.
5. Optical Films: Rear projection screens often incorporate optical films to enhance image quality and viewing angles. These films can help reduce glare and increase brightness, resulting in improved visibility even in challenging lighting conditions.
6. Screen Coatings: Rear projection screens may feature specialized coatings that improve contrast, color uniformity, and overall image quality. Anti-glare and anti-reflection coatings help to minimize unwanted reflections and provide a clear, immersive viewing experience.
It’s worth noting that different manufacturers and brands may combine multiple technologies to optimize the performance of their rear projection screens. Each technology has its own advantages, and the selection depends on the specific requirements and preferences of the user.
By leveraging these advanced technologies, rear projection screens can deliver stunning visuals with vibrant colors, high resolution, and excellent clarity. Whether it’s for home theater applications, corporate presentations, or large-scale events, these technologies enhance the overall viewing experience and provide a versatile display solution.
Advantages of Rear Projection Screens
Rear projection screens offer several advantages that make them a popular choice in various applications. Whether it’s for entertainment, presentations, or digital signage, these screens provide unique benefits that enhance the viewing experience. Let’s explore some of the key advantages of rear projection screens:
1. Superior Image Quality: Rear projection screens create bright and vibrant images with high contrast, accurate colors, and sharp details. The use of advanced projection technologies ensures a stunning visual experience, making it ideal for applications where image quality is crucial.
2. Wide Viewing Angles: Rear projection screens offer wide viewing angles, allowing a large audience to view the screen without experiencing color distortion or reduced image quality. Regardless of the seating position, viewers can enjoy a clear and immersive visual experience.
3. Ambient Light Rejection: Rear projection screens are designed to minimize the impact of ambient light, providing a clear and readable display even in well-lit environments. The use of specialized screen materials and coatings helps to maintain high contrast and visibility, making them suitable for various lighting conditions.
4. Interactive Capabilities: Rear projection screens can easily integrate interactive technologies such as touchscreens or gesture recognition. This enables users to engage and interact with the displayed content, making these screens ideal for applications like trade shows, educational environments, and interactive presentations.
5. Space Efficiency: Rear projection screens require less space compared to front projection systems. The projector is positioned behind the screen, eliminating the need for extra space in front of the screen for the projector and reducing the chance of shadows being cast on the display.
6. Flexible Installation Options: Rear projection screens can be easily installed in various locations, including trade show booths, retail displays, conference rooms, and home theaters. They can be mounted on walls, suspended from ceilings, or built into furniture, providing flexibility in terms of placement and integration with existing surroundings.
7. Seamless Integration: Rear projection screens can be seamlessly integrated into existing audiovisual systems or custom-designed setups. They can easily be combined with other display technologies, audio systems, and control systems, allowing for a fully immersive and integrated multimedia experience.
These advantages make rear projection screens an excellent choice for applications that require high-quality visuals, wide audience reach, and interactive capabilities. Whether it’s for entertainment, education, or business purposes, rear projection screens deliver a versatile and engaging visual solution.
Limitations of Rear Projection Screens
While rear projection screens offer numerous advantages, it’s important to consider their limitations as well. Understanding these limitations can help users make informed decisions when choosing a display solution. Here are some of the key limitations of rear projection screens:
1. Size and Weight: Rear projection screens tend to be bulkier and heavier compared to other display options. This can make installation and transportation more challenging, especially for larger screen sizes. Adequate space and support structures are necessary to accommodate the screen and the projector behind it.
2. Limited Viewing Distance: Rear projection screens may have limitations in terms of optimal viewing distance. Depending on the screen size and resolution, there may be a recommended distance at which the image appears sharp and clear. Viewers positioned too close or too far from the screen may experience a reduction in image quality or visibility.
3. Less Flexibility in Placement: Rear projection screens require a dedicated space for the projector to be positioned behind the screen. This limits the flexibility of screen placement compared to front projection systems, which can be installed in various locations without significant constraints.
4. Potential Hot Spots: In some cases, rear projection screens may exhibit hot spots, areas where the brightness is uneven across the screen. This can be a result of the projector’s light source or the screen’s structure. Hot spots can be distracting and may affect the overall viewing experience.
5. Limited Off-Axis Performance: While rear projection screens offer wide viewing angles, the image quality may slightly degrade as the viewer moves away from the center viewing position. Colors may appear less vibrant, and contrast may be reduced. However, this limitation is not as pronounced compared to front projection systems.
6. Maintenance and Accessibility: Rear projection screens require regular maintenance, including cleaning, bulb replacement, and calibration. Accessing the projector for maintenance can be more cumbersome compared to front projection systems, where the projector is easily accessible from the front.
7. Cost: Rear projection screens can be more expensive compared to other display options. The cost includes not only the screen itself but also the projector and any additional equipment needed for installation and maintenance.
Despite these limitations, rear projection screens continue to be a popular choice for various applications. By understanding and addressing these limitations, users can optimize the performance and longevity of their rear projection display setups.
Types of Rear Projection Screens
Rear projection screens come in different types, each offering unique features and characteristics. The choice of the screen type depends on specific requirements such as image quality, viewing angles, ambient light, and installation environment. Here are some common types of rear projection screens:
1. Diffusion Screens: Diffusion screens are the most common type of rear projection screens. They use a translucent material that diffuses the projected light evenly, resulting in a uniform and bright image. Diffusion screens are versatile, providing wide viewing angles and excellent color representation. They are suitable for various applications, including home theaters, conference rooms, and digital signage.
2. Fresnel Screens: Fresnel screens incorporate a series of concentric ridges on the viewing surface. These ridges help to focus the projected light and improve the viewing angles. Fresnel screens are known for their enhanced brightness and uniformity, making them ideal for large venues and outdoor events. However, they may introduce the “hot spot” effect, where the brightness is concentrated at the center of the screen.
3. Holographic Screens: Holographic screens use a specialized material that enhances the light diffusion and increases the viewing angles. These screens offer excellent brightness, contrast, and color vibrancy. Holographic screens are commonly used in large-scale displays, immersive installations, and holographic projections. They provide a captivating viewing experience with vibrant and lifelike visuals.
4. Rear Projection Films: Rear projection films are self-adhesive films that can be applied to a transparent surface, such as glass or acrylic, to create a rear projection screen. These films utilize micro-optical technology to scatter the projected light and deliver high-quality images. Rear projection films are flexible, lightweight, and easy to install, making them suitable for applications where portability or unconventional screen shapes are desired.
5. Smart Glass Screens: Smart glass screens combine the functionality of a projection screen with the transparency of glass. These screens can switch between a transparent state and an opaque state, allowing them to serve as both traditional windows and rear projection screens. Smart glass screens are commonly used in retail displays, museums, and corporate environments, providing an innovative and interactive display solution.
6. Micro LED Screens: Micro LED screens utilize an array of microscopic LED chips to create a high-resolution and immersive viewing experience. These screens offer exceptional brightness, contrast, and color reproduction. With their high pixel density and self-emissive properties, micro LED screens provide stunning visuals and are suitable for demanding applications such as cinema, virtual reality, and high-end professional installations.
Each type of rear projection screen has its own advantages and considerations. By choosing the right type based on specific requirements and considering factors such as viewing angles, image quality, and installation constraints, users can achieve the desired visual experience in their rear projection display setups.
Choosing the Right Rear Projection Screen
When it comes to selecting a rear projection screen, there are several factors to consider to ensure that you choose the right one for your specific needs. Here are some key considerations to keep in mind:
1. Screen Material: The choice of screen material is crucial as it heavily influences the image quality. Consider factors such as gain, viewing angles, color reproduction, and ambient light rejection. Diffusion screens are versatile and widely used, while holographic screens offer enhanced brightness and realism. Evaluate the pros and cons of each material based on your specific requirements.
2. Viewing Environment: Assess the lighting conditions in the room where the rear projection screen will be installed. For well-lit environments or areas with windows, screens with high ambient light rejection capabilities are recommended. On the other hand, screens with lower ambient light rejection may suffice for controlled lighting environments such as dedicated home theaters.
3. Screen Size and Aspect Ratio: Determine the ideal screen size and aspect ratio based on the viewing distance and intended content. Consider the available space for installation and the seating arrangement. The screen should be large enough to provide an immersive viewing experience without compromising image quality or causing discomfort for the viewers.
4. Resolution: The resolution of the rear projection screen should be compatible with the resolution capabilities of the projector used. Higher resolution screens offer more detail and clarity, ensuring that the projected content appears sharp and vibrant. Match the screen resolution to the native resolution of the content you plan to display for the best results.
5. Installation and Compatibility: Consider the installation requirements and compatibility with your existing audiovisual setup. Evaluate factors such as screen mounting options, the weight of the screen, and the ease of installation. Ensure that the screen is compatible with the type of projector and other equipment you plan to use to avoid any compatibility issues.
6. Budget: Set a budget for your rear projection screen purchase. Consider the cost of not only the screen itself but also any additional accessories, installation, and maintenance requirements. Remember that different screen types and features may vary in price, so it’s important to find a balance between your budget and the desired functionality.
7. Reviews and Recommendations: Research customer reviews and seek recommendations from professionals or experts in the audiovisual industry. Check for reviews on image quality, durability, and customer support. This can provide insights into the performance and reliability of different rear projection screen options.
By carefully considering these factors and aligning them with your specific needs and preferences, you can choose the right rear projection screen that delivers optimal image quality, viewing experience, and overall value for your investment.
Maintenance and Cleaning of Rear Projection Screens
Maintaining and cleaning your rear projection screen is essential to ensure optimal performance, longevity, and image quality. Regular maintenance helps to remove dust, dirt, and debris that may accumulate on the screen, as well as address any issues that may arise. Here are some important tips for maintaining and cleaning your rear projection screen:
1. Follow Manufacturer Guidelines: Start by reading the manufacturer’s guidelines and instructions for your specific rear projection screen model. These guidelines often provide valuable information on how to properly maintain, clean, and handle the screen to avoid any damage or malfunctions.
2. Regular Dusting: Dust particles can accumulate on the surface of the screen, affecting image quality. Use a soft, lint-free cloth or a feather duster to gently remove dust from the screen. Avoid applying excessive pressure or using abrasive materials that may scratch the screen surface.
3. Cleaning Solutions: Depending on the type of screen material and any coatings or treatments applied, the recommended cleaning solutions may vary. In most cases, a mild, non-abrasive cleaning solution mixed with water should be sufficient. Avoid using harsh chemicals, ammonia-based cleaners, or alcohol, as they can damage the screen.
4. Gentle Cleaning Technique: Dampen a soft, lint-free cloth with the cleaning solution and gently wipe the screen in a vertical or horizontal motion. Avoid rubbing the screen vigorously to prevent any damage. Start from one edge of the screen and continue across the entire surface, ensuring even cleaning. Pay extra attention to any areas that appear dirty or smudged.
5. Drying: After cleaning the screen, gently wipe it with a dry, lint-free cloth to remove any excess moisture. Make sure the screen is completely dry before turning it on or covering it to prevent water spots or streaks.
6. Protection: When not in use, consider using a screen cover or a protective case to shield the screen from dust, accidental spills, and potential damage. This can help prolong the lifespan and maintain the overall cleanliness of the screen.
7. Regular Inspections: Periodically inspect the screen for any signs of damage, such as scratches, cracks, or discoloration. If you notice any issues, contact the manufacturer or a professional technician for assistance and avoid attempting to repair the screen yourself.
8. Professional Maintenance: In some cases, professional maintenance and calibration may be required to ensure optimal performance. Consult the manufacturer’s recommendations or seek assistance from a qualified technician to conduct periodic maintenance on your rear projection screen.
By following these maintenance and cleaning tips, you can keep your rear projection screen in excellent condition, prolong its lifespan, and enjoy optimal image quality for years to come.
Implementation of Rear Projection Screens in Different Sectors
Rear projection screens offer versatile display solutions that can be implemented across various sectors. The unique features and advantages of rear projection screens make them suitable for a wide range of applications. Here are some sectors where rear projection screens are commonly implemented:
1. Entertainment and Home Theater: Rear projection screens are popularly used in entertainment areas and home theaters. They provide a cinematic experience with immersive visuals and wide viewing angles. Whether it’s for enjoying movies, gaming, or sports events, rear projection screens enhance the enjoyment and realism of the content.
2. Corporate and Business: Rear projection screens are widely utilized in corporate settings for boardroom presentations, meetings, and conferences. These screens offer large, high-quality displays that can accommodate advanced presentation technologies and interactive features. Rear projection screens are also used in digital signage applications within corporate environments to deliver impactful and engaging messages.
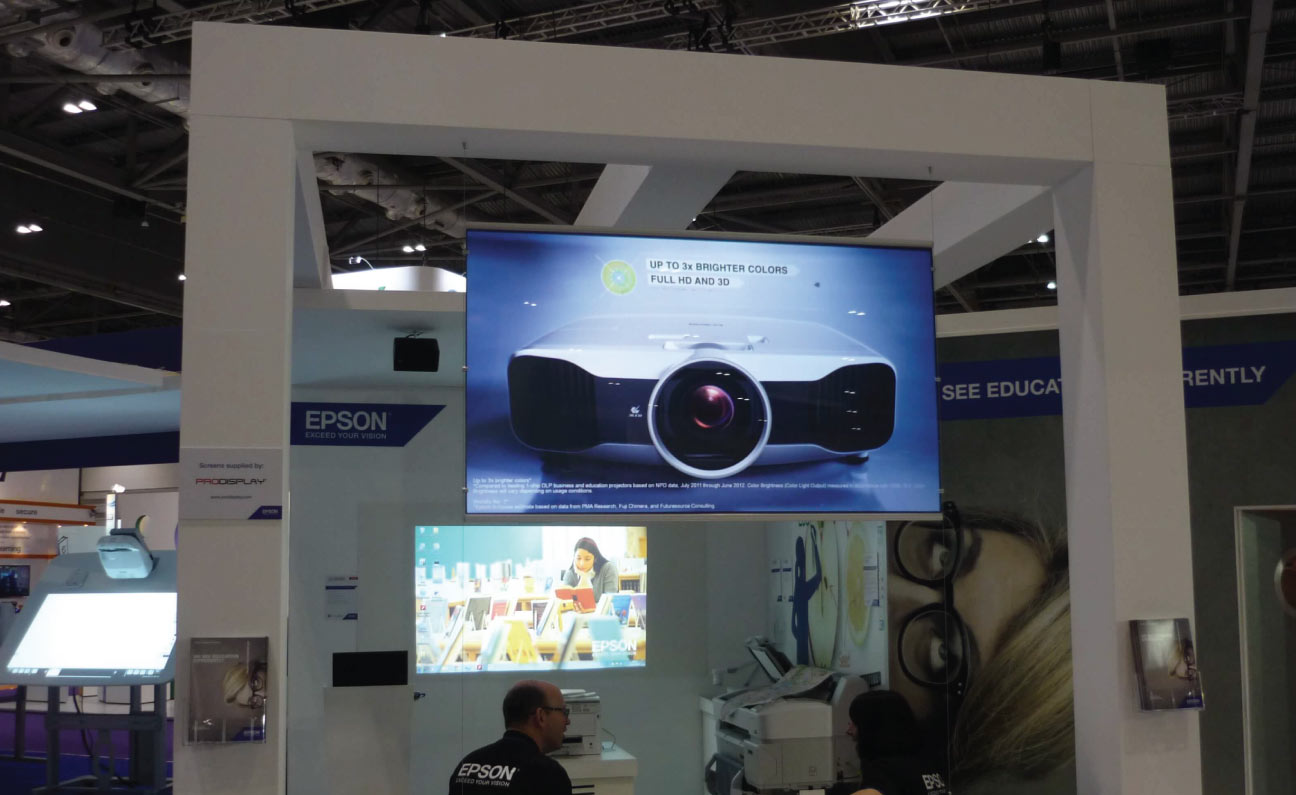
3. Education and Training: In the education sector, rear projection screens are employed in classrooms, lecture halls, and training facilities. These screens allow for the display of educational content, presentations, and interactive learning activities. Rear projection screens offer clear visibility and wide viewing angles, ensuring that students can see the content from any part of the room.
4. Retail and Advertising: Rear projection screens are integrated into retail displays and advertising installations to attract attention and promote products or services. The vibrant and immersive visuals of rear projection screens make them effective tools for creating engaging and interactive brand experiences. These screens can be used for showcasing product information, interactive catalogs, and advertising campaigns.
5. Hospitality and Tourism: Rear projection screens find application in the hospitality and tourism sectors for creating captivating experiences for guests. They can be used in hotels, resorts, museums, and visitor centers to provide information about amenities, attractions, and events. Rear projection screens can enhance the ambiance and overall guest experience, leaving a lasting impression on visitors.
6. Live Events and Entertainment Venues: Rear projection screens are commonly used in live events, concert venues, and sports stadiums to display the action to a large audience. They offer high visibility, even in brightly lit environments, and can accommodate large-scale projections. Rear projection screens ensure that spectators have a clear view of the stage, allowing them to fully immerse themselves in the event.
7. Simulation and Training: Rear projection screens are utilized in simulation and training environments, such as flight simulators, driving simulators, and military training facilities. These screens provide realistic and immersive training experiences, allowing trainees to practice in virtual environments that closely mimic real-life situations.
The implementation of rear projection screens in these sectors demonstrates their versatility and ability to create impactful visual experiences. With their superior image quality, wide viewing angles, and interactive capabilities, rear projection screens have become integral components in various industries, offering effective communication, engagement, and information dissemination tools.