
Choosing a Rug Tufting Frame
When it comes to rug tufting, one of the most important decisions you’ll need to make is choosing the right tufting frame. This frame provides the foundation and support for your tufting project, so it’s essential to select one that is both sturdy and adjustable.
There are several factors to consider when choosing a rug tufting frame. The first is the size of the frame. Think about the dimensions of the rugs you plan to create and make sure the frame can accommodate them. Some frames are versatile and can be adjusted to different sizes, which can be beneficial if you want to create rugs of various dimensions.
Another consideration is the material of the frame. Metal frames are popular because they are durable and can withstand the tension of tufting. They also provide stability, ensuring that your tufting stays in place. However, wooden frames can also be a good option if you prefer a more traditional look.
Additionally, pay attention to the adjustability of the frame. Look for a frame that offers multiple height and angle adjustments, as this will allow you to find a comfortable working position. Some frames even have features like a tiltable top or a swivel base, which can make the tufting process even easier.
Consider the frame’s stability as well. A solid and sturdy frame will prevent wobbling or shifting while you’re tufting, ensuring consistent results. Look for frames with non-slip feet or grips that will keep the frame securely in place.
Finally, don’t forget to consider your budget. Tufting frames come in a range of prices, so it’s important to find one that suits your budget without sacrificing quality. Do your research, read reviews, and compare prices to find the best value for your money.
By carefully considering these factors, you’ll be able to choose a rug tufting frame that meets your needs and allows you to create beautiful, professional-looking rugs. Remember, the frame you choose will have a significant impact on the entire tufting process, so take your time and make an informed decision.
Selecting the Right Tufting Needle
When it comes to rug tufting, selecting the right tufting needle is crucial for achieving the desired results. The tufting needle is responsible for creating the loops or pile of the rug, so it’s essential to choose one that suits your project’s requirements and your personal preferences.
One of the first considerations when selecting a tufting needle is the size. Needles come in various sizes, typically denoted by a number or letter. The size of the needle determines the thickness of the loop it creates. For fine, intricate designs, a smaller needle size works best, while larger needles are ideal for creating chunky, textured pile.
Another factor to consider is the shape of the tufting needle. There are generally two types: straight needles and curved needles. Straight needles are commonly used for creating uniform loops and are suitable for most projects. Curved needles, on the other hand, are beneficial for creating irregular shapes or for tufting in tight spaces.
Material composition is another important aspect to consider. Tufting needles can be made from various materials, including stainless steel and nickel-plated steel. Stainless steel needles are known for their durability and resistance to rust, making them a reliable and long-lasting option. Nickel-plated steel needles offer similar benefits while also providing a smoother surface for yarn to glide through.
Additionally, the eye of the needle is worth considering. Some tufting needles have a standard eye, while others have larger or specially designed eyes to accommodate thicker yarns or multiple strands of yarn. Choosing a needle with the right eye size will ensure that your yarn/thread passes through easily and smoothly.
Personal comfort is also a factor when selecting a tufting needle. Look for needles with comfortable grips or handles that reduce strain on your hand and allow for extended periods of tufting without discomfort.
Finally, take into account your project’s specific requirements. Consider the type of yarn/thread you will be using and ensure that the needle you choose is compatible with the yarn’s thickness and composition. Some delicate yarns may require a finer needle, while thicker or textured yarns may call for a larger needle to accommodate their size.
By taking these factors into consideration, you can select the right tufting needle that suits your project’s needs, ensures optimal performance, and allows you to create beautifully crafted rugs with ease.
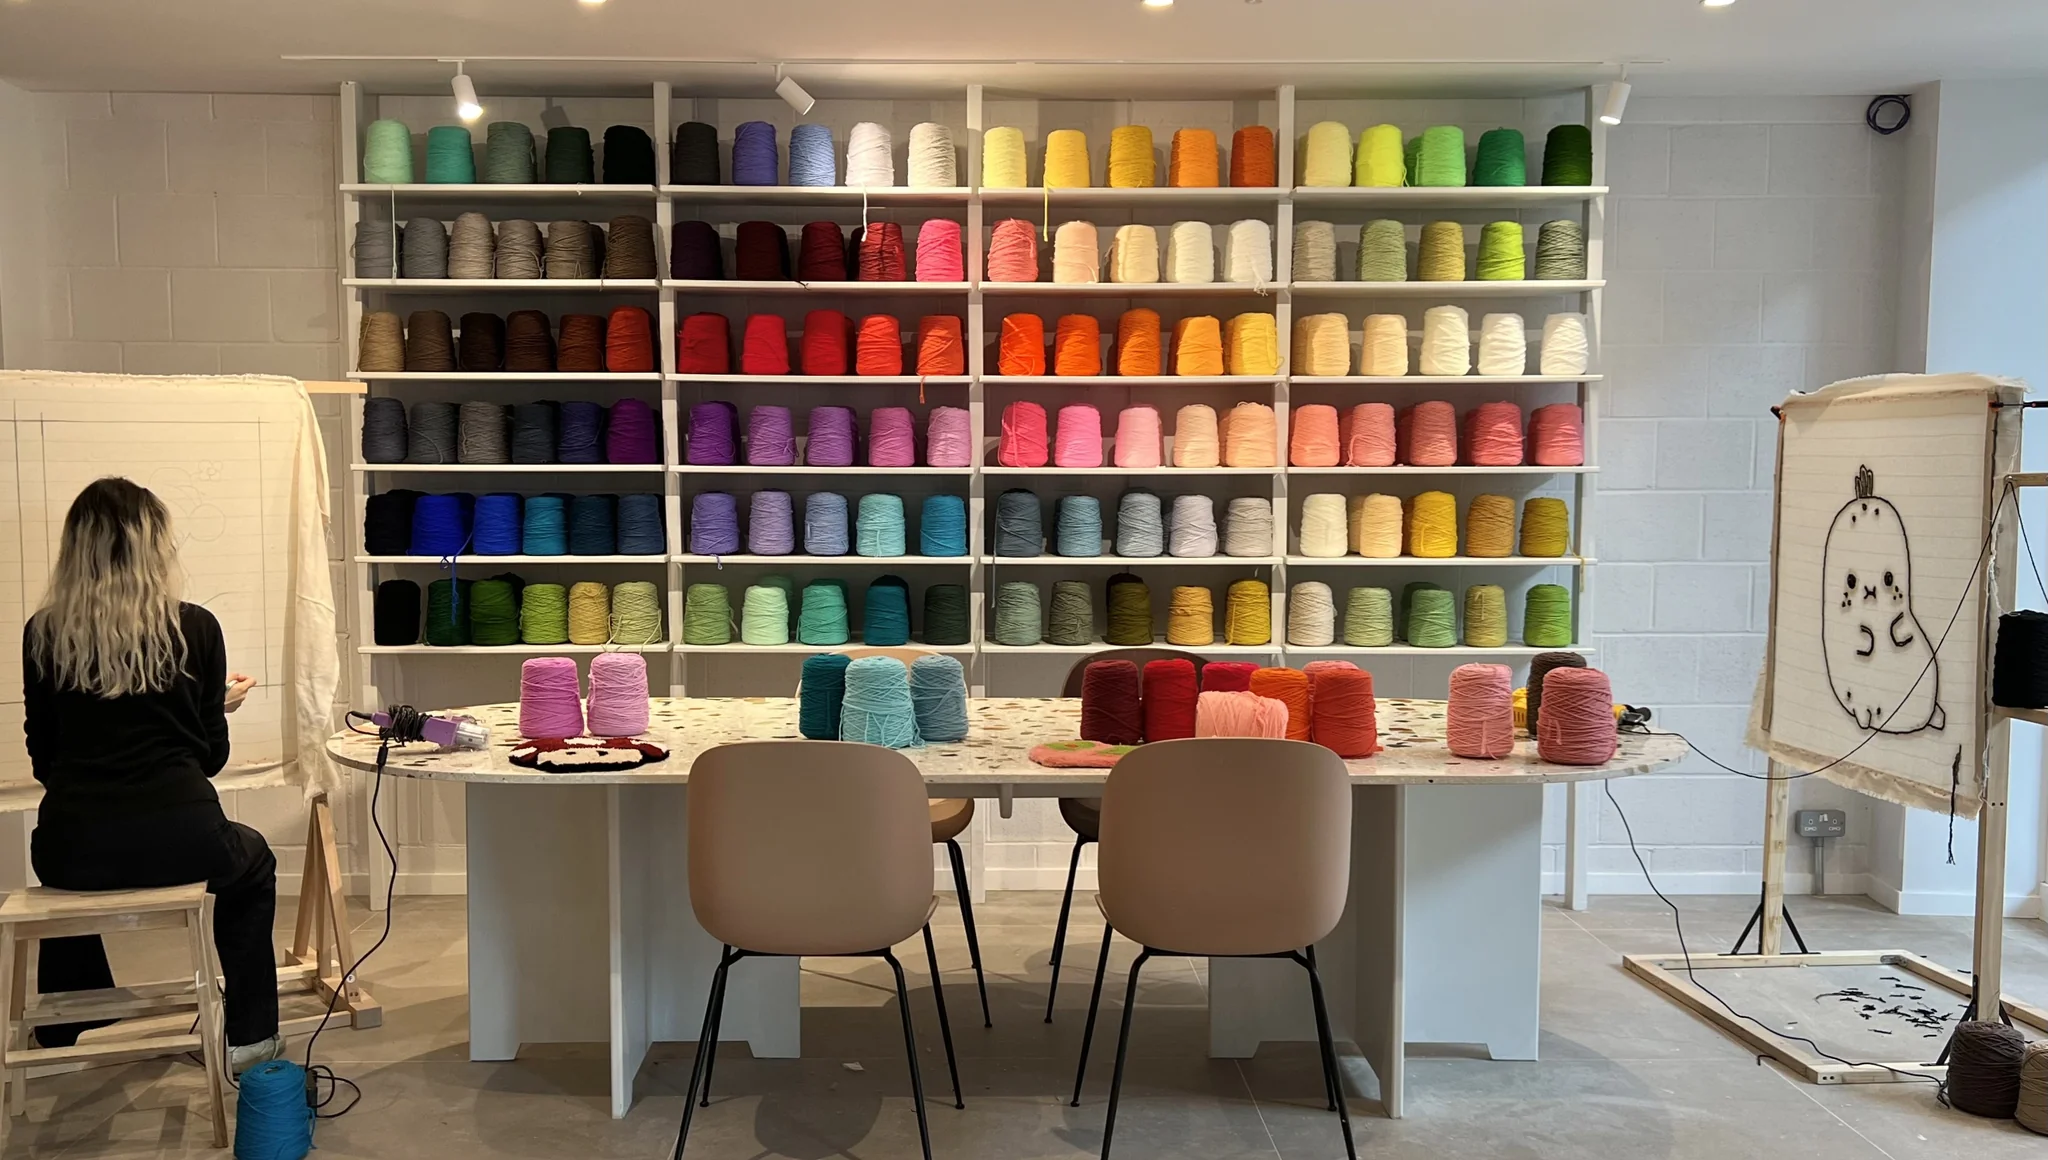
Yarn and Thread Options
When it comes to rug tufting, selecting the right yarn and thread is essential to achieve the desired texture, durability, and overall aesthetic of your finished rug. There are various options available, each with its own characteristics and suitability for different types of rugs.
One of the first considerations when choosing yarn for tufting is the material. Wool is a popular choice, known for its softness, durability, and natural resilience to staining and soiling. It also has excellent heat and sound insulating properties, making it ideal for rugs used in high-traffic areas. Another option is acrylic yarn, which is more budget-friendly and available in a wide range of vibrant colors. Acrylic yarn is durable, easy to care for, and resistant to fading.
Additionally, consider the thickness or weight of the yarn. Thicker yarn will create a chunkier, more textured pile, while thinner yarn will produce a finer, smoother finish. The choice depends on the look and texture you want to achieve in your rug. Experimentation with different yarn thicknesses can help you find the perfect balance.
Texture is another aspect to think about. Yarn comes in a variety of textures, including smooth, twisted, and bouclé. Smooth yarn offers a more uniform appearance, while twisted yarn adds depth and dimension to the pile. Bouclé yarn has loops and curls, creating a unique and textured surface.
Color is a crucial consideration as well. Choose a color palette that complements your overall design or theme. You can opt for bold, contrasting colors for a vibrant, eye-catching rug or subtle, neutral tones for a more understated and versatile piece.
When it comes to thread options, consider the same factors as yarn. However, threads are typically used for securing the ends of your tufted loops and creating crisp outlines or intricate details in your design. Polyester or cotton threads are commonly used due to their strength and durability.
Take into account the availability of yarn and thread options, as well as your budget. It’s important to find a balance between the quality and affordability of the materials to ensure a successful and satisfying tufting experience.
Ultimately, the choice of yarn and thread for your rug tufting project will depend on your personal preferences, project requirements, and the desired outcome. Experimenting with different materials and combinations will allow you to achieve unique and beautiful rugs that reflect your creativity and style.
Understanding Rug Backing Materials
When it comes to rug tufting, the choice of backing material is crucial for the stability, durability, and overall quality of your finished rug. The rug backing provides support and structure to the tufted loops, ensuring that they stay in place and withstand regular use. There are several types of backing materials to consider, each with its own benefits and considerations.
One common and versatile option is a primary backing made of woven polypropylene or polyester. This type of backing is durable, resistant to moisture and mildew, and provides a solid foundation for tufting. It also offers excellent dimensional stability, meaning that it retains its shape and prevents the rug from stretching or warping over time. Primary backing is suitable for a wide range of rug types, from low to high pile, and can be used in both residential and commercial settings.
An alternative to woven backing is a non-woven backing made from synthetic fibers. Non-woven backing is lightweight, flexible, and easy to work with. It offers good dimensional stability, but it may not be as durable as woven backing. However, non-woven backing is a cost-effective option for smaller or temporary rugs.
Another backing material to consider is latex. Latex backing provides excellent grip and helps to secure the tufted loops in place. It also adds an extra layer of cushioning and comfort to the rug. Latex backing is commonly used in rugs with higher pile or for rugs that will be placed on hard surfaces where slip-resistance is desired.
For outdoor rugs, a suitable choice is a marine-grade or outdoor backing. These backings are designed to withstand exposure to moisture, UV rays, and general outdoor wear and tear. They are typically made from materials like vinyl or polypropylene and offer excellent durability and resistance to fading and mildew.
When selecting a rug backing material, also consider the specific requirements of your project. If you plan to use your rug on carpeted surfaces, look for a backing material that provides grip and prevents sliding. If your rug will be placed in high-traffic areas, choose a backing that offers enhanced durability and resistance to wear and tear.
Additionally, think about the ease of installation and maintenance. Some backing materials may require adhesive or special tools for installation, while others may be self-adhesive or have a peel-and-stick backing for easy application. Consider the cleaning and care instructions as well, as some backings may be more prone to staining or require specialized cleaning methods.
By understanding the different rug backing materials and considering their benefits and considerations, you can make an informed decision that ensures the longevity and performance of your tufted rug.
Essential Tools and Equipment
When it comes to rug tufting, having the right tools and equipment is essential for a successful and enjoyable tufting process. The following are some of the essential tools and equipment you’ll need to get started:
- Tufting Gun: A tufting gun is a handheld tool that enables you to create tufted loops quickly. It allows for precise control over the length and density of the loops and makes the tufting process more efficient.
- Frame Grippers: Frame grippers are clamps or grips that securely hold your rug tufting frame in place. They prevent any movement or slipping of the frame during the tufting process, ensuring consistent results.
- Scissors: Sharp scissors are essential for cutting yarn or thread during the tufting process. They should be comfortable to hold and have a fine tip for precision cutting.
- Needle Threader: A needle threader is a small tool that helps you thread the yarn or thread through the eye of the tufting needle. It saves time and frustration, especially when working with thicker yarns or multiple strands.
- Digital or Mechanical Counter: A counter helps you keep track of the number of tufts or rows you have completed. It ensures consistency and accuracy in your tufting project, especially for designs that require specific patterns or repetition.
- Tape Measure: A tape measure is crucial for measuring and marking out the dimensions of your rug. It helps ensure that your tufting is evenly spaced and sized according to your design plan.
- Yarn or Thread Stand: A yarn or thread stand holds your yarn or thread spools, keeping them organized and easily accessible during the tufting process. It prevents tangling or knotting and allows for smooth feeding of the yarn or thread.
- Pattern Design Tools: Depending on your tufting project, you may need various pattern design tools such as graph paper, design templates, or drafting tools. These aids help plan out your design, ensuring accuracy and consistency in your tufting.
- Protective Gear: It’s important to protect yourself during the tufting process. Ensure you have safety glasses to shield your eyes from any flying fibers or debris. Additionally, consider wearing gloves to protect your hands from repeated friction or rough materials.
Having the right tools and equipment not only enhances your tufting experience but also allows for better control and precision in creating your rugs. Invest in quality tools that are durable and ergonomic, as they will contribute to the overall success and enjoyment of your tufting journey.
Preparing the Design and Pattern
Before starting the rug tufting process, it’s crucial to prepare a design and pattern that will guide your tufting and ensure a cohesive and visually appealing final product. The following steps will help you prepare your design and pattern:
- Choose an Inspiration: Begin by finding inspiration for your rug design. Look for ideas in magazines, books, websites, or even nature and everyday objects. Take note of colors, patterns, and textures that catch your eye.
- Sketch Your Design: Once you have an inspiration in mind, sketch out your rug design on paper. Consider the dimensions of your rug and the desired placement of your design elements. Sometimes, it can be helpful to create a scaled-down version of your rug design to visualize how it will look.
- Count and Plan: Determine the number of tufts or loops you will need for each section of your design. Take note of the colors and yarn/thread types you will use for each element. This planning phase is crucial for ensuring a smooth and organized tufting process.
- Transfer the Design: Once you have your sketch and plan finalized, you can transfer the design to your tufting frame. Use a light-colored fabric or backing material and trace your design onto it with a fabric marker or chalk. This will serve as a guide for tufting and help you maintain consistency and accuracy.
- Consider Texture and Pile Direction: Think about the texture and pile direction you want to achieve in your rug. You can create different effects by tufting the loops at different heights or angles. Keep in mind the overall look and feel you want to create with your design.
- Experiment and Adjust: Don’t be afraid to experiment with different color combinations or pattern variations before committing to tufting. Use swatches or small samples to test out different techniques or color choices. This will allow you to refine your design and ensure your satisfaction before moving forward.
The process of preparing the design and pattern is a valuable part of the tufting journey. It allows you to bring your creative vision to life and ensure that your tufted rug reflects your personal style and aesthetic. Take your time during this stage to create a design and pattern that excites and inspires you.
Tufting Techniques and Tips
When it comes to rug tufting, there are various techniques and tips that can help you achieve beautifully crafted rugs. Whether you are a beginner or an experienced tufter, consider the following techniques to enhance your tufting process:
- Start with a Firm and Even Base: Ensure that your rug backing is stretched tightly and evenly on the frame. This provides a stable foundation for your tufting and helps maintain consistent tension throughout the rug.
- Use the Right Amount of Yarn: Avoid using excessive yarn lengths, as they can lead to tangles and knots. Start with shorter lengths and adjust as needed. For longer tufts, you can use a yarn separator or comb to prevent tangling.
- Maintain Consistent Loop Length: Try to maintain a consistent loop length throughout your rug. This creates a professional-looking finish and ensures an even and uniform texture. A tufting gun with adjustable pile height settings can help achieve this consistency.
- Vary Loop Heights: For textured designs, experiment with different loop heights to create depth and dimension. By varying the pile height, you can add interest and visual appeal to your rug.
- Secure Loose Ends: After tufting a section, make sure to secure loose yarn ends by either doubling them back and tufting over them or using a small dot of fabric glue. This prevents unraveling or loose threads in your finished rug.
- Regularly Check Tension: Periodically check the tension of your tufted loops to ensure consistency. Adjust the tension as needed to maintain an even pile. Avoid pulling too tightly, as it can distort the shape of your rug.
- Budget Your Yarn/Thread: Estimate the amount of yarn or thread you will need for each section of your rug design. It’s better to have more than enough material, as running out in the middle of tufting can lead to inconsistencies in color or texture.
- Take Regular Breaks: Tufting can be a time-consuming process, so it’s important to take regular breaks to rest your hands and prevent fatigue. This also helps you maintain focus and ensure accuracy in your tufting.
- Experiment and Have Fun: Don’t be afraid to experiment with different techniques, colors, and textures. Tufting is a creative process, so allow yourself to explore and have fun with your rug designs. Embrace imperfections and view them as unique characteristics of your handmade rug.
By incorporating these techniques and following these tips, you can enhance your tufting skills and create stunning rugs that showcase your creativity and craftsmanship.
Experimenting with Different Colors and Textures
One of the exciting aspects of rug tufting is the opportunity to experiment with different colors and textures. Playing with a diverse range of colors and textures opens up a world of possibilities for creating unique and visually stunning rugs. Here are some tips for exploring different color combinations and textures in your tufted rugs:
- Color Palette: Start by selecting a color palette that suits your design aesthetic and complements the space where the rug will be placed. Consider the mood you want to create. A monochromatic color scheme can bring a sense of elegance and sophistication, while bold and contrasting colors can make a statement and add vibrancy.
- Contrast and Balance: Experiment with contrasting colors to create visual interest and highlight specific design elements. Pairing complementary colors or incorporating shades that are opposite on the color wheel can create a striking impact. However, also keep in mind the need for balance and harmony within the overall design.
- Texture and Pile Variation: Introduce texture and pile variation in your rug by using different yarn materials or incorporating different tufting techniques. Combine smooth yarns with twisted or bouclé yarns to add depth and dimension to your design. Varying the pile height or tufting at different angles can also create interesting textures.
- Gradient and Ombre Effects: Experiment with creating gradient or ombre effects by using yarns in different shades of the same color or transitioning between different colors. This technique can give your rug a unique and artistic touch, with a smooth transition from light to dark or from one color to another.
- Pattern and Motifs: Incorporate patterns and motifs into your design by using different colors for different sections or by adding intricate details and shapes. Patterns can range from simple geometric designs to elaborate floral or abstract patterns. Mix and match colors to highlight the patterns and bring them to life.
- Nature-Inspired Colors: Nature can be a great source of inspiration when it comes to color selection. Draw on the colors found in landscapes, oceans, or botanicals to create a sense of harmony and bring a touch of the outdoors into your rug design.
- Consider the Space: Think about the space where your rug will be placed and how the colors and textures will interact with the existing décor. If the room has a neutral color scheme, a rug with bold and vibrant colors can serve as a focal point. On the other hand, if the space is already filled with colorful elements, a more subdued and complementary rug can provide balance.
- Sample and Test: Before committing to your final design, create samples or swatches with different color and texture combinations. This will help you visualize how the colors and textures work together and allow you to make adjustments or fine-tune your design before tufting the full rug.
By exploring different color combinations and textures in your tufted rugs, you can create visually captivating pieces that reflect your personal style and artistic vision. Don’t be afraid to step out of your comfort zone and experiment with bold and unexpected choices. Embrace the creative process and let your imagination guide you as you tuft your way to stunning and unique rugs.
Finishing and Care Instructions for Tufted Rugs
Once you have completed the tufting process for your rug, it’s important to give it the finishing touches it deserves. Proper finishing techniques and care can contribute to the longevity and beauty of your tufted rug. Here are some important steps and care instructions to consider:
- Trim and Even Out: After tufting, carefully trim any uneven loops or excess yarn to achieve a uniform pile height. Use sharp scissors to ensure clean cuts and take your time to achieve a professional-looking finish.
- Secure the Backing: Apply a backing material to the backside of your rug to provide additional stability. You can use adhesive-backed fabric, rug tape, or a non-slip rug pad to prevent the rug from sliding or shifting during use.
- Edge Binding or Fringing: Consider adding an edge binding or fringing to your rug for a polished and finished look. This can be done using binding tape, fabric strips, or yarn to protect the edges and add a decorative touch.
- Cleaning and Maintenance: Regular cleaning and maintenance will help keep your tufted rug looking its best. Vacuum your rug regularly to remove dirt and dust. Take care when using a vacuum with a beater bar, as it may pull or tug on the tufts. Alternatively, you can shake or beat the rug outside to remove loose dirt.
- Spot Cleaning: Attend to spills or stains immediately by blotting the affected area with a clean cloth or paper towel. Avoid rubbing, as it may spread the stain further. Use a mild detergent or carpet cleaner specifically formulated for wool or synthetic fibers, following the manufacturer’s instructions.
- Professional Cleaning: Periodically, consider having your tufted rug professionally cleaned to remove deeply embedded dirt and rejuvenate the fibers. Follow the manufacturer’s recommendations or consult a professional rug cleaner for the best approach for your specific rug.
- Protect from Sunlight: Direct and prolonged exposure to sunlight can cause fading and discoloration of your tufted rug. Consider using window coverings or UV-blocking film to protect your rug from harmful UV rays.
- Rotate and Reposition: To ensure even wear and prevent excessive flattening in high-traffic areas, periodically rotate and reposition your rug. This will distribute the foot traffic and prevent premature wear on specific areas.
- Avoid Moisture and Humidity: Keep your tufted rug away from excessive moisture or damp areas, as it can lead to mold and mildew growth. If your rug gets wet, immediately blot any excess moisture and allow it to air dry completely before using or storing.
By following these finishing techniques and care instructions, you can preserve the beauty and lifespan of your tufted rug. Remember, proper maintenance and care will ensure that your rug remains a treasured and cherished piece in your home for years to come.