
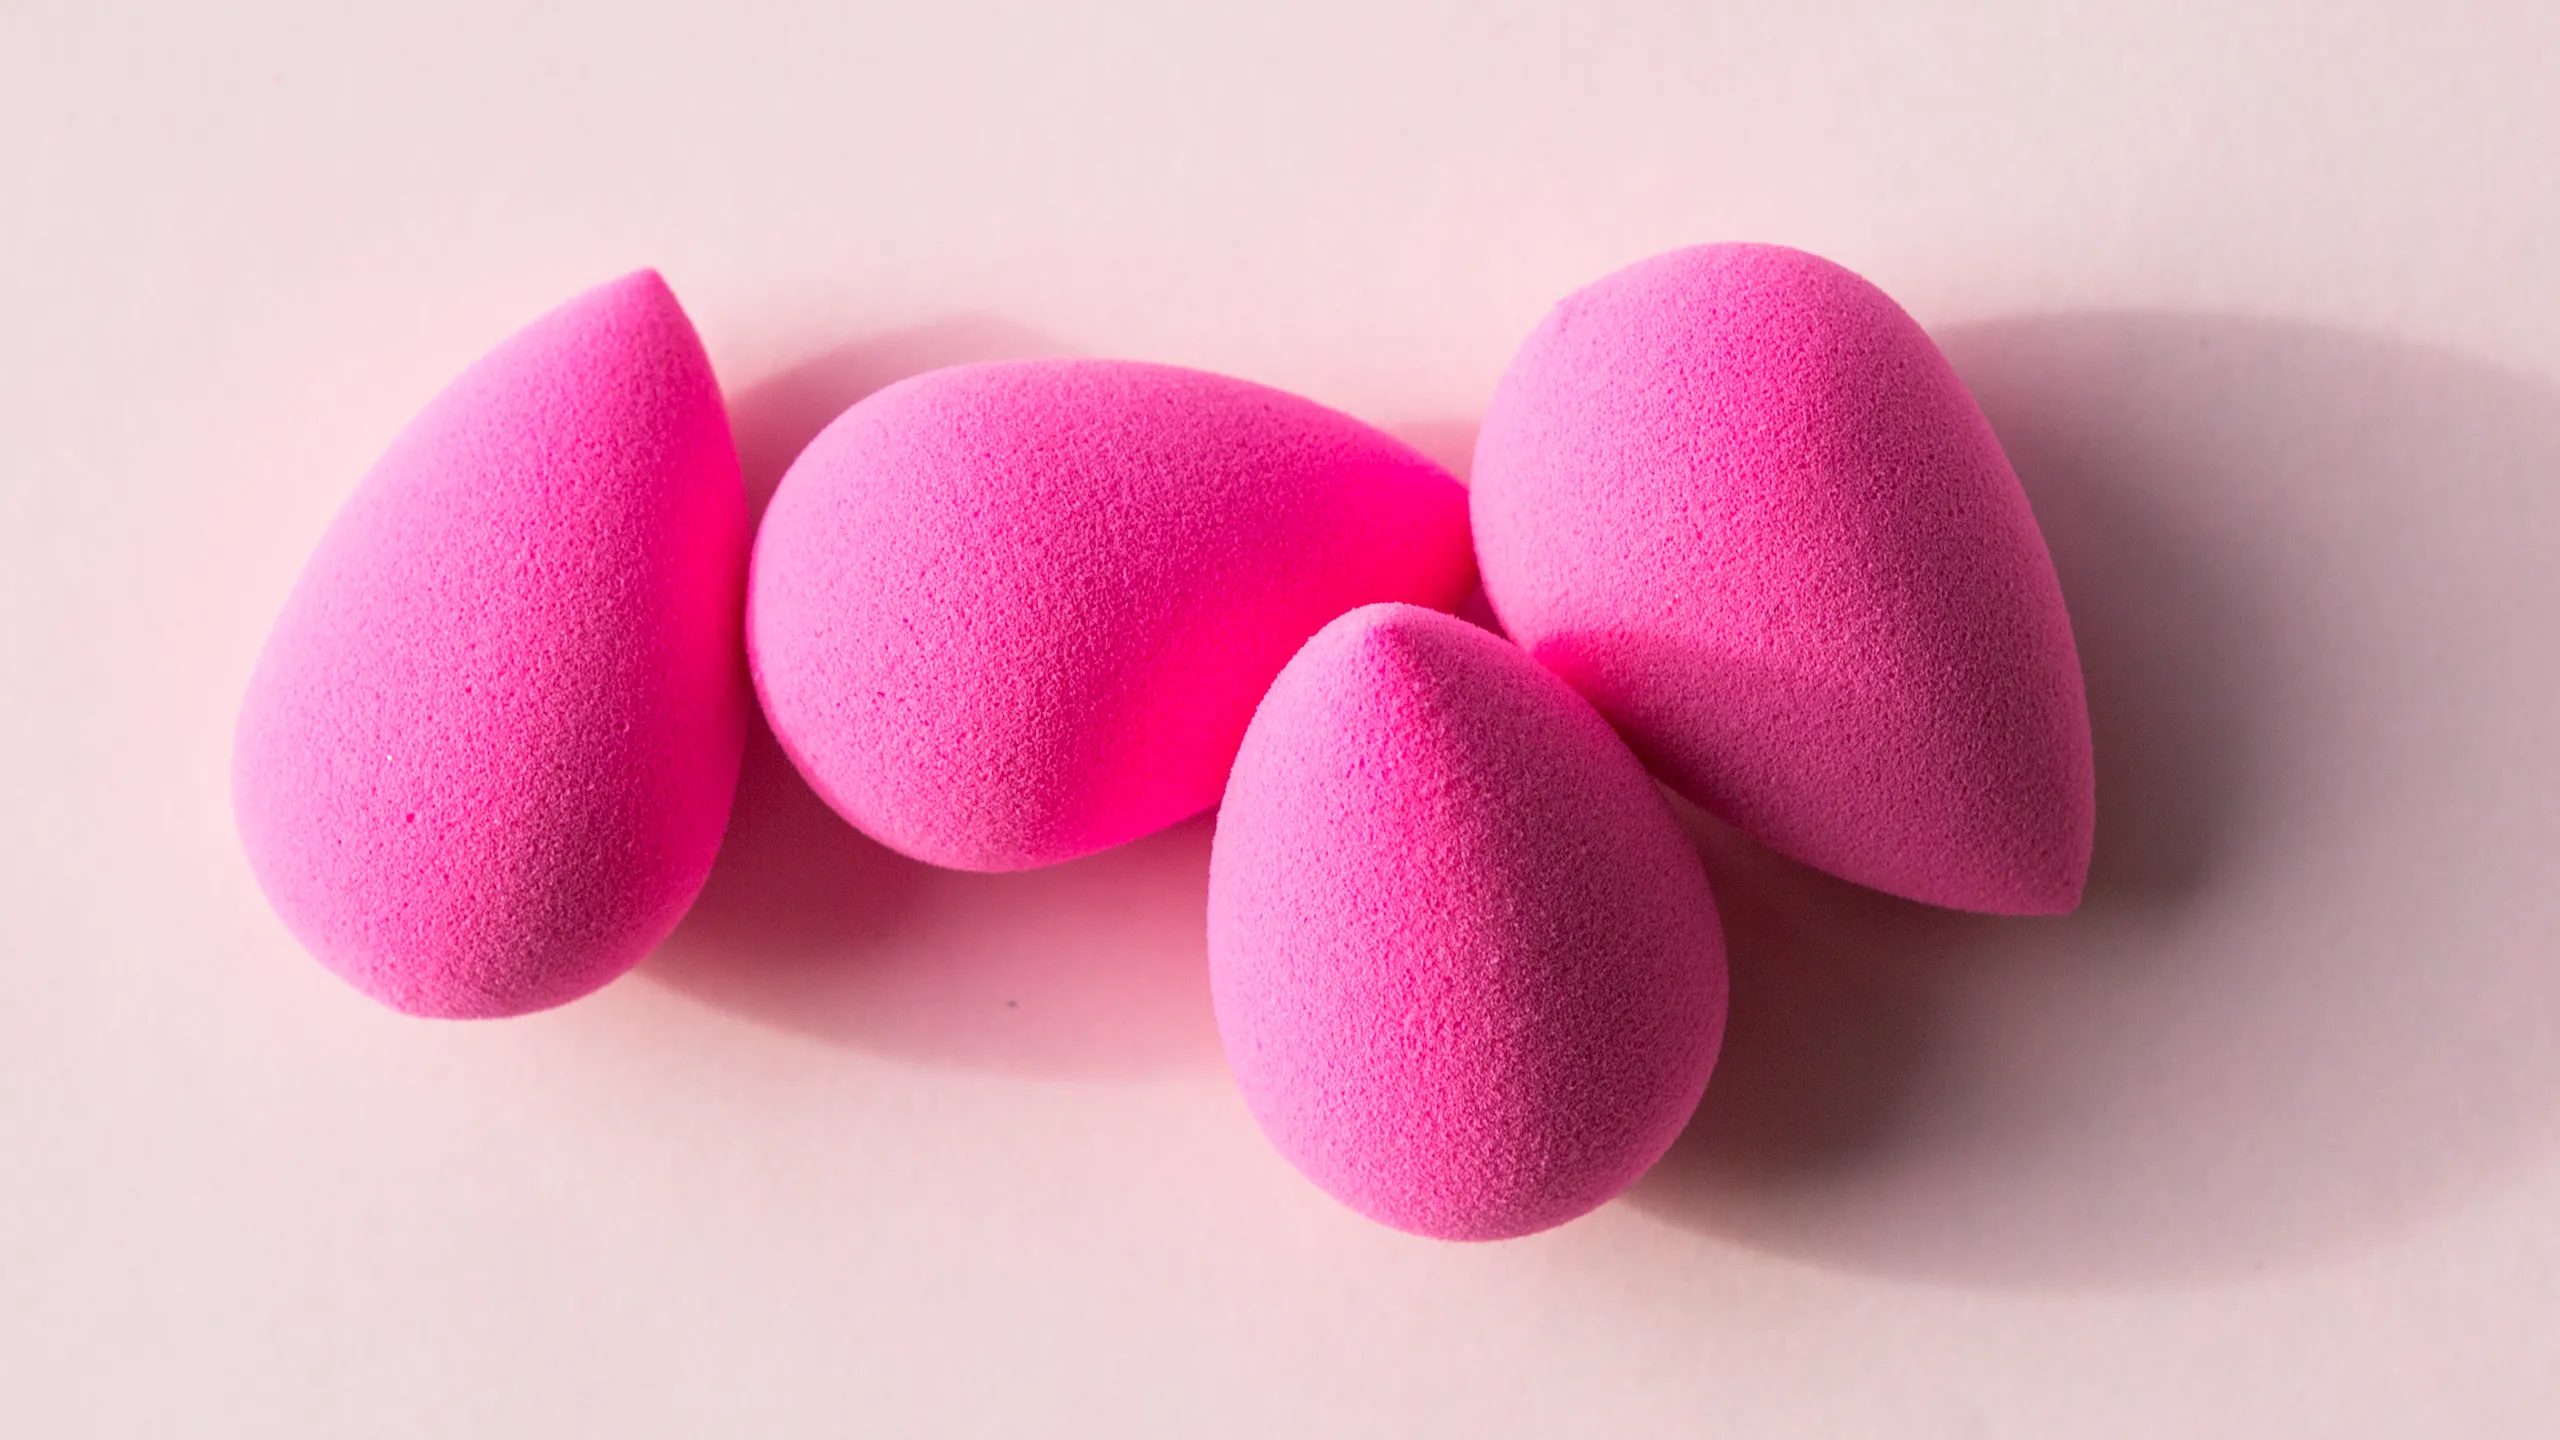
Choosing the Right Sponge Brush
When it comes to using a sponge brush for your painting projects, selecting the right brush is crucial. The choice of sponge brush can greatly affect the outcome of your painting, so it’s essential to consider a few factors before making your selection.
1. Size: Sponge brushes come in various sizes, from small to large. The size of the brush will depend on the area you are painting and the level of detail you wish to achieve. If you’re working on a smaller surface or need precision, opt for a smaller sponge brush. For larger areas or quick coverage, a larger brush would be a better choice.
2. Shape: Sponge brushes can have different shapes, such as rounded, square, or angled. The shape of the brush will influence the strokes and patterns you can create. Consider the effects you want to achieve and choose the corresponding shape. For example, a rounded brush is ideal for creating soft edges, while an angled brush can make it easier to reach corners and tight spaces.
3. Texture: The texture of the sponge brush is important to consider, as it can impact the finish of your painting. Some sponge brushes have a smoother surface, while others have a more porous or textured surface. If you want to create a more textured look, opt for a brush with a rougher texture. However, if you prefer a smoother finish, choose a brush with a smoother texture.
4. Material: Sponge brushes can be made from different materials, such as natural sponge or synthetic materials like foam. Natural sponge brushes can hold more paint and allow for better absorption, while foam brushes provide a smoother application. Consider the type of paint you’ll be using and choose a sponge brush material that complements it well.
5. Budget: Lastly, consider your budget when choosing a sponge brush. While quality brushes may be pricier, they often provide better results and durability. However, if you’re working on a tight budget, there are also affordable options available that can still deliver satisfactory performance.
By considering these factors, you can select a sponge brush that suits your specific painting needs. Remember that experimenting with different brushes can also help you discover new techniques and effects. So, don’t be afraid to explore and have fun with your sponge brush selection!
Wetting the Sponge Brush
Before you begin using a sponge brush for painting, it’s important to properly wet the brush. Wetting the sponge brush ensures that it is fully saturated and ready for paint application. Here’s a step-by-step guide on how to wet your sponge brush:
1. Prepare a container: Get a clean container and fill it with water. The container should be large enough to accommodate the size of your sponge brush.
2. Submerge the brush: Dip the sponge brush into the container of water. Make sure the entire brush is submerged. Leave it in the water for a few seconds to allow the water to saturate the sponge.
3. Squeeze out excess water: Once the sponge brush is fully wet, gently squeeze out any excess water. You want the brush to be damp but not soaking wet. Squeezing out the excess water will prevent excessive dripping and ensure better control during painting.
4. Test the brush: Before starting your painting project, it’s a good idea to test the wetness of the brush on a scrap piece of paper or canvas. This will give you an idea of how much paint the brush can hold and how it applies to the surface.
Wetting the sponge brush is a simple yet essential step in the painting process. It allows the brush to absorb the paint more effectively, resulting in smoother and more even application. By following these steps, you’ll be well-prepared to start painting with your sponge brush.
Loading the Sponge Brush with Paint
Once you have wetted your sponge brush, the next step is to load it with paint. Loading the sponge brush correctly will ensure that you achieve the desired color intensity and coverage. Here’s how to effectively load your sponge brush with paint:
1. Choose the right paint: Select the appropriate paint for your project, whether it’s acrylic, watercolor, or any other type. Different paints may require different techniques for loading the sponge brush, so be sure to follow the specific guidelines for the paint you are using.
2. Squeeze out paint: Squeeze a small amount of paint onto a palette or a flat surface. This will prevent excessive paint from being absorbed by the sponge brush, allowing for better control and minimizing waste.
3. Dip the brush into the paint: Gently dip the sponge brush into the paint, ensuring that only the tips or edges of the bristles make contact with the paint. Avoid submerging the entire brush into the paint, as this may result in excessive paint absorption and messy application.
4. Distribute the paint: Once the tips or edges of the brush are coated with paint, you can distribute it evenly by lightly dabbing or pressing the brush onto the palette or surface. This helps ensure that the paint is evenly distributed across the sponge brush for consistent application.
5. Test and adjust: Before applying the paint to your artwork, it’s a good idea to test the loaded brush on a scrap piece of paper or canvas. This allows you to gauge the color intensity and make any necessary adjustments by adding more paint or redistributing it on the brush.
By following these steps, you can effectively load your sponge brush with paint and achieve optimal results in your painting project. Remember to experiment with different paint colors and loading techniques to discover the effects and textures you desire. Have fun and let your creativity flow!
Applying the Paint with the Sponge Brush
Now that your sponge brush is loaded with paint, it’s time to apply it to your chosen surface. The unique texture and design of the sponge brush offer a variety of application techniques and effects. Here are some tips for effectively applying the paint with a sponge brush:
1. Dabbing: Dabbing is a common technique used with a sponge brush. Simply press the sponge brush onto the surface in a dabbing motion. This technique creates a soft and stippled effect, perfect for creating textures or adding dimension to your artwork.
2. Stamping: Another way to apply paint with a sponge brush is by stamping it onto the surface. Press the sponge brush firmly onto the surface, and then lift it straight up. This technique is great for creating repetitive patterns or adding texture to backgrounds.
3. Swirling: To achieve a more blended or marbled effect, you can use a swirling motion with the sponge brush. Move the brush in circular motions on the surface, allowing the colors to blend together. This technique works particularly well for abstract or expressive painting styles.
4. Layering: Layering is a technique where you apply multiple coats of paint using the sponge brush. Start with a thin layer of paint and let it dry before adding another layer. This allows you to build up colors and create depth in your artwork.
5. Experiment with angles and pressure: Explore different angles and pressures while applying the paint with a sponge brush. Tilt the brush at different angles to create different strokes and textures. Vary the pressure you apply to the surface to achieve varying degrees of color intensity and blending.
Remember to have fun and be open to experimenting with different techniques and effects. The versatility of the sponge brush allows for endless possibilities in your artwork. Trust your creative instincts and let the sponge brush guide you in achieving unique and captivating results.
Blending and Mixing Colors with the Sponge Brush
One of the advantages of using a sponge brush is its ability to create beautiful blends and mix colors seamlessly. Blending and mixing colors with a sponge brush can add depth, dimension, and visual interest to your artwork. Here’s how to achieve stunning color blends and mixes with your sponge brush:
1. Wet-on-wet technique: To blend colors together, start by wetting your sponge brush with water. Apply the first color onto the surface using the dabbing or swirling technique mentioned earlier. Before the paint dries, quickly introduce a second color by dabbing or swirling it onto the wet paint. The water on the surface will help the colors blend together, creating a smooth transition between shades.
2. Layering technique: Layering is another effective method for blending and mixing colors with a sponge brush. Apply one color as a base layer and let it dry completely. Then, apply a second color on top using the same or a different technique. The overlapping layers will create interesting color combinations and the appearance of blended hues.
3. Gradual mixing: To achieve a gradual color transition, you can blend colors directly on the sponge brush. Start by loading one side of the brush with one color and the other side with a different color. As you apply the paint, the colors will naturally mix on the brush, allowing you to create smooth gradients and ombré effects.
4. Experiment with different pressures and strokes: Varying the pressure and strokes with the sponge brush can also contribute to the blending and mixing of colors. Apply gentle pressure and use sweeping or circular motions to blend colors softly. For more distinct color mixes, apply firmer pressure and use shorter, choppy strokes.
5. Test and adjust: Practice on a separate piece of paper or canvas to test the color blends and mixes before applying them to your actual artwork. This will allow you to make any necessary adjustments and achieve the desired effect.
Remember to clean your sponge brush thoroughly between color changes to avoid muddying the colors. Additionally, don’t be afraid to experiment with different color combinations and techniques to discover unique blends and mixes that reflect your creative vision.
Creating Texture with the Sponge Brush
The sponge brush is a fantastic tool for adding texture to your artwork. Whether you’re aiming for a subtle or bold effect, the unique surface and structure of the sponge brush make it perfect for creating various textures. Here are some techniques to help you achieve captivating textures with your sponge brush:
1. Stippling: Stippling is a popular technique for creating texture with a sponge brush. Dip the sponge brush in paint and then gently dab it onto the surface. This technique produces a speckled or dotted texture, ideal for adding depth and interest to your artwork.
2. Pouncing: Pouncing involves tapping the sponge brush on the surface in a controlled manner. This technique creates a slightly bumpy or irregular texture. Experiment with different levels of pressure and speed to achieve the desired effect.
3. Dragging: Dragging the sponge brush across the surface can create interesting texture lines. Load the brush with paint and then lightly drag it across the desired area. This technique is great for adding movement and dynamism to your artwork.
4. Layered stippling: Layering stippling involves building up multiple layers of stippled textures. Apply one layer of stippling, let it dry, and then repeat the process with a different color or intensity. This technique allows you to create multi-dimensional and intricate textures.
5. Sponging: Use the sponge brush itself as a stamping tool to create a unique texture. Dip the sponge brush into paint, lightly press it onto the surface, and then twist or rotate it slightly to leave a distinct pattern or texture mark.
6. Experiment with different sponge textures: Explore different types of sponge brushes with varying textures. Some sponge brushes have a smoother surface, while others have a more porous or textured surface. By trying out different sponge brushes, you can achieve a wide range of textures unique to each brush.
Remember, practice and experimentation are key when creating texture with a sponge brush. Don’t be afraid to explore various techniques and combine them to achieve the desired texture. Let your creativity guide you, and enjoy the process of transforming your artwork with captivating textures!
Cleaning and Maintaining the Sponge Brush
Properly cleaning and maintaining your sponge brush is essential for its longevity and continued performance. Regular cleaning ensures that the brush remains in optimal condition, ready for your next painting project. Here are some steps to follow for cleaning and maintaining your sponge brush:
1. Rinse with water: After each use, rinse the sponge brush with water to remove any excess paint. Hold the brush under running water and gently squeeze and massage the bristles to loosen and flush out the paint residue. Repeat this process until the water runs clear.
2. Use mild soap or brush cleaner: For more stubborn paint stains or buildup, you can use a mild soap or brush cleaner. Wet the sponge brush and apply a small amount of soap or cleaner to the bristles. Work the soap into the brush with your fingers or use a brush cleaning tool, then rinse thoroughly with water.
3. Air dry: After washing, gently squeeze out any excess water from the sponge brush. Reshape the bristles if necessary, and then lay the brush flat or hang it vertically to air dry. Avoid exposing the brush to direct heat or sunlight, as this can lead to bristle damage or deformation.
4. Store properly: When the sponge brush is completely dry, store it in a clean and dry space. Avoid storing it in a compressed or tight position for extended periods, as this can cause the bristles to become misshapen. If possible, store the brush upright or in a brush holder to maintain its shape.
5. Replace when necessary: Over time, the bristles of the sponge brush may wear out or become frayed. If you notice significant damage or if the brush no longer performs effectively, it may be time to replace it. Investing in a new sponge brush will ensure superior performance and better overall paint application.
6. Clean after each color change: To prevent cross-contamination of colors, clean your sponge brush thoroughly after each color change. This will help preserve the integrity of the colors and prevent unwanted mixing or muddying of paint.
By following these cleaning and maintenance practices, your sponge brush will remain in excellent condition and provide consistent results throughout its lifespan. Proper care not only extends the life of the brush but also contributes to the quality of your artwork. So, make it a habit to regularly clean and maintain your sponge brush for optimal painting experiences.