
Supplies Needed
To successfully update a gold picture frame, you will need a few essential supplies. These tools and materials will ensure that your frame transformation process goes smoothly and produces stunning results. Here are the supplies you will need:
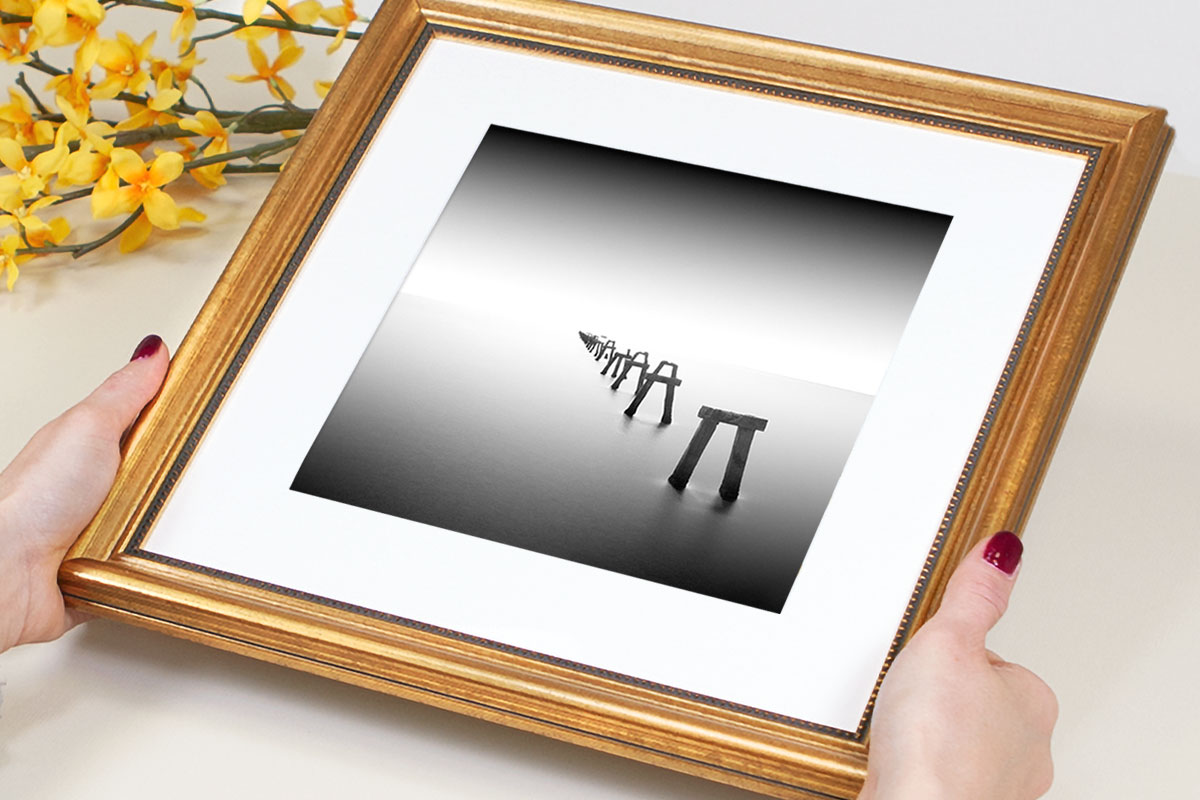
- Gold picture frame
- Screwdriver or pliers (if needed to disassemble the frame)
- Soft cloth or sponge
- Mild detergent or cleaner
- Sandpaper (fine grit)
- Primer
- Paint (color of your choice)
- Gold leaf sheets
- Gold leaf adhesive
- Small paintbrush
- Soft bristle brush or gilder’s tip
- Sealer or varnish
- Drop cloth or newspaper (to protect your work surface)
- Gloves and goggles (for safety during the painting process)
Make sure to gather these supplies before you start updating your gold picture frame. Having everything ready will save you time and ensure a smoother workflow. Once you have all the necessary supplies, you can proceed to the next steps of preparing and refreshing your gold frame to give it a new and stylish look.
Step 1: Prepare the Frame
The first step in updating a gold picture frame is to prepare it for the transformation process. This involves disassembling the frame, if necessary, and ensuring that the surface is clean and smooth. Here’s how to prepare the frame:
- If your picture frame has any screws or fasteners, use a screwdriver or pliers to carefully remove them. This will allow you to separate the frame from the backboard and glass, making it easier to work on.
- Next, take a soft cloth or sponge and dampen it with mild detergent or cleaner. Gently wipe the entire frame to remove any dust, dirt, or grease that may have accumulated over time. This step is crucial as it ensures proper adhesion of paint and other materials.
- Inspect the frame for any imperfections or rough areas on the surface. If you notice any scratches or uneven spots, use fine-grit sandpaper to smooth them out. Sanding will create a better surface for the primer and paint to adhere to, resulting in a more professional-looking finish.
By properly preparing the frame, you are setting the foundation for a successful transformation. Removing the screws, cleaning the frame, and sanding any imperfections will ensure that the paint and other materials adhere well to the surface. Now that the frame is prepared, you are ready to move on to the next step: cleaning.
Step 2: Clean the Frame
Once you have prepared the frame, it’s time to give it a thorough cleaning. This step is essential to ensure that the surface is free from any dirt, grime, or residue that could affect the adhesion of paint and other materials. Follow these steps to clean your gold picture frame:
- Start by using a soft cloth or sponge dampened with water to wipe down the entire frame. This will help remove any loose dirt or debris.
- If there are any stubborn stains or build-up, you can use a mild detergent or cleaner specifically formulated for cleaning frames. Apply a small amount to the cloth or sponge and gently scrub the affected areas.
- Rinse the frame with clean water to remove any residue from the cleaning solution. Make sure to remove all traces of soap or cleaner.
- Use a dry, soft cloth to gently pat the frame dry. Make sure it is completely dry before moving on to the next step.
Cleaning the frame will ensure that the surface is free from any contaminants that could interfere with the painting and updating process. A clean frame will allow the paint to adhere smoothly and produce a professional finish. Once you have cleaned the frame thoroughly and ensured it is completely dry, you are now ready to move on to the next step: sanding.
Step 3: Sand the Frame
Sanding the frame is a crucial step in updating a gold picture frame. It helps create a smooth surface for better paint adhesion and ensures that any imperfections are properly addressed. Follow these steps to sand your frame:
- Start by selecting a fine-grit sandpaper, usually around 220-320 grit. This will help you achieve a smooth finish without being too abrasive.
- Using gentle, even strokes, sand the entire surface of the frame. Pay close attention to any rough or uneven areas, as well as any intricate details or corners.
- Make sure to sand in the direction of the grain or pattern of the frame, if applicable, to maintain a consistent look.
- Continue sanding until you achieve a smooth, even surface. You can use your fingers to feel for any remaining rough spots.
- Once you are satisfied with the sanding, wipe down the frame with a clean, dry cloth to remove any sanding dust.
Sanding the frame ensures that the paint and other materials adhere properly, resulting in a professional-looking finish. It also helps to eliminate any imperfections or rough areas that may detract from the overall appearance of the frame. After sanding, your frame should have a smooth, clean surface, ready for the next step in the updating process: applying primer.
Step 4: Apply Primer
Applying primer to your gold picture frame is an important step that helps create a solid foundation for the paint and ensures better adhesion and durability. Primer also helps to smooth out any uneven surfaces and enhances the color of the paint. Follow these steps to apply primer to your frame:
- Choose a high-quality primer specifically designed for use on the material of your frame, such as wood or metal.
- Before applying the primer, make sure the frame is clean and completely dry. Remove any dust or debris that may have accumulated after sanding.
- Use a small paintbrush or foam brush to apply the primer evenly on the frame’s surface. Start from one end and work your way to the other, ensuring complete coverage.
- If necessary, apply a second coat of primer after allowing the first coat to dry according to the manufacturer’s instructions. This will help ensure a smooth and durable surface.
- Allow the primer to dry completely before moving on to the next step. This typically takes several hours, but refer to the instructions on the primer for specific drying times.
Applying primer to the frame creates a solid base for the paint, promoting better adhesion and a longer-lasting finish. It also helps to even out the surface, ensuring a smoother appearance. Once the primer is dry, you’re now ready to add color and transform your gold picture frame with paint, which will be covered in the next step.
Step 5: Paint the Frame
Painting the frame is where you can showcase your creativity and give your gold picture frame a brand new look. The choice of paint color is entirely up to you and can complement the decor of your space or add a pop of color. Follow these steps to paint your frame:
- Choose a high-quality paint that is suitable for the material of your frame. Acrylic paint is a popular choice for its versatility and durability.
- Before painting, ensure that the primer has dried completely. If needed, lightly sand any rough spots or imperfections on the primer surface with fine-grit sandpaper before proceeding.
- Using a small paintbrush or foam brush, apply the paint evenly on the frame’s surface. Start from one end and work your way to the other, ensuring complete coverage.
- If you prefer a more distressed or vintage look, you can use a dry brush technique or sanding technique to create a worn effect after the paint has dried. This step is optional and depends on the style you desire.
- Allow the paint to dry completely between coats, if you wish to apply additional layers for better coverage. Follow the instructions on the paint for recommended drying times.
- Once you are satisfied with the color and coverage, allow the final coat of paint to dry thoroughly before moving on to the next step.
Painting the frame is a transformative step that breathes new life into your gold picture frame. It allows you to express your personal style and add a fresh touch to your decor. After the paint has dried, you can proceed to add the elegant touch of gold leaf, which will be covered in the next step.
Step 6: Apply Gold Leaf
Applying gold leaf is a beautiful and luxurious way to enhance the appearance of your painted frame. It adds a touch of elegance and sophistication to your gold picture frame. Follow these steps to apply gold leaf:
- Gather all the necessary materials, including gold leaf sheets, gold leaf adhesive, a small paintbrush, and a soft bristle brush or gilder’s tip.
- Ensure that the painted frame is completely dry before applying gold leaf. Any moisture may affect the adhesion and result in an uneven finish.
- Using a small paintbrush, apply a thin and even layer of gold leaf adhesive to the areas of the frame where you want to apply the gold leaf. Be careful to only apply adhesive to one small section at a time to prevent it from drying too quickly.
- Allow the adhesive to become tacky. This usually takes about 15-20 minutes, but refer to the instructions on the adhesive for specific drying times.
- Take a sheet of gold leaf and gently place it onto the tacky adhesive. Use a soft bristle brush or gilder’s tip to lightly press the gold leaf onto the surface, ensuring it adheres to the frame.
- Continue applying gold leaf to the rest of the adhesive areas, gently overlapping the sheets, until the desired coverage is achieved.
Applying gold leaf requires patience and a delicate touch. Take your time to ensure that each piece of gold leaf is properly applied and adheres to the frame. Once you have finished applying the gold leaf, it’s time to move on to the next step of removing any excess gold leaf.
Step 7: Remove Excess Gold Leaf
After applying the gold leaf, there may be some excess or loose pieces that need to be removed to achieve a clean and polished look. Follow these steps to remove any excess gold leaf:
- Gently brush the entire surface of the frame with a soft bristle brush or a gilder’s tip. The brush will help to remove loose or excess gold leaf without disturbing the adhered gold leaf.
- Use light strokes and be careful not to press too hard, as you don’t want to remove any gold leaf that is properly adhered to the frame.
- If there are stubborn or hard-to-reach areas with excess gold leaf, you can use a clean, soft cloth or cotton swab to gently wipe away the excess.
- Continue brushing and wiping until you have removed all the loose or excess gold leaf and achieved the desired level of smoothness and shine.
Removing the excess gold leaf is a crucial step to achieve a clean and polished final result. Be gentle and patient during this stage to avoid damaging the gold leaf that is properly adhered to the frame. Once you have removed the excess gold leaf, you can proceed to seal the frame for added protection and longevity, which will be covered in the next step.
Step 8: Seal the Frame
Sealing the frame is an important step to protect the paint, gold leaf, and overall finish of your updated gold picture frame. It helps to preserve its appearance and increase its durability. Follow these steps to seal your frame:
- Choose a clear sealer or varnish suitable for the material of your frame and the type of paint used. Look for a product that is specifically designed for use on painted surfaces.
- Ensure that the frame is clean and free from any dust or debris before applying the sealer. You can use a soft cloth or brush to gently remove any loose particles.
- Apply the sealer in thin, even coats using a small paintbrush or foam brush. Start with one coat and allow it to dry according to the manufacturer’s instructions.
- If necessary, apply additional coats of the sealer, making sure to allow sufficient drying time between each coat. Multiple coats will provide extra protection and durability.
- Pay attention to any intricate details or corners of the frame, ensuring that the sealer is applied evenly and thoroughly in those areas.
- Allow the final coat of sealer to dry completely before handling or displaying the frame. This may take several hours, so be sure to refer to the instructions on the sealer for specific drying times.
Sealing the frame helps to protect it from moisture, dust, and general wear and tear. It also enhances the longevity of the paint and gold leaf, ensuring that your updated gold picture frame remains beautiful for years to come. Once the sealer has dried, your frame is ready to be displayed and enjoyed!
Step 9: Additional Tips and Ideas
As you complete the process of updating your gold picture frame, here are some additional tips and ideas to consider:
- Experiment with different painting techniques: Instead of a solid color, you can try techniques like ombre, distressing, or stenciling to add unique and artistic touches to your frame.
- Consider using metallic or textured paint: Metallic paint can further enhance the elegance of the frame, while textured paint can add depth and visual interest.
- Add embellishments: Consider adding decorative elements such as rhinestones, beads, or other small decorative pieces to further enhance the beauty of your frame.
- Try different sizes or shapes: If you have multiple frames to update, consider playing with different sizes or shapes to create an eye-catching gallery wall display.
- Personalize it: You can use vinyl lettering, stencils, or even hand-painted designs to add personalized messages or designs to your frame.
- Use multiple layers of gold leaf: For a more opulent and rich look, you can apply multiple layers of gold leaf, allowing each layer to dry completely before applying the next.
- Protect your workspace: Place a drop cloth or newspaper underneath your frame during the painting and updating process to protect your work surface from any spills or drips.
- Take your time: Each step of the updating process requires patience and attention to detail. Take your time to ensure that each step is completed thoroughly for the best results.
Remember, the updating process is an opportunity for you to let your creativity shine and add your personal touch to your gold picture frame. By incorporating these tips and ideas, you can create a unique and visually stunning piece that will be a standout in your home or space.