
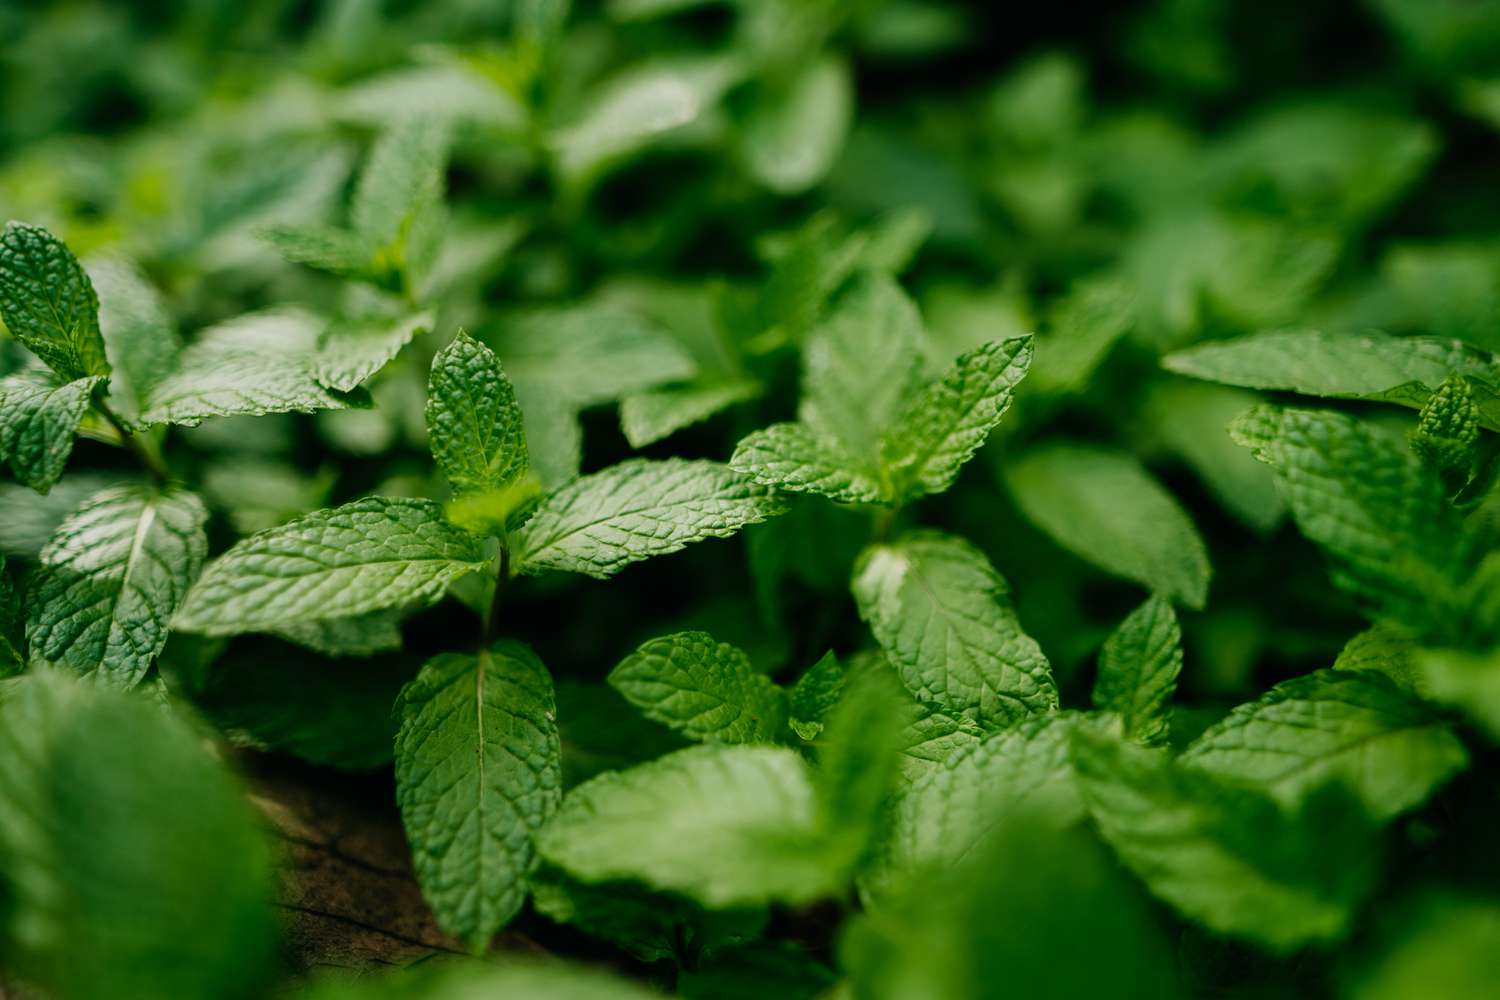
Choosing the Right Spot for Your Mint Plant
When it comes to growing a healthy and thriving mint plant, choosing the right spot for it to flourish is paramount. Mint plants are known for their love of sunlight and moisture, so finding a suitable location is key to their success. Here are some important factors to consider when selecting the perfect spot for your mint plant:
- Sunlight: Mint plants thrive in full sun to partial shade. Ensure that the chosen spot receives at least 4-6 hours of direct sunlight each day. If you live in a hot climate, providing some afternoon shade can help prevent the leaves from scorching.
- Soil Quality: Mint plants prefer well-draining soil with a pH level between 6.0 and 7.0. Before planting, amend the soil with organic matter, such as compost or well-rotted manure, to ensure it is fertile and provides the necessary nutrients for growth.
- Moisture: Mint plants love moist soil, so it’s important to choose a spot with access to water. Avoid areas of the garden that are prone to drying out quickly, such as near concrete or in sandy soil. Consider planting mint near a water source or in a container where moisture levels can be easily regulated.
- Spacing: Mint plants can quickly spread and take over a garden if not properly contained. To prevent this, it is best to plant mint in a container or a designated area of the garden. Make sure to provide sufficient spacing between plants, leaving around 12-18 inches of space between each mint plant to ensure proper airflow and avoid overcrowding.
- Protection from Wind: Mint plants have delicate leaves that can be easily damaged by strong winds. Choose a spot that offers some protection from strong gusts, such as near a fence or wall, to prevent the leaves from getting torn or bruised.
By carefully considering these factors and selecting an optimal location, you can set your mint plant up for success from the very beginning. Remember, a healthy and happy mint plant will reward you with its aromatic leaves and refreshing flavor for years to come.
Planting Your Mint Plant
Once you have chosen the perfect spot for your mint plant, it’s time to get it in the ground and watch it grow. Follow these steps to ensure a successful planting process:
- Prepare the Soil: Before planting, loosen the soil in the chosen location to ensure good drainage. Remove any weeds or grass from the area and amend the soil with organic matter, such as compost or well-rotted manure, to enrich its fertility.
- Choose the Right Mint Variety: There are various mint varieties available, such as spearmint, peppermint, and chocolate mint. Select the type that suits your preference and culinary needs. You can find mint plants at nurseries or start from seeds or cuttings.
- Planting in the Ground: Dig a hole that is slightly larger than the root ball of the mint plant. Gently place the plant into the hole, making sure that the top of the root ball is level with the ground. Backfill the hole with soil, firming it gently around the plant to eliminate air pockets.
- Planting in Containers: If you prefer to grow mint in containers, choose a pot that is at least 12 inches deep and has drainage holes. Fill the pot with a well-draining potting mix, leaving some space at the top for watering. Place the mint plant in the center of the container and fill it with soil, gently pressing it down.
- Watering: After planting, give your mint plant a thorough watering. This will help settle the soil and encourage root establishment. Keep the soil consistently moist, but avoid overwatering as mint plants are susceptible to root rot. Water at the base of the plant, avoiding wetting the leaves.
- Mulching: Consider applying a layer of organic mulch, such as straw or wood chips, around the base of the mint plant. Mulching helps retain moisture, suppresses weed growth, and regulates soil temperature.
By following these steps, you will ensure that your mint plant gets off to a strong start. With proper planting and care, your mint plant will soon flourish, providing you with an abundant supply of aromatic leaves to enjoy in culinary dishes or refreshing beverages.
Watering Your Mint Plant
Proper watering is crucial for the health and vitality of your mint plant. Mint plants have a high water requirement, but overwatering can be detrimental. Follow these guidelines to ensure your mint plant receives the right amount of moisture:
- Consistent Moisture: Mint plants thrive in consistently moist soil. It is important to keep the soil evenly moist, but not waterlogged. Aim to provide about 1 inch of water per week, either through rainfall or supplemental watering.
- Water Depth: When watering your mint plant, it is best to apply the water directly at the base of the plant, aiming to wet the soil to a depth of about 6-8 inches. This will encourage the plant’s roots to grow deeper and create a stronger foundation.
- Frequency: The frequency of watering will depend on various factors such as weather conditions, soil type, and the size of the mint plant. Monitor the moisture level of the soil regularly and adjust your watering schedule accordingly. In hot and dry climates, you may need to water your mint plant more frequently.
- Avoid Overwatering: Mint plants are susceptible to root rot if the soil remains consistently wet. It is important to avoid overwatering and make sure the soil has proper drainage. If you notice the soil is waterlogged or the leaves are turning yellow, reduce the frequency of watering.
- Watering Methods: Consider using methods such as drip irrigation or a soaker hose to deliver water directly to the base of the mint plant. These methods help minimize water loss through evaporation and ensure efficient water distribution to the plant’s roots.
- Check Soil Moisture: To determine if your mint plant needs watering, check the soil moisture by inserting your finger about an inch into the soil. If it feels dry at that depth, it’s an indication to water the plant. If it feels moist, hold off on watering as the soil has enough moisture.
Remember, maintaining proper moisture levels is essential for the health and flavor of your mint plant. By following these guidelines and adjusting your watering routine as needed, you will provide your mint plant with the ideal conditions for robust growth and an aromatic harvest.
Fertilizing Your Mint Plant
Fertilizing your mint plant is key to ensuring its healthy growth and optimal flavor. Mint plants are heavy feeders, meaning they require regular nutrients to thrive. Follow these guidelines to effectively fertilize your mint plant:
- Timing: Begin fertilizing your mint plant in the early spring, just as new growth starts to emerge. Continue to fertilize every 4-6 weeks throughout the growing season.
- Choose the Right Fertilizer: Use a balanced, water-soluble fertilizer with equal amounts of nitrogen, phosphorus, and potassium (NPK). Alternatively, you can opt for an organic fertilizer, such as well-rotted compost or worm castings, which provide slow-release nutrients.
- Application Rate: Follow the instructions on the fertilizer packaging for the recommended application rate. Generally, for synthetic fertilizers, it is best to apply at a rate of about 1 tablespoon per square foot of area surrounding the plant. For organic fertilizers, use about half that amount.
- Application Method: Apply the fertilizer evenly around the base of the mint plant, avoiding direct contact with the leaves. Gently work the fertilizer into the top inch of soil and water thoroughly after application to help the nutrients penetrate the root zone.
- Organic Alternatives: If you prefer organic fertilizers, you can supplement your mint plant with nutrient-rich amendments, such as compost, well-rotted manure, or liquid seaweed extract. These organic options provide essential nutrients and improve soil health.
- Mulching: Applying a layer of organic mulch, such as straw or wood chips, around the base of your mint plant not only helps conserve moisture but also provides a slow-release source of nutrients as it breaks down over time.
- Observation: Monitor your mint plant after fertilizing to ensure it is responding well. Look for signs of healthy growth, such as vibrant green leaves and vigorous stems. If you notice any signs of nutrient deficiency, such as yellowing leaves or stunted growth, consider adjusting your fertilization routine.
By providing your mint plant with regular and appropriate fertilization, you will support its nutrient needs and promote robust growth. Remember to follow the recommended application rates, choose the right fertilizer, and monitor the plant’s response. With proper fertilization, your mint plant will reward you with abundant leaves full of aromatic flavor.
Pruning Your Mint Plant
Pruning is an essential practice for maintaining the health, shape, and productivity of your mint plant. Regular pruning helps control its growth, prevent overcrowding, and encourage the production of fresh, flavorful leaves. Follow these key tips to effectively prune your mint plant:
- Timing: The best time to prune your mint plant is in the spring, just as new growth begins. Avoid pruning during hot summer months as it can stress the plant.
- Remove Dead or Damaged Leaves: Start by inspecting your mint plant for any dead or damaged leaves. Using a pair of clean and sharp pruning shears, snip off these leaves at the base of the plant. This not only improves the appearance but also promotes healthier growth.
- Trim to Maintain Shape: Mint plants tend to grow vigorously and can become leggy or sprawling. To maintain a compact and bushy shape, trim back the stems by about one-third of their length. Cut just above a leaf node or set of leaves to encourage new growth.
- Pinch or Pluck: As the mint plant grows, pinching or plucking the tops of the stems regularly can help promote branching and prevent the plant from becoming too tall or spindly. This encourages the growth of lateral shoots and results in a fuller plant.
- Harvesting and Pruning: When harvesting leaves from your mint plant, you are also pruning it indirectly. Harvesting regularly helps prevent the plant from becoming too woody and encourages fresh growth. Remember to only harvest a maximum of one-third of the plant at a time to ensure it can recover properly.
- Regular Maintenance: It is beneficial to prune your mint plant every 4-6 weeks throughout the growing season. This allows you to control its growth, prevent it from taking over the garden, and maintain a healthy and productive plant.
- Clean and Sanitize: After pruning, make sure to clean and sanitize your pruning shears to prevent the spread of diseases. You can wipe them with a cloth soaked in rubbing alcohol or dip them in a solution of 1 part bleach to 9 parts water.
By incorporating regular pruning into your mint plant care routine, you will keep your plant in optimal shape, encourage fresh growth, and ensure a bountiful harvest of aromatic leaves. Remember to prune with care, maintain the plant’s overall health, and enjoy the benefits of a well-maintained mint plant.
Dealing with Pests and Diseases
Although mint plants are generally resilient, they can still fall victim to pests and diseases. It’s important to be vigilant and proactive in order to protect your mint plant from potential threats. Here are some common pests and diseases that may affect mint plants, along with effective ways to deal with them:
- Common Pests: The most common pests that can attack mint plants include aphids, spider mites, and cutworms. Regularly inspect your plants for any signs of infestation, such as discolored leaves, webbing, or chewed foliage. To treat pests, you can use organic insecticidal soap or neem oil. Apply the solution according to the instructions on the product label.
- Mint Rust: Rust is a common fungal disease that causes orange or brown spots on the leaves of mint plants. To prevent the spread of rust, remove and destroy any infected leaves as soon as you notice them. Ensure good air circulation around the plants by providing sufficient spacing and avoiding overhead watering.
- Root Rot: Mint plants are susceptible to root rot, especially if the soil remains consistently wet. To prevent root rot, ensure adequate drainage by planting mint in well-draining soil and avoid overwatering. If root rot is suspected, gently remove the plant from the soil, trim away any affected roots, and replant in fresh soil.
- Powdery Mildew: Powdery mildew can occur when there is high humidity and poor air circulation. This fungal disease appears as a white powdery coating on the leaves. To prevent powdery mildew, maintain good airflow around the plants and avoid overhead watering. If powdery mildew is present, treat it with a fungicide specifically formulated for powdery mildew.
- Companion Planting: Planting mint alongside insect-repellent plants such as marigold, basil, or rosemary can help ward off pests. These companion plants naturally deter pests and can provide additional protection for your mint plant.
- Vigilance: Regularly monitor your mint plant for any signs of pests or diseases. Early detection and prompt action can prevent the spread of infestation or infection and increase the chances of successful treatment.
Remember, prevention is key when it comes to dealing with pests and diseases. By providing a healthy growing environment, practicing good plant hygiene, and taking prompt action when necessary, you can keep your mint plant thriving and free from potential threats.
Harvesting Your Mint Plant
Harvesting your mint plant at the right time is crucial to ensure the best flavor and quality of the leaves. Mint leaves are most flavorful and aromatic when harvested just before the plant flowers. Follow these steps to harvest your mint plant effectively:
- Timing: Begin harvesting your mint plant once it has reached a height of at least 6-8 inches and has developed a sufficient number of leaves. Avoid harvesting from young plants, as they need time to establish themselves.
- Selective Harvesting: When harvesting mint leaves, only pluck or cut a maximum of one-third of the plant at a time. This allows the remaining leaves to continue growing and ensures a healthy regrowth for future harvests. Avoid stripping all the leaves from a single stem, as this can weaken the plant.
- Leaf Removal: To harvest the leaves, either pluck them individually or use clean and sharp pruning shears to cut the stems just above a leaf node or set of leaves. Pinch or cut just above the leaf node to encourage new growth from that point.
- Leaf Preparation: Once harvested, gently wash the mint leaves to remove any dirt or debris. Let them air dry or pat them dry with a clean towel before using or storing them. Remember, freshly harvested leaves are ideal, but you can store them in the refrigerator for a few days if needed.
- Drying Mint Leaves: If you want to preserve your mint leaves for long-term use, you can dry them. Hang small bunches of mint stems upside down in a warm, well-ventilated area. Once fully dried, remove the leaves from the stems and store them in an airtight container in a cool, dark place.
- Regrowth: Regular harvesting of mint helps promote fresh growth and prevents the plant from becoming leggy or woody. By harvesting frequently and maintaining a healthy pruning routine, your mint plant will continue to produce flavorful leaves throughout the growing season.
Whether you’re using fresh mint leaves immediately or drying them for future use, proper harvesting techniques ensure the best flavor and continued growth of your mint plant. Enjoy the aromatic and refreshing taste of fresh mint in various culinary and beverage creations.