
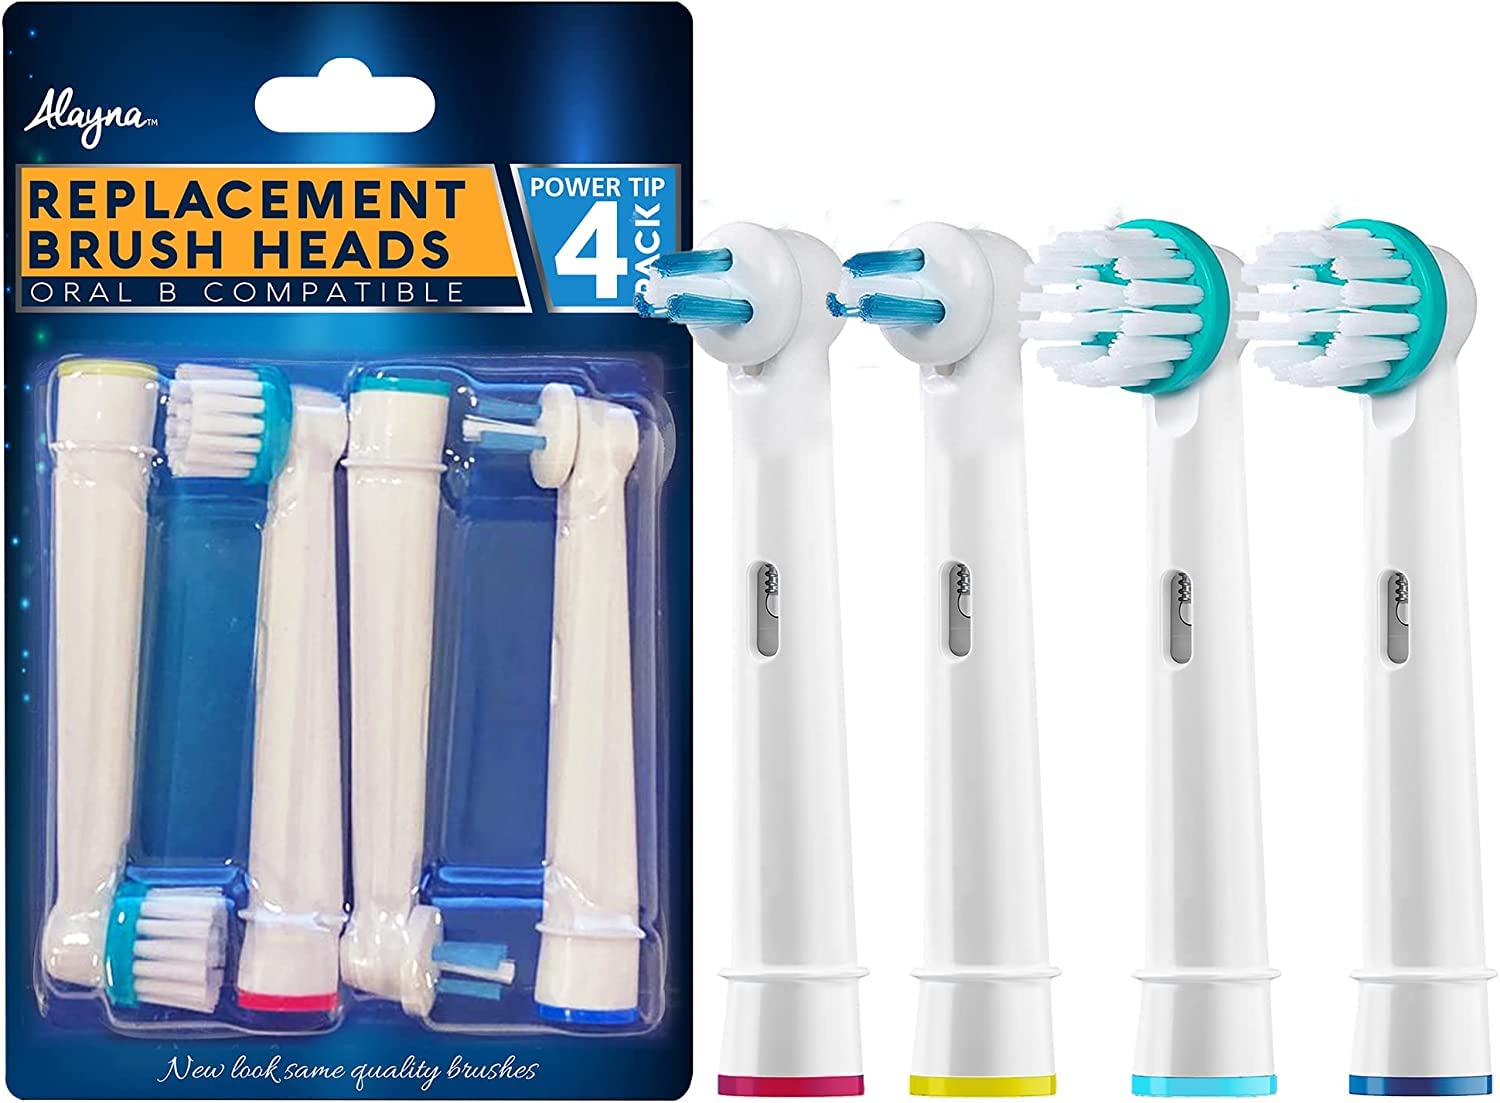
Get the Right Replacement Brush Head
When it comes to maintaining good oral hygiene, regular replacement of your toothbrush head is crucial. Over time, bristles become worn out and less effective at removing plaque and debris. Getting the right replacement brush head for your Oral B toothbrush is essential in ensuring effective cleaning and optimal oral health. Here are a few key steps to guide you in selecting the right brush head:
- Consider your dental needs: Oral B offers a variety of brush heads designed to address different dental needs. Whether you have sensitive teeth, braces, or prefer a deeper clean, there is a brush head specifically designed to meet your requirements.
- Check the compatibility: Not all Oral B brush heads are compatible with every model of their electric toothbrushes. Make sure to check the packaging or the manufacturer’s website to ensure the brush head is compatible with your specific toothbrush model.
- Determine the bristle type: Oral B brush heads come with different bristle types, including soft, medium, and extra-firm. Consider your personal preference and the recommendations of your dentist when choosing the appropriate bristle type.
- Consider specialty features: Some brush heads come with additional features such as whitening or gum care. If you have specific concerns or goals for your oral health, look for brush heads that offer these unique features.
- Read customer reviews: Before making a final decision, take the time to read customer reviews and ratings of the brush heads you are considering. Genuine user experiences can provide valuable insights into the quality and effectiveness of the product.
Remember, selecting the right replacement brush head for your Oral B toothbrush is a crucial step towards maintaining good oral hygiene. By considering your dental needs, checking compatibility, determining the bristle type, considering specialty features, and reading customer reviews, you can make an informed decision and ensure you are getting the most out of your oral care routine.
Remove the Old Brush Head
Before you can replace your Oral B brush head with a new one, you need to remove the old brush head. Here are the steps to safely and effectively remove the old brush head:
- Turn off the toothbrush: Start by turning off your Oral B toothbrush. This will prevent any accidental activation while you’re removing the brush head.
- Grip the brush head: Firmly grip the brush head with one hand. It may help to hold onto the base of the brush head where it attaches to the toothbrush handle.
- Apply downward pressure: Apply gentle pressure while twisting the brush head counterclockwise until it loosens. This twisting motion will unlock the brush head from the toothbrush handle.
- Remove the old brush head: Once the brush head is loosened, carefully pull it away from the toothbrush handle. Be cautious not to apply excessive force, as this could damage the handle.
It’s important to note that the brush head should be replaced every three to four months or sooner if the bristles appear frayed or worn out. Regularly replacing the brush head ensures optimal cleaning performance and maintains both your oral health and the longevity of your toothbrush.
Remember, cleanliness is vital to maintaining a healthy mouth, so take the time to remove the old brush head properly and replace it with a fresh one. By following these simple steps, you can easily remove the old brush head and prepare your toothbrush for a brand new one.
Clean the Toothbrush Handle
While replacing the brush head is an essential part of maintaining oral hygiene, it’s equally important to keep the toothbrush handle clean. Over time, bacteria and residue can build up on the handle, potentially compromising your oral health. Here’s how you can effectively clean the toothbrush handle:
- Remove the brush head: Before cleaning the handle, make sure to remove the brush head as described in the previous section.
- Use mild soap and water: Wet a cloth or sponge with warm water and mild soap, such as liquid hand soap or dish soap. Gently scrub the entire surface of the toothbrush handle, paying extra attention to areas where debris or discoloration may be present.
- Rinse thoroughly: Once you’ve cleaned the handle, rinse it thoroughly under running water to remove any soap residue.
- Disinfect if desired: If you wish to disinfect the toothbrush handle, you can soak it in a mixture of water and mild bleach solution or hydrogen peroxide for a few minutes. Be sure to follow the manufacturer’s guidelines for any specific disinfection instructions.
- Dry completely: After cleaning and disinfecting (if applicable), allow the toothbrush handle to air dry completely before reattaching the new brush head.
Regularly cleaning the toothbrush handle helps ensure that your oral hygiene routine remains effective and hygienic. By following these simple steps, you can remove any built-up residue and bacteria, keeping your toothbrush handle clean and ready for use.
Remember, maintaining a clean toothbrush handle is an important part of your overall oral hygiene. By incorporating this step into your oral care routine, you can help minimize the risk of bacterial contamination and maintain optimal oral health.
Select the New Brush Head
Choosing the right brush head for your Oral B electric toothbrush is key to achieving effective cleaning and maintaining optimal oral health. Here are some factors to consider when selecting your new brush head:
- Dental needs: Assess your dental needs and choose a brush head that caters to those specific requirements. Oral B offers a range of brush heads designed for different purposes, including sensitive teeth, gum care, deep cleaning, and whitening.
- Bristle type: Consider the bristle type that suits your preferences and oral health needs. Oral B brush heads come in options such as soft, medium, and extra-firm. Soft bristles are generally recommended for most individuals, as they are gentle on the gums and tooth enamel.
- Compatibility: Ensure that the brush head you select is compatible with your Oral B electric toothbrush model. Check the packaging or the manufacturer’s website to find out which brush heads are compatible with your specific toothbrush.
- Additional features: Some Oral B brush heads offer additional features, such as indicator bristles that fade over time, signaling the need for a replacement. You may also find brush heads with whitening or gum care functionalities to address specific concerns.
- Consider user reviews: Read customer reviews and ratings to gain insights into the performance and durability of different brush heads. Real user experiences can help you make an informed decision and choose a brush head that meets your expectations.
Remember, selecting the right brush head is crucial for achieving optimal oral hygiene and maintaining a healthy smile. By considering your dental needs, bristle type, compatibility, additional features, and user reviews, you can make an informed choice.
Take your time to explore the options available and select a brush head that aligns with your oral health goals. By choosing the right brush head, you can maximize the effectiveness of your oral care routine and enjoy a healthy and beautiful smile.
Align the New Brush Head
Once you’ve selected the right replacement brush head for your Oral B toothbrush, it’s time to align it properly before attaching it to the toothbrush handle. Proper alignment ensures seamless attachment and optimal cleaning performance. Here’s how to align the new brush head:
- Examine the brush head: Take a close look at the new brush head and locate the small arrow or directional mark on it. This arrow indicates the correct alignment for attaching the brush head to the toothbrush handle.
- Align the arrow: Hold the brush head with the bristle side facing toward you. Align the arrow on the brush head with the corresponding arrow or marking on the toothbrush handle.
- Ensure a snug fit: Gently push the brush head onto the toothbrush handle, making sure it fits securely. You should feel a slight click or snap when the brush head is properly aligned and attached.
Proper alignment of the new brush head is critical for optimal cleaning and an effective oral care routine. The arrow or directional mark on the brush head and toothbrush handle act as guides to ensure that the bristles are correctly positioned for thorough cleaning.
Remember, taking the time to align the new brush head properly is a simple but essential step to achieve the best results from your Oral B toothbrush. By following these steps, you can ensure that the brush head is securely attached and ready to provide excellent cleaning performance for your oral health needs.
Attach and Secure the New Brush Head
Now that you have aligned the new brush head with the toothbrush handle, it’s time to attach and secure it in place. Proper attachment ensures that the brush head remains securely in place during use. Follow these steps to attach and secure the new brush head:
- Hold the toothbrush handle: Firmly grip the toothbrush handle in one hand, ensuring a stable hold.
- Position the brush head: With the bristles facing outward, align the base of the new brush head with the corresponding connection point on the toothbrush handle.
- Push and twist: Apply gentle pressure while twisting the brush head clockwise. This motion will securely attach the brush head to the toothbrush handle. You may feel a slight click or snap, indicating that it’s properly attached.
- Confirm the attachment: Ensure that the brush head is securely fitted by gently tugging on it. If it stays in place and doesn’t come off easily, it’s properly attached and ready for use.
It’s important to note that a properly attached brush head provides optimal cleaning performance and minimizes the risk of the brush head becoming loose or falling off during use. Secure attachment ensures that the bristles effectively reach all areas of your mouth, providing a thorough cleaning experience.
By following these simple steps, you can attach and secure the new brush head to your Oral B toothbrush. Regularly checking the attachment and ensuring it remains secure throughout its use will help you maintain a consistent and effective oral care routine.
Properly Dispose the Old Brush Head
When replacing your brush head, it’s important to dispose of the old one properly. This helps maintain cleanliness and prevents the spread of bacteria and germs. Here are the steps to properly dispose of the old brush head:
- Remove the brush head: Following the steps mentioned earlier, carefully remove the old brush head from the toothbrush handle.
- Check for recycling options: Check if the brush head is recyclable in your area. Some brands offer recycling programs specifically for their brush heads.
- Separate the components: If the bristles and the plastic base of the brush head are detachable, separate them. This allows for easier recycling if applicable.
- Discard in accordance with local guidelines: If recycling is not an option, dispose of the old brush head in accordance with your local waste management guidelines. Most often, you can simply place it in your regular household waste bin.
- Avoid flushing down the toilet: It’s important not to flush the old brush head down the toilet as it can contribute to plumbing issues and negatively impact the environment.
Properly disposing of the old brush head helps maintain good hygiene practices and ensures responsible waste management. By following these steps, you can effectively discard the old brush head without causing any harm to the environment or your plumbing.
Remember, promoting sustainability and responsible waste management is essential in our everyday lives, even in small actions like disposing of a toothbrush head. By adhering to these guidelines, you can do your part in keeping the environment clean and healthy.
Test the New Brush Head
After attaching the new brush head to your Oral B toothbrush, it’s important to test it before incorporating it into your regular oral care routine. Testing ensures that the new brush head is functioning properly and provides an effective cleaning experience. Here’s how to test the new brush head:
- Turn on the toothbrush: Turn on your Oral B toothbrush and adjust the speed settings if applicable. This allows you to feel the vibrations and ensure that the brush head is properly connected.
- Check for proper operation: Run the brush head along your hand or a finger to check if the bristles are moving smoothly and vibrating as expected. Confirm that the new brush head is operating without any unusual noises or vibrations.
- Assess comfort and performance: Gently brush the surface of your teeth and gums to assess the comfort and performance of the new brush head. Pay attention to any discomfort, irritation, or inability to effectively clean certain areas.
- Monitor for any issues: As you use the new brush head, monitor for any issues that arise, such as bristle shedding or an uncomfortable brushing experience. If you encounter any issues, consider reaching out to the manufacturer for assistance or seeking a replacement.
Testing the new brush head helps you ensure that it meets your expectations and delivers the desired cleaning performance. By examining its operation, evaluating comfort and performance, and monitoring for any issues, you can confidently incorporate the new brush head into your oral care routine.
Remember, a properly functioning brush head is vital in maintaining good oral hygiene. By conducting these simple tests, you can identify any potential issues early on and make adjustments accordingly.