
Assessing the Damage
Before you begin repairing a woven rug, it is crucial to assess the extent of the damage. This step will help you determine the necessary repairs and materials needed to restore the rug to its original condition.
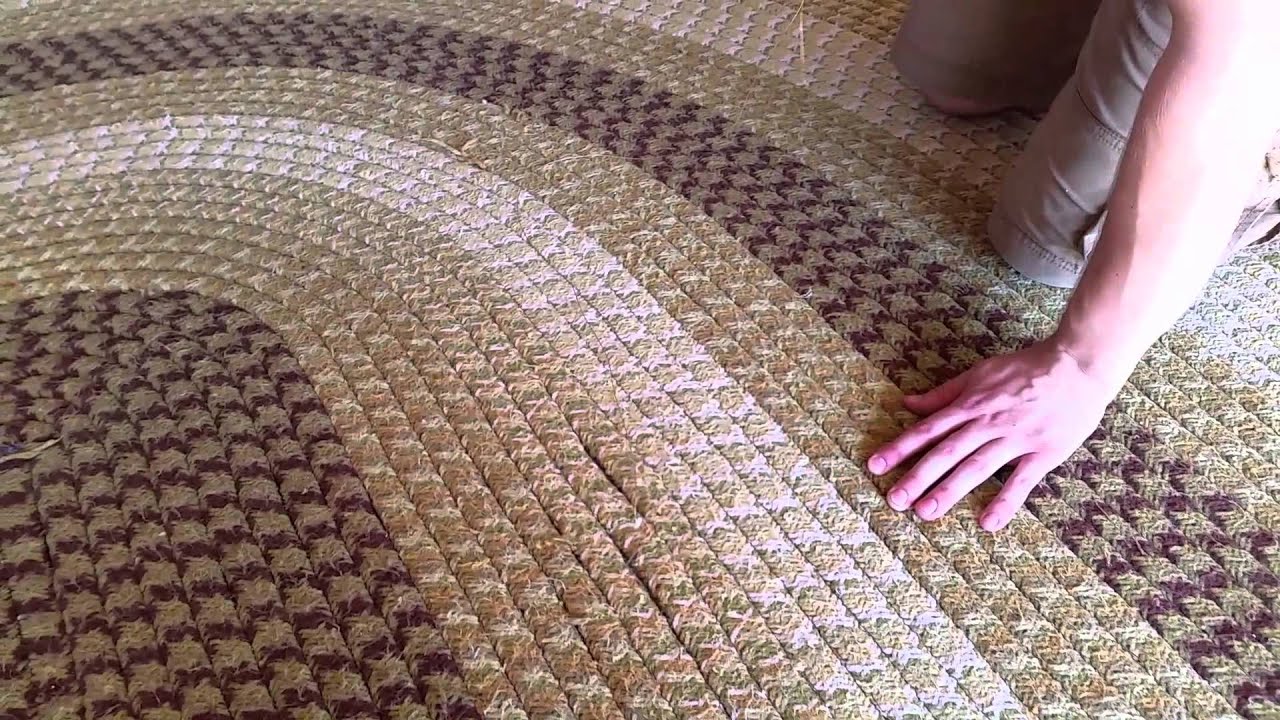
Start by examining the overall condition of the rug. Look for signs of wear and tear, such as frayed edges, loose threads, or small holes. Take note of any areas that require immediate attention.
If there are any holes or tears, carefully inspect them to determine if they are small or large. Small holes can be easily repaired, while larger tears may require more extensive work. Additionally, note the location of the damage, as repairs may vary depending on whether the damage is in the middle of the rug or near the edges.
Next, check for any frayed edges. These can sometimes be caused by simple wear and tear, but they can also be a sign of underlying structural issues. Look for loose or unraveling threads along the edges of the rug, and determine whether a simple edge binding will suffice or if more thorough repairs are necessary.
Finally, inspect the overall integrity of the rug’s weave. Look for any loose or missing threads that may compromise the rug’s structural stability. These weak areas should be addressed to prevent further damage.
By carefully assessing the condition of the woven rug, you can develop a clear picture of the necessary repairs. This evaluation will help guide your repair process and ensure that you restore the rug effectively and efficiently.
Gathering the Necessary Tools and Materials
Before you begin repairing a woven rug, it is essential to gather all the necessary tools and materials. Having everything ready and easily accessible will make the repair process more efficient and ensure a successful outcome.
Here are the primary tools and materials you’ll need:
- Rug repair kit: Purchase a rug repair kit that includes items like a latch hook, rug needle, upholstery thread, rug adhesive, and a rug backing. These kits usually have everything you need to tackle various repair tasks.
- Scissors: Invest in a pair of sharp, fabric scissors to cut threads, trim edges, and remove damaged sections of the rug. Make sure they’re comfortable to handle and easy to maneuver.
- Needle and thread: Have a variety of heavy-duty needles and strong threads on hand. These will be useful for repairing small holes and tears, reinforcing weak areas, and replacing missing fringe.
- Rug adhesive: Use rug adhesive to secure loose edges and prevent further unraveling. This adhesive is specifically designed for rug repairs and will provide a strong bond to hold the rug together.
- Rug backing: If the rug has significant structural damage, consider using rug backing to reinforce weak areas and provide additional support. Rug backing is a durable material that can be cut to size and attached to the back of the rug using adhesive.
- Fringe: If the rug’s fringe is damaged or missing, you may need to replace it. Look for a matching or complementary fringe material that closely matches the original. Alternatively, you can opt for fringe-less finishing if it suits the rug’s style.
It is important to choose high-quality tools and materials to ensure the longevity of your rug repair. Cheaper alternatives may not hold up over time, resulting in the need for additional repairs.
By gathering all the necessary tools and materials beforehand, you’ll be well-prepared to tackle any repair task that comes your way. Having everything within reach will save you time and make the process more seamless.
Preparing the Work Space
Creating a suitable work space is essential when repairing a woven rug. By setting up a clean and organized area, you can ensure that the repair process goes smoothly and efficiently.
Here are some steps to prepare your work space:
- Clean the area: Clear any clutter and clean the space where you’ll be working. This will provide a clean and hygienic environment to repair the rug.
- Lay down a protective sheet: Place a protective sheet or dropcloth on the floor to prevent any spills or damages to the underlying surface.
- Organize your tools and materials: Arrange all your tools and materials within easy reach. Use containers, trays, or a portable tool caddy to keep everything organized and easily accessible.
- Ensure adequate lighting: Good lighting is crucial for accurately assessing the rug’s condition and performing precise repairs. Use natural light or set up additional lighting as needed.
- Provide a comfortable work surface: Use a sturdy table or workbench to provide a stable and comfortable surface for working on the rug. Ensure that the table is large enough to accommodate the size of the rug.
- Have a comfortable seating option: Repairing a woven rug can be a time-consuming process, so make sure you have a comfortable chair or cushion to sit on. This will prevent unnecessary strain on your back and legs.
Having an organized and well-prepared work space will make the rug repair process more efficient and enjoyable. You’ll find that having everything in its place and a comfortable work area can significantly impact your overall productivity and the quality of the repairs.
Understanding the Structure of the Woven Rug
Before diving into the process of repairing a woven rug, it is essential to have a basic understanding of its structure. Familiarizing yourself with the rug’s construction will help you identify problem areas and choose the appropriate repair techniques.
Here are some key elements to consider when understanding the structure of a woven rug:
- Foundation: The foundation of a woven rug consists of the warp and weft threads. The warp threads run vertically and provide the structure and stability, while the weft threads run horizontally and interlace with the warp threads to create the design.
- Pile: The pile of a rug refers to the yarn or fibers that are woven into the foundation to create the visible surface. The pile can vary in length, density, and material, affecting the overall look and feel of the rug.
- Knots: In woven rugs, the pile is typically created by tying knots around the warp threads. The two most common types of knots are the symmetrical (Turkish or Ghiordes) knot and the asymmetrical (Persian or Senneh) knot. Each knotting technique has its own characteristics and affects the rug’s durability and appearance.
- Edges and fringe: The edges of a woven rug are often finished with a binding or whipping technique to prevent unraveling. Additionally, some rugs have fringe at the ends, which may be decorative or serve a functional purpose.
- Design and patterns: Woven rugs can feature intricate designs, patterns, and motifs that are created through the arrangement of different colored yarns. Understanding the design elements will help you identify any pattern disruptions caused by damage or wear.
By understanding the structure of the woven rug, you’ll be able to identify specific areas that need repair and select appropriate techniques and materials. This knowledge will also assist you in carrying out the repairs in a way that preserves the integrity and aesthetic appeal of the rug.
Repairing Small Holes and Tears
Small holes and tears in a woven rug can be unsightly and potentially lead to further damage if left unaddressed. Fortunately, these minor imperfections can be repaired relatively easily with the right techniques.
Here’s a step-by-step guide to repairing small holes and tears in a woven rug:
- Clean the area: Before starting the repair, make sure the damaged area is clean and free of dust or debris. This will ensure better adhesion and a more seamless repair.
- Trim loose threads: Carefully trim any loose or frayed threads around the hole or tear using sharp scissors. Be cautious not to cut any undamaged fibers.
- Create a support patch: Cut a sturdy fabric, such as cotton or muslin, slightly larger than the size of the hole or tear. This will serve as a support patch for the repair.
- Secure the patch: Apply a thin layer of fabric or rug adhesive to the backside of the damaged area. Place the support patch over the adhesive, aligning it with the hole or tear. Press down firmly to ensure proper bonding.
- Stitch the edges: Using a needle and thread matched to the rug’s color, carefully stitch the edges of the hole or tear to the support patch. Use small, overlapping stitches to secure the damaged area and prevent further unraveling.
- Trim excess threads: Once the repair is complete, trim any excess threads and ensure that the repaired area blends seamlessly with the surrounding rug.
- Allow the adhesive to dry: Follow the manufacturer’s instructions on the fabric or rug adhesive used for the repair and allow the adhesive to fully dry before using or placing stress on the repaired area.
Remember, it’s important to repair small holes and tears as soon as possible to prevent them from worsening. By following these steps, you can effectively repair minor damage and extend the lifespan of your woven rug.
Restoring Frayed Edges
Frayed edges on a woven rug not only detract from its aesthetic appeal but can also lead to further unraveling if left unaddressed. Restoring frayed edges is an important step in preserving the overall integrity of the rug.
Here’s a step-by-step guide to restoring frayed edges on a woven rug:
- Trim loose threads: Start by carefully trimming any loose or unraveling threads along the edges of the rug. Use sharp scissors and be cautious not to cut into the rug’s foundation or pile.
- Secure loose threads: Once trimmed, apply a small amount of fabric or rug adhesive to the frayed edges. This will help secure the loose threads and prevent further unraveling.
- Reinforce with binding tape: For rugs with significant fraying, consider using binding tape to reinforce the edges. Measure the length of the frayed area and cut the binding tape accordingly. Apply fabric adhesive along the frayed edges, then press the binding tape onto the adhesive and firmly hold it in place until it sets.
- Wrap with yarn or thread: If desired, you can further enhance the restoration by wrapping the binding tape with yarn or thread that matches the rug’s color and texture. This will create a more seamless and cohesive look.
- Allow the adhesive to dry: Follow the manufacturer’s instructions on the fabric or rug adhesive used for the repair, and allow the adhesive to fully dry before using or placing stress on the restored edges.
It’s important to address frayed edges as soon as possible to prevent them from worsening. Not only will restoring frayed edges improve the appearance of the rug, but it will also help protect the overall structure and prevent further damage.
Fixing Loose or Missing Weave Threads
Loose or missing weave threads can compromise the structural stability and appearance of a woven rug. It’s important to address these issues promptly to prevent further damage and ensure the rug’s longevity.
Here’s how you can fix loose or missing weave threads in a woven rug:
- Identify the loose or missing threads: Carefully inspect the rug to identify areas where weave threads are loose or entirely missing. Take note of the location and extent of the damage.
- Thread replacement: If there are loose threads, use a rug needle threaded with a matching thread to secure and re-weave them into place. Follow the rug’s weave pattern, and use small, even stitches to blend the repaired area with the surrounding rug.
- Rebuilding missing sections: In cases where there are missing weave threads, you’ll need to rebuild the section. Cut a replacement thread of similar material and length as the missing thread. Starting from an existing weave point, carefully weave the replacement thread back and forth to recreate the pattern. Secure each end with small stitches.
- Secure loose weave threads: If there are areas with loose weave threads that are still intact, use a rug needle and thread to stitch them back into place. This will help strengthen the area and prevent further unraveling.
- Trim excess thread: Once the repair is complete, carefully trim any excess thread to ensure a neat and seamless finish. Be mindful not to cut into the rug’s foundation or adjacent weave threads.
Fixing loose or missing weave threads requires patience and attention to detail. By following these steps, you can restore the structural integrity of the rug and maintain its overall appearance.
Reinforcing Weak Areas
Over time, certain areas of a woven rug may become weakened due to heavy foot traffic or other factors. It’s important to reinforce these weak areas to prevent further damage and prolong the life of the rug.
Follow these steps to reinforce weak areas in a woven rug:
- Identify weak spots: Carefully examine the rug to identify areas that feel flimsy or have noticeable wear. Look for sections where the foundation or weave is thinning or appears stretched.
- Apply adhesive: Choose a fabric adhesive suitable for rug repairs and apply a thin layer to the weak area. Ensure the adhesive covers the weakened portion evenly.
- Cut reinforcing fabric: Cut a piece of sturdy fabric, such as cotton or muslin, slightly larger than the weakened area. This fabric will serve as a reinforcement for added strength.
- Press the fabric: Place the fabric over the adhesive, aligning it with the weakened section. Gently press down to ensure the fabric adheres to the adhesive and the rug’s surface.
- Dry and set: Allow the adhesive to dry completely, following the instructions provided by the manufacturer. This will typically take a few hours to ensure proper bonding.
- Trim excess fabric: Once the adhesive is dry, carefully trim any excess fabric around the reinforced area. Use sharp fabric scissors to create a smooth and seamless appearance.
Reinforcing weak areas in a woven rug will help redistribute the load and prevent further deterioration. It is an important step to maintain the rug’s structural integrity and ensure it withstands everyday use.
Replacing Damaged or Missing Fringe
The fringe of a woven rug not only adds a decorative element but also serves to protect the edges from fraying. If the fringe becomes damaged or goes missing, it’s important to replace it to maintain the rug’s overall appearance and integrity.
Here’s a step-by-step guide to replacing damaged or missing fringe on a woven rug:
- Measure and purchase replacement fringe: Measure the length of the damaged or missing fringe to determine how much replacement fringe you’ll need. Purchase fringe that closely matches the original in terms of color, texture, and style.
- Secure the starting end: Use a needle and thread that matches the color of the rug to secure the starting end of the replacement fringe. Sew it securely onto the edge of the rug, ensuring it aligns with where the original fringe began.
- Weave or knot the fringe: Depending on the rug’s original construction, weave or knot the replacement fringe to the rug’s edge. Follow the pattern established by the original fringe, working from one end to the other.
- Secure the ending end: Once you reach the opposite end of the rug, securely sew or knot the ending end of the replacement fringe. Ensure it aligns with where the original fringe ended.
- Trim excess fringe: Carefully trim any excess fringe, making sure the trimmed ends blend seamlessly with the rest of the replacement fringe.
Replacing damaged or missing fringe requires attention to detail and precision. By following these steps, you can give your woven rug a refreshed and finished look while protecting its edges and maintaining its overall aesthetic appeal.
Cleaning and Maintaining the Repaired Rug
After repairing a woven rug, it’s important to implement proper cleaning and maintenance practices to preserve its condition and extend its lifespan. Regular care will help keep the rug looking its best and prevent the need for additional repairs.
Here are some tips for cleaning and maintaining a repaired rug:
- Vacuum regularly: Use a vacuum cleaner with a brush attachment to gently remove dirt, dust, and debris from the rug’s surface. Avoid using excessive force or vacuuming over repaired areas to prevent damage.
- Spot clean spills: Immediately attend to any spills or stains on the rug to prevent them from setting. Blot the affected area with a clean cloth and a mild rug cleaner or a mixture of water and gentle detergent. Avoid rubbing or scrubbing the area as it may damage the repairs.
- Avoid excessive moisture: Keep the rug away from excessive moisture or humidity, as it can weaken the repaired sections or cause mold and mildew growth. Avoid placing the rug in areas prone to spills or high humidity, such as bathrooms or kitchens.
- Rotate regularly: To prevent uneven wear, rotate the rug occasionally. This distributes foot traffic and sunlight exposure, helping to maintain consistent color and texture throughout the rug.
- Protect from direct sunlight: Prolonged exposure to direct sunlight can cause fading and deterioration of the rug’s fibers. Use curtains, blinds, or UV-blocking window films to protect the rug from harsh sunlight.
- Professional cleaning: Every few years, consider having the rug professionally cleaned to refresh its appearance and remove deeply embedded dirt. Choose a professional rug cleaner with experience in handling woven rugs.
- Regular inspection: Periodically inspect the repaired areas and the overall condition of the rug. Look for signs of wear, loose threads, or any new damage that may require attention.
By following these cleaning and maintenance practices, you can ensure that your repaired woven rug stays in optimal condition for years to come. Regular care will help preserve the integrity of the repairs and maintain the beauty of your rug.