
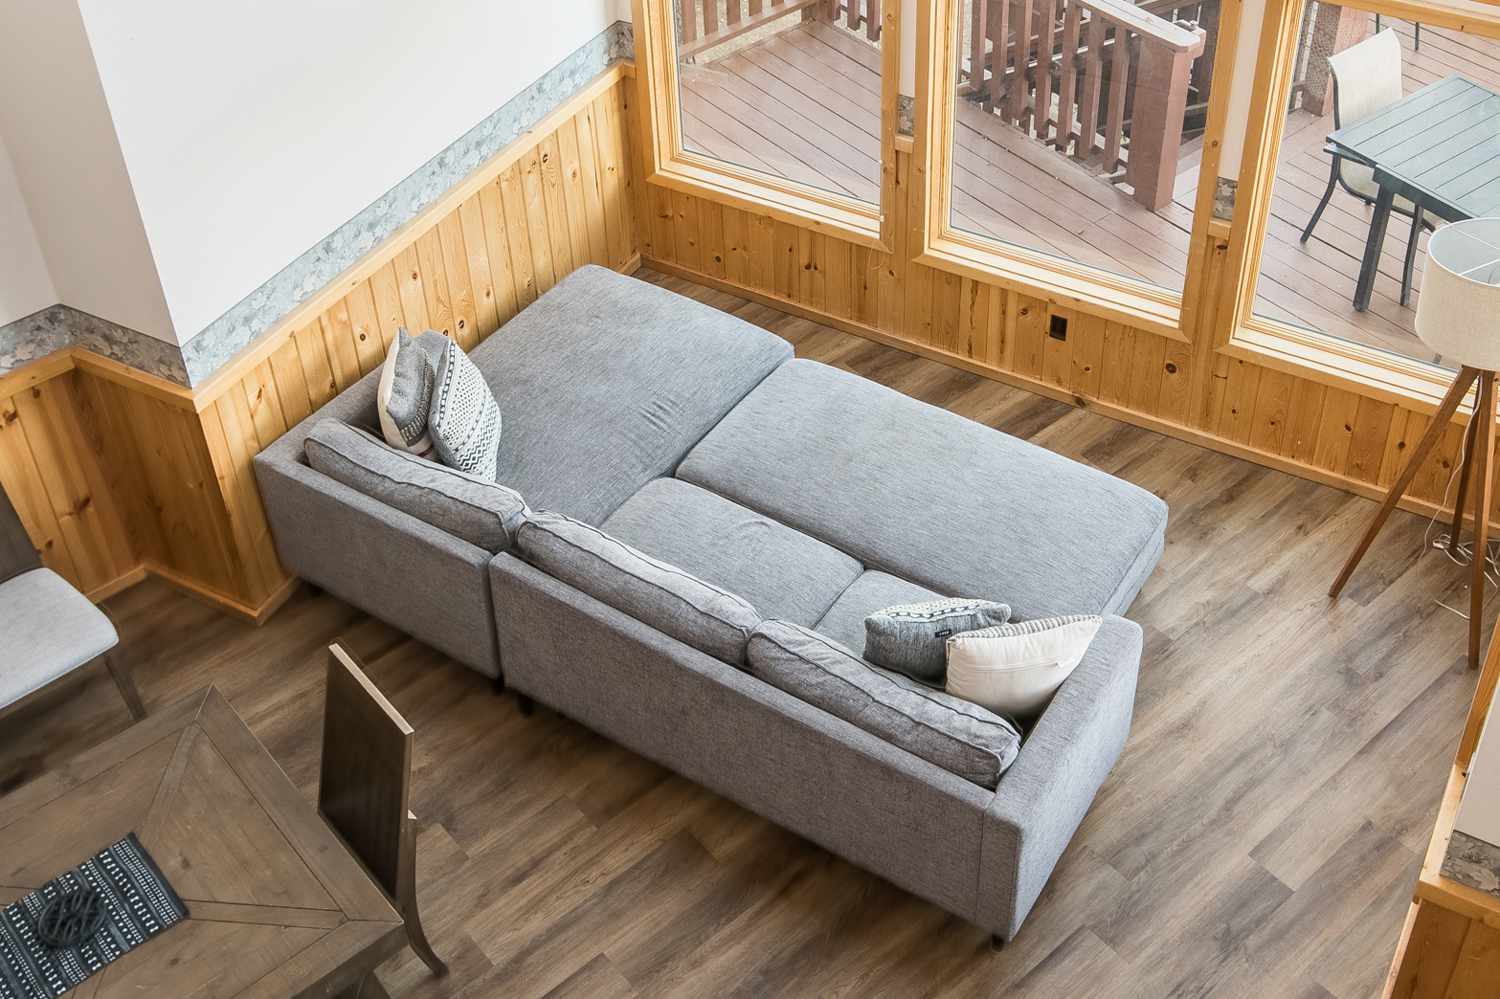
Preparing for Bed Removal
Before you begin the process of removing the bed from your sleeper sofa, it’s important to prepare the area and gather the necessary tools. This will ensure a smooth and efficient removal process. Here are the essential steps to take before getting started:
- Clean the surrounding area: Start by removing any furniture, decorations, or obstructions near the sleeper sofa. This will provide you with ample space to work and prevent any accidental damage.
- Gather the right tools: Depending on the specific design of your sleeper sofa, you may need a set of basic tools such as a screwdriver, pliers, and an adjustable wrench. Ensure that you have these tools readily available before you begin.
- Read the manufacturer’s manual: It’s always a good idea to consult the manufacturer’s manual or assembly instructions for your sleeper sofa. This will give you important insights into its construction and help you understand the specific process for removing the bed.
- Take safety precautions: Before starting any physical work, make sure to take necessary safety precautions. Wear protective gloves and eyewear to protect yourself from sharp edges or potential injury.
By following these steps, you will set yourself up for success during the bed removal process. Taking the time to prepare properly will make the overall task easier and minimize the risk of any accidents or damage. Once you have completed these preparatory steps, you can proceed to the next phase of removing the mattress from your sleeper sofa.
Removing the Mattress
Now that you have prepared the area, it’s time to remove the mattress from your sleeper sofa. The mattress is typically the easiest part to remove and can be done with a few simple steps:
- Locate the mattress handles: Most sleeper sofas have handles attached to the mattress for easy removal. These handles are usually located on both sides of the mattress near the foot end. Identify and locate these handles.
- Hold the mattress handles: Once you have located the handles, grasp them firmly with your hands. Make sure you have a good grip before proceeding to the next step.
- Slide the mattress out: Slowly and carefully slide the mattress out towards the foot end of the sleeper sofa. Use your strength evenly on both handles to prevent any unnecessary strain on one side.
- Place the mattress aside: Once the mattress is completely out of the sofa, place it down on a clean and flat surface, such as the floor or a nearby bed frame.
Remember to handle the mattress with care to avoid any tears or damage. If the mattress is too heavy or bulky to handle on your own, consider asking a friend or family member for assistance. Store the mattress in a safe and dry location until you are ready to use it again.
With the mattress successfully removed, you can now move on to the next step of detaching the bed frame from your sleeper sofa.
Detaching the Bed Frame
After removing the mattress, the next step is to detach the bed frame from your sleeper sofa. This process may vary depending on the design of your sofa, but here are the general steps to follow:
- Locate the attachment points: Examine the underside of the sleeper sofa to find the attachment points that connect the bed frame to the sofa frame. These points may be secured with screws, bolts, or clips.
- Unscrew or unfasten the attachments: Using the appropriate tools, such as a screwdriver or wrench, loosen and remove the screws or fasteners that hold the bed frame in place. Be sure to keep track of the hardware as you will need it for reassembly, if necessary.
- Check for additional attachments: Some sleeper sofas may have additional attachments, such as hooks or latches, that secure the bed frame. Look for any additional fasteners and remove them as needed.
- Gently lift and detach the bed frame: Once all the attachments have been loosened or removed, carefully lift the bed frame and detach it from the sofa frame. Make sure to support the weight of the frame and avoid any sudden movements.
As you remove the bed frame, take note of any specific instructions or guidelines provided by the manufacturer. These instructions can help ensure a smooth and safe removal process. Additionally, it is always a good idea to have someone assist you during this step, especially if the bed frame is heavy or awkward to handle.
Once the bed frame is detached, set it aside in a safe and secure location. You can now proceed to the next step of unscrewing the sides of the sleeper sofa.
Unscrewing the Sides
As you continue disassembling your sleeper sofa, the next step is to unscrew the sides. This will allow you to further dismantle the sofa and remove any remaining components. Follow these steps to unscrew the sides:
- Locate the screws: Examine the sides of your sleeper sofa to identify the screws that are holding the frame together. These screws are typically located on the inside or back of the sofa’s arms.
- Choose the right tool: Depending on the type of screws used, you may need a screwdriver, Allen wrench, or another appropriate tool. Make sure you have the correct tool on hand before proceeding.
- Start unscrewing: Insert the tool into the screw head and rotate it counterclockwise to loosen and remove the screws. Take your time and be careful not to strip the screw heads or damage the surrounding material.
- Set aside the screws: As you remove the screws, set them aside in a safe place. Keep track of the hardware to ensure that you can reassemble the sofa if desired in the future.
- Repeat on both sides: Once you have unscrewed one side, move to the other side of the sleeper sofa and repeat the process. Make sure to remove all the screws from both sides.
Keep in mind that different sleeper sofas may have varying numbers of screws and attachment points on the sides. Take note of any additional screws or fasteners that need to be removed before proceeding to the next steps of disassembling the headboard and removing the legs.
By unscrewing the sides of your sleeper sofa, you are gradually disassembling the frame and getting closer to a fully dismantled sofa. Next, we will focus on detaching the headboard to continue the disassembly process.
Detaching the Headboard
The headboard of your sleeper sofa is the next component to detach as you continue disassembling the sofa. Removing the headboard will allow for easier dismantling and storage. Follow these steps to detach the headboard:
- Identify the attachment points: Examine the back of the sleeper sofa to locate the attachment points that connect the headboard to the frame. These points might be secured with screws, bolts, or clips.
- Use the appropriate tools: Depending on the type of attachments, gather the necessary tools such as a screwdriver, Allen wrench, or adjustable pliers to remove the fasteners.
- Loosen and remove the attachments: Carefully loosen and remove the screws, bolts, or clips that secure the headboard to the frame. Keep track of the hardware as you will need it later if you decide to reassemble the sofa.
- Support the weight of the headboard: Depending on the size and construction of the headboard, it may be relatively heavy. As you detach the attachments, make sure to support the weight to prevent any accidental damage or injuries.
- Safely set aside the headboard: Once all the attachments are removed, set the headboard aside in a secure location, away from potential damage or obstacles. If needed, you can wrap it in protective material to prevent scratches or dents.
Be sure to follow any specific instructions provided by the manufacturer regarding the detachment of the headboard. Some sleeper sofas may have unique mechanisms or additional steps that need to be considered during this process.
With the headboard successfully detached, you are nearing the final stages of disassembling your sleeper sofa. The next step will be removing the legs, which will further facilitate disassembly and storage.
Removing the Legs
Removing the legs from your sleeper sofa is the final step in the disassembly process. By removing the legs, you can ensure a more compact and manageable sofa for storage or transportation. Follow these steps to remove the legs:
- Flip the sofa upside down: Carefully flip the sleeper sofa upside down, ensuring that it is supported and stable. This will provide easier access to the legs for removal.
- Locate the leg attachment points: Examine the bottom of the sofa to find the attachment points where the legs are secured. Depending on the design, the legs may be attached with screws, brackets, or other fasteners.
- Loosen and remove the attachments: Use the appropriate tools, such as a screwdriver or wrench, to loosen and remove the screws or fasteners that hold the legs in place. Pay attention to the specific attachment method used for each leg.
- Remove each leg individually: Once the attachments are loosened, remove each leg one at a time. Twist or slide the leg out of its attachment point, taking care not to damage the sofa or surrounding areas.
- Set aside the legs: As you remove each leg, set them aside in a safe location. Keep track of the legs and any accompanying hardware for reassembly in the future, if desired.
Take note of any specific instructions or guidelines provided by the manufacturer for removing the legs. Some sleeper sofas may have unique leg attachment mechanisms that require additional steps or tools.
With the legs successfully removed, your sleeper sofa is now fully disassembled and ready for storage or transport. Take care to keep all the components and hardware together for easy reassembly, if needed in the future.
Disassembling the Bed Mechanism
Disassembling the bed mechanism of your sleeper sofa is an important step in fully dismantling the sofa and preparing it for storage or transportation. The bed mechanism is responsible for the smooth functioning of the sleeper sofa and may require some extra steps to disassemble. Follow these guidelines to disassemble the bed mechanism:
- Refer to the manufacturer’s instructions: Consult the manufacturer’s manual or assembly instructions for guidelines specific to your sleeper sofa model. These instructions will provide valuable insights into the disassembly process.
- Identify the bed mechanism components: Take a moment to understand the different components of the bed mechanism, such as the hinges, levers, and sliders. This will help you navigate through the disassembly process more efficiently.
- Detach the mattress support: Some sleeper sofas have a separate mattress support board or frame that needs to be removed. Locate any fasteners or attachments securing the mattress support and remove them as directed.
- Release the locking mechanisms: Depending on the design of your sleeper sofa, there may be locking mechanisms that hold the bed mechanism in place. Look for any levers or buttons that need to be released to unlock the bed mechanism.
- Follow the disassembly sequence: Refer to the manufacturer’s instructions or use your observation skills to determine the proper sequence for disassembling the bed mechanism. This will ensure that you remove the components in the correct order, avoiding any unnecessary complications or damage.
- Keep track of the hardware: As you dismantle the bed mechanism, keep track of any screws, bolts, or other hardware that are removed. Place them in a designated container or bag to ensure they are not lost and can be easily located for reassembly, if necessary.
Remember to handle the bed mechanism with care and use the appropriate tools as recommended by the manufacturer. Take your time during the disassembly process to ensure each step is executed properly.
By disassembling the bed mechanism, you have completed the final stage of dismantling your sleeper sofa. The individual components are now ready for storage or transportation according to your needs.
Removing the Remaining Parts
Now that you have disassembled the main components of your sleeper sofa, it’s time to address any remaining parts that are still attached. This step will ensure a thorough disassembly of the sofa and make it easier to store or transport. Follow these steps to remove the remaining parts:
- Inspect for any additional attachments: Look closely at the disassembled sofa to identify any remaining parts or attachments that may need to be removed. This could include items such as cushions, covers, or decorative elements.
- Remove the cushions: If your sleeper sofa has removable cushions, carefully detach them from the frame. This will not only make the sofa more compact but also allow for better storage and cleaning of the cushions.
- Take off the covers: Some sleeper sofas come with removable covers that can be unzipped and detached. Remove the covers according to the manufacturer’s instructions, if applicable, and set them aside for cleaning or storage.
- Detach any decorative elements: If there are any decorative elements or accessories attached to the sleeper sofa, such as trimmings or embellishments, remove them gently to avoid any damage to the sofa or yourself.
- Organize and store the remaining parts: Once all the remaining parts are removed, organize them in a systematic manner. Keep all the disassembled components, cushions, covers, and hardware stored together in a safe and organized manner.
Remember to handle each part with care, especially delicate or fragile elements. Properly store all the disassembled parts in a clean, dry area until you are ready to reassemble the sleeper sofa or use them again in the future.
By removing the remaining parts, you have completed the disassembly process of your sleeper sofa. You can now store or transport the components with ease, saving space and ensuring the longevity of your sleeper sofa.