
Choosing the Right Fabrics and Supplies
When it comes to quilting a blanket, one of the most crucial steps is choosing the right fabrics and supplies. The materials you select will greatly impact the overall look and feel of the finished quilt. Here are some tips to help you make the best choices.
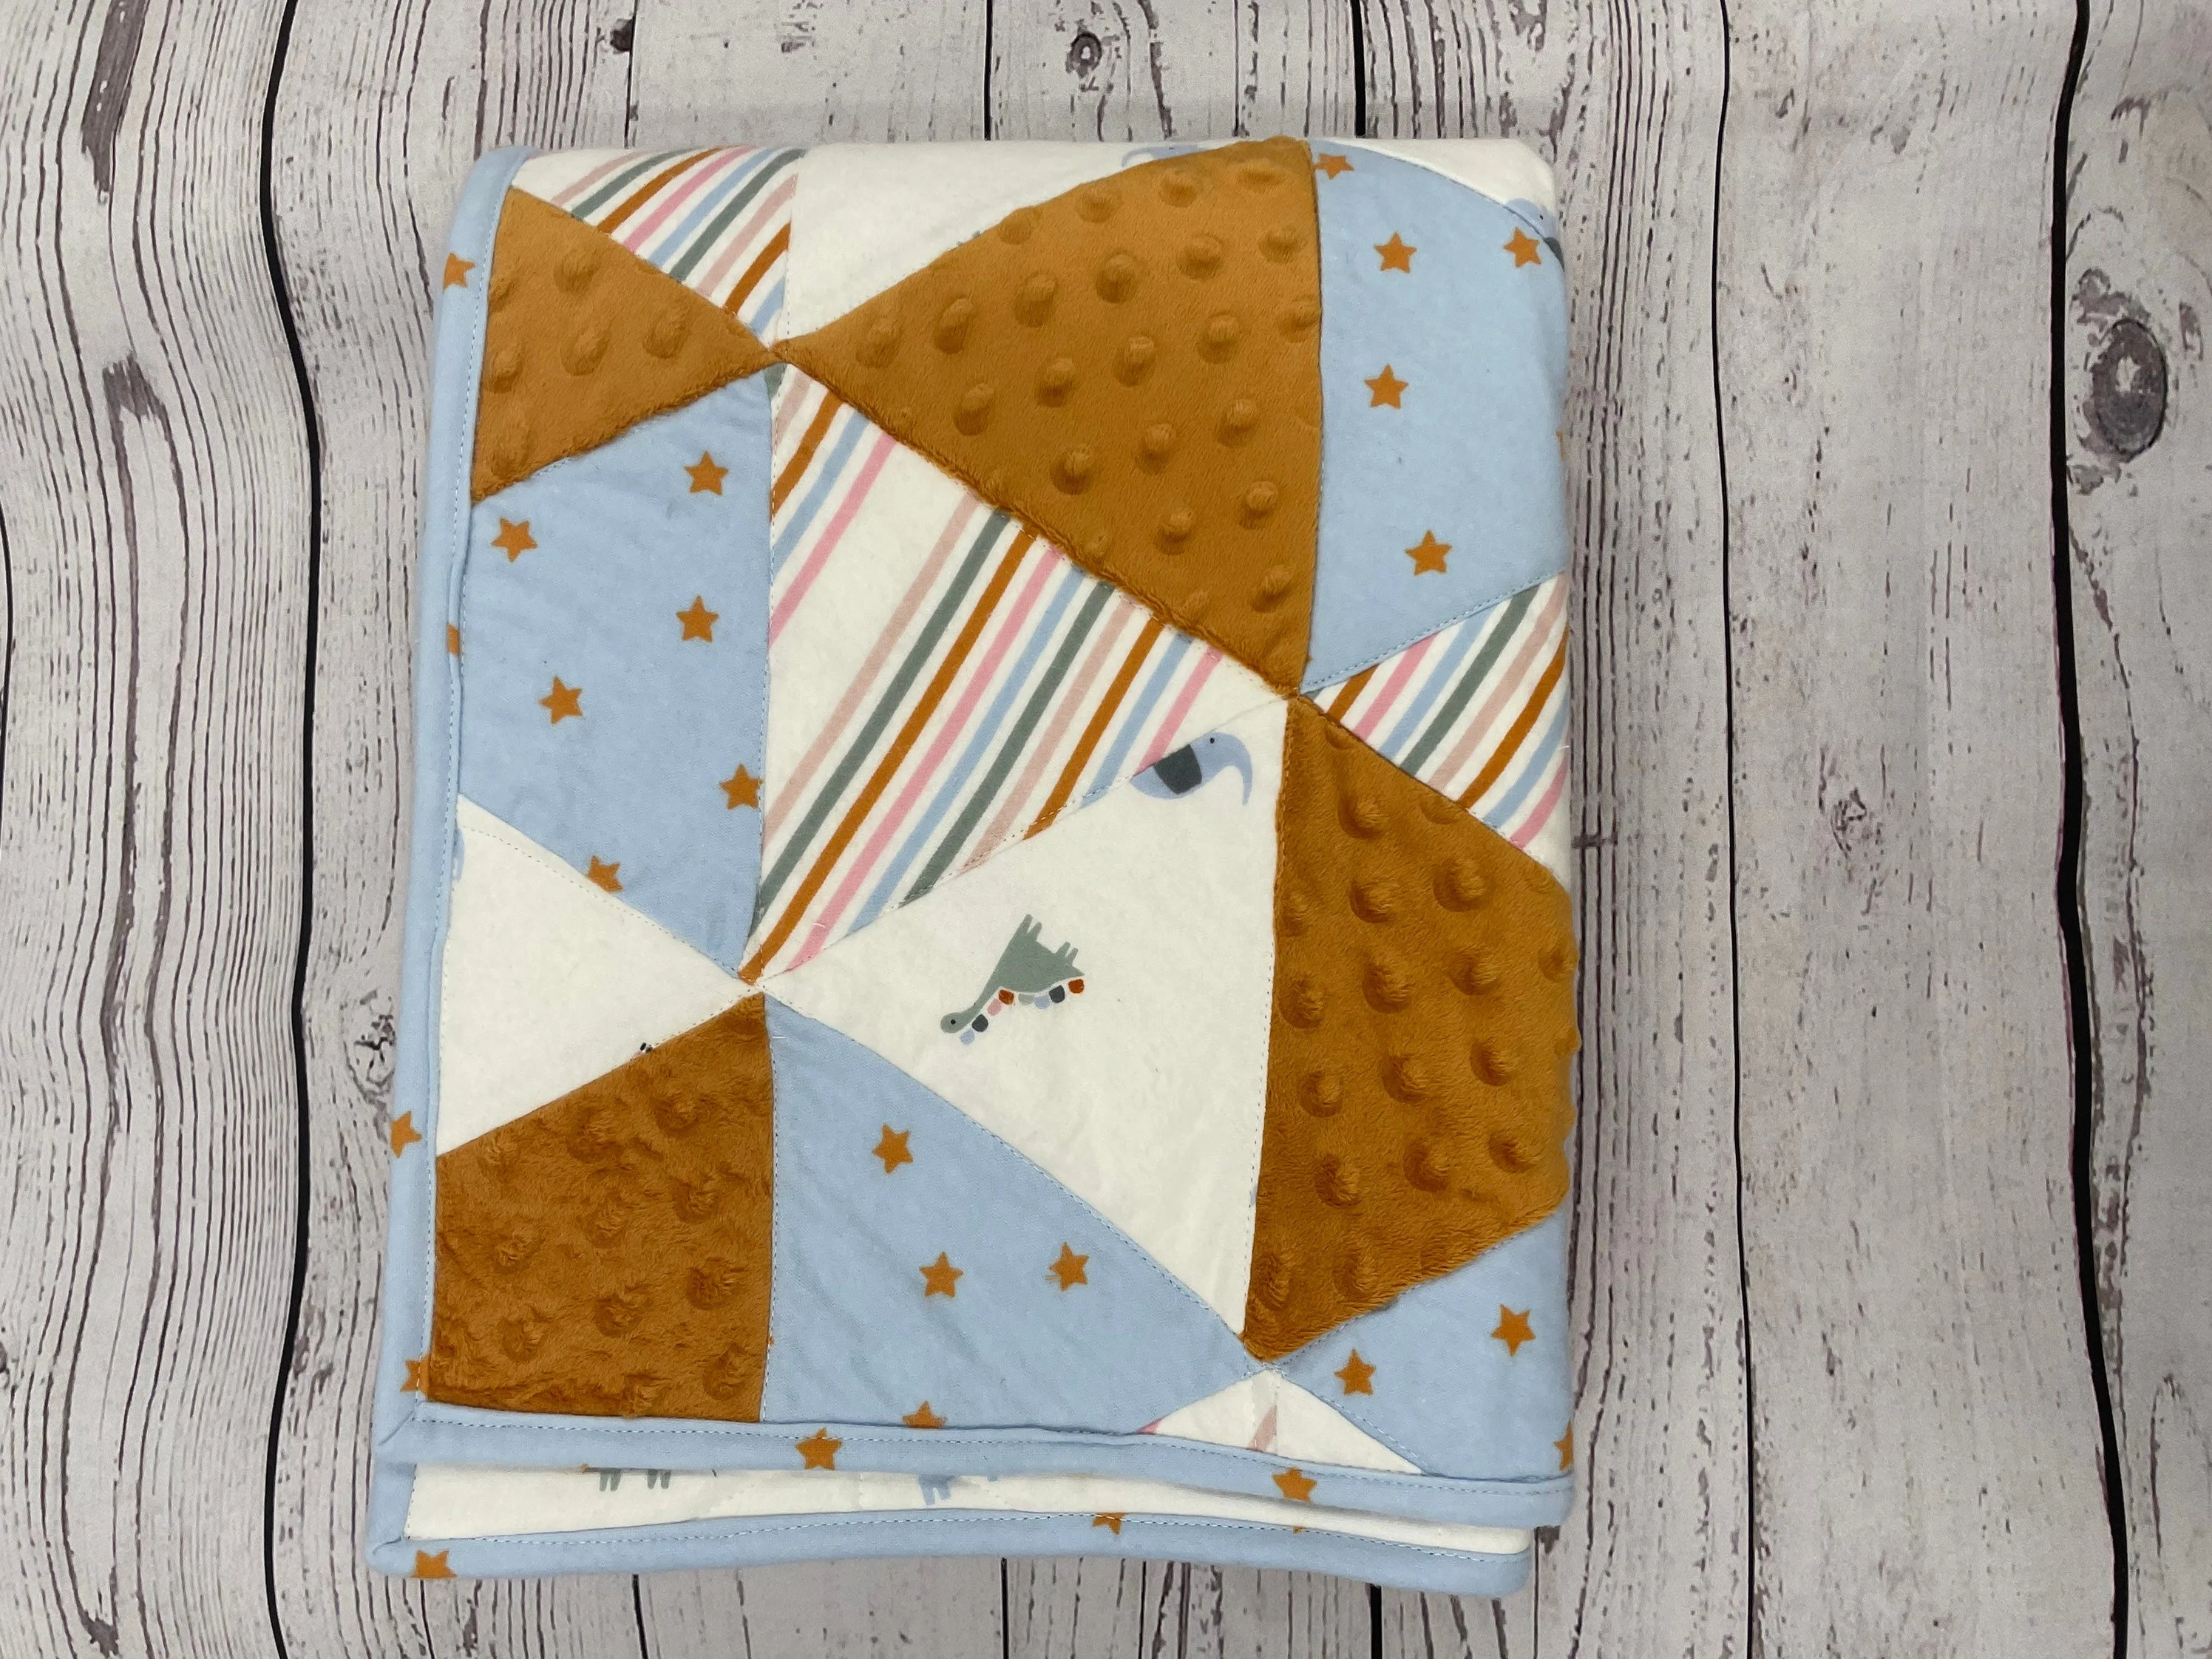
Firstly, consider the purpose of your quilt. Is it meant to be a cozy blanket for chilly winter nights or a decorative piece to display on a wall? This will help determine the type of fabric you should select. For a warmer and more snuggly blanket, opt for flannel or fleece fabrics. If you want to create a quilt that doubles as a work of art, look for high-quality cotton prints or even batik fabrics for their vibrant colors and intricate designs.
Next, think about the color scheme and theme you want to incorporate into your quilt. Whether you prefer bright and bold hues or subtle pastels, choose fabrics that complement each other and create visual harmony. Consider creating a color palette using a color wheel, or gather inspiration from nature, art, or even your home decor.
Along with fabrics, you will need to gather essential quilting supplies. Invest in a good rotary cutter, cutting mat, and quilting ruler to ensure precise and accurate cuts. A sewing machine with various stitch options and a walking foot attachment will make the process smoother. Don’t forget to stock up on high-quality cotton quilting thread that matches your fabric choices.
Lastly, consider the size of your quilt and determine how much fabric you will need. Measure the desired dimensions and add a couple of inches for seam allowances. It’s always better to have a little extra fabric than to run short during the quilting process.
Preparing the Fabric
Before you can start quilting, it is important to properly prepare your fabric. This step ensures that your quilt will turn out beautifully and last for years to come. Here are some key steps to follow when preparing the fabric for your quilt:
First, prewash your fabric. Although some fabrics may claim to be prewashed, it is always a good idea to wash them before quilting. This helps remove any chemicals, dyes, or finishes that may be present and ensures that your quilt will not shrink or warp once it’s washed. Use a mild detergent and follow the fabric care instructions to avoid any damage.
After washing, iron your fabric. This step is crucial for achieving precise and accurate cuts. Ironing removes wrinkles and creases, making it easier to measure and cut your fabric pieces. Use a medium to high heat setting and apply firm, even pressure to smooth out any wrinkles.
Next, consider the direction of the fabric’s print or pattern. Depending on the design you have in mind, you may want to cut your fabric in a specific direction to showcase the pattern or create a certain effect. Take note of any directional prints or patterns on the fabric and align them according to your design plan.
If you are using different fabrics for your quilt, it is important to ensure that they are all pressed and ready to go. Arrange the fabrics in the order you plan to use them and double-check that they are free of any lint or loose threads. This will make the piecing process much easier and result in a polished finished quilt top.
Finally, consider the backing fabric for your quilt. This fabric is typically larger than the quilt top and is used to cover the back of the quilt sandwich. Ensure that the backing fabric is properly washed, ironed, and free of any flaws or imperfections that could affect the overall appearance of your quilt.
By taking the time to properly prepare your fabric, you will set a solid foundation for your quilt and increase the chances of a successful outcome. Remember to handle the fabric with care and be mindful of the fabric’s specific needs during the preparation process.
Creating a Design Plan
Designing your quilt is an exciting and creative part of the quilting process. Before you start cutting and piecing your fabric, it’s important to have a design plan in place. This will help you stay organized and achieve the desired look for your quilt. Here are some steps to help you create a design plan:
Begin by determining the size and shape of your quilt. Consider if you want a standard rectangular quilt or if you prefer something more unique, like a square or a hexagon. The size and shape will impact the number of fabric pieces you’ll need and the overall layout.
Next, think about the overall theme or concept for your quilt. Do you want a traditional quilt with a specific pattern, such as a log cabin or a nine-patch? Or perhaps you want to experiment with a modern or abstract design. Consider your personal style and preferences to guide your decision.
Sketch your design on paper or use a digital design program to visualize your quilt. This step will help you determine the placement of fabric pieces and how they interact with one another. Play with different color combinations and arrangements to find the design that appeals to you the most.
Consider the balance and symmetry of your design. Aim for a visually pleasing composition by incorporating elements of balance, such as using equal amounts of contrasting colors or distributing various patterns in a symmetrical manner. This will create a cohesive and harmonious look.
Think about the borders and sashing for your quilt. Borders are additional fabric strips that frame the quilt, while sashing is used to separate the blocks or fabric pieces. Decide if you want a border or sashing, and choose fabric that complements the overall design.
Lastly, take note of the complexity of your design and the skill level required. If you’re a beginner, it might be best to start with a simpler design and gradually work your way up to more intricate patterns. This will help you build your skills and confidence as a quilter.
By creating a design plan, you’ll have a clear vision of how your quilt will look before you even start cutting your fabric. This will save you time and prevent any potential mistakes. Remember to be flexible and open to making changes as you go along, as sometimes the final product may differ slightly from your initial plan.
Cutting and Assembling the Quilt Top
Once you have your design plan in place, it’s time to bring it to life by cutting and assembling the quilt top. This step involves precision and careful attention to detail to ensure that all the fabric pieces fit together seamlessly. Here’s a guide on cutting and assembling the quilt top:
Start by organizing your fabrics according to your design plan. Lay them out in the order you’ll be using them, making sure to keep track of any pattern direction or specific placement requirements.
Measure and cut your fabric based on the dimensions specified in your design plan. Use a rotary cutter, cutting mat, and quilting ruler for accurate and straight cuts. Take your time to ensure that your pieces are cut to the correct size.
As you cut each piece, label them to keep track of their position within the design. This will prevent confusion when it comes time to assemble the quilt top and will make the process much smoother.
Once all your fabric pieces are cut, it’s time to start assembling the quilt top. Lay out your pieces on a large, flat surface, following your design plan. Take care to align the edges and corners accurately for a neat and professional finish.
Consider using pins or fabric markers to temporarily secure the fabric pieces in place before sewing. This will help maintain the intended layout and prevent any shifting or misalignment.
When sewing the fabric pieces together, use a quarter-inch seam allowance unless otherwise specified in your design plan. Sew with a straight stitch and backstitch at the beginning and end of each seam to secure the stitches.
Continue sewing the fabric pieces together according to your design plan until the quilt top is complete. Press the seams flat and in the desired direction to reduce bulk and achieve a neat appearance.
Once you’ve assembled the quilt top, step back and look at it from a distance to ensure that the design and layout are as intended. Make any necessary adjustments before moving on to the next step of the quilting process.
By cutting and assembling the quilt top with precision and attention to detail, you’ll create a visually appealing and well-structured foundation for your quilt. Taking the time to carefully align and seam the fabric pieces will result in a stunning finished product.
Piecing the Quilt Sandwich
Once you have the quilt top assembled, the next step is creating the quilt sandwich. This involves combining the quilt top, batting, and backing fabric to form a layered structure that will be quilted together. Here’s a guide on piecing the quilt sandwich:
First, lay out the backing fabric on a large, flat surface with the wrong side facing up. Smooth out any wrinkles or creases to ensure a smooth foundation for the quilt sandwich.
Next, place the batting on top of the backing fabric, ensuring that it is centered and covers the entire quilt top. The batting provides loft and warmth to the quilt, so choose a type that suits your desired level of thickness and insulation.
Carefully place the quilt top on the batting, right side facing up. Align the edges and corners with those of the backing fabric to ensure a proper fit. Smooth out any wrinkles or folds in the quilt top to create a flat and even surface.
Pin or baste the layers together to hold them in place. You can use large safety pins or thread basting to secure the layers. Start at the center and work your way out towards the edges, placing pins or basting stitches every few inches.
Ensure that all layers are taut and smooth, without any excess fabric or bunching. This will ensure better stitching results and prevent any lumps or uneven areas in the finished quilt.
Once the layers are securely held together, it’s time to prepare for quilting. Consider the quilting design you plan to use—whether it’s straight lines, free-motion quilting, or a specific pattern—and ensure that the layers are properly secured and ready for stitching.
Before quilting, trim any excess batting and backing fabric to match the size of the quilt top. Use a rotary cutter and quilting ruler for precise and even cuts. This will create a clean and professional finish to the quilt edges.
Finally, double-check all the layers of the quilt sandwich to make sure they are in place and properly aligned. Smooth out any wrinkles or bumps, and ensure that the quilt top is smooth and flat.
By piecing the quilt sandwich with care and attention, you’ll create a sturdy and well-prepared foundation for the quilting process. Taking the time to properly align and secure the layers will result in a beautifully finished quilt.
Quilting Techniques
Quilting techniques play a vital role in bringing your quilt to life. They add texture, pattern, and durability to the finished project. There are various quilting techniques to choose from, depending on your desired outcome and skill level. Here are some popular quilting techniques to consider:
1. Hand Quilting: Hand quilting is a traditional technique that involves sewing stitches through all three layers of the quilt using a needle and thread. This technique allows for intricate designs and precise control over the stitching. It requires practice and patience but can result in beautifully detailed quilts.
2. Machine Quilting: Machine quilting involves using a sewing machine to stitch the quilt layers together. This technique offers speed and efficiency, making it ideal for larger quilts. There are various machine quilting methods, such as straight line quilting, free-motion quilting, and stippling, each adding its unique style to the quilt.
3. Quilting with Rulers: Quilting rulers are tools that help guide the sewing machine in creating precise and consistent quilt designs. By using quilting rulers, you can create geometric patterns, borders, and intricate shapes with ease. This technique is popular among quilters looking for clean lines and symmetrical designs.
4. Appliqué: Appliqué is the process of attaching fabric shapes or motifs onto the quilt top. This technique allows for endless creativity and customization. Appliqué can be done by hand or using a sewing machine, and it adds depth and dimension to the quilt by incorporating different fabrics and textures.
5. Quilt-As-You-Go: Quilt-as-you-go is a technique that involves quilting smaller sections of the quilt individually and then piecing them together. This method is perfect for beginners or quilters working with limited space or equipment. It allows for more manageable quilting and offers flexibility in design and pattern choices.
6. Tie Quilting: Tie quilting is a simple and quick method that involves tying the three layers of the quilt together with decorative knots or bows. This technique is commonly used for cozy and functional quilts, such as baby quilts or rag quilts. Tie quilting provides a charming, rustic look to the finished quilt.
When choosing a quilting technique, consider the design of your quilt, your skill level, and the time you have available. Experimenting with different techniques will help you develop your own quilting style and achieve the desired look and feel for your quilt.
Remember, practice is key when it comes to mastering quilting techniques. Don’t be afraid to start small, try new methods, and learn from your quilting experiences. Enjoy the process and let your creativity shine through in every stitch!
Binding the Edges of the Quilt
Binding the edges of the quilt is the final step in completing your quilt project. The binding not only gives a polished and professional finish to the quilt but also provides durability and helps protect the raw edges. Here’s a guide on binding the edges of the quilt:
1. Prepare the Binding Strips: Cut fabric strips for the binding, typically 2.5″ wide and long enough to cover all four sides of the quilt. Join the strips together to create one continuous length, using a diagonal seam to minimize bulk. Press the seams open for a smooth finish.
2. Prepare the Quilt Edges: Trim the excess batting and backing fabric to match the size of the quilt top. Ensure that all layers of the quilt sandwich are smooth and even. Press the quilt edges to create a distinct crease, making it easier to attach the binding.
3. Attaching the Binding: Starting at one side of the quilt, leave a tail of around 8 inches and align the raw edges of the binding strip with the raw edge of the quilt top. Attach the binding using a ¼” seam allowance, sewing all the layers together. Continue sewing until you reach a few inches away from the starting point. Secure the ends of the binding strip together with pins.
4. Mitering the Corners: When you approach a corner, stop sewing ¼” away from the edge. Fold the binding strip up, creating a diagonal fold that aligns with the adjacent side. Then, fold it back down, aligning the raw edge of the binding strip with the new edge. Resume sewing from the corner, repeating the process for each corner.
5. Joining the Ends: When you reach the starting point, trim the binding strip, leaving a tail that matches the length of the initial tail. Open the ends of the binding strips and place them right sides together. Sew a diagonal seam to join the ends, making sure the stitching lies flat. Trim the excess seam allowance.
6. Finishing the Binding: Fold the binding strip over the raw edge of the quilt and press it in place. Then, fold it to the back of the quilt, covering the previous seam. Secure the binding to the back of the quilt with pins or clips. Hand stitch the binding in place using an invisible whipstitch or a slip stitch, making sure to catch the backside of the binding and not the quilt front.
Once the binding is securely stitched in place, give the quilt a final press to remove any wrinkles, ensuring a neat and professional finish. Now that the edges of your quilt are bound, your project is complete and ready to be enjoyed or gifted to someone special.
Finishing Touches and Care Instructions
After completing the quilting process, there are a few final touches to add to your quilt and some essential care instructions to ensure its longevity. Here’s a guide to the finishing touches and care instructions for your quilt:
1. Add Labels and Signatures: Attach a label to the back of your quilt with your name, date, and any other relevant information. This will serve as a personal touch and provide documentation for future generations. You can also consider adding a signature or personalized embroidery to commemorate your quilting journey.
2. Block and Square the Quilt: Square up your quilt by trimming it to ensure that all edges are straight and corners are square. This will give your quilt a polished appearance and ensure that it lays flat when displayed or used.
3. Secure Loose Threads: Check for any loose threads on both the front and back of the quilt. Use a small needle or snag repair tool to secure loose threads to prevent them from unraveling or creating a messy look.
4. Quilt Label Documentation: Consider writing a short description of your quilt’s inspiration, design process, and special details on a separate piece of fabric and attaching it as documentation. This will provide valuable insight into the quilt’s story and make it even more meaningful.
5. Care Instructions: Provide care instructions to ensure that your quilt stays in excellent condition for years to come. Typically, quilts should be gently hand washed or laundered on a delicate cycle using mild detergent. Avoid using bleach or harsh chemicals. Air drying is recommended to prevent shrinkage, but if using a dryer, use a low heat setting. Consider storing your quilt in a cotton or linen bag, away from direct sunlight and excessive moisture.
6. Display and Enjoy: Finally, find the perfect spot to display or use your quilt. Whether you choose to showcase it on a wall, drape it over furniture, or use it for warmth and comfort, your quilt is a work of art that deserves to be admired and cherished.
Remember to periodically inspect and spot clean your quilt to maintain its beauty. With proper care and attention, your quilt will become a treasured heirloom that can be passed down through generations, carrying the legacy of your craftsmanship and creativity.