
Choosing the Right T-shirts
When creating a T-shirt blanket, choosing the right T-shirts is crucial to ensure a high-quality and visually appealing final product. Here are some tips to help you select the perfect T-shirts for your blanket:
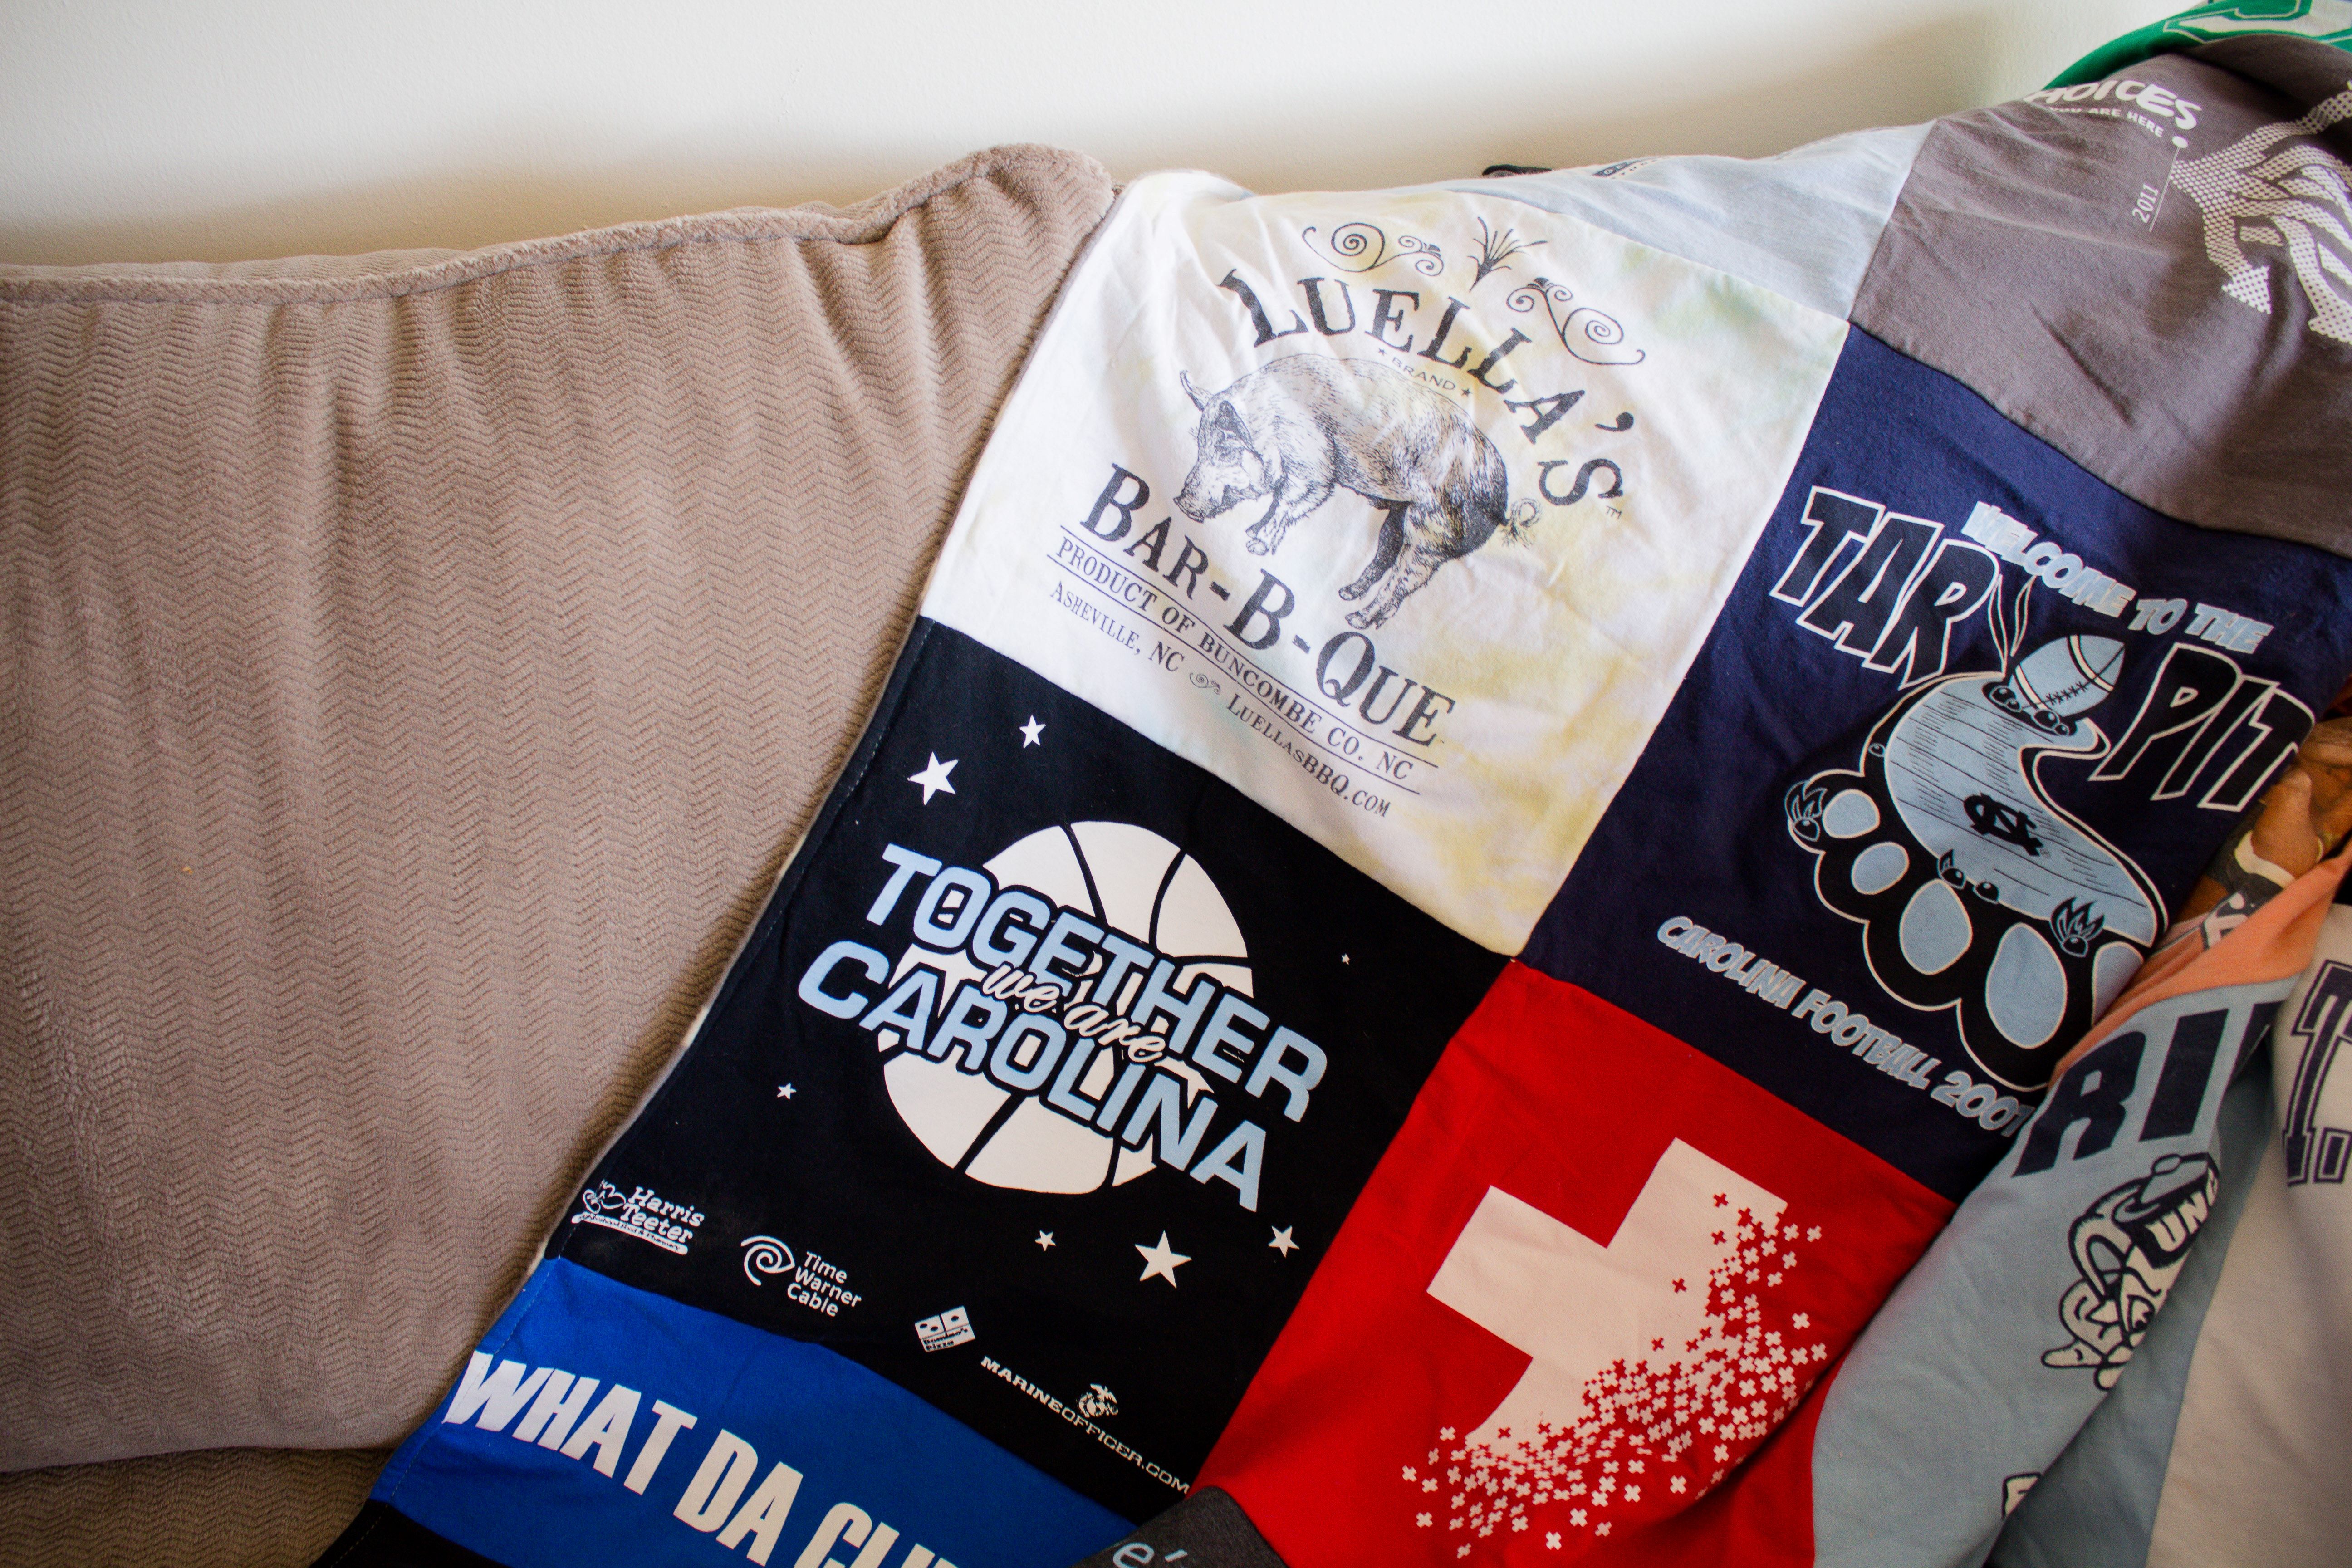
- Sentimental value: Consider using T-shirts that hold sentimental value, such as shirts from memorable events, vacations, or sports teams. These will add a personal touch to your blanket and make it more meaningful.
- Fabric condition: Inspect the T-shirts for any tears, stains, or excessive stretching. It’s important to choose shirts that are in good condition, as they will contribute to the overall durability and longevity of the blanket.
- Size and design: Take into account the size and design of the T-shirts. Ensure that the graphics or logos on the shirts are not too large or positioned in a way that would impede the cutting and sewing process. Limiting the number of large designs will also make it easier to arrange the shirt squares into an aesthetically pleasing arrangement.
- Color coordination: Consider the color palette of the T-shirts you plan to use. While it’s not necessary for all the shirts to match, having a general theme or color scheme can help create a cohesive look for the blanket.
- Material compatibility: Keep in mind the material of the T-shirts. While most T-shirts are made of cotton, some may be a blend, have stretchy fabrics or specialized prints. It’s important to consider the compatibility of the materials for cutting, sewing, and quilting purposes.
- Quantity: Determine the number of T-shirts you’ll need based on the desired size of your blanket. A larger blanket will require more shirts, while a smaller one can be made with fewer shirts. It’s always better to have a few extra shirts in case of errors or if you want to add variety to your design.
By carefully selecting the right T-shirts for your blanket, you can ensure a visually appealing and sentimental keepsake that will be cherished for years to come.
Preparing the T-shirts
Before you can start cutting and sewing the T-shirts for your blanket, it’s important to properly prepare them. Follow these steps to get your T-shirts ready for the next stage of the process:
- Wash and dry: Begin by washing and drying all the T-shirts you have selected for the blanket. This step will remove any dirt, stains, or odors that may be present on the shirts. Be sure to follow the care instructions provided on the garment labels to prevent any damage or shrinkage.
- Smooth out wrinkles: Once the T-shirts are dry, use an iron to remove any wrinkles and ensure that the fabric is flat and smooth. This will make it easier to cut and sew the T-shirt squares later on.
- Stabilize stretchy fabrics: If you have any T-shirts made of stretchy or lightweight fabrics, consider stabilizing them before cutting. This can be done by applying fusible interfacing to the backside of the shirt fabric or using temporary spray adhesive. Stabilizing the fabric will prevent it from stretching or distorting during the cutting and sewing process.
- Choose a template: Select a template or stencil that matches the desired size of the T-shirt squares. Templates can be made from cardboard, plastic, or even pre-made quilting rulers. Having a consistent size for the squares will make it easier to arrange them during the design phase and ensure a more uniform appearance.
- Position the template: Place the template over each T-shirt and position it to capture the desired graphics or logos. Take your time to align the template properly to highlight the most important elements of the design.
- Mark and cut: Use a fabric marker or chalk to trace around the template onto the T-shirt front. Take care to cut through both the front and back layers of the shirt to create a complete square. Repeat this process for each T-shirt you are using, ensuring that the squares are consistent in size.
By properly preparing your T-shirts, you’ll make the next steps of the blanket-making process much smoother. Ready-to-go T-shirt squares will be easier to work with and result in a professionally finished product.
Cutting the T-shirt Squares
Once you have prepared your T-shirts, it’s time to cut them into square shapes for your blanket. Follow these steps to ensure clean and precise cuts:
- Align the template: Place your template over the front of each T-shirt square. Make sure the template is centered and oriented to capture the desired design elements.
- Secure the T-shirt: Use fabric clips or pins to secure the T-shirt layers together. This will prevent any shifting or stretching while you’re cutting the squares.
- Cut around the template: Use fabric scissors or a rotary cutter to carefully cut around the edges of the template. Slow and steady cutting motions will result in clean lines and prevent any jagged or uneven edges.
- Repeat for each T-shirt: Repeat the above steps for all the T-shirts you have selected for your blanket. Take your time with each cut to ensure accuracy and consistency in size.
- Store the squares: After cutting each T-shirt, keep the squares organized and separated. You can stack them neatly or label them to keep track of which shirt they belonged to.
It’s important to note that cutting T-shirts can produce a lot of fabric scraps. Consider keeping these scraps for potential future projects or find creative ways to repurpose them, such as making smaller embellishments or patches.
By carefully cutting the T-shirt squares, you’ll be one step closer to creating a beautifully crafted T-shirt blanket that showcases your cherished memories.
Planning Your Design
Now that you have your T-shirt squares ready, it’s time to plan the design for your blanket. A well-thought-out design will not only showcase the unique graphics and logos on each shirt but also create a visually appealing arrangement. Here’s how you can plan your T-shirt blanket design:
- Sort and group: Sort your T-shirt squares into groups based on color, theme, or any other criteria you prefer. This will help you visualize how different shirts can be combined to create interesting patterns.
- Arrange the squares: Lay out the T-shirt squares on a flat surface to experiment with different arrangements. Try different combinations and orientations to see what looks best. You can opt for a symmetrical or asymmetrical layout, create a zigzag pattern, or even arrange them randomly for a more eclectic aesthetic.
- Consider the balance: Pay attention to the balance of colors and designs in your arrangement. Avoid clustering similar elements together or having one area of the blanket appear too busy or overwhelming. Aim for a harmonious balance that allows each T-shirt to shine while maintaining an overall cohesive look.
- Leave room for borders or sashing: If you plan to include borders or sashing between the T-shirt squares, take this into account when arranging your design. The size and style of the borders can significantly impact the overall appearance of the blanket.
- Take pictures: Once you’re satisfied with a design, take pictures from different angles. This will help you remember and recreate the arrangement later during the sewing process.
Remember, planning your design is a creative process, so don’t be afraid to experiment and trust your instincts. It may be helpful to seek inspiration from T-shirt quilt patterns or existing T-shirt blankets for ideas, but ultimately, your design should reflect your personal style and preferences.
By carefully planning your T-shirt blanket design, you’ll create a visually stunning and meaningful keepsake that perfectly showcases your collection of cherished T-shirts.
Sewing the T-shirt Squares
Now that you have planned and finalized the design for your T-shirt blanket, it’s time to start sewing the T-shirt squares together. This step will transform your collection of shirts into a cohesive quilted blanket. Follow these steps to sew your T-shirt squares:
- Organize the squares: Lay out the T-shirt squares in the order you planned during the design stage. Keep them within easy reach to ensure a smooth sewing process.
- Prepare the sewing machine: Set up your sewing machine with a ballpoint or stretch needle and thread it with a color that complements your T-shirt squares. Adjust the machine’s settings for a straight stitch or a stitch appropriate for knit fabrics.
- Begin sewing the squares: Start sewing the T-shirt squares together, following the precise layout you planned. Place two squares with right sides facing each other and align the edges. Use pins or fabric clips to hold the squares securely in place.
- Sew a straight seam: Stitch along the aligned edges of the squares using a ¼-inch seam allowance. Take your time and ensure that the stitching is straight and even. Backstitch at the beginning and end of each seam to secure the stitches.
- Continue joining the squares: Repeat the above step to join all the T-shirt squares together according to your design. Take care to match any patterns or motifs that continue across multiple squares.
- Press the seams: After sewing each seam, press the seam allowances open or to one side, depending on your preference. This will create a flatter and neater appearance for your blanket.
- Check and adjust: Periodically check the alignment and consistency of your seams as you sew. Make any necessary adjustments to ensure that the squares are accurately joined and the blanket looks cohesive.
Remember to take breaks, stretch, and relax your hands and wrists during the sewing process to prevent strain or fatigue.
By sewing the T-shirt squares together with care and precision, you’ll bring your design to life and create a durable and well-constructed T-shirt blanket.
Adding Backing and Batting
Once you have sewn the T-shirt squares together, it’s time to add the backing and batting layers to your T-shirt blanket. The backing provides stability and protection, while the batting gives the blanket warmth and loft. Follow these steps to add the backing and batting:
- Choose the right fabric: Select a fabric for the backing that complements the design and color palette of your T-shirt blanket. Consider using a soft and durable fabric, such as cotton or flannel.
- Measure and cut the backing: Measure and cut the backing fabric to match the size of your sewn T-shirt top. Make sure to account for any excess or seam allowances.
- Prepare the batting: Choose a batting material suitable for quilting, such as cotton, polyester, or a blend. Cut the batting to match the size of the T-shirt top.
- Layer the T-shirt top, batting, and backing: Lay the T-shirt top right side up, then place the batting on top, followed by the backing fabric right side down. Make sure all the layers are aligned and smooth.
- Pin or baste the layers: Pin or baste the layers together to hold them in place. This will prevent shifting or bunching during the quilting process.
- Trim the excess: Trim any excess backing and batting to match the edges of the T-shirt top. Ensure that the layers are still securely held together.
At this stage, you have successfully added the backing and batting, setting the foundation for the next step of quilting your T-shirt blanket. Take a moment to admire the progress you’ve made in transforming the T-shirts into a cozy and personalized keepsake.
Quilting the Blanket
Quilting is the process of stitching through all layers of the T-shirt blanket to create a secure and decorative pattern. This step not only adds visual interest but also adds durability and helps to keep the layers together. Follow these steps to quilt your T-shirt blanket:
- Select a quilting method: Choose a quilting method that suits your design and skill level. Some popular options include free-motion quilting, straight-line quilting, or using a quilting machine.
- Mark the quilting lines: Use fabric markers or quilting stencils to mark the quilt lines on the top layer of the T-shirt blanket. This will provide a guideline for stitching and help maintain consistency.
- Start quilting: Begin quilting by stitching along the marked lines. If you’re using a quilting machine, follow the machine’s settings and guidelines. Take your time and keep the layers smooth as you quilt.
- Experiment with quilting techniques: Feel free to experiment with different quilting techniques, such as stippling, meandering, or using decorative stitches, to enhance the design of your T-shirt blanket.
- Secure loose threads: As you quilt, periodically secure any loose threads by backstitching or tying knots to prevent unraveling.
- Continue quilting the entire blanket: Quilt the entire T-shirt blanket, following your marked lines or creating your desired pattern. Take breaks as needed to rest your hands and maintain accuracy in your stitching.
Quilting is a time-consuming process but truly adds the finishing touch to your T-shirt blanket. Take the opportunity to enjoy the creative journey and admire the transformation of your T-shirts into a beautifully quilted keepsake.
Adding Borders and Finishing Touches
Once you have quilted your T-shirt blanket, it’s time to add borders and apply finishing touches that will give your blanket a polished and completed look. Follow these steps to add borders and add those final details:
- Choose border fabric: Select a fabric for the borders that complements the colors and theme of your T-shirt blanket. Consider using a fabric that provides a nice contrast or frames the design.
- Measure and cut border strips: Measure and cut fabric strips for the borders, making sure they are wide enough to create the desired border size. Cut them to match the length or width of the quilt top.
- Attach the border: Sew the border strips to the edges of the quilt top, aligning them with the edges. Use pins or fabric clips to hold the border in place as you sew. Take your time to ensure the borders are straight and secure.
- Quilt the borders: Continue the quilting pattern onto the borders, following the same technique you used for the quilt top. This will help unify the design and maintain consistency throughout the blanket.
- Consider additional embellishments: If desired, add additional embellishments, such as appliques, embroidery, or fabric patches, to personalize and enhance the design of your T-shirt blanket.
- Inspect and trim: Inspect the entire blanket for any loose threads or uneven edges. Trim any excess fabric or batting to ensure a neat and tidy appearance.
- Prepare the binding: Cut fabric strips for the binding, ensuring they are long enough to cover all four edges of the blanket. Fold and press the binding strips in half lengthwise.
- Attach the binding: Sew the folded binding strip to the raw edges of the blanket, starting with one side. Use a binding foot or follow a binding tutorial for a clean and professional finish. Join the binding strips at the corners with mitered or overlapping seams.
- Secure the binding: Fold the binding over to the backside of the blanket and hand stitch it in place using a blind stitch or slip stitch. Take care to ensure the stitches are hidden and the binding is secure.
By adding borders and applying finishing touches, you will give your T-shirt blanket a polished and completed look. Take the time to enjoy these final steps, knowing that your hard work has resulted in a beautiful and sentimental keepsake.
Care Instructions
Proper care is essential to maintain the quality and longevity of your T-shirt blanket. Follow these care instructions to keep your blanket clean and in pristine condition:
- Washing: Machine wash your T-shirt blanket in cold water using a gentle cycle. Avoid using harsh detergents or bleach, as they can damage the fabric and graphics on the T-shirts. Use a mild detergent specifically formulated for delicate fabrics.
- Drying: It is best to air dry your T-shirt blanket to prevent shrinking, fading, or misshaping. Lay it flat on a clean surface or hang it gently using clothespins. Avoid wringing or twisting the blanket.
- Spot cleaning: For small stains or spills, spot clean the affected area using a mild detergent or a gentle stain remover. Gently blot the stain with a clean cloth or sponge and rinse thoroughly.
- Ironing: If necessary, iron your T-shirt blanket on low heat. Place a thin cloth or pressing cloth over the printed graphics to protect them from direct heat, and iron with a gentle pressing motion.
- Storage: When not in use, store your T-shirt blanket in a clean, dry, and well-ventilated area. Avoid exposing it to excessive humidity or direct sunlight, as these can cause fading or discoloration over time.
- Preventing snags: Be cautious with sharp objects or jewelry that could potentially snag or pull the fabric. Keep the blanket away from pets that may be prone to scratching or chewing.
- Professional cleaning: If your T-shirt blanket requires a deep clean or if you are unsure about washing it yourself, consider taking it to a professional cleaner experienced in handling delicate fabrics and textiles.
Familiarize yourself with any specific care instructions provided by the manufacturer of the backing fabric or batting materials, as they may have additional recommendations for proper care.
By following these care instructions, you can ensure that your T-shirt blanket remains clean, vibrant, and a cherished symbol of your memories for years to come.
