
Choose the Right Size Bag
When it comes to putting a bag in a trash can, choosing the right size bag is crucial. Using a bag that is too small can lead to overflow and mess, while a bag that is too large can be inefficient and wasteful. So, how do you choose the right size bag?
First, take a look at the capacity of your trash can. The capacity is usually measured in gallons and can be found on the label or product description. Make sure to choose a bag that matches or slightly exceeds the capacity of your trash can to ensure a proper fit.
Next, consider the type of waste you typically dispose of. If you frequently toss bulky or heavy items, you may need a bag with extra strength to prevent tearing. On the other hand, if you mostly dispose of lightweight materials, a standard bag should suffice.
Keep in mind the dimensions of your trash can as well. Some trash cans have narrow openings or unique shapes, so you may need a bag that is specially designed to fit those specifications. Look for bags labeled as “fits most standard trash cans” or measure your can to find the right size.
Finally, consider the environmental impact. Look for bags that are made from recycled materials or are biodegradable. These eco-friendly options not only help reduce waste but also minimize harm to the environment.
Choosing the right size bag is essential for a hassle-free and efficient trash disposal process. Taking the time to consider the capacity, type of waste, dimensions, and environmental impact will ensure you have a bag that fits perfectly, avoiding any overflow or unnecessary waste.
Open the Trash Can
Before you can put a bag in a trash can, you need to open the trash can properly. While this may seem like a simple task, it’s essential to ensure that the bag fits securely and that you can easily add trash without any difficulty. Here’s how to open the trash can effectively:
1. Check for any obstructions or debris in the trash can. Remove any lingering trash or objects to provide a clean and unobstructed space for the new bag.
2. If your trash can has a lid, unlock or unlatch it. Different types of trash cans have different mechanisms for opening, such as foot pedals, handles, or simple lifting lids. Locate the appropriate opening mechanism and unlock or unlatch it accordingly.
3. Slowly lift the lid or open the trash can in a way that ensures the lid stays open and won’t fall back down unexpectedly. Some trash cans have a feature that keeps the lid open until manually closed, while others may require you to prop the lid open with your hand or another object.
4. Take a moment to assess the interior of the trash can. Make sure there are no tears or sharp edges that could potentially puncture or tear the bag. If you notice any damage, consider replacing the trash can or repairing it before proceeding.
Once you have successfully opened the trash can, you are ready to proceed with placing the bag inside. Ensuring that the trash can is clean, lid is properly open, and there are no obstructions will make the process of adding and removing trash a breeze. With a well-prepared trash can, you can maintain cleanliness and organization in your living or working space.
Position the Bag
After opening the trash can, the next step is to properly position the bag inside. This step ensures that the bag fits securely, doesn’t collapse, and can hold the trash without any risk of tearing. Follow these steps to position the bag correctly:
1. Hold the bag by the edges, making sure it is fully open. Take a moment to inspect the bag for any holes, tears, or weak spots. If you notice any, it’s best to replace the bag with a new one to prevent leakage or mess.
2. Carefully lower the bag into the trash can, ensuring that it is centered and reaches down to the bottom of the can. Avoid letting the bag bunch up or fold over at the bottom, as this can affect its capacity and stability.
3. Smooth out the bag, eliminating any wrinkles or air pockets. This step not only helps maximize the bag’s capacity but also ensures an even distribution of weight as you add trash over time.
4. If your trash can has handles or hooks designed to secure the bag, use them to keep the bag in place. This prevents the bag from sliding down or getting displaced while adding trash. Simply loop the handles or hooks over the edges of the bag to secure it firmly.
By following these steps, you can position your bag in the trash can in a way that optimizes space, prevents tearing, and keeps the bag securely in place. A well-positioned bag allows for easy disposal of trash and facilitates efficient waste management within your home or office environment.
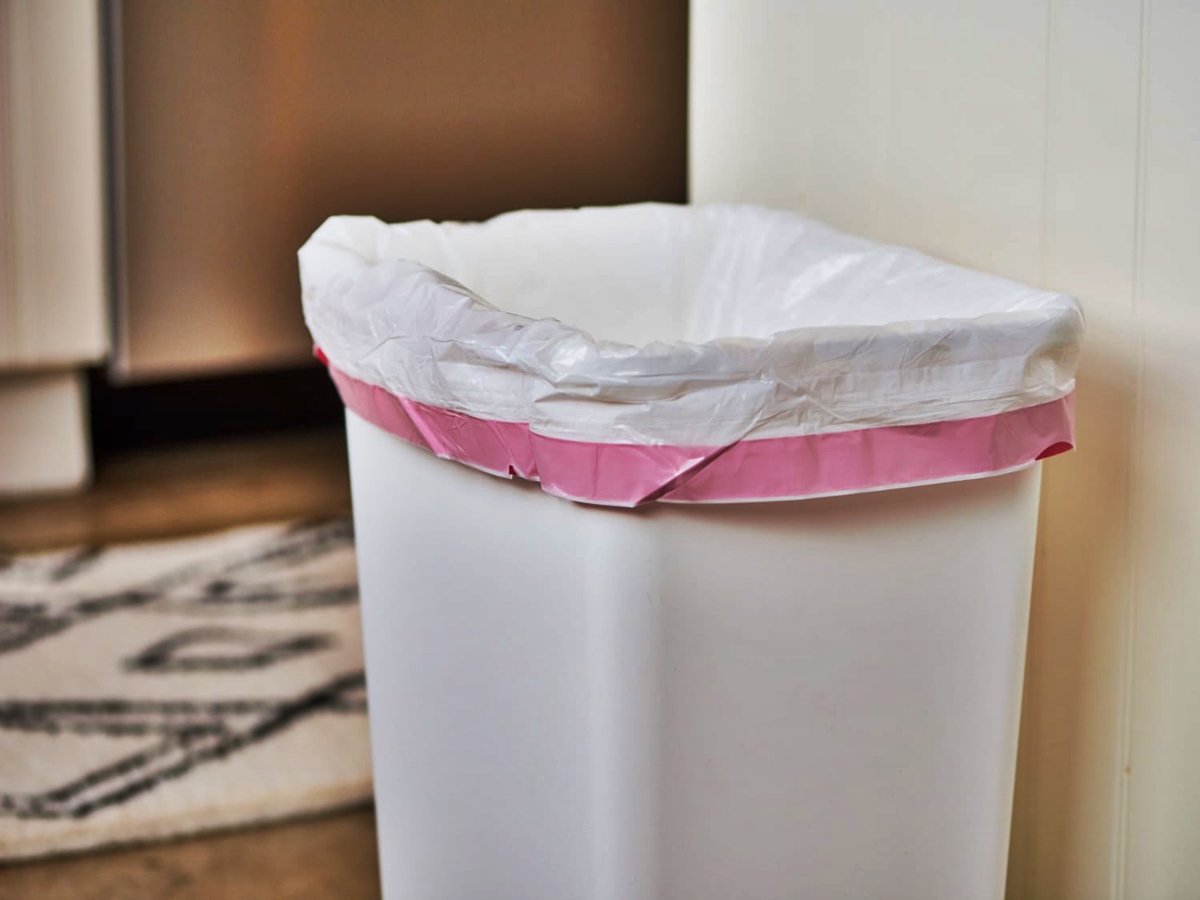
Fold Over the Edges
Once the bag is properly positioned inside the trash can, the next step is to fold over the edges of the bag. This simple yet important step helps to secure the bag, prevent it from slipping, and keep the contents contained. Here’s how to fold over the edges of the bag:
1. Start with one side of the bag. Take the edge of the bag and fold it inward, along the upper rim of the trash can. Fold it over by a few inches, ensuring a secure overlap that prevents the bag from unraveling or slipping down.
2. Repeat the same folding process on the opposite side of the bag. Take the edge of the bag and fold it inward, mirroring the first fold. By folding both sides over, you create a sturdy seal that keeps the bag firmly in place.
3. If there is excess bag material after folding, you can tuck it under the folded edges or adjust it to achieve a neater appearance. However, be cautious not to fold the edges too tightly, as this can lead to tearing or difficulty in removing the bag later on.
4. For added security, you can use binder clips or bag clips to secure the folded edges. These clips provide an extra layer of reinforcement and help keep the bag in place, especially if you anticipate heavy or bulky trash.
By folding over the edges of the bag, you ensure that it remains securely in place throughout the duration of its use. This simple step prevents the bag from slipping, minimizes the risk of spills or messes, and allows for easy removal and replacement when it’s time to dispose of the trash.
Adjust the Bag Inside the Can
After folding over the edges of the bag, the next step is to adjust the bag inside the trash can to ensure a proper fit and to maximize its capacity. This adjustment helps to maintain a clean and organized appearance while also preventing potential issues such as bag tears or overflowing. Here’s how to adjust the bag inside the can:
1. Check the bag’s position. Ensure that the bag is still centered and reaching the bottom of the can. If it has shifted during the folding process, gently reposition it to maintain a proper alignment.
2. Smooth out the bag again. Check for any wrinkles, folds, or air pockets that may have appeared during the folding process. Smooth them out by running your hand along the inside of the bag, making sure it adheres closely to the walls of the can.
3. Adjust the bag’s height. If the bag is taller than the rim of the trash can, you may want to adjust its height to create a more aesthetically pleasing look. You can simply fold down the excess material from the top of the bag, ensuring that it is still secured by the folded edges.
4. Evaluate the bag’s capacity. Take a moment to assess the bag’s current capacity and make sure it is not overfilled. Overfilling the bag can lead to tearing or difficulties in tying it up later on. If needed, remove any excess trash or consider switching to a larger bag to accommodate the volume of waste.
By adjusting the bag inside the trash can, you ensure a snug fit and a clean appearance. A properly adjusted bag prevents potential issues while providing adequate space for disposing of trash. Remember to periodically check and readjust the bag as needed to maintain a tidy and efficient waste management system.
Secure the Bag with a Rubber Band or Tie
After adjusting the bag inside the trash can, it’s important to secure it properly to prevent any unwanted spills or messes. By securing the bag with a rubber band or tie, you can ensure that the contents remain contained and the bag stays in place. Follow these steps to secure the bag:
1. Gather the excess bag material at the top. Hold the bag near the folded edges and gather the excess material in your hand. This step helps in creating a tighter seal and keeps the bag securely closed.
2. Use a rubber band. Take a rubber band and wrap it around the gathered bag material. Position the rubber band close to the top of the bag, just above the level of the contents. The rubber band should be tight enough to hold the bag closed but not so tight that it causes the bag to tear.
3. Alternatively, use a tie or knot. If you don’t have a rubber band, you can use a twist tie, string, or knot to secure the bag. Wrap the tie around the gathered bag material and tighten it to create a secure closure. Make sure it is firmly tied to keep the bag closed.
4. Double-check the seal. After securing the bag with a rubber band or tie, give it a gentle tug to ensure that it is tightly closed and won’t come undone easily. This step is especially important if you are disposing of any odorous or potentially hazardous waste.
By securely fastening the bag with a rubber band or tie, you minimize the risk of spills, odors, or pests. This step provides an extra layer of protection and maintains the cleanliness and hygiene of your surroundings. Remember to replace the rubber band or tie when you remove the bag to dispose of the trash.
Dispose of the Trash Properly
Once the bag is securely fastened, the final step is to dispose of the trash properly. Proper disposal not only helps maintain cleanliness and hygiene but also contributes to waste management practices. Here’s how to dispose of the trash in a responsible manner:
1. Lift the bag out of the trash can carefully. Slowly and steadily lift the bag out of the can, making sure to support the bottom to prevent any accidental spills or tearing.
2. Tie off the bag, if necessary. If you haven’t already secured the bag with a rubber band or tie, now is the time to do so. This additional step ensures that the bag remains sealed during transportation.
3. Take the bag to the designated disposal area. Depending on where you live, the disposal area may be a centralized trash chute, recycling bin, or a trash collection point. Follow the designated guidelines for your area to ensure proper waste management.
4. Separate recycling and regular waste. If you have separate bins for recycling and regular waste, make sure to dispose of the trash in the appropriate bin. This helps in reducing waste and contributing to environmentally-friendly practices.
5. If necessary, replace the trash bag. After disposing of the trash, if the bag is torn or needs to be replaced, take a moment to replace it with a fresh bag. This preparedness ensures that you are ready for future trash disposal needs.
By disposing of the trash properly, you contribute to a cleaner environment and help in waste management efforts. Following the proper disposal procedures designated by your local community ensures that you are doing your part in keeping your surroundings clean and free from unnecessary waste.