
Materials Needed
Before you begin cleaning your trash can, gather the following materials:
- Gloves: Protect your hands from any dirt, germs, or cleaning chemicals by wearing a pair of rubber gloves.
- Broom or dustpan: Use a broom or dustpan to remove any loose debris or large items from the trash can.
- Trash bags: Have a few extra garbage bags on hand to dispose of any trash that may be inside the can.
- Disinfectant spray or wipes: Choose a disinfectant spray or wipes that are safe to use on trash cans to effectively kill bacteria and eliminate odors.
- Scrub brush or sponge: Use a sturdy scrub brush or sponge to scrub away any stubborn stains or residue inside the trash can.
- Water hose or bucket: If you’re cleaning an outdoor trash can, you’ll need a water hose or bucket to rinse it out.
- Mild detergent: Add a few drops of mild detergent to your cleaning solution for an extra boost of cleaning power.
Having these materials readily available will ensure that you have everything you need to thoroughly clean and sanitize your trash can.
Step 1: Emptying the trash can
The first step in cleaning your trash can is to empty it completely. Follow these steps:
- Remove the trash bag: If there is a bag inside the trash can, carefully lift it out and tie it securely. Dispose of it in your regular garbage bin.
- If your trash can doesn’t have a bag, carefully empty the contents into a garbage bag or bin. Use a broom or dustpan to help gather any loose debris.
- For outdoor trash cans, make sure to check for any critters or pests that may have taken up residence. Use caution when emptying the trash, and take appropriate measures to keep yourself protected.
By starting with an empty trash can, you’ll have a clean slate to work with and can focus on removing any remaining dirt, grime, or odors.
Step 2: Removing loose debris
Once the trash can is empty, it’s time to remove any loose debris that may be stuck to the sides or bottom. Follow these steps:
- Put on a pair of gloves to protect your hands.
- Using a broom or dustpan, gently sweep or scrape off any loose debris inside the trash can. This may include food crumbs, dirt, or small pieces of trash.
- Tap the trash can gently on the ground to dislodge any stubborn debris.
- For outdoor trash cans, use a water hose to spray off any dirt or debris from the exterior. You can also use a soft brush or sponge to scrub away any stuck-on dirt.
Removing loose debris will help prepare the surface for a deeper clean and prevent any lingering odors. Once the loose debris is removed, you can move on to the next step in the cleaning process.
Step 3: Using a disinfectant spray
Now that you’ve cleared away the loose debris, it’s time to sanitize your trash can using a disinfectant spray. Follow these steps:
- Choose a disinfectant spray or wipes that are specifically formulated for cleaning trash cans. Read the label instructions for proper usage.
- Put on your gloves to protect your hands.
- Spray the inside of the trash can thoroughly with the disinfectant spray, making sure to cover all surfaces.
- Allow the disinfectant spray to sit for a few minutes to effectively kill bacteria and eliminate odors.
- For hard-to-reach areas or stubborn stains, use a sponge or scrub brush dipped in the disinfectant solution to scrub the surfaces.
By using a disinfectant spray, you’ll not only remove any lingering germs or bacteria but also eliminate unpleasant odors. This step is crucial for maintaining a clean and hygienic trash can.
Step 4: Scrubbing the trash can
Now that the disinfectant has had time to work its magic, it’s time to thoroughly scrub the trash can to remove any stubborn stains or residue. Follow these steps:
- Put on your gloves to protect your hands.
- Dampen a scrub brush or sponge with water.
- Add a few drops of mild detergent to the brush or sponge.
- Scrub the inside of the trash can vigorously, paying extra attention to any areas with stains or grime buildup.
- For outdoor trash cans, use a hose to rinse off the exterior and scrub away any remaining dirt or grime.
- Rinse the brush or sponge frequently during the scrubbing process to remove any dirt or debris.
By scrubbing the trash can, you’re ensuring that every surface is thoroughly cleaned and free from any residue or unsightly stains. Take your time and be thorough in this step to achieve the best results.
Step 5: Rinse and dry thoroughly
After scrubbing the trash can, it’s important to rinse off any detergent or cleaning solution residue and ensure that it is completely dry. Follow these steps:
- Using a water hose or bucket, thoroughly rinse the inside and outside of the trash can to remove any remaining cleaning solution.
- Check for any areas that may still have stains or residue and give them an extra scrub if needed.
- Once rinsed, allow the trash can to air dry in a well-ventilated area.
- If you’re in a hurry, you can use a clean towel or paper towels to dry the inside and outside of the trash can.
Ensuring that the trash can is completely dry before using it again will prevent the growth of mold, mildew, and unpleasant odors. Proper drying is an important final step to maintain a clean and sanitized trash can.
Step 6: Preventing odors in the trash can
One of the common issues with trash cans is the presence of unpleasant odors. Here are some steps you can take to prevent odors:
- Line the trash can with a plastic bag or use trash can liners: This helps contain the odor and makes it easier to dispose of the trash.
- Dispose of food waste properly: Wrap any food waste in a separate bag or use a sealed container to prevent the spread of odors.
- Regularly take out the trash: Avoid letting trash accumulate for too long, as this can lead to strong odors. Emptying the trash can regularly helps to keep it smelling fresh.
- Use odor-absorbing materials: Place a small amount of baking soda or activated charcoal at the bottom of the trash can to help absorb odors.
- Keep the trash can in a well-ventilated area: Adequate airflow helps prevent odors from lingering. If possible, place your trash can in an area with good ventilation.
- Clean the trash can regularly: Follow the steps outlined in the previous sections to deep clean your trash can at least once a month. This helps to eliminate any lingering odors.
By following these preventative measures, you can keep your trash can smelling fresh and minimize the chances of unpleasant odors lingering in your home or outdoor space.
Step 7: Tips for maintaining a clean trash can
Maintaining a clean trash can doesn’t end with a one-time cleaning. Here are some tips to help you keep your trash can clean and odor-free in the long run:
- Regularly wipe down the exterior: Even if the inside of the trash can is clean, the outside might accumulate dirt and grime. Wipe down the exterior of the trash can using a damp cloth or disinfecting wipes.
- Use a trash can liner or bag: Using a trash can liner or bag helps to prevent the build-up of residues on the inside of the trash can. It also makes emptying the trash easier and cleaner.
- Keep the trash can stored in a cool and shaded area: If your trash can is stored outside, try to keep it in a shaded area away from direct sunlight. UV rays can cause discoloration and deterioration of the trash can over time.
- Regularly inspect and repair any damages: Check your trash can regularly for any cracks, holes, or damaged parts. Repair or replace as needed to maintain the structural integrity and prevent leaks and odors.
- Clean spills and leaks promptly: If you notice any spills or leaks inside the trash can, clean them up promptly to prevent odors and potential staining.
- Dispose of liquids separately: If you have liquid waste, it’s best to dispose of it separately to avoid any leaks or spills inside the trash can. Consider pouring liquid waste into a separate container before throwing it in the trash.
By implementing these maintenance tips, you can prolong the cleanliness and freshness of your trash can, reducing the need for frequent deep cleanings.
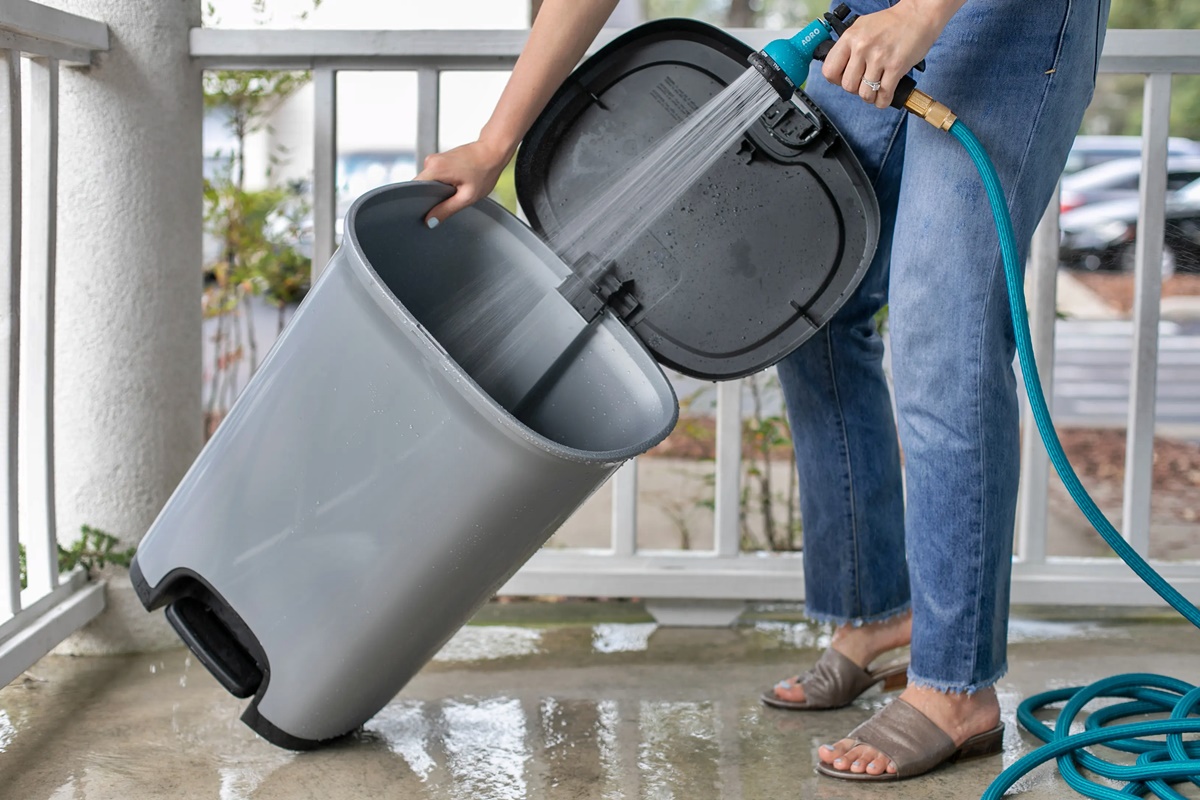
Step 8: Cleaning outdoor trash cans
Cleaning outdoor trash cans requires some additional steps to combat the elements and keep them fresh. Follow these guidelines:
- Find an appropriate cleaning area: Locate a suitable outdoor space, such as a driveway or patio, where you can clean the trash can without causing a mess.
- Begin by emptying the trash can: Remove any bags or debris from inside the trash can, disposing of the contents properly.
- Rinse the trash can: Use a water hose to thoroughly rinse the inside and outside of the trash can to remove dirt, residue, and any remaining debris.
- Apply a cleaning solution: Mix a solution of mild detergent and water in a bucket. Dip a scrub brush or sponge into the solution and scrub the entire surface of the trash can, paying special attention to any stubborn stains or residue.
- Rinse thoroughly: Once you’ve scrubbed the trash can, use the water hose again to rinse away the cleaning solution completely.
- Allow the trash can to air dry: Place the clean trash can in a sunny area or allow it to air dry naturally. Avoid putting the lid back on until the trash can is completely dry to prevent moisture build-up and odors.
- Consider using a UV protectant spray: If your trash can is exposed to direct sunlight, you may want to use a UV protectant spray specifically made for plastic surfaces. This can help prevent fading and deterioration caused by the sun’s rays.
- Regularly clean and maintain: Establish a routine for cleaning your outdoor trash can, aiming for at least once a month to prevent odors, mold growth, and unsightly stains. Inspect the trash can periodically for any damage or loose parts that may need repair.
By following these steps and maintaining a regular cleaning schedule, your outdoor trash can will stay fresh, free from pests, and able to withstand the elements effectively.