
Choosing the Right Bulbs
When it comes to planting freesia bulbs, selecting the right bulbs is crucial for a successful and vibrant garden. Here are some important factors to consider when choosing your freesia bulbs:
- Size and Quality: Look for bulbs that are firm, plump, and free from blemishes or signs of decay. Larger bulbs typically produce stronger and more robust plants.
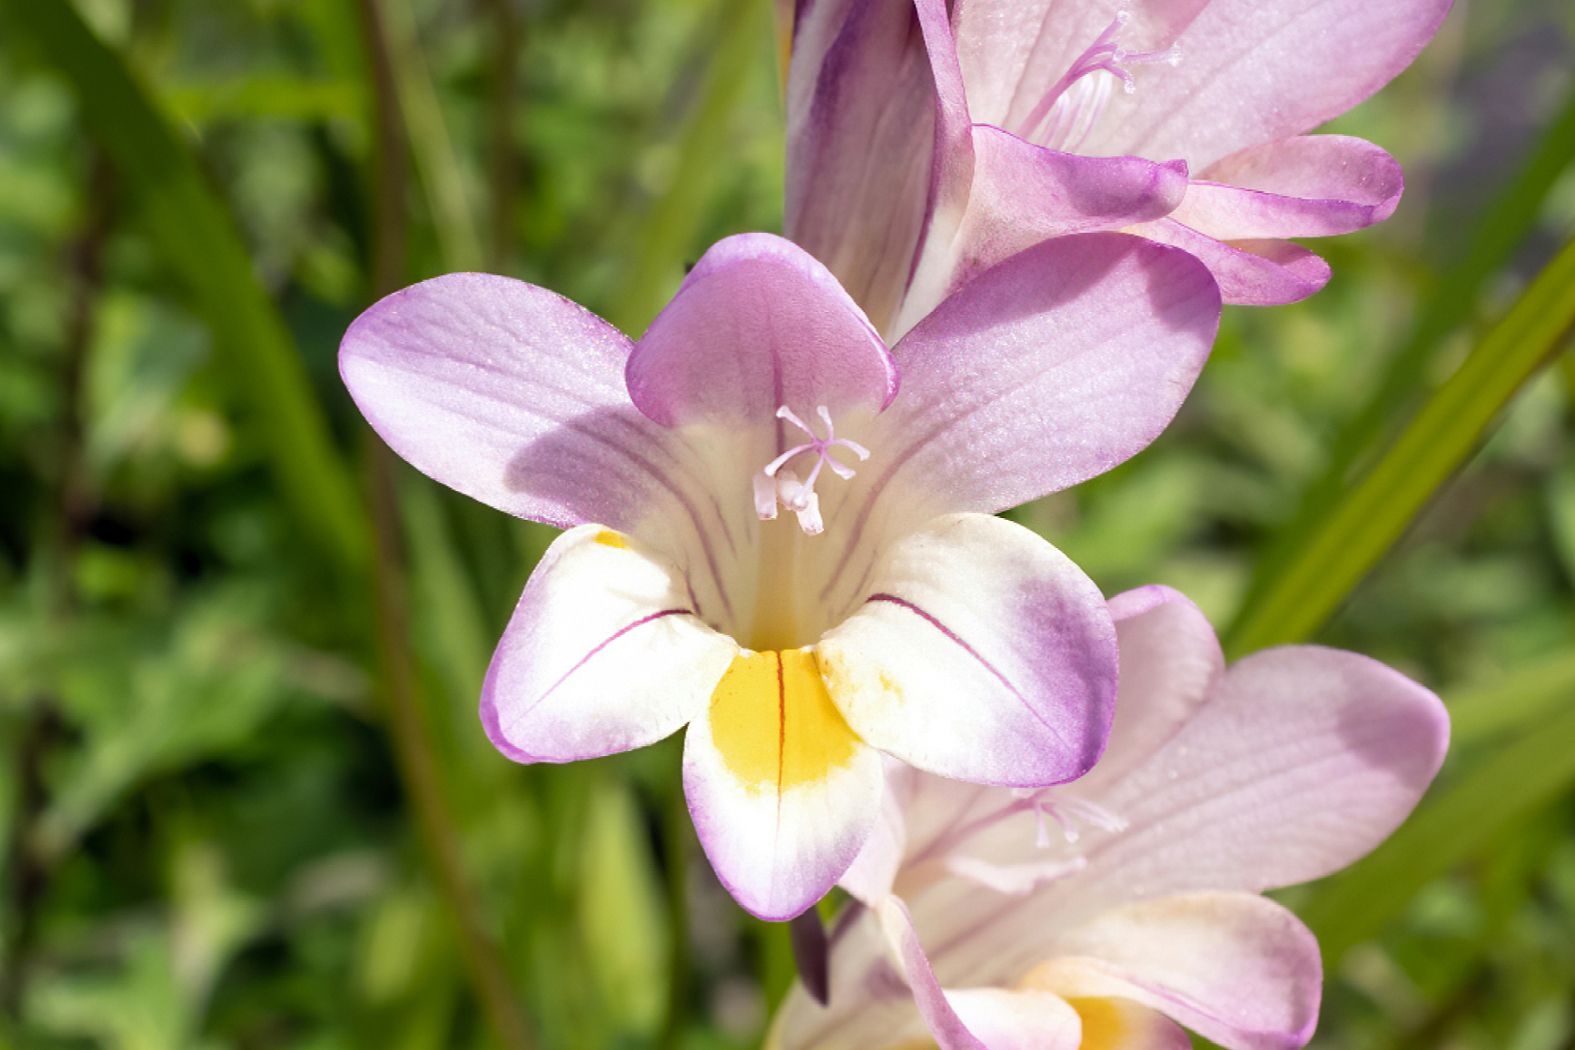
- Variety: Freesias come in a range of colors, from vibrant oranges and yellows to soft pinks and purples. Consider the color scheme of your garden and choose a variety that complements it.
- Hardiness: Check the hardiness zone of the freesia bulbs you plan to purchase and ensure that it is suitable for your region’s climate. This will increase the chances of successful growth.
- Source: It is important to buy freesia bulbs from a reputable supplier or nursery. This ensures that you are getting high-quality bulbs that are true to the variety you desire.
- Fragrance: Freesias are known for their delightful fragrance. If fragrance is important to you, look for varieties that are highly scented and will fill your garden with their sweet aroma.
By selecting the right freesia bulbs, you are laying the foundation for a beautiful and thriving garden. Take the time to research different varieties and choose bulbs that meet your preferences and growing conditions. Remember, healthy bulbs translate to healthy plants and an enchanting display of color and fragrance.
Preparing the Soil
Before planting freesia bulbs, it’s essential to prepare the soil to create a favorable environment for their growth. Here are the steps to prepare your soil for planting freesia bulbs:
- Remove Weeds: Start by removing any weeds or unwanted vegetation from the planting area. Weeds can compete for nutrients and water, hindering the growth of your freesias.
- Loosen the Soil: Freesia bulbs thrive in well-draining soil. Use a shovel or garden fork to loosen the soil, breaking up any clumps and ensuring good aeration. This will prevent waterlogging and promote healthy root development.
- Organic Matter: Incorporate organic matter, such as compost or well-rotted manure, into the soil. This enriches the soil with nutrients and improves its texture and moisture-retaining capabilities.
- Soil pH: Freesias prefer slightly acidic to neutral soil (pH level between 6 and 7). Test the soil pH using a soil testing kit and make any necessary adjustments by adding amendments like lime or sulfur.
- Fertilizer: Prior to planting, apply a slow-release fertilizer that is low in nitrogen and high in phosphorus and potassium. This will provide the necessary nutrients for the bulb’s growth and blooming.
By properly preparing the soil, you create an optimal foundation for your freesia bulbs to thrive. The loosened soil with added organic matter provides nutrients and encourages healthy root development. Additionally, adjusting the soil pH and applying appropriate fertilizer sets the stage for vibrant blooms and strong plant growth.
Finding the Perfect Location
Choosing the right location for planting freesia bulbs is crucial for their overall growth and bloom. Here are some important factors to consider when finding the perfect spot for your freesias:
- Sunlight: Freesias thrive in full sun to partial shade, ideally receiving at least 6-8 hours of direct sunlight each day. Look for an area in your garden that gets adequate sunlight throughout the day.
- Soil Drainage: Freesias prefer well-draining soil to prevent waterlogging, which can lead to rot and disease. Avoid areas with heavy clay soil and instead choose a location with loose, crumbly soil.
- Protection from Strong Winds: Freesia plants have delicate stems that can be damaged by strong winds. Consider planting them in a location that is sheltered from strong gusts, such as near a fence or hedgerow.
- Proximity to Water Source: While freesias don’t require excessive watering, it’s important to choose a location that is easily accessible to a water source. This will make it convenient for you to provide regular and consistent moisture when needed.
- Visibility and Enjoyment: Plant freesias in an area of your garden where you can appreciate their beauty and fragrance. Consider planting them near a seating area, walkway, or patio where you frequently spend time.
By finding the perfect location, you set your freesia bulbs up for success. The right amount of sunlight, well-draining soil, protection from strong winds, and easy access to water will create an environment where freesias can flourish and delight you with their vibrant colors and mesmerizing fragrance.
Digging the Holes
Properly digging the holes for your freesia bulbs is an important step in ensuring their optimal growth and development. Here’s a step-by-step guide on how to dig the holes for planting freesia bulbs:
- Measure and Mark: Determine the spacing between each bulb, typically around 3-4 inches apart, and mark the planting spots in your chosen area. This will help you maintain consistent spacing and prevent overcrowding.
- Depth: Dig the holes to a depth of about 2-3 inches. Freesia bulbs should be planted quite shallow compared to other bulbs. This depth allows them to receive adequate light and promotes strong stem growth.
- Soil Preparation: As you dig each hole, loosen the soil at the bottom with a garden fork or small trowel. This will help with drainage and encourage the bulb’s roots to penetrate the soil easily.
- Orient the Bulbs: Place each freesia bulb in the hole with the pointed end facing upward and the flat end resting on the soil surface. This ensures that the bulb will grow in the correct orientation.
- Spacing: Position each bulb in its designated spot, making sure to maintain the recommended spacing between each bulb. Overcrowding can lead to poor air circulation and impede the growth of the freesias.
- Backfill: Gently fill the hole with the loosened soil, ensuring that the bulb is covered with about an inch of soil. Lightly press the soil around the bulb to provide stability without compacting it too much.
By properly digging the holes, you provide an ideal planting environment for your freesia bulbs. The shallow depth, well-prepared soil, and correct bulb orientation set the stage for successful growth and the emergence of beautiful, fragrant freesias in your garden.
Planting the Bulbs
The process of planting the freesia bulbs is a crucial step in ensuring their successful growth and blooming. Follow these steps to properly plant your freesia bulbs:
- Timing: Plant freesia bulbs in spring after the last frost has passed. This allows the bulbs to establish roots before the warm summer months.
- Prepare the Soil: Ensure that the soil has been properly prepared by loosening it, incorporating organic matter, and adjusting the pH if necessary. This provides the bulbs with a favorable growing environment.
- Dig the Holes: Dig holes at the recommended depth of 2-3 inches, keeping the spacing between bulbs around 3-4 inches. Create a row or cluster of holes, depending on your desired planting design.
- Place the Bulbs: Set each freesia bulb in the hole with the pointed end facing upward. The flat end should rest on the soil surface. Arrange the bulbs according to your desired pattern or color combination.
- Backfill and Firm: Gently cover the bulbs with soil, making sure not to bury them too deeply. Lightly press the soil around the bulbs to ensure firm contact and stability. Avoid compacting the soil too much.
- Water Thoroughly: After planting, water the bulbs thoroughly to settle the soil and initiate root growth. Ensure the soil is evenly moist but not waterlogged. Freesias prefer slightly moist conditions.
By following these planting steps, you give your freesia bulbs the best start for healthy growth and abundant blooms. The correct timing, proper soil preparation, and careful placement of the bulbs will set the foundation for beautiful and vibrant freesias in your garden.
Watering the Bulbs
Proper watering is essential for the health and growth of freesia bulbs. Here are some important considerations when it comes to watering your freesia bulbs:
- Initial Watering: After planting the bulbs, give them a thorough watering to settle the soil and promote root establishment. This initial watering helps the bulbs adjust and initiate growth.
- Moisture Levels: Freesia bulbs prefer slightly moist soil. Avoid overwatering, as it can lead to rotting of the bulbs and other issues. Similarly, do not let the soil become completely dry, as this can hinder growth and bloom.
- Watering Frequency: In the early stages of growth, water the bulbs whenever the top inch of soil feels dry to the touch. As the plants mature, you can reduce the frequency but ensure consistent moisture during the blooming period.
- Watering Method: To prevent damage to the delicate foliage and flowers, use a gentle watering method like a soaker hose or a watering can with a fine rose attachment. Water at the base of the plants to reach the roots directly.
- Consideration for Rainfall: Take into account the amount of rainfall your area receives. If there is adequate rainfall, you may not need to water as frequently. However, if there is a prolonged dry spell, supplement with additional watering.
By providing the proper amount of water and maintaining consistent moisture levels, you help your freesia bulbs thrive. Monitoring the soil moisture, avoiding overwatering, and adjusting watering frequency based on weather conditions will ensure healthy growth and vibrant blooms.
Mulching the Area
Mulching around your freesia bulbs has numerous benefits for their growth and overall health. Here’s why mulching is important and how to do it effectively:
Benefits of Mulching:
- Moisture Retention: Mulch helps the soil retain moisture, reducing the frequency of watering while ensuring the bulbs receive consistent hydration.
- Weed Suppression: A layer of mulch creates a barrier that inhibits weed growth, minimizing competition for nutrients, water, and sunlight.
- Temperature Regulation: Mulch acts as an insulating layer, protecting the bulbs and roots from extreme temperature fluctuations.
- Soil Erosion Control: Mulch helps prevent soil erosion caused by heavy rain or strong winds, keeping the bulbs firmly planted.
- Aesthetic Appeal: Mulch adds a neat and tidy appearance to the garden bed, enhancing the overall visual appeal of your freesia planting area.
How to Mulch:
- Timing: Apply mulch after planting the bulbs and once the soil has warmed up, typically in the spring. This allows for proper establishment of the bulbs before mulching.
- Choose the Right Mulch: Use organic mulch materials such as straw, wood chips, or shredded leaves. These materials improve soil structure and contribute nutrients as they break down over time.
- Prepare the Area: Clear any weeds or debris from the planting area before applying mulch. This ensures that the mulch is in direct contact with the soil and doesn’t block the emerging shoots.
- Apply an Even Layer: Spread a layer of mulch around 2-3 inches thick over the soil surface, making sure to leave a small gap around the emerging freesia shoots to prevent moisture accumulation around the stems.
- Avoid Piling Mulch: Do not pile excessive mulch around the bulbs or stems, as it can promote fungal diseases and hinder plant growth. Keep the mulch layer uniform and level.
- Maintain the Mulch: Regularly monitor the mulch layer and replenish it as needed, especially if it gets thin due to decomposition or weather conditions.
By mulching the area around your freesia bulbs, you provide them with an optimal growing environment. The benefits of moisture retention, weed suppression, temperature regulation, and soil erosion control contribute to the overall health and beauty of your freesia plants.
Caring for the Plants
Proper care is essential to ensure the health, growth, and longevity of your freesia plants. Here are some important aspects to consider when caring for your freesias:
- Watering: Freesias prefer slightly moist soil. Water them regularly, especially during dry spells, making sure to avoid overwatering. Keep the soil evenly moist but not waterlogged.
- Fertilizing: Feed your freesias with a balanced flower fertilizer every four to six weeks during the growing season. Be careful not to over-fertilize, as this can lead to excessive foliage growth and fewer blooms.
- Deadheading: Remove spent flowers by gently pinching or cutting them off. This encourages new blooms and prevents the plant from diverting energy into seed production.
- Supporting Stems: As the freesia plants grow, they may need support to prevent toppling over. Place stakes or trellises near the plants and gently tie the stems for support.
- Pruning: After the freesia plants have finished blooming for the season, you can trim back the foliage. Cut the foliage to about an inch above the ground, allowing the plant to focus its energy on storing nutrients in the bulbs.
- Protecting from Frost: In regions with freezing temperatures, cover the freesia plants with a layer of mulch or straw before the first frost to protect the bulbs from cold damage.
- Dividing Bulbs: Over time, freesia bulbs can become crowded and may produce fewer blooms. Dig up and divide the bulbs every 2-3 years, replanting them with adequate spacing to ensure optimal growth and blooming.
By providing proper care and attention, you can enjoy a stunning display of colorful and fragrant freesias in your garden. Regular watering, fertilizing, deadheading, and supporting the stems will help your freesias thrive and reward you with abundant blooms season after season.
Dealing with Pests and Diseases
While freesias are relatively resilient plants, they can still be susceptible to certain pests and diseases. Here are some common issues and ways to deal with them:
- Aphids: These small, soft-bodied insects can cluster on the leaves and stems, sucking sap from the plant. Use insecticidal soap or a strong stream of water to remove and control aphid infestations.
- Snails and Slugs: These slimy pests can damage the leaves and flowers of freesia plants. Use organic slug and snail baits or create physical barriers like eggshells or copper strips to deter them.
- Spider Mites: These tiny pests can cause leaves to become discolored, speckled, and eventually dry out. Use a strong stream of water to dislodge spider mites or apply insecticidal soap or neem oil to control infestations.
- Botrytis Blight: This fungal disease can cause grayish-brown spots on leaves and flowers, leading to wilting and decay. Remove infected plant parts and ensure proper air circulation to prevent the spread of the disease. Treat with a fungicide if necessary.
- Fusarium Wilt: This soil-borne disease can cause wilting, yellowing, and eventual death of the plant. There is no known cure for fusarium wilt, so prevention is crucial. Use disease-free bulbs and practice proper sanitation to minimize the risk of infection.
- Leaf Spot: This fungal disease causes brown or black spots on the foliage. Remove infected leaves and ensure proper spacing and ventilation to prevent the spread of the disease. Apply a fungicide if necessary.
Regular monitoring of your freesia plants is essential for early detection and prompt action against pests and diseases. By taking preventive measures, practicing proper sanitation, and addressing issues promptly, you can protect your freesias and ensure their continued health and vigor.
Harvesting and Storing the Bulbs
Once your freesias have finished blooming and the foliage has died back, it’s time to harvest and store the bulbs for the next season. Here’s how to properly harvest and store your freesia bulbs:
- Timing: Wait until the foliage has completely turned yellow and died back naturally. This indicates that the bulbs have entered their dormant stage and are ready for harvesting.
- Loosening the Soil: Gently dig around the bulbs using a garden fork or a small trowel. Take care not to damage the bulbs during the harvesting process.
- Cleaning and Drying: Shake off any excess soil from the bulbs. You can lightly rinse them with water if necessary, but make sure they are completely dry before storing to prevent rotting.
- Separating Bulbs: Carefully separate the individual bulbs, discarding any that appear damaged, diseased, or shriveled. Keep only the healthy and firm bulbs for storage and future planting.
- Storage Containers: Choose storage containers that allow for good air circulation, such as mesh bags or wooden crates. Avoid using plastic bags or airtight containers, as they can retain moisture and lead to bulb rot.
- Storage Conditions: Store the bulbs in a cool, dry, and well-ventilated space, such as a basement or a garage. Aim for a temperature range of around 40-50°F (4-10°C) to maintain optimum bulb dormancy.
- Periodic Checking: Regularly check the stored bulbs for any signs of damage, disease, or rot. Remove and discard any affected bulbs to prevent the spread to others.
- Replanting: In the following planting season, around early spring, you can replant the stored freesia bulbs using the same planting guidelines discussed earlier in this article.
By harvesting and storing your freesia bulbs properly, you can enjoy a continuous cycle of beautiful blooms year after year. Take care to handle the bulbs gently, choose appropriate storage containers and conditions, and periodically check for any issues to ensure healthy and successful replanting in the future.