
Choosing the Right Rosemary
When it comes to making rosemary essential oil, selecting the right rosemary plant is crucial. With various rosemary varieties available, each having its own characteristics and aroma profiles, it’s important to choose the one that best suits your needs. Here are some factors to consider when selecting the right rosemary for your essential oil:
- Variety: There are several rosemary varieties to choose from, such as Rosmarinus officinalis, Rosmarinus prostratus, and Rosmarinus lavandulaceus. Each variety differs in its growth habits, leaf shape, and aroma. The most common variety for essential oil production is Rosmarinus officinalis.
- Growing Conditions: Rosemary thrives in sunny and well-drained soil. It’s important to consider the climate and environmental conditions of your region to ensure optimal growth. Rosemary prefers a Mediterranean climate but can adapt to other conditions with proper care.
- Aroma Profile: Different rosemary varieties have varying levels of aromatic compounds, which contribute to their unique scents. Some may have a more pronounced camphor scent, while others have a sweeter, herbaceous aroma. Choose a variety that aligns with the desired aroma for your essential oil.
- Purity: For the best results, select organic or pesticide-free rosemary. This ensures that the essential oil will be free from chemical residues and additives that may affect its quality.
Before harvesting the rosemary, take the time to research and select a rosemary plant that meets your requirements. This will ensure that you have the best possible starting point for making your own rosemary essential oil.
Harvesting the Rosemary
Once you have chosen the right rosemary plant, it’s time to harvest the fresh sprigs for making your essential oil. Proper harvesting techniques will help preserve the flavor and aroma of the rosemary. Here’s how to harvest rosemary for essential oil production:
- Timing: The best time to harvest rosemary is in the morning when the essential oils are concentrated in the leaves. It’s ideal to harvest before the plant flowers for maximum oil content.
- Cutting Technique: Use clean and sharp pruning shears or scissors to cut the rosemary sprigs. Trim the stems close to the main plant while leaving some foliage intact.
- Amount: Harvest only what you need for your essential oil. Avoid overharvesting, as it can weaken the plant and impact future growth.
- Quality Control: Inspect the sprigs for any signs of damage, pests, or diseases. Discard any unhealthy or wilted parts to ensure the best quality oil.
Remember to handle the rosemary sprigs with care to avoid bruising or damaging the leaves. When harvesting, it’s important to maintain the integrity of the plant and preserve its essential oils.
Drying the Rosemary
After harvesting the rosemary sprigs, the next step in making rosemary essential oil is to dry them properly. Drying the rosemary helps remove moisture from the plant material, allowing it to preserve the aromatic compounds needed for the essential oil. Here’s how to dry rosemary for essential oil production:
- Bunching: Gather the harvested rosemary sprigs into small bundles. Tie the stems together securely with string or a rubber band.
- Air Drying: Hang the rosemary bundles upside down in a cool, well-ventilated area. Avoid direct sunlight, as it can cause the leaves to lose their color and flavor.
- Drying Time: It usually takes about two to three weeks for the rosemary to dry completely. Check the bundles regularly to ensure they are drying properly and not developing any mold or mildew.
- Storage: Once the rosemary is completely dry, remove the leaves from the stems and store them in an airtight container in a cool, dark place.
Properly dried rosemary leaves are brittle and crumble easily when touched. This indicates that the moisture content has been successfully removed, making them ready for the next step in the essential oil extraction process.
Preparing the Carrier Oil
Before infusing the dried rosemary with carrier oil, it’s important to prepare the carrier oil. The carrier oil acts as a base for the essential oil extraction and helps to dilute and preserve the aromatic properties of the rosemary. Here’s how to prepare the carrier oil for making rosemary essential oil:
- Choosing the Carrier Oil: Select a high-quality carrier oil that is suitable for essential oil extraction. Some common choices include olive oil, jojoba oil, almond oil, and coconut oil. Each carrier oil has its own unique properties, so choose one that aligns with your needs and preferences.
- Quality Control: Ensure that the carrier oil is pure and free from additives or synthetic fragrances. Opt for organic and cold-pressed options for the best quality.
- Storage: Store the carrier oil in a dark, glass bottle to protect it from sunlight and maintain its freshness. Keep it in a cool, dry place away from heat and humidity.
Before moving on to the next step, make sure you have prepared the carrier oil and it is readily available, as it will be used in the infusion process to extract the aromatic properties of the rosemary.
Infusing the Rosemary
Infusing the dried rosemary with the prepared carrier oil is a crucial step in extracting the aromatic properties and creating rosemary essential oil. The infusion process allows the carrier oil to absorb the beneficial compounds from the rosemary leaves. Here’s how to infuse rosemary with carrier oil to make essential oil:
- Crushing the Rosemary: Crush the dried rosemary leaves to break them into smaller pieces. This helps release more of their aromatic compounds.
- Measuring Ingredients: Measure the desired amount of crushed rosemary leaves and carrier oil. The ratio of rosemary to carrier oil may vary, but a common starting point is a 1:4 or 1:5 ratio.
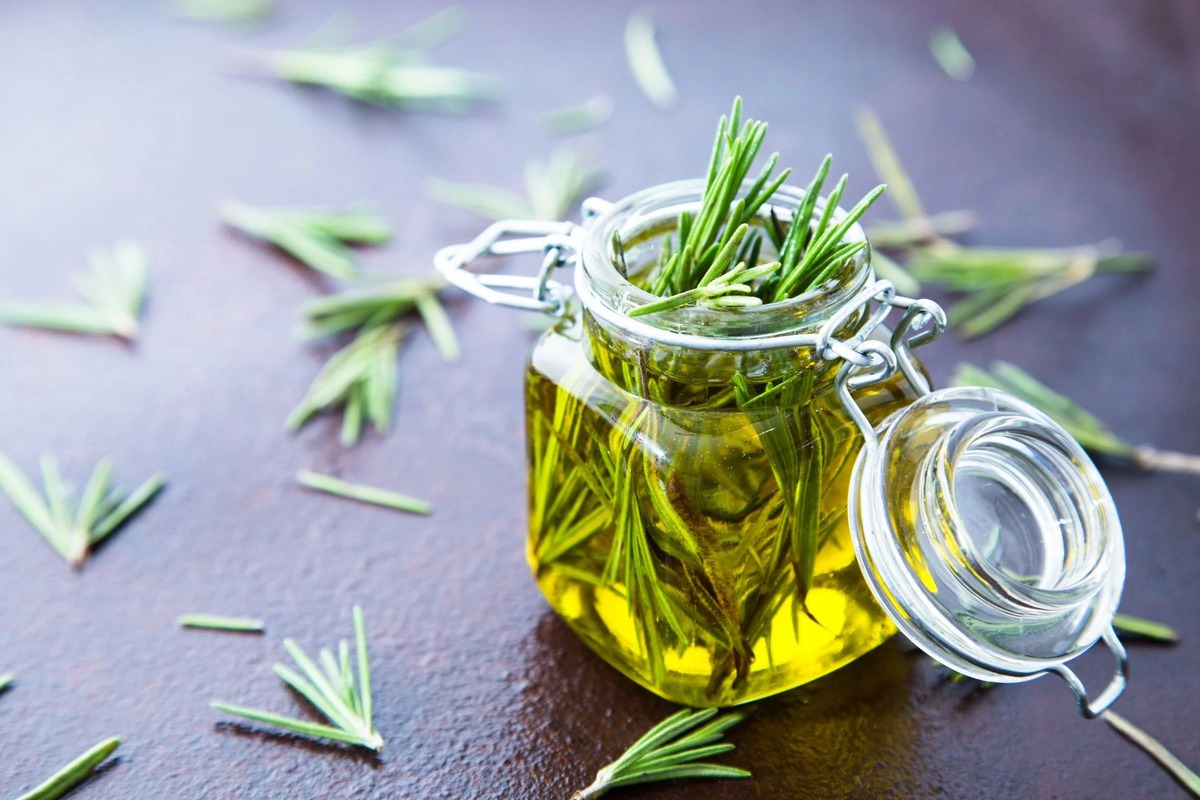
- Combining: Place the crushed rosemary leaves into a clean, glass jar. Pour the carrier oil over the rosemary, ensuring that all the leaves are fully submerged.
- Sealing the Jar: Seal the jar tightly to prevent any air or moisture from entering. Shake the jar gently to mix the ingredients.
- Infusion Time: Place the jar in a cool, dark place and let the rosemary infuse into the carrier oil for at least two to four weeks. Shake the jar once or twice a day to agitate the mixture.
- Monitoring the Infusion: Keep an eye on the infusion process to ensure that the oil is not developing any mold or mildew. If any signs of contamination appear, discard the mixture and start over.
Infusing the rosemary with carrier oil requires patience and time, allowing the aromatic compounds to transfer from the herb to the oil. Regularly monitoring the infusion ensures the best quality essential oil in the end.
Straining the Oil
After the rosemary has been infused in the carrier oil for the recommended period, the next step is to strain the oil, separating it from the plant material. This ensures that the essential oil is clean and free from any solid particles. Here’s how to strain the infused oil:
- Preparation: Prepare a clean glass jar or container to collect the strained oil. Make sure it is dry and free from any contaminants.
- Straining Method: Place a fine-mesh sieve or cheesecloth over the mouth of the jar. Make sure the straining material is securely placed to prevent any plant material from falling into the oil.
- Pouring the Oil: Carefully pour the infused oil into the sieve or cheesecloth. Allow the oil to pass through the straining material, leaving any solid particles behind.
- Pressing the Oil: If desired, gently press the strained plant material using a clean spoon or spatula to extract any remaining oil trapped within. Be careful not to apply too much pressure, as this can result in impurities in the strained oil.
- Collecting the Oil: Once the oil has been strained, transfer it into a clean, airtight bottle or container for storage. Label the container with the date and the name of the essential oil.
Straining the oil effectively separates the essential oil from the plant material, resulting in a pure and concentrated product. It is important to be careful during this process to ensure the oil remains free from any debris or impurities.
Storing the Essential Oil
Proper storage of the rosemary essential oil is essential to maintain its quality and extend its shelf life. Here are some guidelines for storing your homemade essential oil:
- Dark Glass Bottles: Transfer the strained oil into dark glass bottles to protect it from light. Amber or cobalt blue bottles are ideal as they help block out harmful UV rays.
- Airtight Containers: Ensure that the bottles or containers you use have tight-fitting lids or caps to prevent air from entering. Exposure to air can degrade the quality of the essential oil over time.
- Cool and Dry Location: Store the essential oil in a cool and dry place away from direct sunlight, heat, and humidity. Excessive heat and moisture can cause the oil to deteriorate and lose its potency.
- Labeling: Properly label each bottle or container with the name of the essential oil and the date of creation. This helps you keep track of the oil’s freshness and usage.
- Avoid Contamination: Prevent contamination by using clean droppers or pipettes when dispensing the essential oil. Avoid touching the dropper directly to prevent introducing any contaminants.
- Regular Inspection: Regularly check the stored essential oil for any signs of spoilage, such as changes in color, consistency, or odor. If you notice any abnormalities, it may be an indication that the oil has gone bad and should be discarded.
By following these storage guidelines, you can prolong the shelf life of your homemade rosemary essential oil and maintain its potency for future use in aromatherapy, skincare, or other applications.