
Materials Needed
To make orange essential oil, you will need the following materials:
- Fresh oranges
- A sharp knife or peeler
- A cutting board
- A glass jar with a tight-fitting lid
- A carrier oil (such as jojoba or almond oil)
- A clean towel or cheesecloth
- A strainer or sieve
- A dark, cool place for storage
These materials are essential for the extraction process and will ensure that you can make the highest quality orange essential oil at home.
Fresh oranges are crucial because they contain the highest concentration of essential oils. Look for oranges that are firm and aromatic, as they will yield the best results. Choose organic oranges whenever possible to avoid any potential pesticide residue.
A sharp knife or peeler will be used to remove the outer peel of the oranges. A cutting board is necessary to provide a stable surface for peeling the oranges. Ensure that the cutting board is clean and free from any contaminants.
A glass jar with a tight-fitting lid is needed to store the orange essential oil. The jar should be made of dark-colored glass to protect the oil from light damage. The tight-fitting lid will prevent air from entering the jar and ensure the longevity of the oil.
A carrier oil is necessary to dilute the orange essential oil and make it safe for use. Jojoba oil and almond oil are popular choices for dilution. Choose a high-quality carrier oil that is suitable for use on the skin.
A clean towel or cheesecloth will be used to strain the oil after extraction, removing any impurities or plant matter. Ensure that the towel or cheesecloth is clean and free from any debris.
A strainer or sieve can also be used to strain the oil if a towel or cheesecloth is not available. It will help remove any remaining particles from the oil.
Lastly, find a dark and cool place for storing the orange essential oil. Exposure to light and heat can degrade the oil over time. Choose a spot away from direct sunlight and fluctuating temperatures to maintain the oil’s quality.
With these materials on hand, you are now ready to embark on the journey of making your very own orange essential oil at home.
Step 1: Gathering Fresh Oranges
The first step in making orange essential oil is to gather fresh oranges. The quality and freshness of the oranges will greatly impact the final result of the oil.
Start by selecting oranges that are firm and aromatic. The aroma indicates a high concentration of essential oil within the fruit. If possible, choose organic oranges to avoid any potential pesticide residue.
Depending on the quantity of orange essential oil you wish to make, you may need several oranges. As a general guideline, 4-5 medium-sized oranges can yield approximately 1 tablespoon of essential oil.
Once you have chosen your oranges, rinse them thoroughly under running water to remove any dirt or debris from the peel. This step is important to ensure that your oil is clean and free from contaminants.
After rinsing the oranges, gently pat them dry with a clean towel. This will help remove excess moisture and prevent any water from diluting the essential oil during the extraction process.
It is recommended to use fresh oranges for making essential oil as they have a higher concentration of oils compared to dried peels. Fresh peels have more moisture, making it easier to extract the essential oil.
When gathering the oranges, consider the time of harvest. Oranges harvested during their peak ripeness tend to have a stronger aroma and higher oil content. This will result in a more fragrant and potent essential oil.
Now that you have gathered fresh and ripe oranges, you are ready to move on to the next step of making orange essential oil.
Step 2: Peeling the Oranges
After gathering the fresh oranges, the next step in making orange essential oil is peeling the oranges. The peel contains the highest concentration of essential oil, making it the key ingredient for extracting the aromatic oil.
Start by using a sharp knife or peeler to remove the outer peel of the oranges. Take care to only remove the colored part of the peel, avoiding the white pith underneath. The pith does not contain as much essential oil and can add bitterness to the oil.
As you peel the oranges, you will begin to notice the delightful citrus aroma filling the air. This aroma is a testament to the oils that are being released from the peel. Make sure to work slowly and carefully to extract the peel without damaging it.
If you prefer, you can also use a zester or microplane grater to remove the peel. These tools can create finer and more uniform pieces of peel, which can be beneficial for the extraction process.
Once you have peeled the oranges, you can use the remaining fruit for other purposes, such as juicing or eating. Waste not, want not!
After peeling the oranges, cut the peel into small pieces. This will help to release even more essential oil during the extraction process. You can use a sharp knife or kitchen scissors for this task.
Alternatively, you can also shred the peel into thin strips using a grater or food processor. This method can be especially useful if you’re working with a large quantity of oranges.
Remember to work in a well-ventilated area as the aroma of the citrus oils can be invigorating but intense. Enjoy the natural fragrance that fills the room as you continue with the orange essential oil making process.
With the oranges peeled and the peel cut or shredded, you are now ready to proceed to the next step of preparing the peels for extraction.
Step 3: Preparing the Peels
Once you have peeled the oranges and cut or shredded the peel, the next step in making orange essential oil is to prepare the peels for extraction. Proper preparation ensures that you extract the maximum amount of essential oil from the peels.
Start by spreading the peel pieces or strips on a clean towel or tray. This will allow them to air dry for a few hours or overnight. Drying the peels helps remove excess moisture, making the oils more accessible for extraction.
Ensure that the peels are placed in a well-ventilated area away from direct sunlight. You can also consider using a dehydrator or a low heat setting in the oven to speed up the drying process. However, be cautious not to expose the peels to excessive heat, as this may degrade the delicate essential oils.
Once the peels are dry, they may have hardened slightly. To make them more pliable and increase oil release, you can gently squeeze or twist them. This action helps break the cell walls and release the trapped essential oil.
It is important to note that the fragrance of the orange essential oil predominantly comes from the zest, the outermost layer of the peel. Therefore, try to remove any white pith that may still be attached to the peels. The pith does not contribute to the aromatic qualities and can introduce bitterness to the oil.
After preparing the peels, you may notice a rich, citrus aroma emanating from them. This indicates that the essential oils are already starting to release. Be careful not to handle the peels too roughly, as this may cause more oil to be lost before the extraction process.
By taking these steps to properly prepare the peels, you are ensuring that your orange essential oil will have a robust and enticing aroma. Now that the peels are ready, it’s time to move on to the extraction process.
Step 4: Extracting the Essential Oil
After preparing the orange peels, it’s time to extract the essential oil. There are several methods you can use to extract the oil from the peels, including steam distillation, cold pressing, and maceration. Here, we will focus on the steam distillation method—a commonly used technique for extracting essential oils from plant materials.
To begin, you will need a large pot with a lid and a heat-resistant bowl or container that fits inside the pot. Fill the pot with enough water to create a steam bath. Place the bowl in the center of the pot, ensuring that it floats on top of the water without touching it.
Next, add the prepared orange peels to the water in the pot. The water should cover the peels but should not overflow into the bowl. The steam from the boiling water will gently heat and release the essential oils from the peels.
Once everything is set up, turn on the heat and allow the water to come to a gentle boil. As the water boils, the steam will rise, carrying the essential oils with it. The steam will then pass through the peels, extracting the aromatic compounds.
Place the lid on the pot, but leave a slight opening to allow the steam to escape. This helps prevent excessive pressure buildup in the pot. Reduce the heat to maintain a steady simmer and continue the process for about 1-2 hours.
As the steam travels through the peels, it condenses on the lid of the pot and drips into the bowl below. This condensed liquid is a combination of water and essential oil. It is important to note that essential oils do not mix with water, so they will separate from the water as they cool down.
Once the distillation process is complete, carefully remove the bowl from the pot using heat-resistant gloves or oven mitts. Allow the liquid in the bowl to cool thoroughly. As it cools, you will see the separation of the water and essential oil layers.
To further separate the essential oil from the water, you can use a separating funnel or a pipette. Gently transfer the oil layer to a separate, airtight glass container. This container should preferably be made of dark-colored glass to protect the essential oil from light damage.
Label the container with the date and name of the oil. Store it in a cool, dark place to preserve its quality and potency. Properly stored orange essential oil can last for several months to a year.
By following this steam distillation method, you can extract high-quality orange essential oil from the peels. Now that you have your homemade essential oil, it’s time to move on to the final step: storing it properly for future use.
Step 5: Storing the Orange Essential Oil
After successfully extracting the orange essential oil, it’s important to store it properly to maintain its freshness and effectiveness. Proper storage helps preserve the aromatic properties and extends the shelf life of the oil.
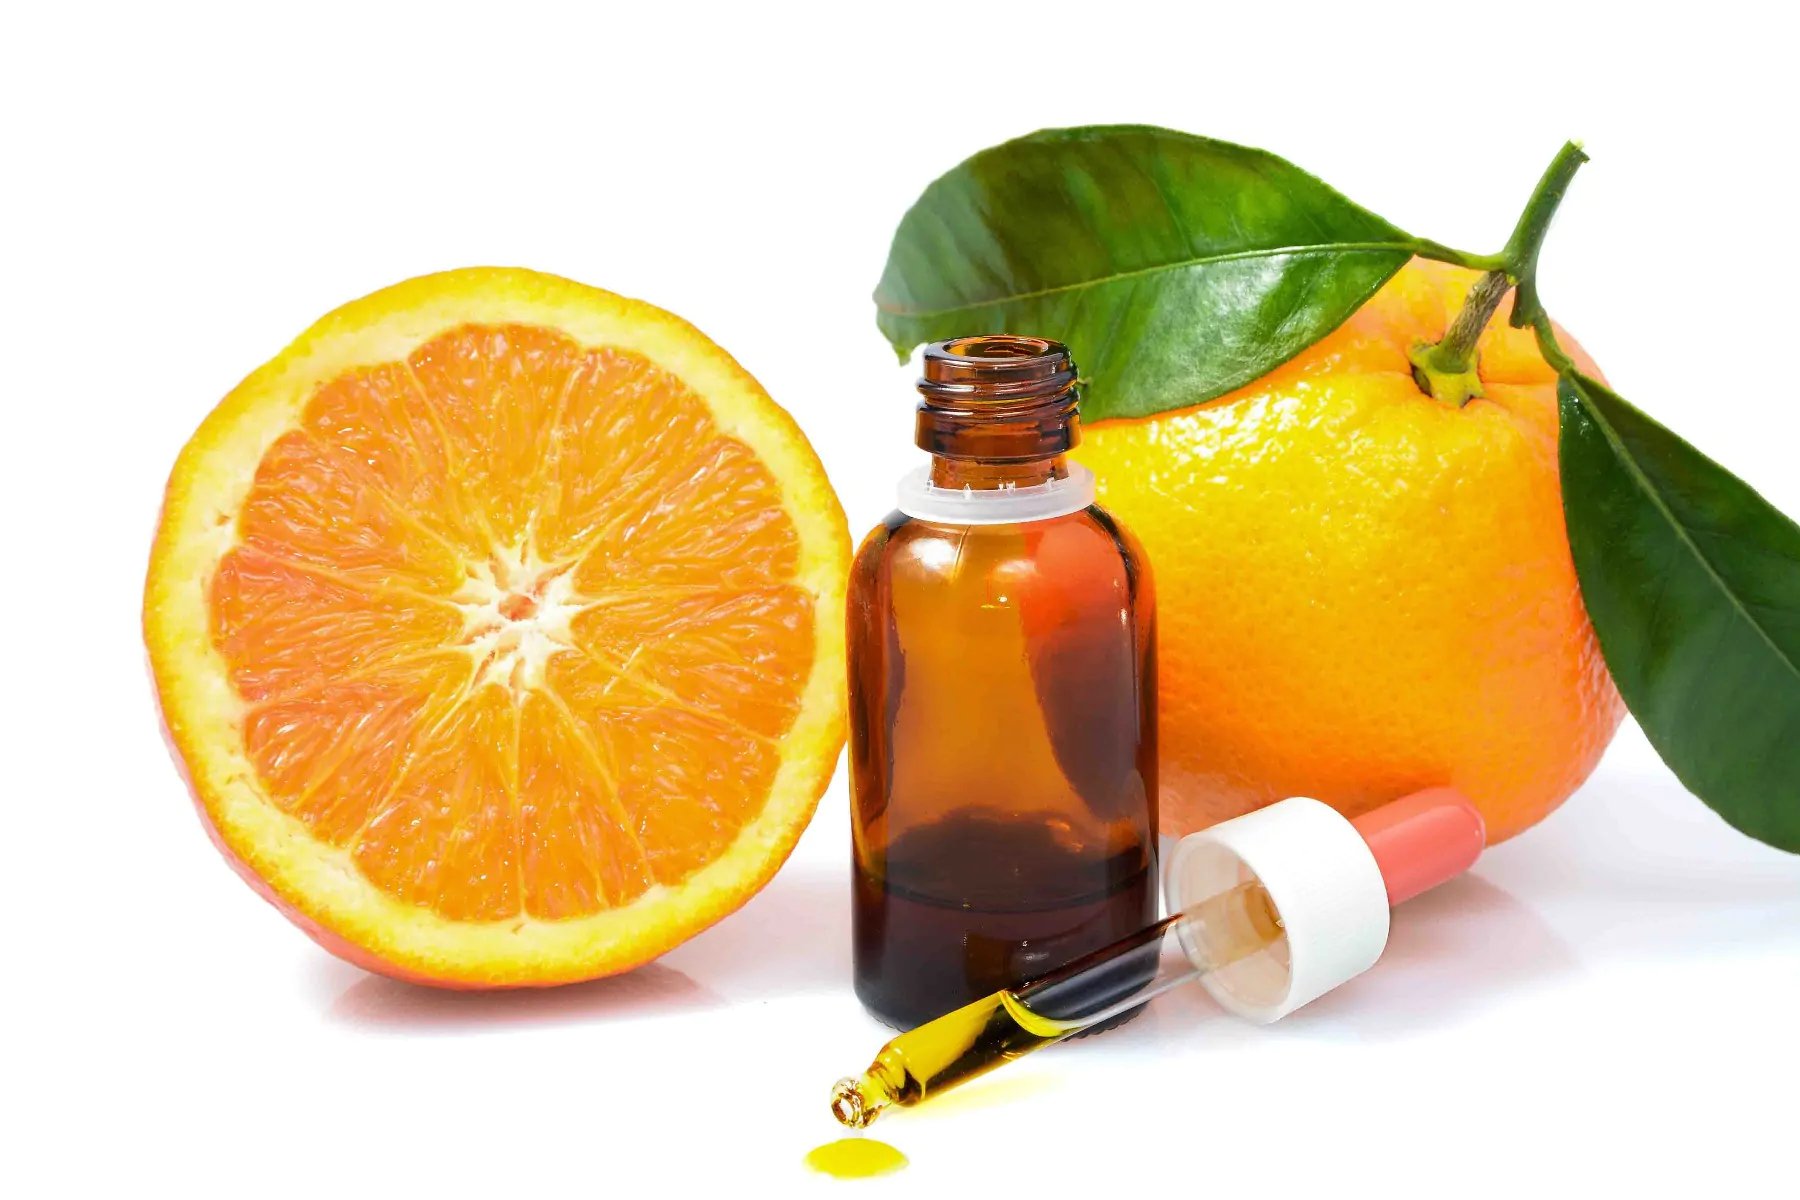
First, transfer your homemade orange essential oil to a dark-colored glass bottle with a tight-fitting lid. Dark-colored glass, such as amber or cobalt blue, helps protect the oil from exposure to light, which can degrade its quality over time.
Ensure that the bottle is clean, dry, and free from any contaminants. To avoid any potential cross-contamination, it’s recommended to use a new and dedicated bottle specifically for storing the orange essential oil.
When transferring the oil, be cautious not to expose it to direct sunlight or excessive heat. This can accelerate the oxidation process and reduce the potency of the oil. Work in a cool and shaded area to maintain the oil’s quality.
Once the oil is in the bottle, securely seal the lid to prevent air from entering. Oxygen exposure can cause the oil to degrade more quickly. It’s important to minimize the contact of the oil with air to ensure its longevity.
Label the bottle with the name of the oil, the date it was made, and any additional relevant information. This helps with identification and ensures that you can keep track of the oil’s freshness.
Store the orange essential oil in a cool, dark place away from direct sunlight, extreme temperatures, and humidity. Consistent exposure to these elements can accelerate the oil’s degradation. A cabinet or drawer in a temperature-controlled environment is an ideal storage location.
Regularly inspect the oil for any signs of color change, unusual odor, or cloudiness. If you notice any of these changes, it may indicate that the oil has spoiled and should no longer be used. Fresh orange essential oil should have a vibrant orange color and a strong, citrusy aroma.
By storing your orange essential oil properly, you can preserve its potency and fragrance for an extended period. This ensures that you can enjoy the benefits of your homemade oil whenever you need it.
Now that you have mastered the art of making and storing orange essential oil, you can proudly incorporate it into your daily routines, whether it’s for aromatherapy, massage, or skincare. Enjoy the natural and uplifting scent of orange in the comfort of your own home!
Tips and Tricks
Here are some helpful tips and tricks to enhance your experience in making orange essential oil:
- Choose organic oranges whenever possible to avoid pesticide residue in your essential oil.
- Consider using a citrus zester or microplane grater for a finer and more uniform peel.
- Use gloves or wash your hands after handling the orange peels to avoid irritation or sensitivity to the oils.
- Experiment with different varieties of oranges for unique aromas and flavors in your essential oil.
- Add a few drops of orange essential oil to your cleaning solutions for a fresh and invigorating scent.
- Blend orange essential oil with other citrus oils, such as lemon or grapefruit, for a refreshing and uplifting fragrance.
- Perform a patch test before using orange essential oil topically to ensure that you don’t have any allergic reactions.
- Store your orange essential oil away from children and pets to prevent accidental ingestion or spills.
- Consider using a pipette or dropper for easier and more precise application of the oil.
- Avoid using plastic containers or bottles for storing your essential oil, as they can interact with the oil and degrade its quality.
- Take breaks while peeling the oranges to enjoy the delightful citrus aroma and rejuvenate your senses.
- Label your storage container with the date of extraction to keep track of the oil’s freshness and potency.
- Research and familiarize yourself with the potential benefits and uses of orange essential oil to maximize its usefulness in your daily life.
By following these tips and tricks, you can ensure a successful and rewarding experience in making and using your own orange essential oil. Enjoy the vibrant and uplifting scent of orange as it enhances your well-being and creates a pleasant atmosphere in your home.