
Ingredients
Creating your own luxurious bath salts is a fun and rewarding DIY project. By using simple ingredients, you can customize your bath salts to suit your preferences and enjoy a soothing and relaxing experience. Here are the essential ingredients you will need:
- Epsom salt (1 cup)
- Sea salt (1 cup)
- Baking soda (1/2 cup)
- Carrier oil (such as sweet almond oil or jojoba oil) (2 tablespoons)
- Essential oils of your choice (15-20 drops)
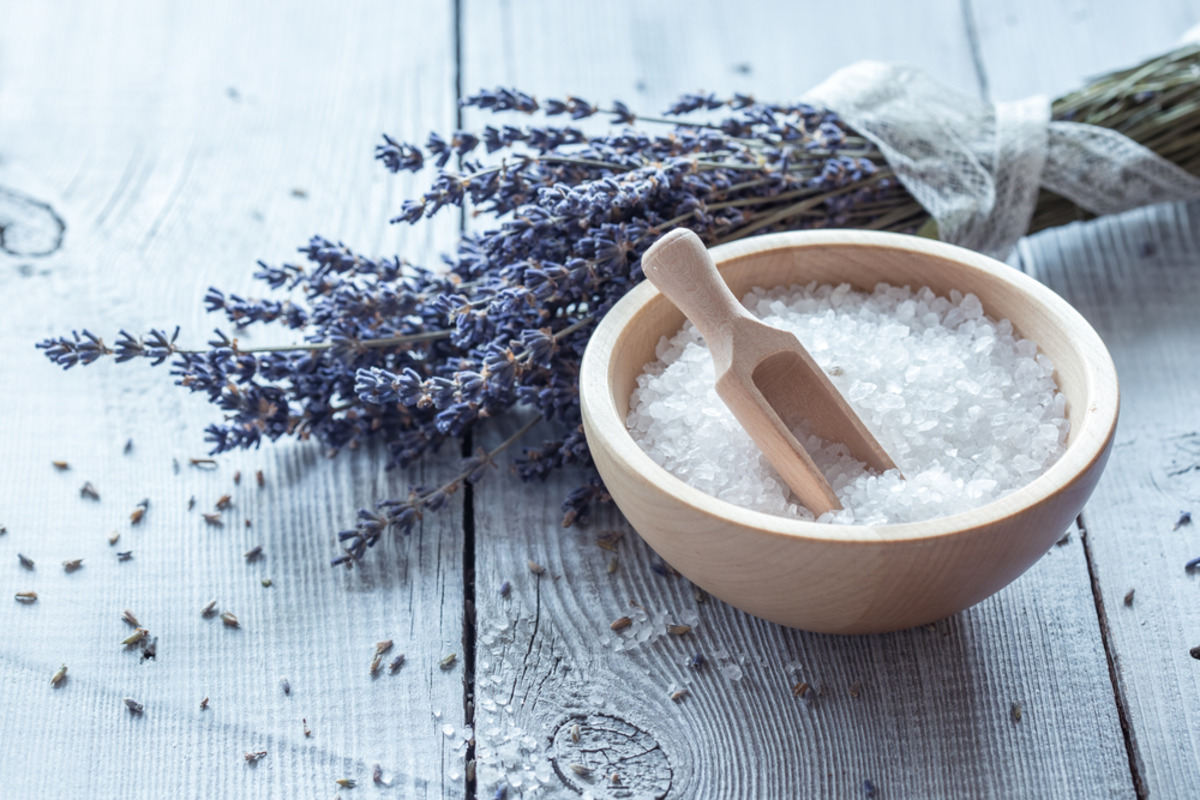
- Dried flowers or herbs (such as lavender buds or rose petals) (optional)
Epsom salt is known for its detoxifying properties and helps to soothe tired muscles. Sea salt is rich in minerals, providing additional benefits for your skin. Baking soda helps to soften the water and can provide relief for dry or itchy skin. Using a carrier oil in your bath salts adds nourishing properties to the mix, leaving your skin feeling moisturized and smooth.
The key to making fragrant bath salts is your choice of essential oils. Lavender is a popular option as it promotes relaxation and a sense of calm. Eucalyptus oil can help to clear the airways and provide a refreshing sensation. You can experiment with different essential oil combinations to create your own unique blend.
For an extra touch of indulgence, you can include dried flowers or herbs in your bath salts. Not only do they add visual appeal, but they can also infuse your bath water with a gentle aroma.
Remember to choose high-quality ingredients for the best results. Organic and natural options are recommended, as they are free from harsh chemicals and artificial additives.
Now that you have gathered all the ingredients, it’s time to move on to the next step: selecting the equipment needed for this DIY project.
Equipment Needed
To create your own essential oil bath salts, you will need a few basic tools and equipment. These items are readily available and will make the process of making bath salts much easier. Here are the essential tools you will need:
- A mixing bowl
- A spoon or whisk for stirring
- A glass jar or airtight container for storing the bath salts
- A dropper or pipette for adding essential oils
- A funnel (optional but helpful for transferring the bath salts into the jar)
The mixing bowl will be used to combine all the ingredients together. Make sure to choose a bowl that is big enough to hold the entire mixture without any spillage. A spoon or whisk is necessary for thorough mixing and ensuring that all the salts and oils are evenly distributed.
When it comes to storing the bath salts, a glass jar or airtight container is recommended. This will help preserve the freshness and potency of the essential oils. Additionally, using a glass jar adds a touch of elegance to your homemade bath salts.
Using a dropper or pipette is a practical tool for adding the essential oils to the mixture. This ensures that you can precisely control the number of drops you add, allowing you to create your desired scent strength.
Lastly, a funnel can be useful for transferring the bath salts into the storage container. It helps to prevent any spillage and makes the process neater and more efficient. However, if you don’t have a funnel, you can carefully pour the bath salts into the container using a steady hand.
Now that you have gathered all the necessary equipment, you are ready to move on to the next step: choosing your base salt for the bath salts.
Step 1: Choose Your Base Salt
The first step in creating your own essential oil bath salts is selecting a base salt. The base salt serves as the foundation of your bath salts and determines their texture and therapeutic properties. Here are a few popular options to consider:
- Epsom salt: This widely used salt, also known as magnesium sulfate, is valued for its ability to soothe sore muscles and promote relaxation. Epsom salt can help to relieve stress, reduce inflammation, and detoxify the body. It has a fine texture and dissolves easily in water.
- Sea salt: Harvested from the sea, this natural salt contains essential minerals that can nourish and purify the skin. Sea salt has a slightly coarser texture compared to Epsom salt, providing a gentle exfoliating effect. It is known for its therapeutic properties and can help to relax muscles and improve circulation.
- Himalayan pink salt: Mined from the Himalayan mountains, this pink-hued salt is packed with minerals and trace elements. It is believed to promote detoxification, balance pH levels, and improve skin hydration. Himalayan salt has a coarse texture and adds a beautiful touch to your bath salts.
- Dead Sea salt: Sourced from the Dead Sea, this salt is renowned for its high mineral content, including magnesium, calcium, and potassium. Dead Sea salt is beneficial for soothing skin conditions like eczema and psoriasis, as well as promoting muscle relaxation and detoxification.
When choosing your base salt, consider your personal preferences and any specific needs you may have. Each type of salt offers unique benefits, so select the one that aligns with your desired outcomes. You can also mix different salts together to create a custom blend that combines the advantages of each.
Remember, it’s important to use high-quality salts to ensure the best results. Look for salts that are pure and free from additives or fillers. Organic and natural options are recommended for a truly rejuvenating bathing experience.
Now that you have chosen your base salt, you can proceed to the next step: selecting your essential oils.
Step 2: Select Your Essential Oils
Choosing the right essential oils is a crucial step in creating your own personalized bath salts. Essential oils not only provide a delightful fragrance but also offer various therapeutic benefits. Here’s how you can select the perfect essential oils for your bath salts:
Consider the desired effect: Different essential oils have distinct properties that can enhance your bathing experience. For relaxation and stress relief, choose oils such as lavender, chamomile, or bergamot. For an invigorating and uplifting effect, opt for oils like peppermint, eucalyptus, or citrus. Research the properties of different oils and select those that align with your desired mood or benefits.
Experiment with blends: Don’t be afraid to mix different essential oils to create your own unique blend. Combining scents can add complexity and depth to your bath salts. Start by mixing a few drops of each oil in a separate container to test the scent. Adjust the ratio until you achieve the desired aroma. Some popular blends include lavender and rosemary, eucalyptus and peppermint, and orange and ylang-ylang.
Consider the concentration: Essential oils are highly concentrated, so a little goes a long way. Aim for around 15-20 drops of essential oil per cup of salt for a moderately scented bath. Adjust the amount based on your personal preference and the strength of the oils you are using. Remember that certain oils, like peppermint or cinnamon, can be overpowering, so use them sparingly.
Ensure quality: When selecting essential oils, opt for high-quality, pure oils from reputable brands. Look for oils that are labeled as 100% pure and therapeutic grade. Organic and natural options are preferable, as they are free from synthetic additives or contaminants. Be wary of oils that are heavily diluted or contain artificial fragrances.
Personalize your scents: Don’t be confined to traditional choices. Feel free to explore your personal preferences and experiment with less common scents. Consider oils like patchouli, jasmine, or frankincense for a unique and memorable bathing experience.
Remember to consider any potential allergies or sensitivities that you or the intended recipients may have. Patch test a small amount of the diluted oil on your skin before incorporating it into your bath salts.
Now that you have selected your essential oils, it’s time to move on to the next step: adding extra ingredients, if desired.
Step 3: Add Extra Ingredients (Optional)
To take your DIY bath salts to the next level, you can add extra ingredients that enhance the scent, texture, and overall experience. These additional ingredients are optional but can add a luxurious touch to your bath salts. Here are a few ideas to consider:
- Dried flowers or herbs: Adding dried flowers or herbs, such as lavender buds, rose petals, or chamomile flowers, can elevate the visual appeal of your bath salts. Not only do they create a stunning aesthetic, but they also infuse the bath water with a delicate aroma.
- Citrus zest: Grating the zest of citrus fruits like oranges, lemons, or limes can add a refreshing and invigorating scent to your bath salts. Citrus zest also contains natural oils that provide a subtle burst of fragrance.
- Colored salt: If you want to add a pop of color to your bath salts, consider using natural colorants such as beetroot powder, spirulina powder, or turmeric. Start with a small amount and gradually add more until you achieve the desired hue.
- Essential oil-infused salts: If you want a stronger scent from your bath salts, you can create essential oil-infused salts by mixing a few drops of your chosen essential oil with a small amount of carrier oil, such as sweet almond or jojoba oil. Once blended, add the mixture to the bath salts and mix well.
- Essential oil-safe glitter: For a touch of shimmer and glamour, you can incorporate essential oil-safe glitter into your bath salts. However, make sure the glitter is specifically designed for use on the body and is safe to dissolve in water.
When adding these extra ingredients, it’s important to consider their compatibility with essential oils and potential reactions. In general, dried flowers, citrus zest, and colored salts should be safe to use. However, always test a small amount of the mixture on your skin to ensure there are no adverse reactions.
Remember, adding extra ingredients is optional and depends on your personal preference. If you prefer a simple and classic bath salt recipe, feel free to skip this step. Now that you have chosen any extras, it’s time to move on to the next step: mixing the ingredients together.
Step 4: Mix the Ingredients Together
Now that you have gathered all the necessary ingredients, it’s time to combine them and create your own blend of luxurious bath salts. Follow these simple steps to mix the ingredients together:
- Prepare your mixing bowl: Start by finding a clean and dry mixing bowl. Ensure that it’s large enough to accommodate all the ingredients and leave enough space for stirring.
- Add the salts: Begin by adding the base salt to the mixing bowl. Whether you’re using Epsom salt, sea salt, Himalayan pink salt, or Dead Sea salt, carefully measure and pour it into the bowl.
- Incorporate the baking soda: Next, add the baking soda to the bowl. Baking soda helps to soften the water and can provide relief for dry or itchy skin.
- Pour in the carrier oil: Add the carrier oil of your choice to the bowl. The carrier oil helps to moisturize and nourish the skin. Start with a small amount, such as 2 tablespoons, and adjust as needed. Use a spoon or whisk to mix the ingredients well, ensuring that the carrier oil is evenly distributed throughout the mixture.
- Add the essential oils: Now it’s time to add the essential oils to the mixture. Use a dropper or pipette to carefully measure and add 15-20 drops of your chosen essential oils. Slowly mix the oils into the salt mixture, ensuring that they are thoroughly incorporated.
- Blend in any additional ingredients: If you have chosen to add dried flowers, citrus zest, or colored salts, now is the time to mix them in. Gently fold them into the mixture, ensuring that they are evenly distributed.
As you mix the ingredients together, be mindful of the texture and consistency of the bath salts. Aim for an even distribution of oils and additives throughout the mixture. Take your time and gently stir or whisk until the ingredients are well combined.
Once everything is mixed together, take a moment to breathe in the delightful aroma of your homemade bath salts. The beautiful scents created by the essential oils will contribute to a truly luxurious bathing experience.
With the ingredients fully mixed, you’re almost ready to enjoy your revitalizing bath salts. The final step is to store them properly to ensure their freshness and longevity. Let’s move on to the next step: storing the bath salts.
Step 5: Store the Bath Salts
Once you have created your delightful blend of essential oil bath salts, it’s important to store them properly to maintain their freshness and potency. Follow these steps to ensure your bath salts remain in optimal condition:
- Select a suitable container: Choose an airtight glass jar or container to store your bath salts. Glass is preferred as it helps preserve the quality of the essential oils and prevents any potential reactions with plastic containers. Ensure that the container is clean and dry before transferring the bath salts into it.
- Transfer the bath salts: Carefully pour or use a funnel to transfer the bath salts into the storage container. Be mindful not to spill any of the precious mixture. If you have added dried flowers or herbs, ensure they are evenly distributed throughout the salts.
- Label the container: To easily identify your bath salts, label the container with the name of the scent or blend you have created. You can also include the date of creation to keep track of their freshness. This step is especially useful if you plan to make multiple batches of bath salts with different scents.
- Store in a cool, dry place: Find a cool and dry spot to store your bath salts. Avoid exposing them to direct sunlight or high humidity, as these factors can degrade the quality of the salts and essential oils.
- Keep away from moisture: Moisture can cause clumping and spoil the bath salts. To prevent this, place a small moisture-absorbing packet, such as silica gel, in the container. This will help to absorb any excess moisture and prolong the shelf life of your bath salts.
- Enjoy within a few months: It’s recommended to use your bath salts within a few months of creation while the essential oils and scents are still potent. Over time, the essential oils may slowly lose their fragrance and therapeutic properties.
By storing your bath salts in a proper container and in ideal conditions, you can ensure their longevity and preserve the delightful scents for your future baths. Now that you have neatly stored your bath salts, the final step is to learn how to use them effectively. Let’s move on to the next step: using your bath salts.
Step 6: Using Your Bath Salts
Now that you have created your own personalized bath salts, it’s time to indulge in a luxurious and rejuvenating bath experience. Follow these steps to effectively use your bath salts:
- Prepare your bath: Fill your bathtub with warm water, ensuring that the temperature is comfortable for you. It’s best to use water that is not too hot, as hot water can strip away natural oils from your skin.
- Add the bath salts: Measure out a desired amount of bath salts, typically around 1/2 to 1 cup, depending on your preferences and the size of your bathtub. Sprinkle the salts into the warm running water, allowing them to dissolve and infuse the bath water with their aroma and therapeutic properties. Use your hand or a spoon to gently stir the water and ensure the salts are fully dissolved.
- Create a serene ambiance: Dim the lights, light some candles, and play soft music to enhance the soothing atmosphere of your bath. Consider placing a towel, pillow, or bath cushion to provide additional comfort and support.
- Step into relaxation: Slowly immerse yourself into the bath, allowing the warm water and aromatic scents of the bath salts to envelop you. Close your eyes, take deep breaths, and let go of any tension or stress. Allow the salts and essential oils to work their magic on your mind, body, and spirit.
- Relax and rejuvenate: Take your time to soak in the bath for at least 20-30 minutes, allowing your body to absorb the minerals from the salts and the aromatherapy benefits from the essential oils. Close your eyes and enjoy the serenity and tranquility of the moment. You can use this time to practice deep breathing or engage in meditation to further enhance relaxation.
- Rinse off and moisturize: After your bath, gently rinse off any residual salt from your skin with warm water. Pat yourself dry with a soft towel. To lock in moisture, apply a nourishing body lotion or oil to hydrate and soothe your skin.
Remember, everyone’s preferences and desired bath experiences may differ, so feel free to adapt these steps to suit your personal needs. Don’t be afraid to experiment with different amounts and combinations of bath salts and essential oils to create your ideal bath time ritual.
Enjoy the luxurious relaxation and self-care experience that your homemade bath salts provide. Treat yourself to a blissful bath whenever you need to unwind, destress, or simply pamper yourself. You deserve it!