
Materials Needed
Before you can start making your own candle wax at home, gather the following materials:
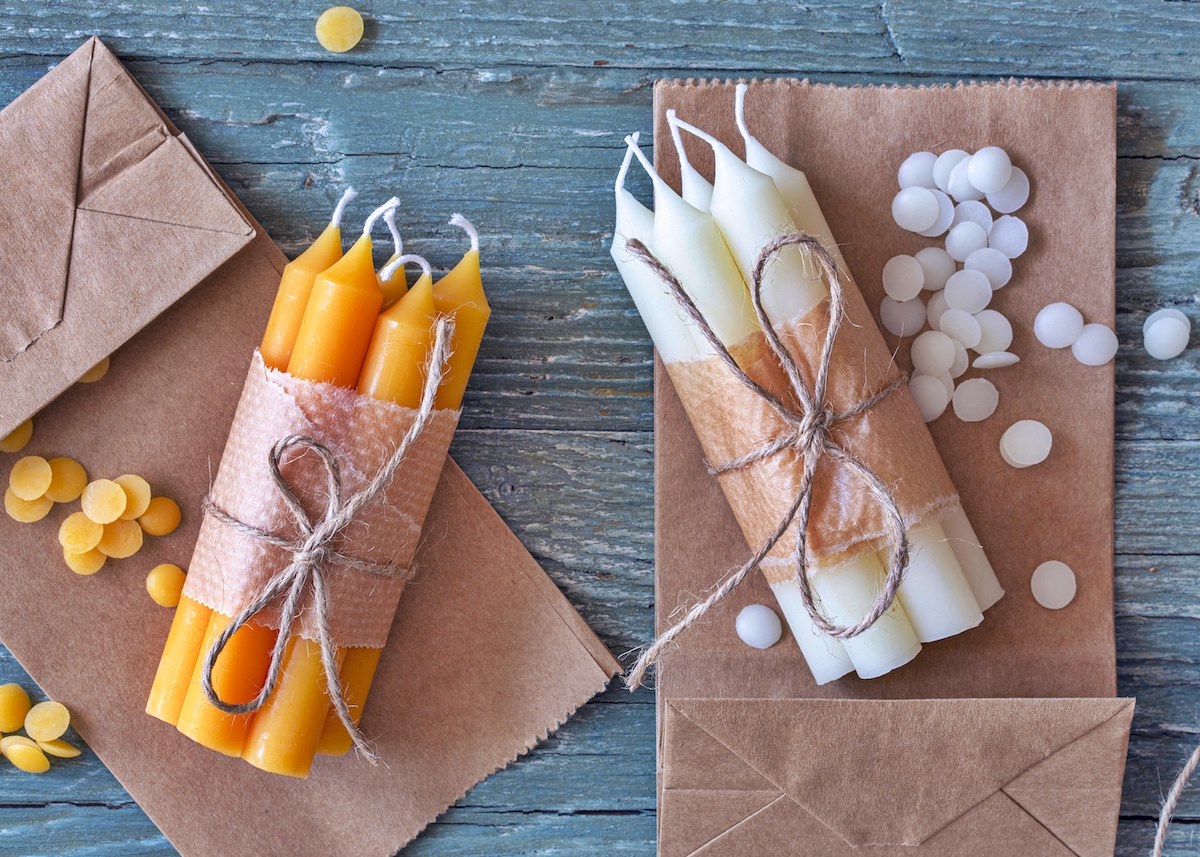
- Beeswax or soy wax: These natural waxes are ideal for candle making as they provide a clean and long-lasting burn.
- Double boiler or a heat-resistant container: This will be used to melt the wax.
- Candle wicks: Choose wicks that are suitable for the size of the candle you want to create.
- Fragrance oils or essential oils: These will add a pleasant scent to your candles.
- Candle dye or crayons: If you want to add color to your candles, you can use candle dye specifically made for this purpose or even melt crayons.
- Molds or containers: You can use molds designed for candle making or repurpose containers like jars or tins.
- Thermometer: This will help you monitor the temperature of the wax.
- Stirring utensil: A dedicated candle making stirrer or a heat-resistant spoon or spatula will work.
- Optional: Wick tabs or adhesive: These can help secure the wick to the bottom of the container.
By gathering these materials before you begin, you’ll have everything you need to create your homemade candle wax.
Step 1: Preparing the Wax
Before you can start making your own candle wax at home, you need to prepare the wax for melting. Follow these steps to ensure your wax is ready:
- Measure the desired amount of beeswax or soy wax flakes. For beginners, starting with about one pound of wax is a good option.
- If the wax is in block form, use a knife to carefully chop it into smaller pieces. This will help it melt more evenly and quickly.
- Place the wax flakes or pieces into a heat-resistant container or a double boiler.
- Fill a larger pot with water and place the heat-resistant container or double boiler inside it. The water level should be at least halfway up the sides of the container.
- Turn on the heat to medium-low and allow the wax to melt slowly. Stir occasionally to ensure even melting.
- Monitor the temperature of the wax using a thermometer. Beeswax should be heated to around 145 to 160 degrees Fahrenheit (63 to 71 degrees Celsius), while soy wax requires a temperature of about 170 to 180 degrees Fahrenheit (77 to 82 degrees Celsius).
- Once the wax has fully melted and reached the desired temperature, remove it from the heat source.
Preparing the wax correctly sets the foundation for a successful candle-making process. Take your time and ensure that the wax is completely melted before moving on to the next step.
Step 2: Melting the Wax
Now that you have prepared the wax, it’s time to melt it. Follow these steps to ensure a smooth melting process:
- Place the prepared container or double boiler back on the heat source.
- Adjust the heat to low or medium-low to maintain a steady, gentle heat.
- Continue to stir the wax occasionally to promote even heating and prevent any clumping.
- Keep a close eye on the wax and monitor the temperature using a thermometer.
- Avoid overheating the wax, as excessive heat can degrade the quality and scent of the final product.
- Once the wax has completely melted and reached the optimal temperature (145 to 160 degrees Fahrenheit for beeswax or 170 to 180 degrees Fahrenheit for soy wax), remove it from the heat source.
Melting the wax may take some time, so be patient and ensure that the wax is completely melted before moving on to the next step. A slow and gentle melting process will help maintain the integrity of the wax and result in a better candle-making experience.
Step 3: Adding Color and Fragrance
Adding color and fragrance to your homemade candles can enhance their visual appeal and create a delightful sensory experience. Follow these steps to incorporate color and fragrance into your melted wax:
- If you want to add color to your candle, prepare your chosen coloring agent. You can either use specialized candle dye or melt crayons of your desired color.
- Slowly add a small amount of coloring agent to the melted wax and stir thoroughly. Continue adding more coloring agent until you achieve the desired shade. Remember that a little goes a long way, so add colors incrementally.
- Once you’ve achieved the desired color, it’s time to add fragrance. Measure out the recommended amount of fragrance oil or essential oil based on the wax manufacturer’s instructions.
- Pour the fragrance oil into the melted wax and stir gently to distribute the fragrance evenly throughout the wax. Be careful not to over-stir, as this can create air bubbles in the wax.
- Allow the scented wax to cool slightly, but avoid letting it solidify. This will help the fragrance blend better with the wax.
Adding color and fragrance to your candle wax can make the final product more appealing and personalized. Remember to follow the recommended guidelines for coloring and scenting to ensure optimal results.
Step 4: Preparing the Molds
Once you have melted and scented your wax, it’s time to prepare the molds or containers where your homemade candles will take shape. Follow these steps to ensure your molds are ready:
- Select the molds or containers you want to use for your candles. You can choose from a variety of options, such as candle molds, jars, tins, or even repurposed containers.
- If using reusable molds, make sure they are clean and dry before proceeding.
- Avoid using materials that are highly flammable or can easily be damaged by heat.
- If necessary, spray or coat the molds with a non-stick spray or a small amount of oil to help release the candles once they are set.
- Place the prepared molds or containers on a stable surface, ensuring they are level and won’t tip over during the pouring process.
Preparing the molds or containers ahead of time ensures that you have a smooth and hassle-free pouring experience. Take your time to choose the right molds and ensure they are clean and ready for use. This will help achieve beautiful and well-formed candles.
Step 5: Pouring the Wax
Now comes the exciting part – pouring the melted wax into the prepared molds or containers. Follow these steps to ensure a successful pouring process:
- Carefully pour the melted wax into the molds or containers, filling them up to the desired level.
- Work slowly and steadily to avoid spills or overfilling the molds.
- Leave a small amount of space at the top of the mold to accommodate the wick and any decorative elements you may add later.
- Be cautious of any hot wax that may drip from the pouring container, as it can cause burns or damage surfaces.
- If pouring multiple candles, work efficiently to pour all the candles before the wax begins to solidify.
- Allow the wax to cool and solidify completely before moving on to the next step. This may take a few hours, depending on the size and type of wax used.
Properly pouring the wax is crucial for achieving well-formed and visually appealing candles. Take your time and pour the wax carefully to ensure the best results.
Step 6: Adding the Wick
Once the wax has solidified in the molds or containers, it’s time to add the wick. Follow these steps to properly incorporate the wick into your homemade candles:
- Prepare the appropriate length of wick for your candles. Cut the wick slightly longer than the height of the mold or container to allow for trimming later.
- Attach a wick tab or use adhesive to secure the end of the wick to the bottom of the mold or container. This will keep the wick in place during the pouring process.
- Center the wick in the mold or container by gently straightening it with your fingers or using a wick centering device.
- Ensure that the wick is straight and taut, with the tab or adhesive firmly securing it in place.
- Leave the wick slightly above the surface of the wax to allow for easy lighting later on.
- If desired, use a wick holder or pencil across the top of the mold or container to keep the wick centered and straight as the wax cools and solidifies.
Adding the wick correctly is essential for a properly functioning candle. Make sure the wick is properly secured and centered to ensure a consistent and even burn when lit.
Step 7: Allowing the Candle to CoolAfter adding the wick to your homemade candles, it’s important to allow them to cool and solidify completely. Follow these steps to ensure proper cooling:
- Place the filled molds or containers in a cool, undisturbed area where they can set undisturbed.
- Avoid moving or jostling the candles while they are cooling, as this can disrupt their formation.
- Allow enough time for the candles to cool completely, which typically takes several hours or even overnight.
- Resist the temptation to rush the cooling process by placing the candles in the refrigerator or freezer, as this can lead to uneven cooling and potential cracking.
- Keep the candles away from drafts, direct sunlight, and any extreme temperature changes, as these factors can affect the quality and appearance of the candles.
- During the cooling process, the wax will go through a solidification phase, ensuring that the candles maintain their shape.
Allowing the candles to cool completely is crucial for achieving a beautiful and well-formed final product. Patience is key during this step to avoid any mishaps or imperfections in the candles.
Step 8: Trimming the Wick
Once your homemade candles have cooled and solidified, it’s time to trim the wick to the proper length. Follow these steps to ensure your candles are ready to be lit:
- Gently remove any wick holders or pencils that were used to keep the wick centered during the cooling process.
- Examine the length of the wick and ensure it is about ¼ to ½ inch (0.6 to 1.3 cm) above the surface of the wax.
- If the wick is too long, use a pair of sharp scissors or a wick trimmer to trim it to the proper length. Be careful not to cut it too short, as this can make it difficult to ignite the candle.
- Trimming the wick to the correct length helps ensure a steady flame and prevents excess smoke or flickering.
- Dispose of the trimmed wick pieces appropriately, as they can be flammable.
Trimming the wick is an important step to maintain the performance and longevity of your homemade candles. Take the time to trim each candle’s wick to the proper length, and you’ll be ready to enjoy a beautiful, clean burn.
Step 9: Enjoying Your Homemade Candle
After completing all the previous steps, it’s finally time to sit back, relax, and enjoy the fruits of your labor. Here’s how to fully embrace the beauty and ambiance of your homemade candle:
- Find a safe and suitable location to place your candle. Make sure it’s on a heat-resistant surface away from any flammable materials.
- Double-check that the wick is trimmed to the proper length, about ¼ to ½ inch (0.6 to 1.3 cm) above the surface of the wax.
- Light the wick using a long-reach lighter or a matchstick.
- Observe the mesmerizing glow and flickering light of your homemade candle as it illuminates the space.
- Enjoy the delightful fragrance that fills the air as the candle burns.
- Remember to never leave a burning candle unattended and to keep it away from drafts, children, and pets.
- Allow the candle to burn for about 1 hour for every inch (2.5 cm) in diameter, ensuring an even and complete burn.
- Relax, unwind, and bask in the soothing atmosphere created by the gentle flicker and warm glow of your homemade candle.
By following these steps and taking necessary precautions, you can savor the pleasure and tranquility that comes with enjoying your very own homemade candle.