
Materials Needed
Before you begin making a butter candle, you will need to gather the necessary materials. Fortunately, most of these items can be easily found in your kitchen or purchased at a local grocery store. Here’s what you’ll need:
- A stick of unsalted butter – Make sure it is at room temperature so that it is easier to work with.
- A candle wick – You can find these at craft stores or online. Make sure it is long enough for the height of your candle.
- A heatproof container or mold – This can be a small glass jar, a silicone mold, or even a tea light candle holder.
- A double boiler or a heatproof bowl and saucepan – This will be used to melt the butter without burning it.
- Optional: Essential oils or herbs – If you want to add a pleasant scent to your candle, choose a fragrance that complements the butter.
- Optional: Decorative elements – You can get creative with your candle by adding dried flowers, spices, or even glitter.
- A spoon or a spatula – This will be used to mix the melted butter and any additional ingredients.
Now that you have gathered all the necessary materials, you are ready to embark on the journey of making your very own butter candle. Once you have everything prepared and within reach, you can proceed to the next step, which involves preparing the mold.
Step 1: Gathering Ingredients
Before you start making a butter candle, it’s essential to gather all the necessary ingredients. Having everything ready will make the process smooth and enjoyable. Here’s what you’ll need for this DIY project:
- 1 stick of unsalted butter: Make sure the butter is at room temperature; this will make it easier to work with.
- A candle wick: You can find candle wicks at craft stores or online. Make sure it’s long enough to fit the height of your candle.
- A heatproof container or mold: This could be a small glass jar, a silicone mold, or even a tea light candle holder. Choose one that suits the size and shape of the candle you want to make.
- A double boiler or a heatproof bowl and saucepan: This will be used to melt the butter without burning it. If you don’t have a double boiler, you can use a heatproof bowl on top of a saucepan filled with simmering water.
- Optional: Essential oils or herbs: If you want your butter candle to have a pleasant scent, you can add a few drops of essential oils or dried herbs. Choose fragrances that complement the buttery aroma.
- Optional: Decorative elements: Get creative and add some decorative elements to your butter candle. You can use dried flowers, spices, or even glitter to give it a personal touch.
- A spoon or spatula: This will be used to mix the melted butter and any additional ingredients.
Make sure you have everything gathered and within reach before you start. Having all the ingredients prepared will streamline the candle-making process. Once you’ve collected all the necessary items, you can move on to the next step—preparing the mold.
Step 2: Preparing the Mold
Now that you have gathered all the necessary ingredients, it’s time to prepare the mold for your butter candle. Follow these simple steps to ensure that your candle sets perfectly:
- Clean the mold: Ensure that your chosen container or mold is clean and free from any dust or residue. This will help maintain the clarity and appearance of your finished candle.
- Secure the wick: Place the wick in the center of the mold. You can do this by dipping one end of the wick in the melted butter and pressing it firmly onto the bottom of the mold. Alternatively, you can use a small amount of melted wax to anchor the wick in place.
- Stabilize the wick: To keep the wick in place while you pour in the melted butter, you can wrap the top end around a pencil or chopstick and place it across the top of the mold. This will help ensure the wick remains centered as the candle sets.
- Grease the mold (optional): If you are using a solid container, such as a tea light candle holder, you may need to grease the inside walls with a thin layer of butter to make it easier to remove the candle once it has set.
Taking the time to properly prepare your mold will ensure that your butter candle sets correctly and has a professional finish. Once your mold is ready, you can move on to the next step—preparing the butter for melting.
Step 3: Preparing the Butter
With the mold prepared, it’s time to focus on preparing the butter for melting. This step ensures that the butter melts evenly and smoothly, resulting in a well-formed and long-lasting candle. Follow these steps to prepare the butter:
- Take the stick of unsalted butter and remove any packaging. Allow the butter to come to room temperature; this will make it easier to work with and ensure it melts evenly.
- If your butter is too firm, you can cut it into smaller pieces. This will help it melt faster and more uniformly in the next step.
- Transfer the butter to a heatproof bowl or the top pan of a double boiler, depending on the method you’re using to melt the butter.
- If you’re using the double boiler method, fill the bottom saucepan with a small amount of water and place the heatproof bowl or top pan on top. Ensure the water level is below the bottom of the bowl or pan to ensure the butter doesn’t come into direct contact with the water.
- If you’re using a heatproof bowl on top of a saucepan, ensure it fits securely so that there’s no risk of it falling or losing balance while heating.
By properly preparing the butter, you are setting the stage for a successful melting process. The softened butter and the appropriate method of melting will ensure a smooth and consistent texture. Once your butter is prepared, it’s time to move on to the next step—melting the butter.
Step 4: Melting the Butter
Now that the butter is properly prepared, it’s time to proceed with melting it. This step is crucial in transforming the solid butter into a liquid form that can be poured into the mold. Follow these steps to melt the butter:
- If using a double boiler, ensure that the water in the bottom saucepan is simmering gently. Place the heatproof bowl or top pan containing the butter on top of the saucepan, making sure it fits securely.
- If using a heatproof bowl on top of a saucepan, place the saucepan on the stovetop and turn the heat to low or medium-low, depending on your stove’s setting. Allow the heat to gradually melt the butter without burning it.
- Stir the butter occasionally with a spoon or spatula to promote even melting. As the butter begins to melt, it will turn into a smooth and fluid consistency.
- Continue heating the butter until it is completely melted and free of any lumps. Ensure that there are no solid pieces remaining in the bowl or pan.
- Be cautious and avoid overheating the butter, as this can affect the quality and scent of the finished candle. The goal is to melt it gently and slowly.
By taking the time to melt the butter properly, you ensure that it maintains its desired consistency and properties for the candle-making process. Once the butter is completely melted, you can proceed to the next step—adding the wicks to the mold.
Step 5: Adding the Wicks
With the butter melted and ready to go, it’s time to add the wicks to the mold. The wick plays a crucial role in allowing your butter candle to burn properly and provides the necessary structure for your candle. Follow these steps to add the wicks:
- Take the prepared mold with the desired shape and size for your candle.
- If your mold is a container, such as a glass jar or tea light holder, simply place the wick in the center of the bottom. You can press a small amount of melted butter or a dab of hot glue at the bottom to secure the wick in place.
- If your mold is a silicone mold with multiple cavities, place the wicks in the center of each cavity, ensuring they are standing straight up.
- If you’re using a long wick, you can attach it to a popsicle stick or a pencil and place it across the top of the mold. This will help keep the wick centered and straight as you pour in the melted butter.
- Ensure that the wicks are taut but not overly stretched. They should be long enough to protrude from the top of the mold, allowing them to be trimmed later.
Adding the wicks is a crucial step in the candle-making process as they ensure your butter candle burns properly and stays upright. Once the wicks are securely in place, you’re ready for the next step—filling the mold with the melted butter.
Step 6: Filling the Mold
With the wicks securely in place, it’s time to fill the mold with the melted butter. This step is where your butter candle takes its shape and begins to come to life. Follow these steps to fill the mold:
- Take the melted butter and carefully pour it into the prepared mold. Start by pouring the butter around the base of the wick, allowing it to slowly fill the mold.
- Continue pouring the melted butter into the mold, ensuring that it reaches the desired level. Leave some space at the top, as the butter may slightly shrink as it cools and solidifies.
- If you’re using any decorative elements, such as dried flowers or spices, you can add them to the melted butter at this stage. Sprinkle them on top of the poured butter and gently press them down with a spoon or spatula.
- Smooth out the surface of the melted butter with the back of a spoon or a spatula. This will help create an even and polished look for your butter candle.
Be careful not to pour the butter too quickly or forcefully, as it may disturb the position of the wicks. Take your time and pour the melted butter in a steady and controlled manner. Once the mold is filled, it’s time to move on to the next step—setting the candle.
Step 7: Setting the Candle
After filling the mold with the melted butter, it’s important to let the candle set and solidify. This step allows the butter to cool and take on its final form. Follow these steps to set the candle:
- Place the filled mold in a cool and undisturbed location. Ensure that the mold is on a flat surface to prevent any uneven formation of the candle.
- Allow the butter candle to set for several hours or overnight. The exact time will depend on the size of the candle and the ambient temperature of the room.
- During this time, avoid moving or touching the mold, as any disturbance could affect the final shape and appearance of the candle.
- As the butter candle cools and solidifies, it will become firm to the touch. You can gently check the candle’s readiness by lightly pressing the surface with your fingertip.
It’s important to exercise patience during this step and allow the butter candle enough time to set completely. Rushing the process could result in an uneven texture or an unstable candle. Once the candle is fully set, you can proceed to the next step—removing it from the mold.
Step 8: Removing the Candle from the Mold
Once the butter candle has fully set and solidified, it’s time to carefully remove it from the mold. This step allows you to reveal the beautiful shape and texture of your homemade candle. Follow these steps to remove the candle from the mold:
- Gently tap the sides of the mold to loosen the butter candle. This will help release it from the walls of the mold and make it easier to remove.
- If you are using a silicone mold, flex the mold slightly to help release the candle. Pay attention to any intricate details or edges to ensure they do not get damaged during this process.
- If you are using a solid container, such as a glass jar or tea light holder, place the mold in a warm water bath for a few seconds. This will help loosen the butter candle and allow for easy removal.
- Once the candle is loosened, carefully and slowly lift it out of the mold. If it doesn’t come out easily, you can use a butter knife or a spoon to gently pry it away from the mold’s edges, being cautious not to damage the candle in the process.
Take your time when removing the butter candle from the mold to ensure it remains intact and undamaged. Enjoy the sense of accomplishment as your beautifully formed homemade candle is revealed. With the candle safely out of the mold, you can proceed to the next step—trimming the wick.
Step 9: Trimming the Wick
Now that your butter candle is out of the mold, it’s time to trim the wick to ensure a clean and efficient burn. Trimming the wick helps control the flame and prevents any excess smoke or soot. Follow these steps to trim the wick:
- Inspect the length of the wick protruding from the top of the candle. It’s recommended to trim the wick to about ¼ inch (0.6 cm) before lighting the candle.
- Using a pair of sharp scissors or wick trimmers, carefully trim the wick, making a straight and clean cut.
- Be cautious not to trim the wick too short or too long. A wick that is too short can result in a weak flame, while a wick that is too long can cause excessive soot and flickering.
- Ensure that the trimmed wick is evenly centered in the candle, without any debris or excess wick fragments left behind.
Trimming the wick before lighting your butter candle promotes a safer and more enjoyable burning experience. It helps optimize the candle’s performance and longevity. With the wick appropriately trimmed, you are now ready for the final step—lighting your butter candle.
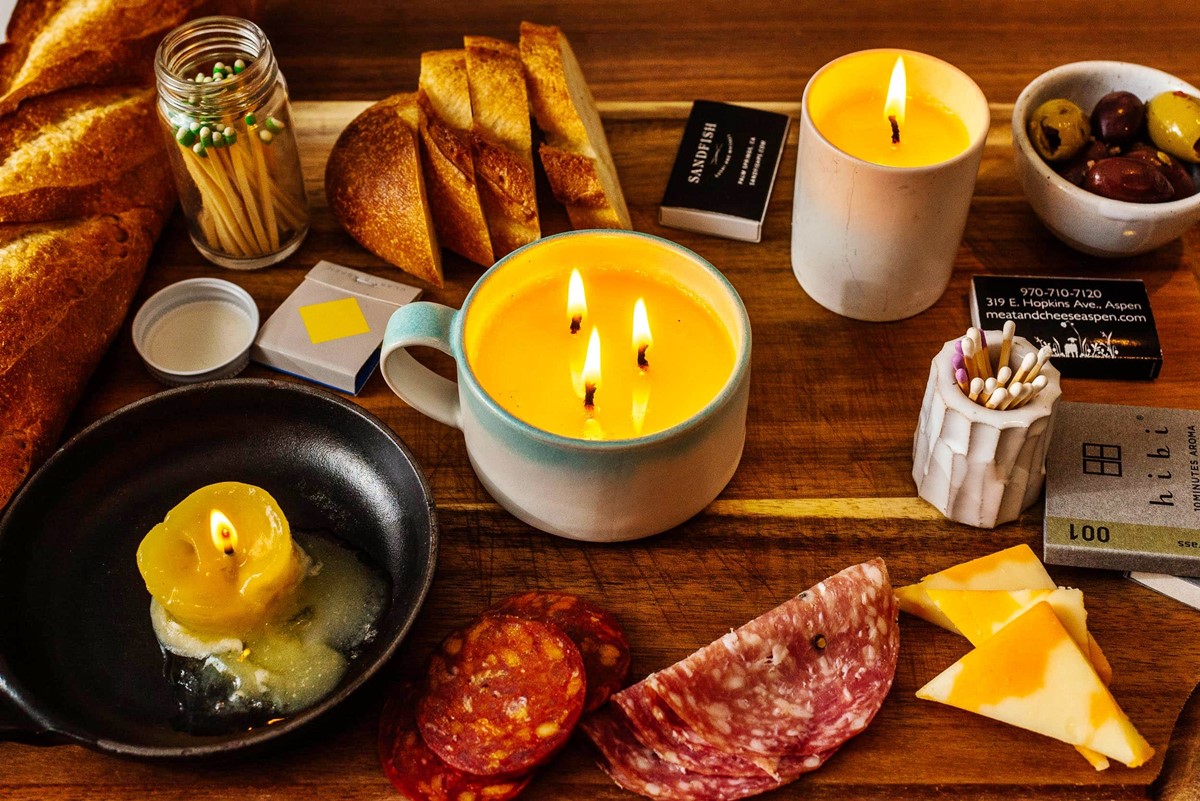
Step 10: Lighting Your Butter Candle
Congratulations on reaching the final step of your butter candle-making journey! It’s time to bring your creation to life by lighting the candle. Follow these steps to safely and effectively light your butter candle:
- Ensure that the area around the candle is clear of any flammable materials or obstructions. Choose a stable surface away from curtains, papers, or anything that could catch fire.
- Carefully hold a match or a candle lighter and bring the flame close to the trimmed wick.
- Touch the flame to the wick and hold it there for a few seconds, allowing the wick to catch fire. The flame should ignite and start burning steadily.
- Observe the flame and ensure that it is burning evenly and not flickering excessively. A steady flame indicates that the candle is well-balanced and properly trimmed.
- Enjoy the soothing glow and comforting ambiance of your butter candle as it illuminates the space.
- Always remember to never leave a burning candle unattended and keep it away from the reach of children or pets.
With your butter candle lit, take a moment to bask in the warm and cozy atmosphere it creates. Enjoy the gentle aroma of the butter and the soft flickering of the flame. Remember to practice candle safety at all times. When you’re ready, sit back, relax, and let the magic of your homemade butter candle enchant you.