
Choosing the Right Coconut
When it comes to making a coconut bowl, choosing the right coconut is crucial. Not all coconuts are suitable for this purpose, so it’s essential to know what to look for. Here are some tips to help you select the perfect coconut:
- Size: Opt for medium-sized coconuts as they are easier to handle and will result in a more balanced bowl.
- Weight: A good coconut should feel heavy for its size. Avoid ones that feel too light, as they may be dry and lacking in meat.
- Shape: Look for coconuts with a round and symmetrical shape. Avoid those with bulges or deformities, as they may affect the finished bowl’s stability.
- Sound: Give the coconut a gentle shake. If you hear a sloshing sound, it indicates that there is still water inside, which is a good sign. However, if there is no sound, the coconut might be old and the flesh may be dried out.
- Color: A fresh coconut should have a vibrant green husk. Avoid coconuts with brown or moldy patches, as they may have started to spoil.
When choosing a coconut, it’s also important to consider where it comes from. If possible, opt for organic and ethically-sourced coconuts to support sustainable farming practices.
By carefully selecting a high-quality coconut, you’ll ensure a better end result when making your coconut bowl. The right coconut will have a good amount of meat, a sturdy shell, and provide you with a beautiful and functional bowl for your enjoyment.
Opening the Coconut
Once you’ve chosen the perfect coconut for your bowl, the next step is to open it. Opening a coconut can be a bit challenging if you’ve never done it before, but with the right technique, it can be a breeze. Here’s a step-by-step guide on how to open a coconut:
- Locate the coconut’s eyes: The coconut will have three indentations or “eyes” at one end. Use a screwdriver or a sharp knife to pierce one of the eyes.
- Drain the coconut water: Turn the coconut upside down and allow the coconut water to drain into a bowl or container. This water can be used for cooking, smoothies, or simply enjoyed as a refreshing drink.
- Break the coconut shell: Once the water has fully drained, firmly tap the coconut around its circumference using a hammer or the back of a heavy knife. Continue tapping until the shell starts to crack open. Be sure to do this carefully to avoid any injuries.
- Separate the shell: Once cracked, use your hands to pull the two halves of the coconut shell apart. If needed, use a knife to gently separate them further.
- Remove the coconut meat: Once the shell is open, you’ll see the white coconut meat attached to the inside. Use a butter knife or a spoon to carefully separate the meat from the shell. Take your time and be gentle to avoid any injuries.
Opening a coconut can be a bit messy, so it’s a good idea to have a clean workspace and some paper towels nearby. Additionally, be cautious when using sharp tools and ensure proper hand protection.
Once you’ve successfully opened the coconut, you can proceed with removing the coconut meat and transforming the shell into a beautiful bowl.
Removing the Coconut Meat
With the coconut opened, it’s time to remove the delicious meat from inside the shell. The coconut meat is what you’ll use to create a smooth and polished surface for your coconut bowl. Follow these steps to remove the coconut meat:
- Use a butter knife or a spoon to carefully separate the coconut meat from the shell. Start at one end and work your way around the entire circumference of the meat.
- Gently pry the meat away from the shell, being cautious not to break it into small pieces. The goal is to keep the meat intact as much as possible.
- Once you’ve loosened the meat from the shell, you can use your hands to peel it away or continue using the knife or spoon to help separate it completely.
- Some parts of the coconut meat may still be attached firmly to the shell. In such cases, use the knife or spoon to carefully scrape away any remaining flesh. Be patient and take your time to avoid damaging the meat or the shell.
It’s important to note that fresh coconut meat is soft and can be easily scraped away from the shell. However, if the coconut is mature or has been stored for some time, the meat may be firmer and require a bit more effort to remove.
Once you’ve successfully removed the coconut meat, you’re one step closer to creating your beautiful coconut bowl. Next, you’ll need to clean the coconut shell to prepare it for sanding and polishing.
Cleaning the Coconut Shell
After removing the coconut meat, it’s essential to thoroughly clean the coconut shell to remove any remaining residue and dirt. By doing this, you’ll ensure a smooth and hygienic surface for your coconut bowl. Here’s how to clean the coconut shell:
- Rinse the coconut shell: Start by rinsing the coconut shell under cool running water, using your hands to remove any loose debris and dirt.
- Scrub the shell: Next, use a scrub brush or a sponge to gently scrub the inside and outside of the coconut shell. Pay extra attention to any stubborn stains or residue that may be present.
- Use mild soap or vinegar: For tougher stains or odors, you can apply a small amount of mild dish soap or a mixture of vinegar and water to the scrub brush or sponge. Gently scrub the shell again, ensuring to rinse thoroughly afterward to remove any soap or vinegar residue.
- Inspect the shell: Once you’ve cleaned the shell, inspect it closely to ensure that there are no remaining debris or stains. If necessary, repeat the cleaning process until you are satisfied with the results.
It’s important to handle the coconut shell with care during the cleaning process to avoid any cracks or damage. If you notice any cracks or weaknesses, it’s best to set the coconut aside and choose another one to ensure the longevity and durability of your coconut bowl.
Once the coconut shell is clean and free from debris, you’re ready to move on to the next step: sanding the shell to create a smooth and polished finish.
Sanding the Coconut Shell
To achieve a smooth and polished surface, sanding the coconut shell is a crucial step in the process of making a coconut bowl. Sanding helps to remove any rough edges, imperfections, or uneven surfaces, resulting in a beautiful and comfortable bowl. Here’s how to sand the coconut shell:
- Gather the necessary tools: You’ll need fine-grit sandpaper, water, and a sanding block or sponge.
- Wet the coconut shell: Before sanding, dampen the coconut shell by applying a small amount of water. This will help to prevent excessive dust and make the sanding process smoother.
- Start sanding: Take the fine-grit sandpaper and wrap it around the sanding block or sponge. Begin by gently sanding the entire surface of the coconut shell in a circular motion. Apply light pressure and be consistent with your strokes.
- Focus on rough spots: Pay extra attention to any rough spots, edges, or uneven areas on the coconut shell. Continue sanding until these areas become smooth and blend in with the rest of the shell.
- Check the texture: Periodically check the texture of the coconut shell by running your fingers over the sanded areas. If you’re satisfied with the smoothness, you can move on to the next step. Otherwise, continue sanding until you achieve the desired texture.
Remember to be patient and take your time during the sanding process. It’s important to ensure that the entire surface of the coconut shell is sanded evenly for a consistent and polished appearance.
Once you’ve finished sanding the coconut shell, it’s time to apply coconut oil to enhance its natural beauty and protect it from moisture.
Applying Coconut Oil
After sanding the coconut shell, applying coconut oil is an essential step to bring out its natural beauty and preserve its longevity. Coconut oil adds a lustrous sheen to the shell, enhances its color, and protects it from absorbing moisture. Follow these steps to apply coconut oil to your coconut bowl:
- Choose high-quality coconut oil: Opt for organic, cold-pressed coconut oil for the best results. This type of oil is pure and free from any additives.
- Warm the coconut oil: If the coconut oil is solid, warm it slightly in a microwave or by placing the jar in a bowl of warm water. This will make it easier to apply.
- Apply coconut oil to the shell: Using a clean cloth or your fingers, apply a thin layer of coconut oil to the entire surface of the coconut shell. Make sure to cover both the inside and outside of the bowl.
- Massage the oil into the shell: Gently massage the oil into the shell using circular motions. This will help the oil penetrate the surface and provide an even coating.
- Let the oil absorb: Allow the coconut oil to absorb into the shell for about 30 minutes. This will give it time to penetrate and nourish the coconut shell.
- Remove excess oil: After the oil has absorbed, use a clean cloth to wipe off any excess oil from the surface of the shell. This step helps to prevent the bowl from feeling greasy.
Applying coconut oil not only enhances the appearance of the coconut bowl but also helps to keep the shell conditioned and protected. It’s recommended to reapply coconut oil periodically to maintain the bowl’s natural luster and prevent it from drying out.
Now that you’ve applied coconut oil to the coconut shell, the final step is to allow the bowl to dry thoroughly before using it.
Letting the Coconut Bowl Dry
After applying coconut oil to the shell of the coconut bowl, it’s important to give it enough time to dry completely before using it. Allowing the bowl to dry ensures that the oil has thoroughly absorbed into the shell, leaving you with a smooth and well-conditioned surface. Here’s what you need to know about the drying process:
- Find a well-ventilated area: Place the coconut bowl in a well-ventilated spot where it can dry undisturbed. This could be a sunny windowsill or a dry area in your kitchen.
- Avoid direct sunlight: While some sunlight can help with the drying process, avoid placing the coconut bowl in direct sunlight. Prolonged exposure to direct sunlight can cause the shell to warp or crack.
- Allow ample drying time: The drying time can vary depending on the climate and the thickness of the coconut shell. It’s best to leave the bowl to dry for at least 24 to 48 hours. Check the bowl periodically to ensure it is completely dry before proceeding.
- Check for any remaining moisture: To ensure that the coconut bowl is fully dry, gently touch the surface and check for any signs of moisture or stickiness. If it feels dry to the touch, it’s ready for use. If there’s still moisture, allow it more time to dry.
It’s important to note that rushing the drying process can result in the coconut shell retaining moisture, which can lead to mold or cracking over time. Patience is key during this step to ensure a well-dried and long-lasting coconut bowl.
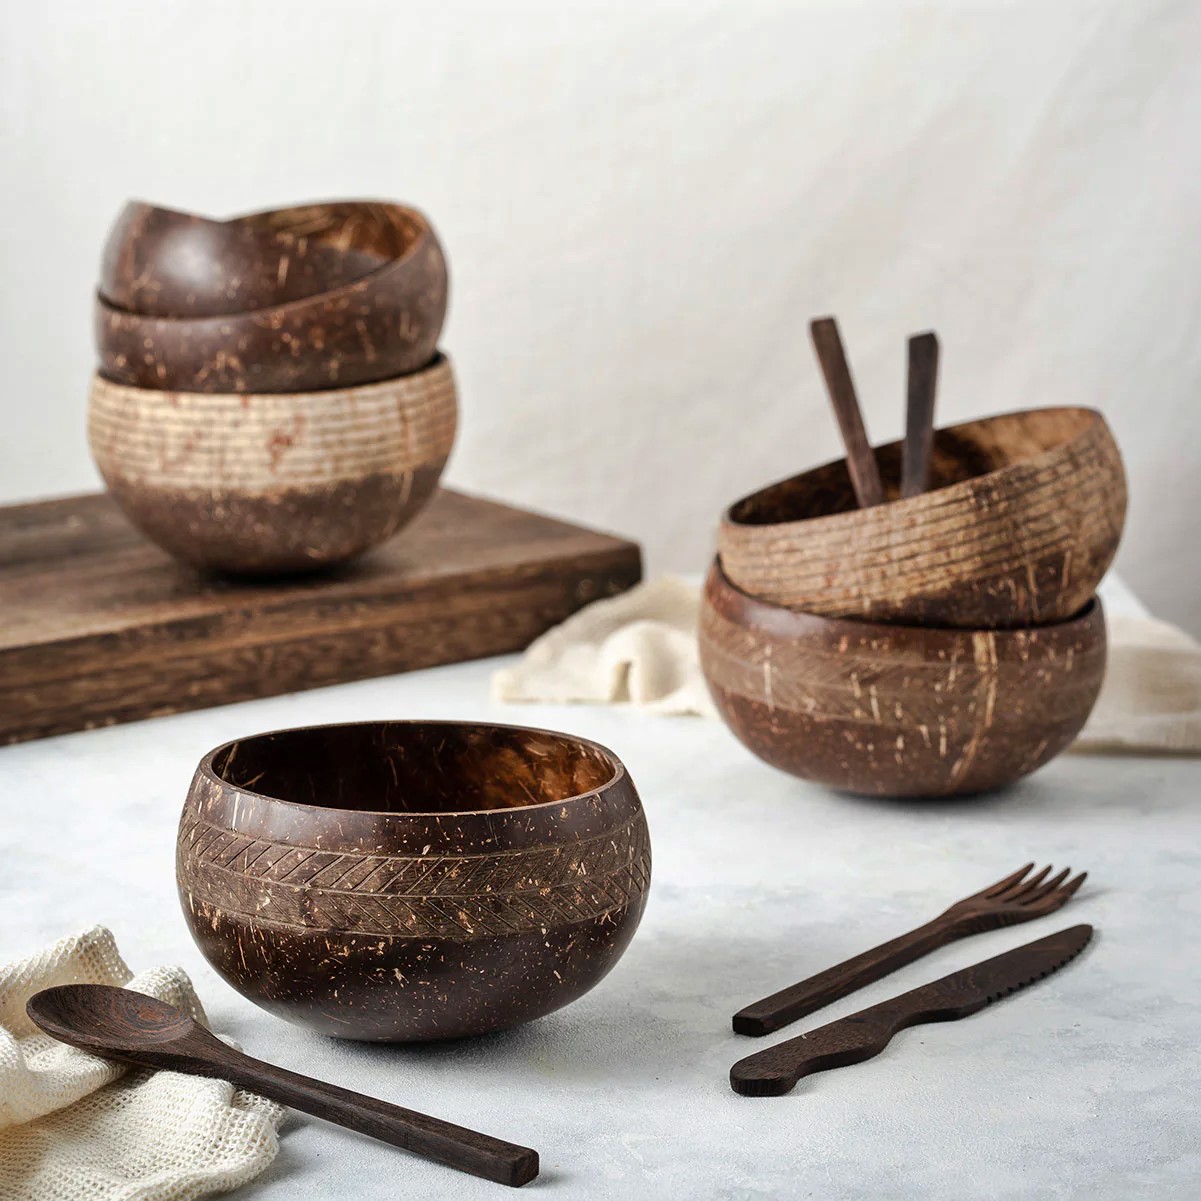
Once the coconut bowl is completely dry, it’s ready for use as a stylish and eco-friendly addition to your kitchenware collection. Whether you use it for serving snacks, salad, or simply as a decorative piece, enjoy the beauty and functionality of your handmade coconut bowl.
Finishing Touches
Now that you have successfully made your coconut bowl, there are a few finishing touches you can add to elevate its appearance and make it truly unique. These final touches will enhance the aesthetics of your coconut bowl and make it a standout piece. Here are some ideas:
- Decorative carving: If you have some carving skills or artistic flair, you can carve intricate designs or patterns onto the surface of the coconut bowl. This will add a personalized touch and make your bowl even more visually appealing.
- Painting: Another way to customize your coconut bowl is by painting it with non-toxic acrylic or food-grade paint. You can let your creativity shine by painting designs, motifs, or even incorporating vibrant colors to create a one-of-a-kind piece.
- Wood-burning: For a rustic and earthy look, consider using a wood-burning tool to create beautiful designs on the coconut shell. This technique allows you to etch patterns or write words onto the bowl, giving it a unique and personalized touch.
- Sealing: To provide extra protection for your coconut bowl, you may choose to apply a food-safe sealant. This will help prevent moisture from seeping into the shell and keep the bowl looking fresh and polished for a longer period.
Remember, these finishing touches are optional and depend on your personal preferences and artistic abilities. It’s important to use non-toxic materials, especially if you plan to use the coconut bowl for serving food.
Once you’ve added the finishing touches, allow any paint, carving, or sealant to dry completely before using the bowl. This will ensure that the final result is safe and ready for use.
With these final touches, your coconut bowl is complete and ready to be enjoyed. Whether you use it as a trendy serving dish, a decorative centerpiece, or a unique gift, your homemade coconut bowl will bring a touch of nature and sustainability to your daily life.