
html
Why you should get the wick out of your candle jar
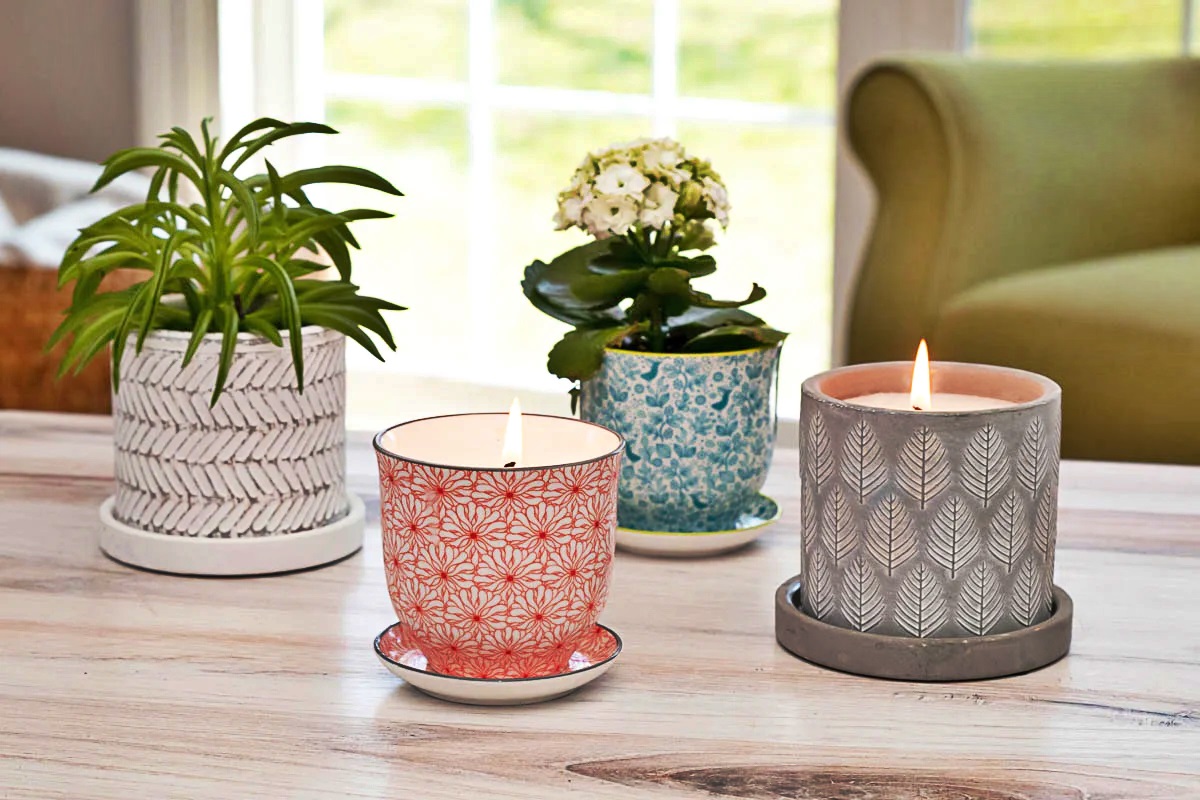
Candles are a great way to create a warm and cozy atmosphere in your home. However, once the candle is burned down and the wax is gone, you may be left with a jar that still has a wick at the bottom. It’s important to remove the wick before repurposing or recycling the jar for several reasons.
Firstly, leaving the wick in the jar can make it difficult to clean and reuse. The wick can trap debris and residue from the burnt wax, making it challenging to effectively clean the jar. Removing the wick allows for a thorough cleaning, ensuring that your jar is ready for its next use.
Secondly, having a wick in the jar can pose a fire hazard. Even if the candle is no longer lit, the remaining wick can still catch fire if it comes into contact with a flammable material. By removing the wick, you eliminate this potential risk and ensure the safety of your home and belongings.
Additionally, removing the wick from the jar allows for more versatility in how you can repurpose it. Whether you want to use the jar for storage, as a decorative item, or for another DIY project, having a clean and wick-free jar gives you more options. You can let your creativity shine without being restricted by a leftover wick.
Lastly, by removing the wick and properly recycling or reusing the jar, you are contributing to a more sustainable lifestyle. Recycling glass helps conserve energy and reduce landfill waste. Repurposing the jar reduces the need for new materials, promoting a greener approach to consumption. By taking a few extra steps to get the wick out of your candle jar, you are making an eco-friendly choice.
In summary, removing the wick from your candle jar is essential for effective cleaning, safety, versatility, and sustainability. So before you repurpose or recycle that empty candle jar, take the time to remove the wick. Your future projects, safety, and the environment will thank you.
html
What you will need
Before you begin the process of getting the wick out of your candle jar, make sure you have the following items on hand:
- A candle jar with a wick
- A heat source (such as a hairdryer or boiling water)
- A pair of tweezers or pliers
- Paper towels or a clean cloth
- Warm soapy water
- A sponge or brush
Having these items ready will ensure a smooth and efficient process as you work to remove the wick from your candle jar. The heat source is necessary to soften the remaining wax, making it easier to remove. The tweezers or pliers will help you grip and remove the wick base from the jar. Paper towels or a clean cloth will come in handy for wiping away any excess wax or residue.
Warm soapy water and a sponge or brush are essential for cleaning the jar once the wick is removed. You want to ensure that the jar is thoroughly cleaned and free from any wax or residue before reusing or recycling it. These items will help you achieve a clean and ready-to-use jar.
It’s important to note that the specific tools and materials you need may vary depending on the type of candle jar and the condition of the wick. For instance, if the wick base is deeply embedded in the wax, you may need a scraper or knife to carefully loosen it. Adjust your supplies accordingly based on the unique requirements of your candle jar.
Once you have gathered all the necessary items, you are ready to proceed with the steps to remove the wick from your candle jar. Let’s get started!
html
Step 1: Prepare your work area
Before you begin removing the wick from your candle jar, it’s important to prepare your work area to ensure a smooth and mess-free process. Follow these steps to set up your work area:
- Gather your supplies: Make sure you have all the items you will need within reach. This includes the candle jar, heat source, tweezers or pliers, paper towels or a clean cloth, warm soapy water, and a sponge or brush.
- Find a well-ventilated area: Choose a location with good airflow to prevent any lingering smells or fumes from the candle wax. If possible, open a window or use a fan to improve ventilation.
- Protect your work surface: Place a protective covering, such as a newspaper or a plastic sheet, on your work surface. This will catch any wax residue or drips, making cleanup easier.
- Set up your heat source: If you are using a hairdryer, plug it in and position it near your work area. If you are using boiling water, make sure you have a pot or kettle filled with water and ready to heat up.
Taking the time to set up your work area properly will help streamline the process of removing the wick from your candle jar. Once everything is in place, you can proceed to the next step confidently and without any unnecessary interruptions.
html
Step 2: Remove excess wax
Now that you have prepared your work area, it’s time to remove any excess wax from the candle jar. Follow these steps to clear out the remaining wax:
- Place the candle jar in the freezer: If there is still a significant amount of wax left in the jar, it can be helpful to freeze the jar for a few hours. This will cause the wax to harden and shrink, making it easier to remove.
- Take the jar out of the freezer: After the wax has hardened, remove the jar from the freezer and let it sit at room temperature for a few minutes. This will allow the jar to slightly warm up, making the wax more pliable.
- Use a spoon or butter knife: Gently scrape the hardened wax out of the jar using a spoon or a butter knife. Be careful not to scratch or damage the jar in the process. Dispose of the removed wax properly.
- Remove any remaining wax: If there are still small remnants of wax left in the jar, you can use a paper towel or a clean cloth to wipe it away. Alternatively, you can use a hairdryer on low heat to soften and melt the remaining wax, then blot it with a paper towel.
By removing excess wax from the jar, you’ll have a clean surface to work with when removing the wick. This step also helps prevent any wax from interfering with the next steps of the process. Once you have cleared out the excess wax, you’re ready to move on to the next step: heating the jar to remove the wick base.
html
Step 3: Heat the jar
To make the wick removal process easier, you’ll need to heat the jar to soften the remaining wax and loosen the wick base. Follow these steps to heat the jar:
- Choose your heat source: Depending on the materials you have available, you can use either a hairdryer or boiling water to heat the jar. Both methods will effectively soften the wax and facilitate the wick removal process.
- For a hairdryer: Position the hairdryer a few inches away from the jar and turn it on to its highest heat setting. Move the hairdryer around the jar, ensuring that the heat is evenly distributed. Continue heating the jar for a few minutes or until the wax becomes soft and pliable.
- For boiling water: Boil a pot or kettle of water and carefully pour the hot water into the jar, ensuring that the jar is safe for hot liquids. Fill the jar about halfway with the hot water, making sure not to overflow. Leave the water in the jar for a few minutes to soften the wax.
By heating the jar, you make it easier to remove the wick base from the bottom. The softened wax becomes more malleable, and the heat helps to loosen the wick, making it simpler to extract. Once the jar has been adequately heated, you’re ready to move on to the next step: removing the wick base.
html
Step 4: Remove the wick base
With the jar heated and the wax softened, it’s time to remove the wick base from the bottom. Follow these steps to extract the wick base:
- Use tweezers or pliers: Carefully grip the wick base with a pair of tweezers or pliers. Ensure that you have a firm hold, but be gentle to avoid damaging the jar.
- Gently pull upwards: Slowly pull upwards on the wick base to loosen it from the bottom of the jar. If it doesn’t come out easily, you can wiggle it back and forth slightly to help release it.
- Dispose of the wick base: Once you have successfully removed the wick base, dispose of it properly. You can throw it away in the garbage or, if the material is recyclable, place it in the appropriate recycling bin.
Removing the wick base allows you to fully clean the jar and use it for various purposes without any obstruction. With a little patience and care, you’ll be able to extract the wick base and proceed to the next step: cleaning the jar.
html
Step 5: Clean the jar
Now that the wick base has been removed, it’s time to clean the jar thoroughly. Follow these steps to ensure your jar is sparkling clean:
- Prepare warm soapy water: Fill a sink or basin with warm water and add a few drops of dish soap. Mix the soap into the water to create a soapy solution.
- Submerge the jar: Place the jar into the soapy water and let it soak for a few minutes. This will help to loosen any remaining wax residue and make it easier to clean.
- Scrub the jar: Use a sponge or brush to scrub the inside and outside of the jar, paying extra attention to areas where the wax may have built up. Remove any stubborn residue or wax by gently scrubbing in a circular motion.
- Rinse the jar: Once the jar is clean, rinse it thoroughly with warm water to remove any soap residue. Ensure that there is no lingering debris or wax left in the jar.
- Dry the jar: Use a clean cloth or paper towel to dry the jar completely, making sure there is no moisture left. This will prevent water spots or potential damage to the jar.
Cleaning the jar is important to ensure that it is ready for its next use. A thorough cleaning removes any remaining wax, residue, or debris, leaving you with a pristine jar. Once the jar is dry, you can move on to the final step: reusing or recycling the jar.
html
Step 6: Reuse or recycle the jar
Once you have successfully removed the wick, cleaned the jar, and ensured it is dry, you have the option to reuse the jar for various purposes or recycle it responsibly. Consider the following possibilities:
- Repurpose the jar: The clean and empty jar can be used for a variety of purposes. You can use it for storage, such as holding small items like buttons or paperclips. It can also be transformed into a beautiful homemade candle by adding a new wick and pouring in melted wax. Get creative and think of other uses that suit your needs and interests.
- Donate or gift the jar: If you have no immediate use for the jar, consider donating it to someone who may find it useful. You can also give it as a gift, filled with homemade treats or small items, making it a thoughtful and eco-friendly present.
- Recycle the jar: If you have no intention of reusing the jar or finding it a new home, make sure to recycle it properly. Glass is highly recyclable and can be melted down and used to create new products. Check your local recycling guidelines to ensure you are following the correct procedures for recycling glass.
Choosing to reuse or recycle the jar not only helps reduce waste but also promotes sustainability. By giving the jar a new purpose or ensuring it is properly recycled, you contribute to a greener and more environmentally-friendly lifestyle.
Congratulations! You have successfully completed the process of getting the wick out of your candle jar. Your efforts to remove the wick, clean the jar, and make an eco-friendly choice for its future use are commendable. Now enjoy your clean and ready-to-use jar or feel good about responsibly recycling it.