
Causes of Curled Up Rug Corners
Curled up rug corners can be a frustrating issue to deal with. Not only do they detract from the overall appearance of your room, but they can also pose a tripping hazard. Understanding the causes of curled up rug corners can help you address the problem effectively. Here are some common reasons why rug corners curl up:
- Poor quality materials: One of the most common causes of curled up rug corners is the use of low-quality materials. When manufacturers cut corners and use subpar materials in the construction of rugs, it can lead to curling as the rug ages.
- Incorrect rug placement: Placing a heavy piece of furniture on the corners or neglecting to use a rug pad can cause the rug to shift and curl over time.
- Excessive foot traffic: Rug corners are more likely to curl up if they endure heavy foot traffic. Constant pressure and friction can cause the edges of the rug to lift and curl.
- Humidity and moisture: High levels of humidity or exposure to moisture can cause rugs to absorb water, leading to the fibers expanding and curling at the edges.
- Improper storage or transportation: Folding or rolling a rug improperly can result in permanent creases and cause the corners to curl up when the rug is laid out.
Identifying the underlying cause of the curled up rug corners is essential in order to implement the right fix. By addressing the root cause, you can effectively prevent the issue from recurring in the future.
Tools and Materials Needed
To fix curled up rug corners, you’ll need a few tools and materials. Having these items on hand will make the process easier and more efficient. Here’s what you’ll need:
- Rug pad: A rug pad provides extra cushioning and grip, preventing the rug from slipping and curling. Choose a pad that is the appropriate size for your rug.
- Heat source: You’ll need a heat source to apply heat to the curled rug corners. A hairdryer or a heat gun can work well for this purpose.
- Heavy books or weights: Heavy books or weights will be used to hold down the rug corners and promote flatness during the repair process.
- Double-sided carpet tape: Carpet tape is essential for securing the rug corners in place. Make sure to choose a high-quality tape that will provide a strong hold.
- Scissors: Scissors will be needed to trim any frayed or damaged edges of the rug.
- Rug cleaner: If your rug is dirty or stained, a rug cleaner will be necessary to clean it before attempting to fix the curled corners.
Having these tools and materials readily available will ensure that you’re well-prepared to fix the curled up corners of your rug. Remember to use caution when working with heat sources and to follow safety guidelines for each tool. With the right tools on hand, you’ll be ready to tackle the repairs and restore your rug to its former glory.
Step 1: Remove the Rug from the Floor
The first step in fixing curled up rug corners is to carefully remove the rug from the floor. By taking the rug off the floor, you’ll have better access to the curled corners and be able to work more effectively. Follow these steps to remove the rug:
- Clear the area: Before lifting the rug, make sure the area is clear of any furniture or obstacles. This will prevent any accidents or damage during the removal process.
- Gently lift the rug: Starting from one corner, carefully lift the rug off the floor. If the rug is large or heavy, you may need assistance to lift it safely.
- Roll up the rug: As you lift, roll up the rug as you go. This will make it easier to handle and prevent any further damage to the curled corners.
- Set aside the rug: Once the rug is fully lifted and rolled up, set it aside in a safe and clean area. Avoid placing it on a dirty or damp surface, as this can cause additional damage or staining.
Removing the rug from the floor allows you to have a clear workspace to fix the curled corners. It also ensures that you can access the corners easily without any obstructions. With the rug safely removed, you’re now ready to move on to the next step of the repair process.
Step 2: Straightening the Rug Edges
Once you have removed the rug from the floor, the next step is to straighten the curled edges. This step is crucial in preparing the rug for the repair process. Here’s how you can straighten the rug edges:
- Lay the rug flat: Find a clean and flat surface where you can lay the rug down. It can be a table, the floor, or any other suitable area.
- Smooth out the rug: Carefully unroll the rug and lay it flat, smoothing out any wrinkles or folds. Ensure that the edges are fully visible and accessible.
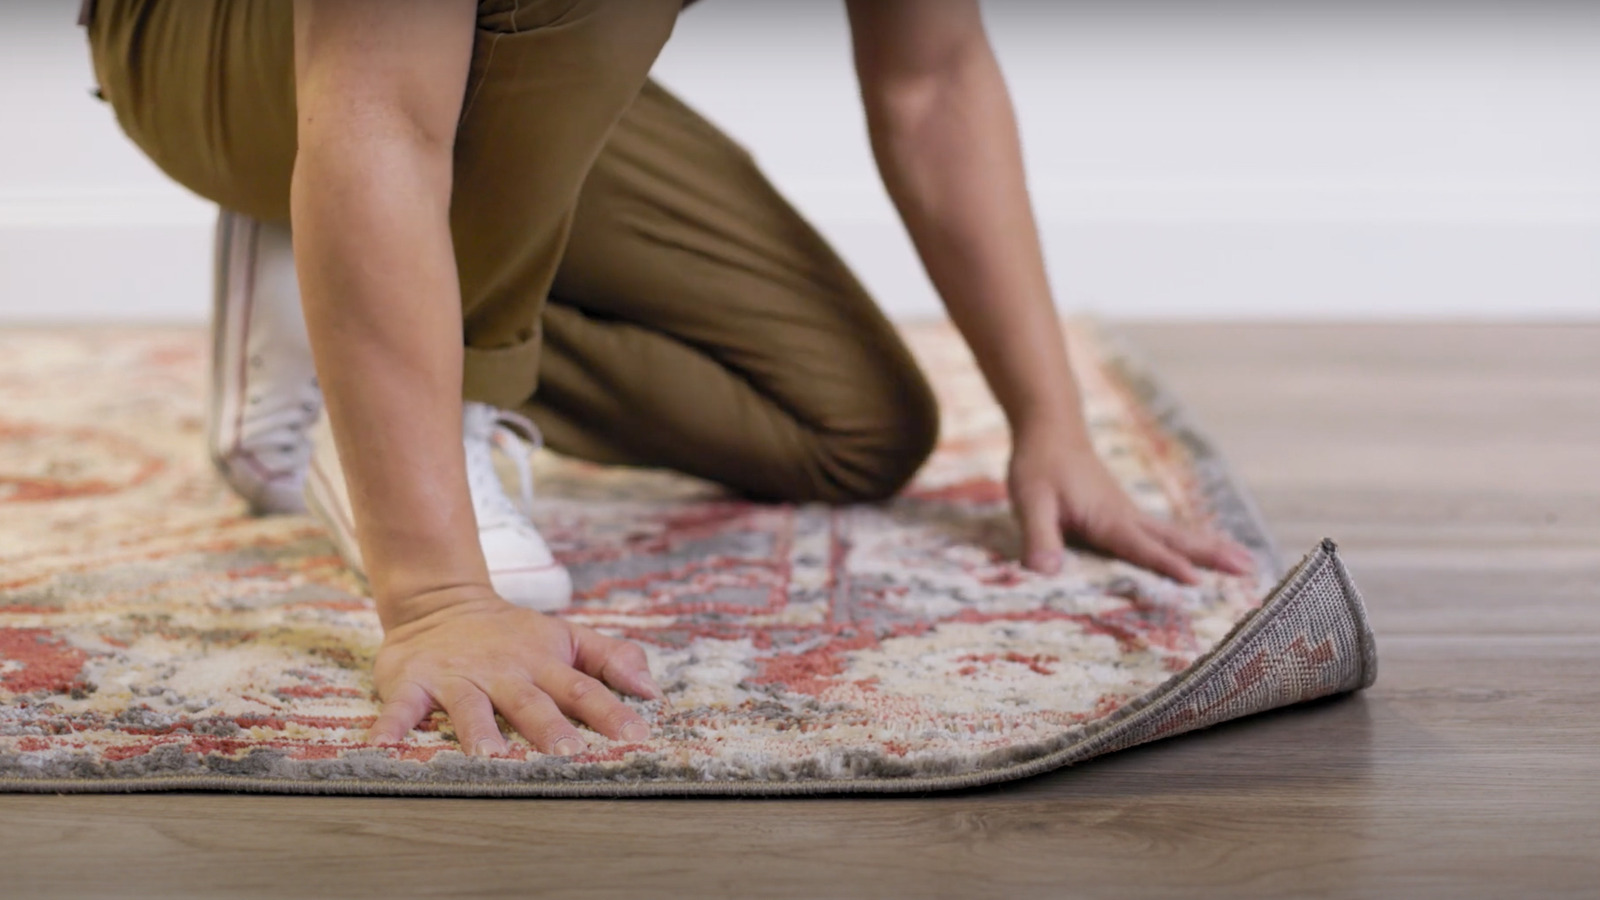
- Tug on the rug corners: Gently tug on the curled corners of the rug to straighten them out. Use your hands to apply firm but gentle pressure, gradually pulling the edges until they lie flat. Repeat this process for each curled corner.
- Patience is key: It may take some time and patience to straighten the rug edges completely. Avoid using excessive force, as this can damage the rug fibers or cause more curling.
By straightening the rug edges, you’re preparing them for the next steps of the repair process. This ensures that the edges are ready to be treated and secured properly. Once the rug edges are straightened, you can move on to the next step of applying heat to the curled corners.
Step 3: Applying Heat to the Curled Corners
Applying heat to the curled corners is an effective way to soften the rug fibers and make them more pliable. By doing so, you can reshape the corners and encourage them to lay flat. Here’s how you can apply heat to the curled corners:
- Prepare the heat source: Choose a heat source like a hairdryer or a heat gun. Set it to a medium heat setting to avoid damaging the rug.
- Hold the heat source close to the curled corners: Position the heat source about 6 to 8 inches away from the curled corners of the rug. Move it gently back and forth to evenly distribute the heat.
- Apply heat for a few minutes: Keep the heat source focused on the curled corners for a few minutes. The heat will soften the fibers, allowing you to reshape them.
- Shape the corners with your hands: While the fibers are still warm and pliable, use your hands to push down and reshape the corners. Apply gentle pressure to encourage them to lay flat.
- Hold the corners in place until cool: Once you’ve shaped the corners, hold them in place for a few minutes until they cool down. This will help set the new shape.
Remember to be cautious when working with heat sources and avoid overheating the rug. Test the heat source on a small, inconspicuous area of the rug first to ensure it does not cause any damage. Applying heat to the curled corners helps loosen the fibers, making it easier to flatten them in the following steps.
Step 4: Flattening the Rug Corners
After applying heat to the curled corners of the rug, you’ll need to flatten them to ensure they stay in their new shape. This step involves using weights or heavy books to hold down the corners to promote flatness. Here’s how you can flatten the rug corners:
- Place weights or heavy books on the corners: Take heavy books or weights and carefully place them on top of the flattened corners of the rug. Make sure the corners are fully covered by the weights.
- Distribute the weight evenly: Ensure that the weights are distributed evenly across the corners for consistent pressure. This will help the rug fibers to relax and flatten out.
- Leave the weights in place for a period of time: Allow the weights or heavy books to remain on the corners for a few hours or overnight. The longer the weights are in place, the better the chances of the corners staying flat.
- Check the corners for flatness: Once you remove the weights, check the corners to see if they are flat. If they are still slightly curled, repeat the heating and flattening process as necessary until the corners are completely flat.
Flattening the rug corners with weights helps encourage the fibers to lay flat and prevents them from curling up again. The weight applied to the corners ensures that they remain in their new shape as they cool down. Remember to use caution when placing heavy objects on delicate rugs to avoid causing any damage.
Step 5: Securing the Corners in Place
Once you have successfully flattened the rug corners, the next step is to secure them in place to prevent any future curling. This can be achieved by using double-sided carpet tape. Here’s how you can secure the corners in place:
- Measure and cut the carpet tape: Start by measuring the length of each straightened corner. Cut a piece of double-sided carpet tape to match the length of each corner.
- Apply the carpet tape to the corners: Peel off the protective backing from the carpet tape and carefully apply it to the underside of the corners. Make sure the tape is centered and sticks firmly to the rug fibers.
- Press down firmly on the tape: Once the carpet tape is in place, press down firmly on it to ensure a strong and secure bond. This will help prevent the corners from lifting or curling up again.
- Repeat the process for all corners: Repeat the above steps for each of the rug corners that were previously curled up. Apply the carpet tape to all corners, securing them in place.
The double-sided carpet tape provides a strong adhesive bond that keeps the rug corners flat and prevents them from curling again. It provides a reliable solution to ensure that your rug stays in its proper shape for an extended period of time.
Step 6: Replacing the Rug on the Floor
After successfully fixing the curled up rug corners, it’s time to place the rug back on the floor. Follow these steps to ensure a smooth and proper placement:
- Clean the floor: Before placing the rug back, make sure the floor is clean and free of debris. This will prevent any dirt or particles from getting trapped under the rug.
- Position the rug: Carefully unroll the rug back onto the floor in the desired location. Ensure that it is aligned properly and centered in the room.
- Smooth out the rug: Use your hands or a broom to gently smooth out any wrinkles or bumps in the rug. This will help it lay flat and prevent any future curling.
- Secure the rug: If necessary, use rug grippers or furniture to anchor the edges of the rug and prevent it from shifting or curling up again.
- Enjoy your flat rug: Once the rug is properly placed and secured, take a step back and admire your work. You can now enjoy a rug with beautifully flat corners.
Replacing the rug on the floor marks the completion of the repair process. By ensuring that the rug is clean, properly aligned, and secured, you can prevent any future issues with curled up corners. Now, sit back, relax, and enjoy your rug’s renewed and flawless appearance.
Preventing Rug Corners from Curling Up Again
After going through the process of fixing curled up rug corners, it’s essential to take preventative measures to avoid the issue from happening again. Here are some tips to help you prevent rug corners from curling up:
- Use a rug pad: Invest in a high-quality rug pad that provides grip and cushioning. A rug pad not only prevents slipping but also helps distribute weight evenly on the rug, reducing the chances of curling.
- Choose the right size rug: Ensure that the rug you choose is the appropriate size for the space. If a rug is too small for the area, it can shift easily and cause the corners to curl.
- Secure the rug with furniture: Place furniture strategically on the corners and edges of the rug to anchor it in place. This will help prevent movement and keep the rug flat.
- Rotate the rug regularly: By rotating the rug every few months, you distribute foot traffic and wear more evenly. This can help prevent excessive stress on specific areas, including the corners.
- Keep the rug clean: Regularly clean your rug to prevent dirt and debris from accumulating, as it can weigh down the corners and lead to curling. Follow proper cleaning methods recommended for your specific rug material.
- Avoid exposure to moisture: Keep your rug away from areas with high humidity or moisture, as this can cause the fibers to expand and curl. If spills occur, clean them up promptly and thoroughly dry the rug.
By implementing these preventive measures, you can extend the lifespan of your rug and minimize the risk of future curling corners. Remember to regularly inspect your rug and address any issues or signs of curling as soon as they arise. With proper care and attention, you can enjoy your rug’s beauty and functionality for years to come.