
Assessing the Damage
When it comes to keeping our homes clean, brooms are essential cleaning tools. However, over time, broom bristles can become damaged or worn, affecting their effectiveness and making it challenging to sweep effectively. If you’re dealing with broom bristles in need of repair, it’s essential to assess the extent of the damage before taking any further steps.
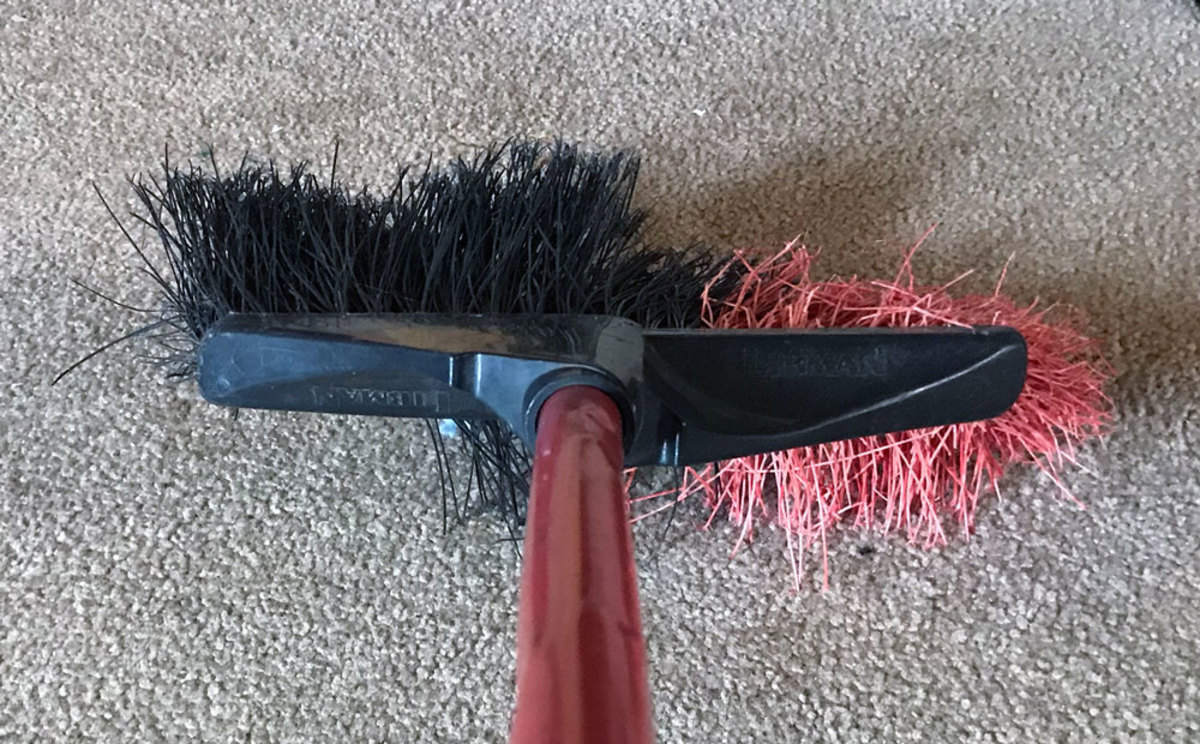
Start by inspecting the bristles for signs of wear and tear. Look for bristles that are frayed, bent, or tangled with debris. If the bristles appear flattened or have lost their shape, they may have become stiff or ineffective. Additionally, check for any loose or missing bristles, as this can impact the broom’s overall performance.
Once you’ve thoroughly examined the bristles, consider the overall condition of the broom. Look for any signs of damage to the broomhead or handle, such as cracks, breaks, or splinters. Damaged components may need to be repaired or replaced to ensure optimal performance.
By assessing the damage, you’ll have a clearer understanding of the necessary steps to restore your broom bristles to their former glory. Whether it’s removing hair and debris, untangling bent bristles, softening stiff bristles, or replacing damaged bristles, addressing the specific issues will help you extend the lifespan of your broom and ensure its effectiveness in keeping your floors clean.
Removing Hair and Debris
It’s no secret that broom bristles often become tangled with hair and accumulate debris over time. This buildup can hinder the broom’s ability to properly sweep and clean your floors. Fortunately, there are a few simple steps you can take to remove hair and debris from your broom bristles.
Start by wearing a pair of gloves to protect your hands from any sharp objects that may be stuck in the bristles. Then, use your fingers or a comb with wide teeth to gently loosen and untangle the hair and debris trapped in the bristles. Work from the base of the bristles upwards, carefully pulling out any tangled strands.
If the buildup is particularly stubborn, you can also try soaking the broom bristles in warm, soapy water for a few minutes. This can help to loosen the debris and make it easier to remove. After soaking, use a brush or your fingers to gently scrub the bristles and dislodge any remaining residue.
Once you have removed the hair and debris, rinse the bristles thoroughly with clean water to ensure all soap and residue are washed away. Shake off any excess water and allow the bristles to air dry completely before using the broom again.
Regularly removing hair and debris from your broom bristles is not only essential for maintaining its effectiveness but also for preventing the spread of dirt and allergens in your home. By incorporating this simple cleaning routine into your regular maintenance, you’ll extend the lifespan of your broom and ensure it continues to do its job efficiently.
Untangling Bent Bristles
Over time, broom bristles can become bent or misshapen, making it challenging to achieve effective sweeping. Thankfully, with a few simple techniques, you can untangle and reshape bent bristles to restore your broom’s functionality.
To begin, dampen the bristles with water to make them more pliable. This will help in loosening the tangles and straightening out the bent bristles. Use your fingers or a wide-toothed comb to gently comb through the bristles, starting from the base and working your way towards the tips. Apply slight pressure and move the comb in a downward motion to help untangle the bends.
If the bristles are particularly stubborn, you can also try using a blow dryer on a low heat setting. Hold the blow dryer a few inches away from the bristles and direct the warm air towards the bent areas. Gently comb through the bristles while they are warm to encourage them to straighten out.
For more challenging cases, you can try using steam to relax the bristles. Hold the broom bristles over a pot of boiling water for a few minutes. The steam will help to soften the bristles, making it easier to untangle and reshape them. Remember to use caution and avoid getting too close to the boiling water to prevent burns.
Once you have untangled the bristles, gently reshape them by hand. Use your fingers to guide the bristles back into their original position, ensuring they are evenly spaced and aligned. Allow the bristles to air dry completely before using the broom again.
By taking the time to untangle bent bristles, you’ll restore your broom’s sweeping efficiency and prolong its lifespan. Regularly inspect your broom for any signs of bent bristles and address them promptly to ensure your cleaning tool remains in optimal condition.
Softening Stiff Bristles
If you find that your broom bristles have become stiff and inflexible, it’s important to restore their softness to ensure effective sweeping. Stiff bristles can make it difficult to gather dust and debris, resulting in subpar cleaning performance. Luckily, there are a few methods you can use to soften stiff bristles and rejuvenate your broom.
One of the simplest ways to soften stiff bristles is by soaking them in warm water. Fill a sink or basin with warm water and submerge the broom head, making sure the bristles are fully immersed. Allow the bristles to soak for about 15-20 minutes to loosen up any dirt or residue. After soaking, gently massage the bristles with your fingers to encourage flexibility. Rinse the broom head thoroughly with clean water and allow it to air dry completely.
If warm water alone doesn’t do the trick, you can try using a mixture of warm water and fabric softener. Fill a bucket or basin with warm water and add a small amount of fabric softener. Submerge the broom head in the mixture and let it soak for approximately 30 minutes. The fabric softener will help to break down any tough residue and soften the bristles. After soaking, rinse the broom head thoroughly and let it air dry.
An alternative method is to use white vinegar, which can also help to soften stiff bristles. Create a solution by mixing equal parts white vinegar and warm water in a bucket. Submerge the broom bristles in the solution and let them soak for about 30 minutes. The acidity of the vinegar will help to break down any buildup and restore flexibility. Rinse the broom head with clean water and let it air dry completely before using.
Remember, regularly cleaning and softening stiff bristles will improve the overall performance and longevity of your broom. Incorporate these methods into your cleaning routine to ensure that your broom is always in top shape.
Replacing Damaged Bristles
Sometimes, no matter how well you care for your broom, the bristles may become too damaged or worn out to be effectively restored. When this happens, it’s time to consider replacing the damaged bristles to ensure your broom remains a functional cleaning tool.
Start by examining the broom bristles closely. Look for bristles that are excessively frayed, broken, or missing. If there are only a few damaged bristles, you may be able to remove them individually using a pair of scissors or a utility knife. Carefully cut the damaged bristles as close to the broom head as possible, ensuring not to damage any healthy bristles in the process.
If a significant portion of the broom bristles is damaged, it may be more practical to replace the entire broom head. Many hardware stores and online retailers sell replacement broom heads that can easily be attached to the broom handle. Make sure to check the compatibility of the replacement head with your specific broom model.
To remove the old broom head, look for any screws or fasteners securing it to the handle. Loosen and remove these fasteners, and gently pull the old broom head off the handle. Take care not to damage or splinter the handle during this process. Once the old head is removed, attach the new broom head by following the manufacturer’s instructions, ensuring a secure fit.
After replacing the damaged bristles or attaching a new broom head, it’s crucial to test out the broom to ensure it’s working correctly. Sweep your floors and observe the performance of the new bristles. If you notice any issues or the broom still does not perform as expected, you may need to reassess and potentially replace the broom altogether.
Remember, knowing when to replace damaged bristles is vital for maintaining a clean home. By promptly replacing worn-out or broken bristles, you can continue to rely on your broom to effectively sweep away dirt, debris, and dust from your floors.
Preventing Future Damage
While it’s essential to address current damage to your broom bristles, taking preventive measures can help prolong their lifespan and prevent future damage. By incorporating these simple steps into your cleaning routine, you can ensure that your broom remains in optimal condition for longer periods.
Firstly, when sweeping, be mindful of the surfaces you are cleaning. Avoid using your broom on rough or abrasive surfaces that can cause excessive wear and tear on the bristles. Instead, opt for a vacuum or mop on such surfaces to protect your broom’s bristles.
Additionally, consider using your broom for its intended purpose. While it may be tempting to use your broom to sweep up large debris or heavy items, this can strain and damage the bristles. Use a dustpan or vacuum to remove larger items before sweeping with your broom for more effective cleaning.
Regular cleaning and maintenance are also crucial in preventing future damage. After each use, take a few moments to remove any hair, dust, or debris from your broom bristles. This simple step will prevent the accumulation of buildup that can damage the bristles over time.
Store your broom properly to protect the bristles from unnecessary stress. Hang your broom with the bristles facing upward to avoid bending or flattening. If you don’t have a suitable hanging option, store your broom in an upright position, standing it on its bristles to maintain their shape.
Lastly, consider investing in a broom cover or sleeve. These protective covers can help shield the bristles from dust, dirt, and damage when the broom is not in use. Look for covers made from breathable materials to prevent moisture buildup and allow the bristles to dry properly.
By following these preventive measures, you can extend the lifespan of your broom bristles and minimize the need for frequent repairs or replacements. A well-maintained broom will continue to effectively clean your floors, making your household chores more efficient and enjoyable.