
Assessing the Damage
When you discover a broken fridge shelf, it’s important to assess the extent of the damage before proceeding with any repairs. Understanding the severity of the problem will help you determine the best course of action. Here are some key factors to consider when assessing the damage:
- Check for any visible cracks or breaks: Carefully inspect the shelf to identify any visible signs of damage. Look for cracks, fractures, or pieces that have completely detached.
- Evaluate the stability of the shelf: Gently press on the remaining parts of the shelf to test its stability. If it feels loose or wobbly, it may require immediate attention.
- Assess the impact on functionality: Determine how the broken shelf affects the functionality of your fridge. Does it hinder your ability to store food or access items easily? Consider the inconvenience caused by the damage.
- Consider safety concerns: A broken shelf can pose safety risks, especially if it compromises the stability of other shelves or causes items to fall. Take note of any potential dangers associated with the damage.
By carefully evaluating these aspects, you can gain a clearer understanding of the severity of the damage and proceed with the necessary repairs or replacements.
Gathering the Tools and Materials
Before you begin fixing the broken fridge shelf, it’s essential to gather the necessary tools and materials. Having everything you need on hand will make the repair process smoother and more efficient. Here are some tools and materials you may need:
- Screwdriver: Depending on the type of fridge shelf you have, you may need a screwdriver to remove screws or fasteners.
- Tape measure: Accurately measuring the dimensions of the broken shelf will ensure the replacement fits properly.
- Cutting tools: If you need to trim or cut the replacement shelf to the correct size, you’ll require appropriate cutting tools such as a saw or utility knife.
- New shelf material: Determine the type of material suitable for your fridge shelf. Common options include glass, plastic, or wire. Ensure it matches the original shelf in terms of size and design.
- Adhesive or fasteners: Depending on the type of fridge and shelf, you may need adhesive, such as epoxy or strong glue, to secure the replacement shelf in place. Alternatively, some shelves may require screws or clips.
- Cleaning supplies: It’s important to clean the area before installing the new shelf. Gather cleaning supplies like a mild detergent, sponge, and a cloth.
By gathering these tools and materials before starting the repair, you can avoid unnecessary delays and ensure a smooth and successful shelf replacement.
Removing the Broken Shelf
Once you have assessed the damage and gathered the necessary tools and materials, it’s time to remove the broken fridge shelf. Here’s a step-by-step guide to help you through the process:
- Empty the shelf: Remove all items from the broken shelf and set them aside in a safe place.
- Disconnect any attachments: If there are any attachments or accessories on the shelf, such as clips or dividers, detach them carefully. Keep them aside for later use if they’re still in good condition.
- Locate the fasteners: Depending on the fridge model, the shelf may be secured by screws, clips, or other fasteners. Identify the type of fasteners used to hold the shelf in place.
- Unscrew or unclip the shelf: Use the appropriate tools, such as a screwdriver or pliers, to remove the fasteners. Take your time and be gentle to avoid damaging any surrounding parts.
- Slide out the broken shelf: Once the fasteners are released, carefully slide out the broken shelf from its designated area within the fridge.
- Inspect for any remaining debris: After removing the broken shelf, check for any remaining debris or fragments. Clean the area thoroughly before proceeding with the replacement.
By following these steps, you can safely and effectively remove the broken fridge shelf. Remember to take your time and handle the components with care to avoid any accidental damage along the way.
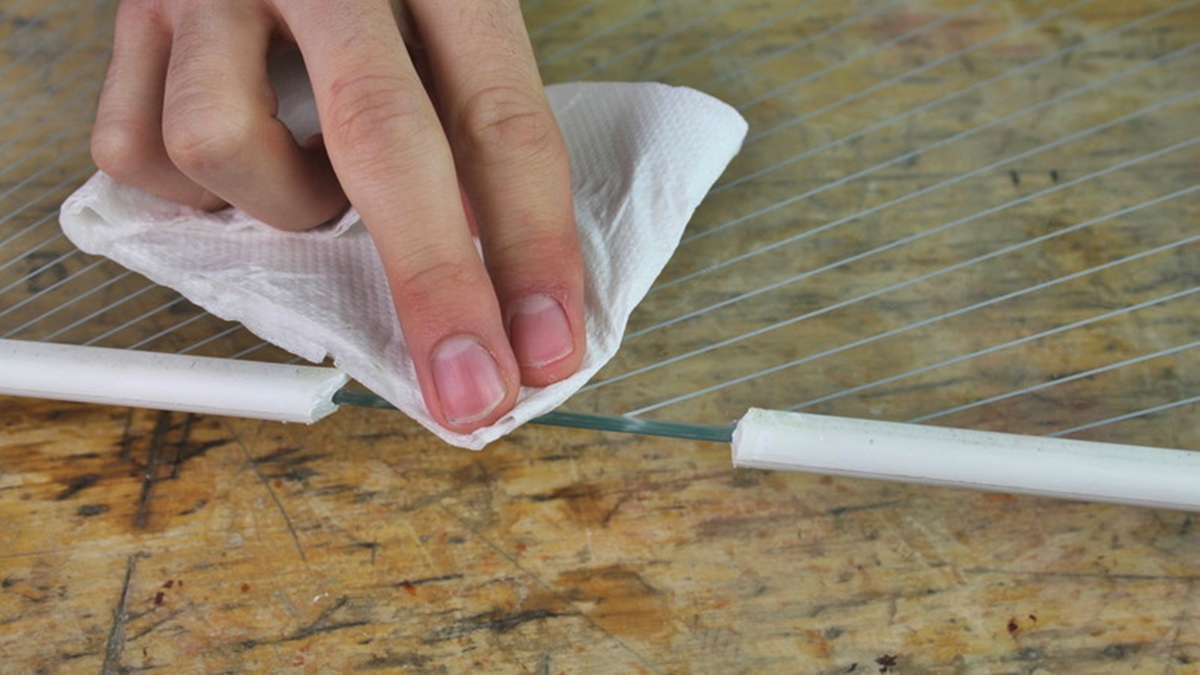
Cleaning the Area
After removing the broken fridge shelf, it’s crucial to clean the area before installing the new shelf. This step ensures a hygienic and well-prepared surface for the replacement. Here’s a simple guide to help you clean the area effectively:
- Prepare a cleaning solution: Mix a mild detergent with warm water in a bucket or bowl. Alternatively, you can use a vinegar-water solution for a natural cleaning option.
- Dip a sponge or cloth: Immerse a clean sponge or cloth into the cleaning solution, making sure it’s not dripping with excess liquid.
- Gently scrub the area: Carefully scrub the empty space where the broken shelf was located. Pay attention to any dirt, spills, or residue that may have accumulated.
- Rinse with clean water: After scrubbing, rinse the area with clean water to remove any detergent or vinegar residue.
- Dry the surface: Wipe the surface with a dry cloth or paper towel to ensure it’s completely dry before proceeding with the replacement.
Cleaning the area not only helps maintain a clean and sanitary environment inside your fridge but also ensures that the new shelf adheres properly and securely. Take your time during this step to ensure a thorough cleaning, paying close attention to corners and crevices where dirt may accumulate.
Measuring and Cutting the Replacement Shelf
With the broken fridge shelf removed and the area cleaned, it’s time to measure and cut the replacement shelf to ensure a proper fit. Follow these steps to accurately measure and cut the new shelf:
- Measure the dimensions: Use a tape measure to carefully measure the length, width, and depth of the empty space where the broken shelf was located. Write down the measurements, ensuring accuracy.
- Select the replacement material: Choose the appropriate material for your replacement shelf, such as glass, plastic, or wire. Ensure that the chosen material is sturdy and capable of supporting the weight of your items.
- Transfer the measurements: Use the measurements you recorded to mark the dimensions on the new shelf material. Double-check the measurements to ensure accuracy, and use a straight edge to create precise markings.
- Cut the replacement shelf: If necessary, use the appropriate cutting tools, such as a saw or utility knife, to cut the new shelf along the marked dimensions. Take your time and proceed with caution to achieve straight and clean cuts.
- Smooth any rough edges: After cutting the replacement shelf, check for any rough or jagged edges. Use sandpaper or a file to gently smooth out any imperfections.
Accurate measurements and a properly cut replacement shelf are essential for a snug fit and optimal functionality. Take your time during this step to ensure precision, and always prioritize safety by using the appropriate tools and equipment.
Attaching the New Shelf
Once you have measured and cut the replacement shelf, it’s time to attach it securely in the designated area inside the fridge. Follow these steps to properly install the new shelf:
- Position the replacement shelf: Carefully place the new shelf into the empty space, ensuring that it aligns with the supporting brackets or slots on the sides or back of the fridge.
- Use adhesive or fasteners: Depending on the type of fridge and shelf, you may need to use adhesive, such as epoxy or strong glue, to attach the shelf to the brackets or slots. Alternatively, some shelves may require screws or clips to secure them in place.
- Apply adhesive: If adhesive is required, follow the manufacturer’s instructions to apply it to the areas where the shelf makes contact with the brackets or slots. Be mindful of using the appropriate amount of adhesive to ensure a strong bond.
- Insert screws or clips: If screws or clips are necessary, carefully insert them through the designated holes on the shelf and secure them into the corresponding holes or hooks on the fridge. Use the appropriate tools, such as a screwdriver or pliers, to tighten them just enough to hold the shelf in place.
- Confirm stability: Once the new shelf is attached, gently press on it to ensure it is stable and securely in position. Make any necessary adjustments or tighten the fasteners if needed.
Properly attaching the new fridge shelf will ensure its stability and functionality. Take your time during this step to ensure a secure installation, and follow any specific instructions provided by the manufacturer for your fridge model.
Testing and Adjusting the Shelf
After attaching the new shelf, it’s important to test its functionality and make any necessary adjustments to ensure it is properly aligned and functional. Follow these steps to test and adjust the shelf:
- Load the shelf: Place items back onto the newly installed shelf, distributing them evenly and avoiding any excessive weight that could strain the shelf.
- Check for stability: Gently press on the loaded shelf to check for any wobbling or instability. If the shelf feels unstable, it may require further adjustments.
- Inspect for gaps or misalignment: Carefully examine the new shelf to ensure it is aligned properly within the fridge. Check for any gaps or uneven positioning that may affect its stability or visual appearance.
- Make necessary adjustments: If you notice any issues with stability or alignment, attempt to adjust the shelf by loosening or tightening the fasteners. Ensure that all connections are secure and that the shelf sits level.
- Test opening and closing: Open and close the fridge door to ensure that the new shelf does not impede the door’s movement or interfere with other shelves or compartments.
- Monitor functionality: Over the course of a few days, pay attention to how the new shelf performs. Make note of any issues that arise, such as sagging or cracking, and address them promptly.
Testing and adjusting the new shelf will help ensure its longevity and optimal functionality. Regularly inspect the shelf to identify any potential problems and make adjustments as necessary.
Prevention Tips to Avoid Future Breakage
To prevent future breakage of your fridge shelf, it’s essential to take proper care and implement preventive measures. Follow these tips to maintain the longevity and durability of your fridge shelf:
- Do not overload the shelf: Avoid placing excessive weight or large, heavy items on the shelf. Overloading can cause strain and increase the risk of breakage.
- Avoid sharp or pointed objects: Be cautious while placing sharp or pointed objects on the shelf, as they can cause damage to the shelf material or even lead to cracks.
- Regularly clean the shelf: Clean the shelf regularly to remove any spills, food debris, or sticky residue. This will prevent buildup and minimize the risk of damage.
- Properly organize items: Arrange items on the shelf in an organized manner to distribute the weight evenly and prevent any unnecessary stress on one specific area.
- Handle with care: When placing or removing items from the shelf, do so gently to avoid accidental impacts or rough handling that could lead to breakage.
- Check for any signs of wear: Regularly inspect the shelf for signs of wear and tear, such as cracks, weakening, or loose attachments. Address any issues promptly to prevent further damage.
- Follow manufacturer guidelines: Always follow the manufacturer’s instructions and guidelines for your specific fridge model, including weight limits and maintenance recommendations.
By implementing these preventive measures, you can help ensure the longevity and durability of your fridge shelf, reducing the risk of future breakage. Regular maintenance and mindful usage will go a long way in keeping your fridge organization efficient and hassle-free.