
Materials Needed
Before you begin the process of fixing a matted rug, it’s important to gather the necessary materials. Having these items on hand will ensure that you can effectively restore your rug to its former glory. Here are the materials you’ll need:
1. Vacuum cleaner: A powerful vacuum cleaner will help remove dirt and debris from the rug’s fibers. Make sure the vacuum has adjustable settings for different types of rugs.
2. Rug rake or brush: A rug rake or brush specifically designed for rugs can help loosen the matted fibers and revive their natural texture.
3. Mixture of water and vinegar: A simple solution of water and vinegar can be used to treat any stubborn stains or odors on the rug.
4. Clean cloth or sponge: You’ll need a clean cloth or sponge to apply the water and vinegar mixture to the rug.
5. Protective gloves: Gloves will protect your hands from any harsh chemicals or substances you might come into contact with during the process.
6. Fans or air movers: These will help speed up the drying process and prevent mildew or mold from forming on the rug.
7. Optional: Rug pad or rug grippers: If your rug tends to slip or slide on the floor, a rug pad or rug grippers can provide stability and prevent accidents.
Having these materials readily available will make the rug-fixing process smoother and more efficient. Now that you’ve gathered everything you need, you’re ready to tackle the matted rug!
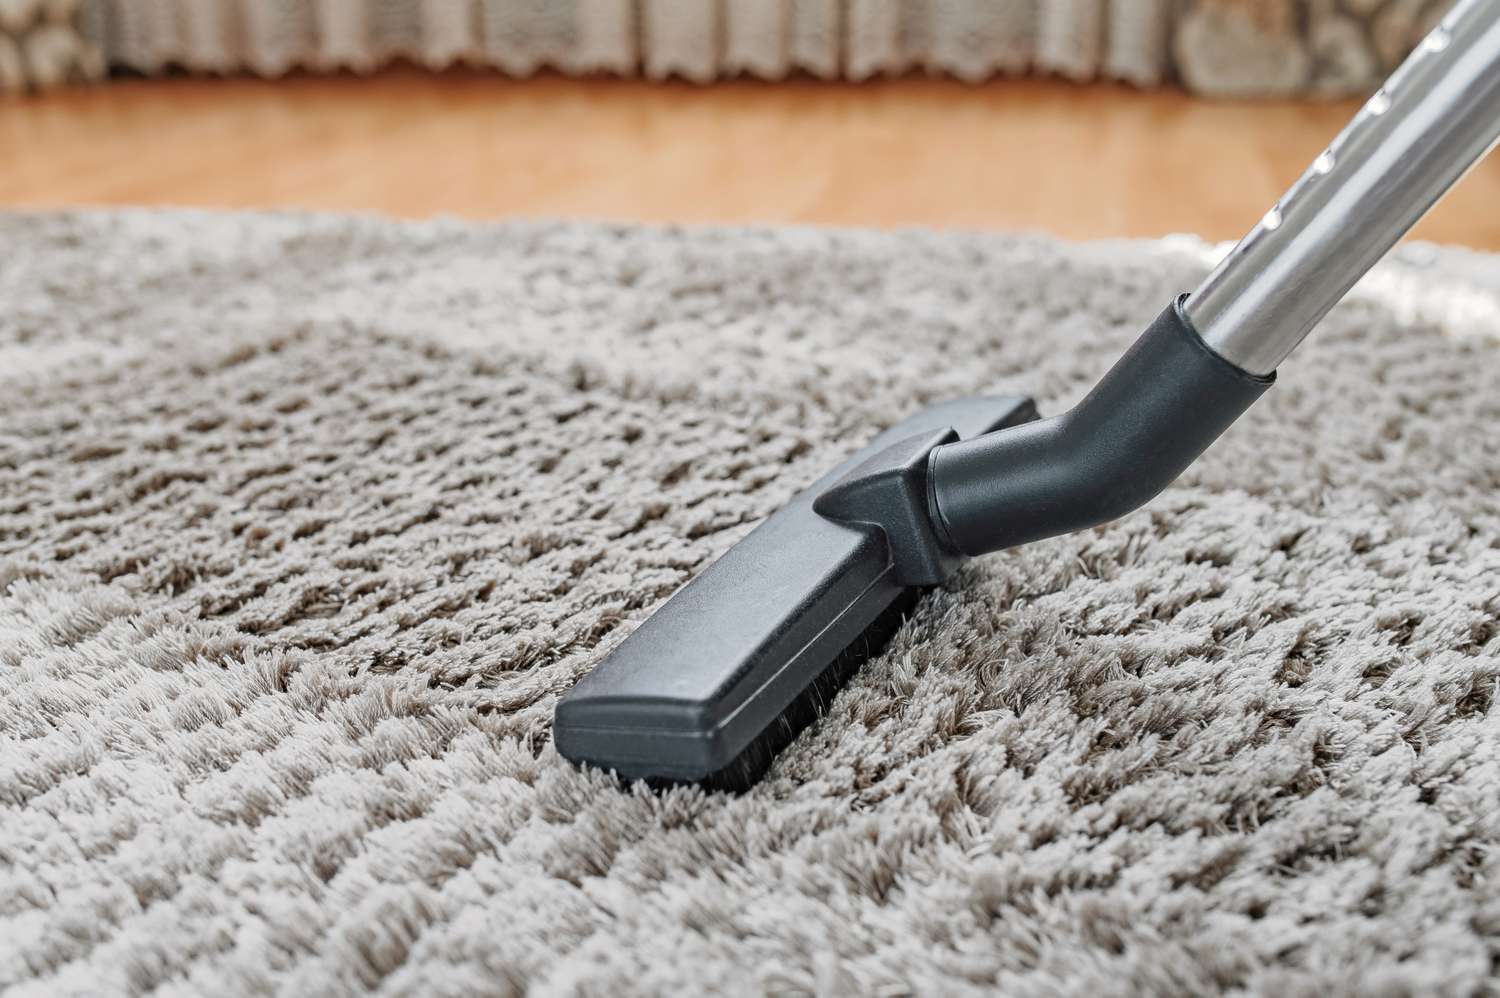
Step 1: Vacuum the Rug
The first step in fixing a matted rug is to thoroughly vacuum it. This will help remove any loose dirt, dust, or debris from the rug’s surface and prepare it for further treatment. Here’s how to properly vacuum your rug:
1. Start by removing any furniture or obstacles from the rug, allowing you to vacuum it without any obstructions.
2. Adjust the vacuum cleaner to the appropriate setting for your rug type. If you’re unsure, refer to the manufacturer’s instructions or choose the gentlest setting.
3. Begin vacuuming the rug in one direction, moving slowly and overlapping each stroke to ensure thorough cleaning. For high-pile or shag rugs, you may need to go over the area multiple times to loosen embedded dirt.
4. After vacuuming in one direction, switch to vacuuming in the opposite direction. This will help lift the rug fibers and further remove any dirt trapped within.
5. Pay extra attention to high-traffic areas or areas that appear more matted. These areas will likely require more attention to fully restore their texture.
6. If your vacuum cleaner has attachments, use a brush attachment or a crevice tool to clean along the edges and in corners.
7. Once you’ve finished vacuuming the entire rug, empty the vacuum bag or canister and replace any filters if necessary. This will ensure that your vacuum cleaner continues to work efficiently.
Vacuuming the rug is crucial to remove loose dirt and debris that can contribute to matting. By following this step, you’ll have a clean canvas to work with when proceeding to the next steps.
Step 2: Loosen the Matted Fibers
Once you’ve vacuumed the rug, the next step is to loosen the matted fibers to restore its original texture. This process helps fluff up the rug and brings back its softness. Here’s how to effectively loosen the matted fibers of your rug:
1. Identify the areas that are most matted or flattened. These are usually high-traffic areas or spots where furniture has been placed for extended periods.
2. Using your fingers or a comb, gently fluff the fibers in these matted areas. Start by lightly pulling the fibers upwards to loosen them.
3. For more stubborn or tightly matted areas, use your fingertips to massage the fibers in a circular motion. This will help break up any clumps and encourage the fibers to loosen and regain their natural bounce.
4. Be cautious not to tug or pull too hard, as this could damage the rug. Remember to work gently and patiently to avoid causing any additional harm.
5. Continue this process throughout the entire rug, focusing on the areas where matting is most prominent.
6. After loosening the fibers, run your hand over the rug to check for any remaining matted sections. If you come across any, repeat the process of gently fluffing and massaging the fibers until they are sufficiently loosened.
Loosening the matted fibers is a critical step in revitalizing your rug. By taking the time to gently massage and fluff the fibers, you’ll help restore its plushness and create a more visually appealing and comfortable surface.
Step 3: Use a Rug Rake or Brush
Using a rug rake or brush is an effective method to further loosen and separate the matted fibers of your rug. These specialized tools are designed to restore the rug’s texture and enhance its appearance. Here’s how to use a rug rake or brush:
1. Start by selecting a rug rake or brush that is appropriate for your rug’s material and pile type. Look for one with soft bristles to avoid causing any damage.
2. Begin by gently raking or brushing the rug in the direction of the fibers. This will help lift and separate the matted areas, allowing them to regain their natural fluffiness.
3. Work systematically, focusing on one small section at a time. Apply light pressure and use long, sweeping motions to carefully brush the rug.
4. Pay close attention to the areas with heavy matted fibers. Use the rake or brush to focus on these sections, working the tool back and forth to encourage the fibers to stand upright.
5. If you encounter any resistant areas, try gently tapping the brush on the rug’s surface to help loosen the fibers further.
6. Continue to rake or brush the entire rug, ensuring that you cover all areas, including corners and edges.
Using a rug rake or brush is an excellent way to revitalize a matted rug. By gently working through the fibers, you’ll encourage them to regain their natural shape and create a more visually pleasing and inviting surface.
Step 4: Apply a Mixture of Water and Vinegar
If your rug has any stubborn stains or lingering odors, applying a mixture of water and vinegar can help eliminate them. Vinegar is a natural cleaning agent that is safe to use on most types of rugs. Here’s how you can use this mixture to treat your rug:
1. In a large bowl or bucket, combine equal parts of water and vinegar. For example, you can mix 1 cup of water with 1 cup of vinegar. This will create a mild yet effective cleaning solution.
2. Dampen a clean cloth or sponge with the water and vinegar mixture. Make sure it is not soaking wet, but slightly damp.
3. Gently blot the stained or odorous areas of the rug with the cloth or sponge. Avoid rubbing vigorously, as this can push the stain or odor deeper into the fibers.
4. Allow the mixture to sit on the rug for a few minutes to loosen the stain or neutralize any odors.
5. Afterward, use a clean sponge or cloth dampened with plain water to rinse the treated areas of the rug. Blot gently to remove any excess moisture.
6. If necessary, repeat the process for particularly stubborn stains or odors. For heavily soiled rugs, you may consider using a scrub brush with soft bristles to gently agitate the fibers while applying the water and vinegar mixture.
7. Once you’ve finished treating the stained or odorous areas, allow the rug to air dry completely.
Applying a mixture of water and vinegar can effectively tackle stains and eliminate unpleasant odors from your rug. This step is particularly crucial for maintaining its cleanliness and freshness.
Step 5: Brush the Rug Again
After applying the water and vinegar mixture, it’s important to brush the rug once again to further enhance its appearance and texture. This step helps distribute the moisture evenly and restore the rug’s natural fluffiness. Here’s how you can brush your rug again:
1. Use a clean, dry rug rake or brush that is suitable for your rug’s material and pile type. Ensure that the bristles are soft to avoid causing any damage.
2. Start by gently raking or brushing the rug in the direction of the fibers. This will help distribute the moisture from the previous step and aid in loosening any remaining matted fibers.
3. Apply light to moderate pressure as you brush, being careful not to press too hard and damage the rug.
4. Work methodically, covering the entire rug from one end to the other. Pay particular attention to areas that may still have some matting or dampness.
5. Brush the rug from different angles to ensure that you reach all areas, including corners and edges.
6. If you notice any areas that are still matted or flattened, spend some extra time brushing those sections to encourage the fibers to stand upright.
7. Continue brushing until the rug feels soft, fluffy, and dry to the touch.
Brushing the rug again after applying the water and vinegar mixture helps restore its original appearance and texture. By gently working through the fibers, you’ll ensure that the rug looks its best and feels comfortable underfoot.
Step 6: Allow the Rug to Dry
After you have brushed the rug, it is crucial to allow it to properly dry before placing any furniture back on it or resuming regular use. Drying the rug thoroughly will prevent the growth of mold and mildew and ensure its longevity. Here’s how you can properly dry your rug:
1. Find a well-ventilated area with good air circulation where you can lay the rug flat. It’s best to avoid direct sunlight, as prolonged exposure can cause fading or damage to certain rug materials.
2. If possible, elevate the rug slightly off the ground using bricks, wooden blocks, or other stable objects. This allows air to circulate underneath the rug and aids in the drying process.
3. Leave the rug undisturbed for several hours or overnight to air dry naturally. The drying time may vary depending on the rug’s size, thickness, and the environmental conditions.
4. To expedite the drying process, you can use fans or air movers to help circulate air around the rug. Position the fans so that they blow directly over the surface of the rug.
5. Periodically check the rug for any signs of lingering moisture. If you notice any dampness, continue allowing the rug to dry until it is completely dry to the touch.
6. Avoid walking on or placing any objects on the rug until it is fully dry. This will prevent any potential damage to the fibers and maintain the rug’s shape.
7. Once the rug is completely dry, thoroughly inspect it to ensure that there are no remaining damp areas or signs of moisture.
Allowing the rug to dry completely is crucial to maintain its quality and prevent any potential issues. By following this step, you’ll ensure that your rug is ready to be placed back in its designated spot.
Step 7: Vacuum One More Time
After the rug has dried completely, it’s important to give it one final vacuuming. This step helps remove any residual dirt, debris, or loose fibers that may have accumulated during the cleaning process. Here’s how to give your rug a thorough final vacuum:
1. Attach the appropriate attachment or adjust your vacuum cleaner to the recommended setting for your rug type.
2. Start by vacuuming the rug in one direction, using slow and overlapping strokes. This ensures that all areas of the rug are thoroughly cleaned.
3. Pay special attention to high-traffic areas or spots that tend to collect more dirt and debris. Spend a little extra time going over these areas to ensure a deep clean.
4. Switch the vacuum cleaner to vacuum the rug in the opposite direction, following the same slow and overlapping strokes. This helps to lift the rug fibers and ensure a comprehensive clean.
5. Use the attachments or crevice tool to clean along the edges and corners of the rug. This helps to remove any trapped dirt or debris that may have accumulated in hard-to-reach areas.
6. If your vacuum cleaner has a beater brush, make sure it is in good condition and free of any hair or tangled fibers. A clean brush ensures effective suction and prevents any damage to the rug.
7. Once you’ve finished vacuuming the entire rug, empty the vacuum bag or canister and clean or replace any filters if necessary. This ensures that your vacuum cleaner is ready for future use.
By giving your rug one final vacuuming, you’ll remove any remaining dirt and debris, leaving it fresh, clean, and ready to be enjoyed.
Step 8: Regular Maintenance Tips
To keep your rug in excellent condition and prevent future matting, regular maintenance is key. Here are some tips to help you maintain the beauty and longevity of your rug:
1. Vacuum regularly: Regular vacuuming is essential to remove dirt, dust, and debris that can accumulate on the rug’s surface. Aim to vacuum at least once a week, or more frequently in high-traffic areas.
2. Rotate the rug: To prevent uneven wear and matting, rotate your rug every few months. This ensures that all areas of the rug receive equal traffic and helps maintain its overall appearance.
3. Use rug padding: Investing in a quality rug pad not only provides extra cushioning and comfort but also prevents the rug from slipping or sliding on the floor. Rug padding also helps to reduce wear and tear on the rug’s fibers.
4. Clean spills immediately: Accidents happen, so it’s crucial to address spills promptly. Blot any liquid spills with a clean, absorbent cloth, working from the outer edges towards the center to prevent spreading the stain. Avoid rubbing, as this can push the liquid further into the fibers.
5. Spot clean as needed: For stains or soiled spots, use a mild detergent diluted with water to gently clean the affected area. Test the cleaning solution on a small, inconspicuous area of the rug first to ensure it does not cause any damage.
6. Avoid direct sunlight: Prolonged exposure to direct sunlight can cause fading and damage to the rug’s colors and fibers. Consider using curtains or blinds to protect the rug from excessive sunlight.
7. Attend to pet hair: If you have pets, regularly remove their hair from the rug using a brush or vacuum with a pet hair attachment. This prevents the hair from becoming embedded in the fibers and causing matting.
8. Professional cleaning: To maintain the rug’s quality, consider professional cleaning every 1-2 years, depending on the level of traffic and soiling. Professional cleaners have the expertise and appropriate equipment to deep clean your rug without causing damage.
By following these regular maintenance tips, you can extend the lifespan of your rug and keep it looking its best for years to come.