
Safety Precautions
When it comes to fixing a lamp, safety should always be your top priority. Handling electrical components can be dangerous if proper precautions are not taken. By following these safety guidelines, you can ensure a secure and accident-free repair process.
- 1. Turn off the Power: Before you start working on the lamp, unplug it from the power outlet to avoid any risk of electric shock.
- 2. Wait for the Lamp to Cool Down: Touching a hot lamp can result in burns. Allow the lamp to cool down for a sufficient amount of time before handling it.
- 3. Use Protective Gear: Wear safety goggles and gloves to protect your eyes and hands from potential hazards.
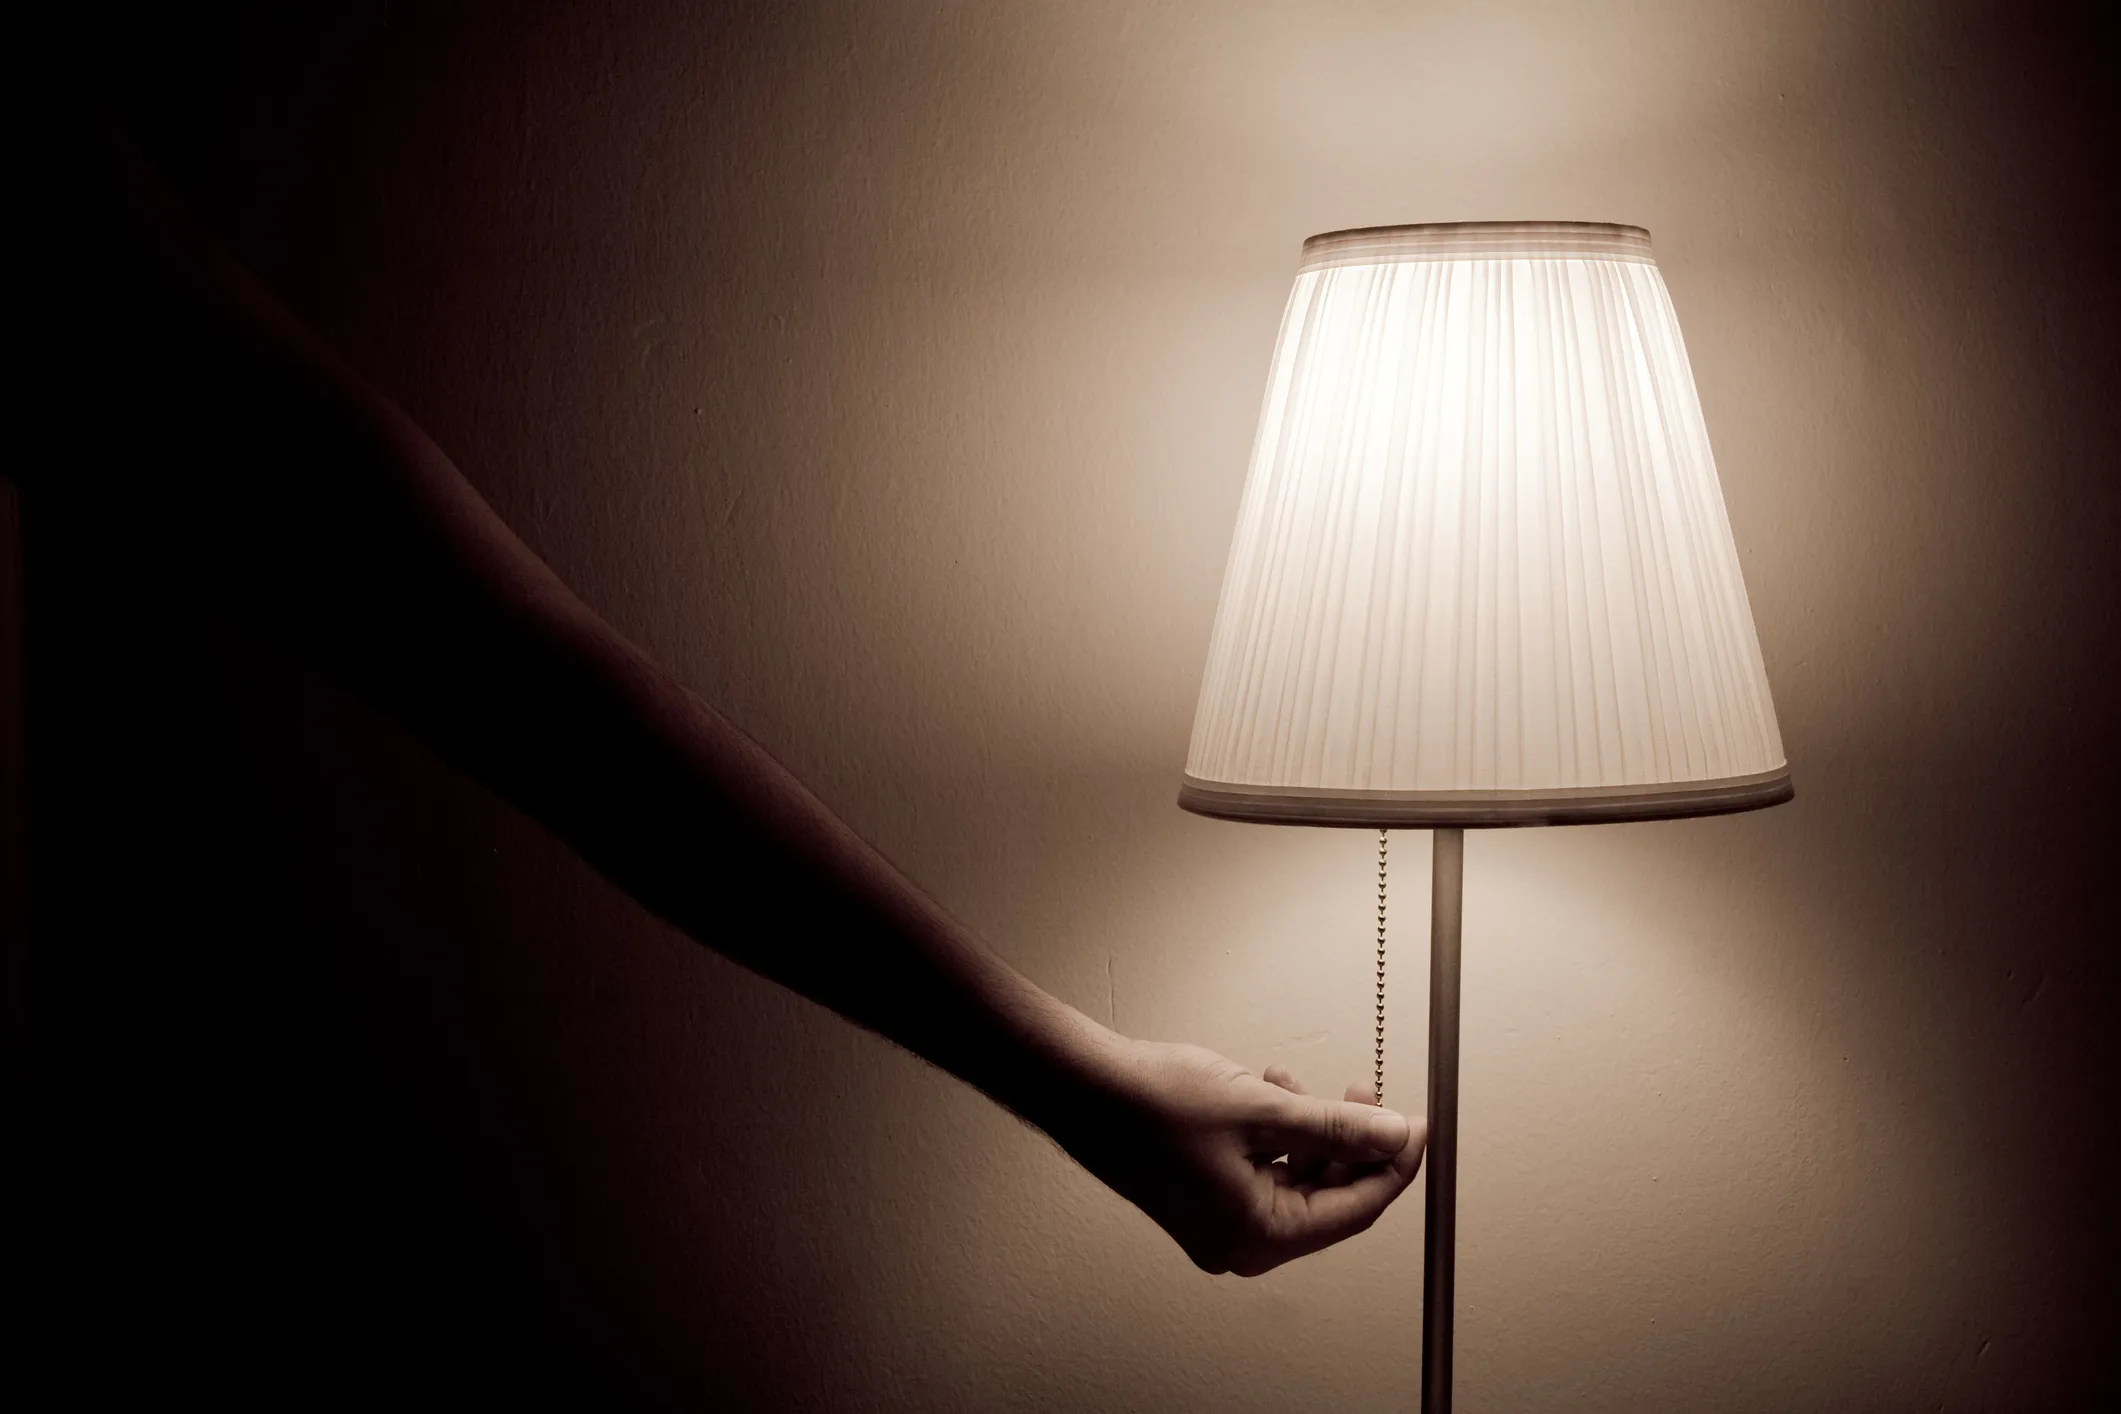
- 4. Work in a Well-Lit Area: Ensure that you have adequate lighting in your workspace to clearly see what you are doing.
- 5. Keep Flammable Materials Away: Remove any flammable materials, such as curtains or papers, from your work area to prevent accidental fires.
- 6. Inspect for Damaged Wires and Cords: Check the power cord for any visible damage, frayed wires, or exposed insulation. If any issues are detected, do not attempt to repair the lamp and consider replacing it instead.
- 7. Avoid Overloading: Be mindful of the wattage and type of bulb recommended for your lamp. Exceeding the recommended wattage can lead to overheating and potential electrical hazards.
- 8. Follow Manufacturer’s Instructions: Always refer to the manufacturer’s instructions for specific safety guidelines and precautions pertaining to your lamp model.
- 9. Consult a Professional: If you are uncertain about any aspect of the repair process or encounter complex electrical issues, it’s best to seek assistance from a qualified electrician.
By adhering to these safety precautions, you can approach your lamp repair project with confidence and minimize the risk of accidents or injuries. Taking the necessary steps to ensure safety will not only protect your well-being but also contribute to the success of your lamp repair endeavor.
Tools and Materials You’ll Need
Before you begin fixing your lamp, it’s important to gather the necessary tools and materials. Having these items readily available will make the repair process more efficient. Here is a list of the essential tools and materials you’ll need:
- Screwdriver: A set of screwdrivers with various sizes, including flathead and Phillips head, will help you remove screws and disassemble the lamp.
- Pliers: Pliers will be useful for gripping, bending, and twisting wires as needed during the repair.
- Wire Cutter and Stripper: These tools will allow you to cut and strip wires cleanly for proper connections.
- Electrical Tape: Electrical tape is useful for insulating exposed wires and ensuring electrical connections are secure.
- Replacement Bulb: If your lamp’s bulb is faulty or burned out, make sure to have a suitable replacement bulb on hand.
- Lamp Socket: If the lamp socket is damaged or malfunctioning, you may need a new one to replace the faulty component.
- Lamp Cord: Should your lamp’s power cord be frayed, damaged, or too short, having a new lamp cord can solve the issue.
- Lamp Switch: If the lamp’s switch is faulty, you may need to replace it with a compatible replacement switch.
- Wire Nuts: These small connectors will be necessary for securely connecting wires together.
- Socket Shell: In the event that the lamp socket shell is cracked or discolored, a new socket shell can restore functionality and aesthetics.
- Lamp Base Stabilizer: Depending on the design of your lamp, a base stabilizer may be needed to ensure stability and prevent tipping.
Make sure to gather all of these tools and materials before starting the lamp repair process. Having everything at hand will save you time and ensure a smooth and successful repair. Remember to only use tools and materials that are appropriate for your specific lamp model and electrical requirements.
Step 1: Unplug and Disassemble
The first step in fixing a lamp is to ensure that it is completely disconnected from any power source. Unplugging the lamp will prevent any potential electrical hazards during the repair process. Once you have ensured the lamp is unplugged, follow these steps to disassemble it:
- Remove the Lampshade: Gently lift off the lampshade and set it aside in a safe place. Some lampshades may be secured with screws or clips that need to be loosened or removed.
- Unscrew the Bulb: Carefully unscrew the bulb in a counterclockwise direction and set it aside. If the bulb is hot, allow it to cool down before handling it.
- Inspect the Base: Examine the lamp base for any visible screws, clasps, or other fastening mechanisms that need to be undone to access the internal components.
- Loosen Base Fastenings: Use the appropriate screwdriver or pliers to loosen and remove any screws or fasteners holding the base together. Keep them in a safe place for reassembly later.
- Separate the Base: Once the fastenings have been loosened or removed, gently separate the base from the stem or body of the lamp. Take care to avoid pulling any wires or causing damage to the internal components.
By carefully following these steps, you can safely unplug and disassemble your lamp in preparation for the repair. Take note of how the lamp is constructed and remember to keep all the disassembled parts organized and easily accessible for the subsequent repair steps.
Step 2: Inspect and Identify the Problem
Once you have successfully disassembled your lamp, it’s time to closely inspect and identify the specific problem that needs to be addressed. This step will help you pinpoint the exact issue and determine the appropriate course of action. Follow these guidelines to inspect your lamp:
- Check the Power Cord: Examine the power cord for any visible damage, such as frayed wires, exposed insulation, or loose connections. If any issues are found, you may need to replace the cord.
- Inspect the Lamp Socket: Take a close look at the lamp socket for any signs of damage or wear. Look for loose connections, broken contacts, or burnt components. If necessary, replace the socket with a new one of the same type.
- Inspect the Lamp Switch: If your lamp has a switch, inspect it for any visible damage or malfunction. Check for loose connections, worn-out parts, or signs of faulty operation. Replace the switch if needed.
- Examine the Bulb: Inspect the bulb to see if it is burned out or damaged. Look for any darkened areas, broken filaments, or discoloration. If necessary, replace the bulb with a new one that meets the lamp’s specifications.
- Check for Loose or Broken Parts: Thoroughly examine all the lamp components, including the base, stem, and any decorative elements, for any loose or broken parts. These may affect the lamp’s stability, functionality, or aesthetics.
- Test the Lamp: Before proceeding with the repair, plug in the lamp and test it to see if it illuminates properly. Pay attention to any flickering lights, dimming, or unusual noises. This will help you further troubleshoot the problem.
By conducting a careful inspection of your lamp, you can identify the specific issue that needs to be addressed. Taking the time to accurately pinpoint the problem will ensure that you can proceed with the appropriate repairs in the following steps.
Step 3: Replace the Bulb
If your lamp’s bulb is burned out or faulty, replacing it is often an easy and straightforward solution. Follow these steps to replace the bulb:
- Select the Correct Bulb: Determine the appropriate replacement bulb for your lamp. Refer to the lamp’s user manual or check the wattage and bulb type indicated on the socket to ensure compatibility.
- Ensure the Lamp is Unplugged: Before handling the bulb, make sure the lamp is unplugged to avoid any risk of electric shock.
- Remove the Old Bulb: Carefully twist the old bulb in a counterclockwise direction to unscrew it from the socket. Set the old bulb aside for proper disposal if it is no longer functional.
- Insert the New Bulb: Take the new bulb and gently screw it into the socket in a clockwise direction. Make sure it is snugly in place but avoid overtightening to prevent damage to the bulb or socket.
- Test the New Bulb: Plug in the lamp and turn it on to test the new bulb. Ensure that it illuminates properly without any flickering or issues. If the bulb does not work, double-check that it is securely screwed in or consider trying a different bulb.
Replacing a faulty bulb is often a simple solution to restore the functionality of your lamp. Always remember to select the appropriate replacement bulb and handle it with care to avoid breakage. By following these steps, you can easily replace the bulb and move on to addressing any other lamp issues if necessary.
Step 4: Check the Cord and Socket
The power cord and socket of your lamp play a crucial role in its overall functionality. It is important to ensure that they are in good condition and properly connected. Follow these steps to check the cord and socket:
- Inspect the Power Cord: Examine the power cord for any visible damage, such as frayed wires, exposed insulation, or worn-out connectors. If you notice any issues, it may be necessary to replace the cord.
- Check for Loose Connections: Carefully examine the connection between the power cord plug and the lamp socket. Ensure that the plug is securely inserted into the socket and that there are no loose or exposed wires.
- Examine the Lamp Socket: Inspect the lamp socket for any signs of damage, such as burnt contacts, loose connections, or worn-out parts. If necessary, replace the socket with a new one that matches the lamp’s specifications.
- Ensure Proper Wiring: Verify that the wires inside the lamp connecting the socket to the power cord are correctly attached. If any wires are disconnected or improperly connected, reattach them as needed.
- Test the Lamp: Once you have checked the cord and socket, plug in the lamp and test it to ensure proper functionality. Pay attention to any flickering lights or intermittent power supply. If issues persist, further troubleshooting may be required.
By carefully inspecting and checking the power cord and socket, you can identify any potential issues that may be affecting your lamp’s performance. Taking the time to ensure proper connections and wiring will help prevent electrical hazards and ensure the safe and reliable operation of your lamp. Move on to the following steps only once you have confirmed that the cord and socket are in good condition.
Step 5: Changing the Lamp Switch
If your lamp’s switch is malfunctioning or damaged, it may need to be replaced. Follow these steps to change the lamp switch:
- Ensure the Lamp is Unplugged: Before working on the switch, make sure the lamp is unplugged to avoid any risk of electric shock.
- Identify the Switch Type: Determine the type of switch used in your lamp. Common types include push-button switches, rotary switches, or toggle switches.
- Remove the Old Switch: Depending on the switch type, you may need to unscrew or unclip it from the lamp base. Carefully disconnect any wires connected to the switch.
- Prepare the New Switch: If the new switch does not come prewired, you might need to strip the wire ends and attach them to the appropriate terminals on the switch. Refer to the switch’s instructions for proper wiring.
- Connect the New Switch: Attach the wires from the lamp to the corresponding terminals on the new switch. Use wire nuts or other connectors to secure the connections.
- Secure and Test the New Switch: Once the new switch is properly connected, secure it to the lamp base by tightening any screws or clips. Plug in the lamp and test the switch to ensure it functions correctly.
Changing the lamp switch can be a straightforward process, but it is important to handle electrical components with caution. Always refer to the manufacturer’s instructions or seek professional assistance if you are unsure about the switch replacement process. By following these steps, you can successfully change the lamp switch and restore proper functionality to your lamp.
Step 6: Addressing Loose or Broken Parts
Loose or broken parts can affect both the functionality and aesthetics of your lamp. Addressing these issues will help ensure that your lamp is stable, safe, and visually appealing. Follow these steps to address loose or broken parts:
- Identify Loose or Broken Parts: Inspect the lamp base, stem, and any decorative elements for any loose or broken parts. This may include screws, nuts, bolts, or decorative components.
- Tighten Loose Parts: Using the appropriate tool, tighten any loose screws, nuts, or bolts. Ensure that all parts are secured snugly but avoid overtightening, as it may cause damage.
- Replace Broken Parts: If any parts are broken or beyond repair, consider replacing them. Contact the manufacturer or visit a hardware store to find suitable replacements.
- Reattach Decorative Elements: If decorative elements have come loose, use adhesive or other suitable methods to securely reattach them to the lamp. Follow the manufacturer’s instructions or consult a professional if needed.
- Ensure Stability: After addressing loose or broken parts, ensure that the lamp is stable and balanced. Adjust any components, such as the lamp base stabilizer, to prevent tipping or instability.
By addressing loose or broken parts, you can enhance both the functionality and appearance of your lamp. Taking the time to tighten screws, replace broken components, and ensure stability will help prolong the lifespan of your lamp and provide a safe and visually pleasing lighting experience. Move on to the next steps only once you have addressed any loose or broken parts.
Step 7: Testing and Reassembling
After addressing the specific issues with your lamp, it’s time to test its functionality and safely reassemble it. Follow these steps to test and reassemble your lamp:
- Plug in the Lamp: Ensure the lamp is plugged into a power source.
- Test the Lamp: Turn on the lamp and observe if it illuminates as expected. Check for any flickering, dimness, or other issues that might indicate further problems.
- Perform Necessary Adjustments: If any issues are detected during testing, refer back to the previous steps to identify and address the problem.
- Reassemble the Lamp: Once you have confirmed that the lamp is functioning properly, reassemble it by reversing the steps taken during disassembly. Secure the base, stem, and any decorative components firmly but avoid overtightening screws or fasteners to prevent damage.
- Attach the Lampshade: Finally, carefully reattach the lampshade to the lamp base, ensuring that it rests securely and evenly.
By testing the lamp and performing any necessary adjustments before reassembling it, you can ensure that all issues have been resolved. Take your time during the reassembly process to ensure that the lamp is securely put back together. Once you have completed these steps, you can enjoy the renewed functionality and beauty of your reassembled lamp.
Step 8: Repairing a Lamp with a Dimmer Switch
If your lamp is equipped with a dimmer switch and is not functioning properly, you may need to repair or replace the dimmer switch. Follow these steps to repair a lamp with a dimmer switch:
- Ensure the Lamp is Unplugged: Before working on the dimmer switch, always make sure the lamp is fully unplugged.
- Remove the Lampshade and Bulb: Take off the lampshade and unscrew the bulb to expose the dimmer switch.
- Inspect the Dimmer Switch: Examine the dimmer switch for any visible damage, loose control knobs, or faulty wiring connections.
- Repair or Replace the Dimmer Switch: Depending on the issue, you have a few options:
- If the control knob is loose, tighten it or replace it with a new one if necessary.
- If there are loose wiring connections, carefully reattach them to the appropriate terminals on the dimmer switch. Make sure the connections are secure.
- If the dimmer switch is beyond repair, you may need to replace it with a new one. Ensure you purchase a dimmer switch compatible with your lamp’s electrical specifications.
- Secure and Test the Dimmer Switch: Once you have repaired or replaced the dimmer switch, ensure that it is securely attached to the lamp. Then, plug in the lamp and test the dimmer switch to ensure it functions properly. Adjust the dimmer control knob to check for smooth dimming or brightening of the light.
- Reassemble the Lamp: If the dimmer switch is working correctly, proceed to reassemble the lamp by following the steps in the earlier sections.
Repairing a lamp with a dimmer switch requires careful attention to detail and proper wiring connections. Ensure that you handle all electrical components with caution and refer to the manufacturer’s instructions if needed. By following these steps, you can successfully repair the dimmer switch and restore full functionality to your lamp.
Step 9: Customizing Your Lamp
Customizing your lamp is a great way to add a personal touch and make it uniquely yours. Whether you want to update its appearance or enhance its functionality, here are some ideas and steps to consider when customizing your lamp:
- Paint or Refinish the Lamp Base: If you want to change the look of your lamp, consider painting or refinishing the lamp base. Choose a paint or finish that complements your decor and follow the manufacturer’s instructions for proper application.
- Replace the Lampshade: Swap out the existing lampshade with a new one to give your lamp a fresh look. Consider the style, shape, and material of the lampshade to ensure it matches your desired aesthetic.
- Add Decorative Embellishments: Personalize your lamp by adding decorative embellishments, such as beads, ribbons, or charms. Attach them to the lamp base or lampshade using adhesive or other suitable methods.
- Install a Lampshade Reducer: If you have a lampshade that’s slightly larger than the lamp base, consider installing a lampshade reducer. This accessory helps to secure the lampshade and create a snug fit.
- Attach a Lamp Finial: Enhance the top of your lampshade by attaching a decorative finial. Choose a finial that complements the style of your lamp and twist it onto the lampshade’s finial screw.
- Upgrade the Lamp Cord: If your lamp cord is worn or you prefer a different color, you can replace it with a new one. Be sure to choose a cord that is the appropriate length and gauge for your lamp.
- Add a Dimmer or Remote Control: Increase the functionality of your lamp by adding a dimmer switch or a remote control. These additions allow you to adjust the brightness or turn the lamp on and off from a distance.
Customizing your lamp provides an opportunity to let your creativity shine. Consider your personal style and preferences when deciding how to customize your lamp. Ensure that any modifications you make are safe and do not compromise the lamp’s functionality. By following these steps, you can transform your lamp into a truly unique and personalized lighting fixture.
Step 10: Troubleshooting Common Lamp Problems
Even with proper maintenance and care, lamps can encounter problems from time to time. Knowing how to troubleshoot common lamp issues can save you time and money. Here are some common problems you may encounter and steps to troubleshoot them:
- Lamp doesn’t turn on: Ensure that the lamp is properly plugged in, the bulb is securely screwed in, and the power outlet is functioning. If the lamp still doesn’t turn on, try using a different bulb or checking the cord and socket for any loose or damaged connections.
- Flickering or dim lights: Check that the bulb is securely screwed in. If the problem persists, it could be due to a faulty bulb or loose wiring. Try replacing the bulb, tightening any loose connections, or inspecting the dimmer switch if applicable.
- Lampshade is crooked or uneven: Adjust the lampshade to ensure that it sits evenly on the lamp base. If the problem persists, check for any bent or damaged components that may be causing the imbalance.
- Noise or buzzing coming from the lamp: This could be caused by a loose or faulty wire connection. Carefully inspect the lamp’s wiring and tighten any loose connections. If the noise persists, consider seeking professional assistance.
- Lamp base is unstable or wobbly: Check that all screws, nuts, and bolts securing the lamp base are tightened properly. If the lamp base remains unstable, consider adding a base stabilizer or adjusting the lamp’s design to improve stability.
- Switch is unresponsive: If the lamp switch doesn’t work, check if it is properly connected and tightened. Consider replacing the switch if it appears faulty or damaged.
By troubleshooting common lamp problems, you can often identify and resolve issues on your own. However, always prioritize your safety and seek professional assistance if you are unsure or uncomfortable with any electrical repair work. By following these troubleshooting steps, you can help prolong the lifespan of your lamp and maintain its optimal performance.