
Choosing the Right Type of Wood
When it comes to finishing a wood knife block, the choice of wood is crucial. Not only does it affect the durability and aesthetics, but it also influences the overall performance of the block. Here are some factors to consider when selecting the right type of wood for your knife block:
- Hardness: Choose a hardwood species that is known for its hardness and durability. Hardwoods like maple, oak, walnut, and cherry are popular choices for knife blocks as they can withstand the constant impact of knives without easily denting or scratching.
- Grain Pattern: Consider the grain pattern of the wood as it adds character and visual appeal to your knife block. Some people prefer a tight and consistent grain pattern, while others prefer a more prominent and unique pattern like that found in burl wood or exotic hardwoods.
- Resistance to Moisture: Since the knife block will be exposed to moisture from washing and drying knives, choose a wood species that is resistant to water damage. Avoid using softwoods like pine or cedar, as they are more prone to water absorption and can warp or rot over time.
- Availability and Cost: Consider the availability and cost of the wood species you choose. While exotic hardwoods may offer a stunning finish, they can also be expensive and harder to find. Opting for local hardwood species can often be a more sustainable and cost-effective choice.
Overall, selecting the right type of wood for your knife block is essential for both its longevity and visual appeal. Take the time to research and compare different wood species to make a well-informed decision. Once you have chosen the perfect wood, you can move on to the next step: preparing the wood block.
Preparing the Wood Block
Before applying any finish to your wood knife block, it is crucial to properly prepare the wood surface. This step ensures that the finish adheres well and enhances the overall appearance of the block. Here’s how to prepare the wood block:
- Clean the Wood: Start by ensuring that the wood surface is free from any dust, dirt, or debris. Use a clean cloth or brush to gently remove any particles from the surface. This step will help the finish to adhere better and result in a smoother final result.
- Sand the Wood: Sanding the wood block is essential to smoothen out any rough patches or imperfections. Start with a coarser grit sandpaper (around 120 grit) and gradually move to a finer grit (up to 220 grit) to achieve a smooth and uniform surface. Sand in the direction of the wood grain to avoid scratches.
- Remove the Dust: After sanding, it’s important to remove all the dust particles from the wood. Use a tack cloth or a soft, lint-free cloth to wipe away any remaining dust. This step will ensure a clean surface for the finish to adhere properly.
- Fill any Cracks or Gaps: If you notice any cracks or gaps in the wood, consider using wood filler to fill them in. Apply the wood filler according to the manufacturer’s instructions and let it dry completely. Sand the filled areas lightly to achieve a smooth surface.
- Inspect for Smoothness: Once you have completed these steps, inspect the wood block for any rough areas or imperfections. If necessary, repeat the sanding process to achieve a perfectly smooth surface.
By properly preparing the wood block, you are setting the stage for a flawless and long-lasting finish. Take your time during this step and ensure that the wood surface is clean, smooth, and free from any irregularities. Once you are satisfied with the preparation, you can move on to the next stage of designing the knife slots.
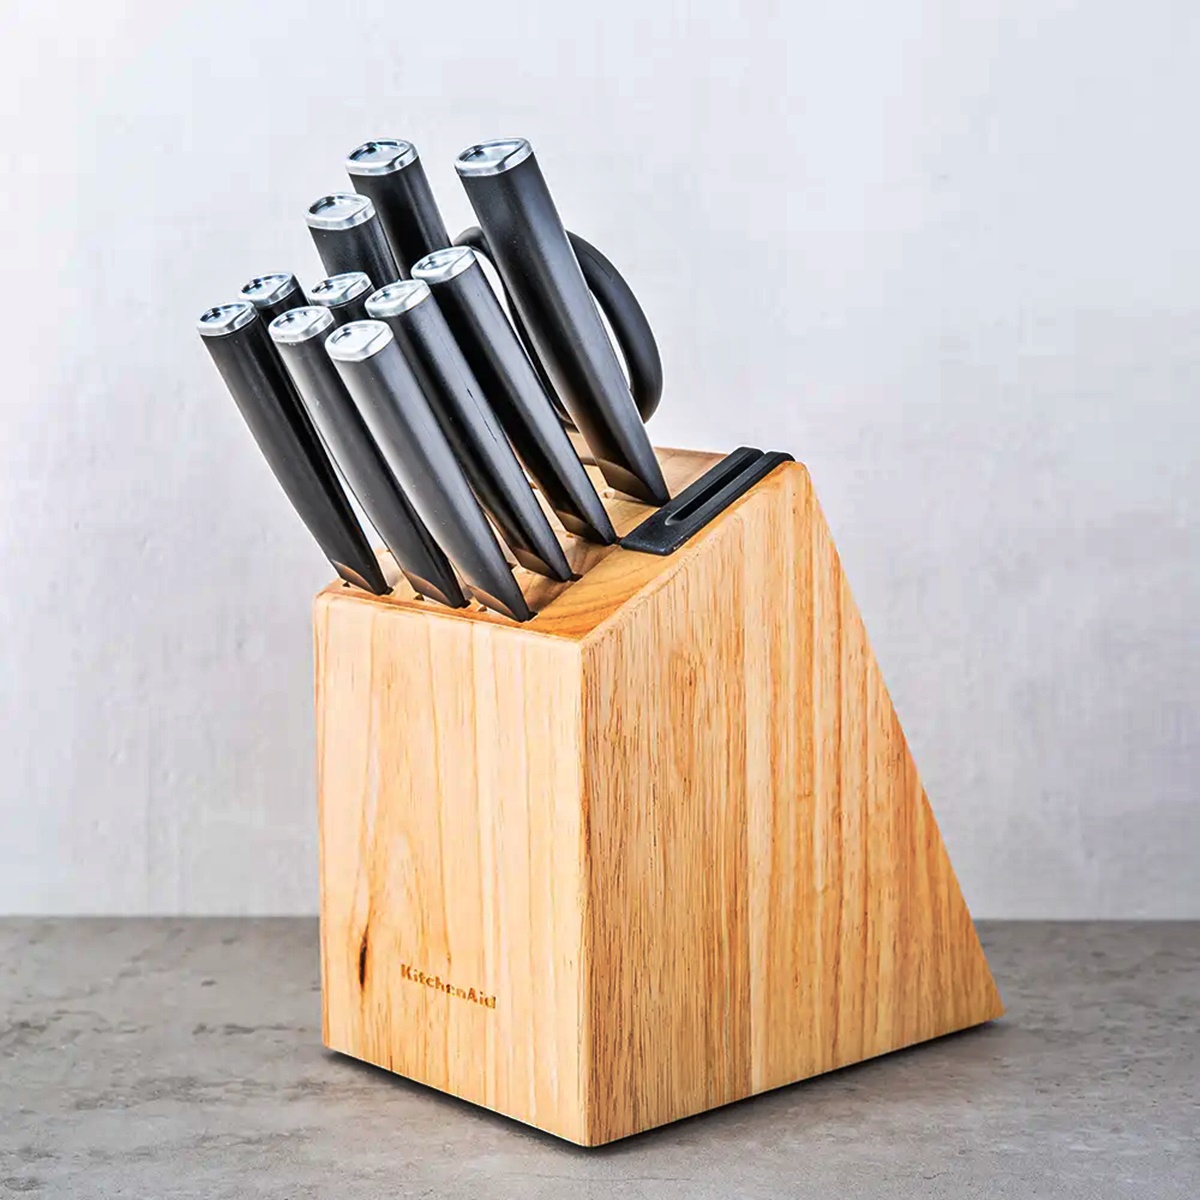
Designing the Knife Slots
Designing the knife slots in your wood knife block is an important step that requires careful consideration. The slots should not only securely hold your knives but also provide easy access and prevent the blades from coming into contact with each other. Here are some key points to keep in mind when designing the knife slots:
- Measurements: Begin by determining the dimensions of your knives. Measure the length, width, and thickness of each knife blade. Allow for extra space to ensure that the knives fit comfortably without touching the sides of the slot.
- Slot Spacing: Plan the spacing between each slot to accommodate a variety of knife sizes and handle designs. Ensure that there is enough space between the slots to easily grasp and remove the knives. Consider leaving additional space at the top of the block to house larger or specialty knives.
- Angle of Slots: Decide whether you want the knife slots to be vertical or at an angle. Vertical slots provide a traditional look and are suitable for most knife sets. Angled slots, on the other hand, allow for easier visualization of each knife and can add a modern touch to your knife block.
- Number of Slots: Determine the number of slots based on the number of knives you own or plan to store in the block. Include slots for various knife types, such as chef’s knives, paring knives, and serrated knives. Remember to leave space for any future knife additions.
- Material for the Slots: Consider using materials like hardwood or acrylic for the knife slots. Hardwood provides a classic and sturdy option, while acrylic offers a clear view of the knives. Ensure that the material used is of high quality and can securely hold the knives without damaging the blades.
Take your time to carefully plan and design the knife slots in your wood block. By paying attention to the measurements, spacing, angles, and materials, you can create an efficient and visually pleasing storage solution for your knives.
Cutting the Knife Slots
Once you have designed the knife slots in your wood knife block, it’s time to cut them. This step requires precision and attention to detail to ensure that the slots are the right size and shape to securely hold your knives. Here’s how to cut the knife slots:
- Marking the Slots: Use a pencil or marking tool to mark the locations of the knife slots on the wood block. Double-check the measurements and spacing to ensure accuracy.
- Choose the Cutting Technique: Depending on your woodworking skills and available tools, you can choose between different cutting techniques. For straight slots, a table saw or a router with a straight bit can be used. For angled slots, a band saw or a miter saw can be employed.
- Setting Up the Tools: If using a table saw or router, set the blade or bit to the appropriate depth to match the thickness of your knives. Ensure that the cutting tool is securely in place and that you have a stable work surface.
- Cut the Slots: Carefully cut along the marked lines, applying even pressure and using a steady hand. Take your time and make slow, precise movements to achieve clean and accurate cuts.
- Test the Fit: After cutting the slots, test the fit of your knives. They should slide into the slots snugly without being too tight or too loose. If needed, make minor adjustments to the slots to ensure a proper fit.
- Sand and Smooth: Once the slots are cut and the knives fit properly, sand and smooth the edges of the slots. This will prevent any rough edges from damaging the blades and give the knife block a polished look.
Remember to prioritize safety during the cutting process by wearing appropriate protective gear, such as safety glasses and gloves. It’s also a good idea to practice on scrap wood or use a test piece before cutting into the actual knife block. With careful cutting and attention to detail, you will create perfectly sized and shaped slots for your knives.
Sanding the Wood Block
After cutting the knife slots in your wood block, it’s time to sand the entire surface of the block. Sanding is a critical step that helps to smoothen the wood, remove any imperfections, and prepare it for the application of the finish. Here’s how to sand the wood block:
- Start with Coarse Grit: Begin sanding with a coarse grit sandpaper, such as 80 or 100 grit. This helps to even out any rough spots or uneven surfaces on the wood block. Sand in the direction of the wood grain, applying even pressure, and work systematically across the entire surface.
- Progress to Finer Grits: Gradually progress to finer grit sandpaper, such as 120, 180, and 220 grit. Each subsequent grit level will help to refine the surface, making it smoother and removing any visible scratches or marks left by the previous grit. Remember to sand in the direction of the wood grain.
- Remove Dust: After sanding with each grit level, use a clean cloth or a tack cloth to remove any dust or debris from the wood surface. This ensures a smooth result and prevents particles from getting trapped in the finish.
- Inspect for Imperfections: As you progress through the sanding process, inspect the wood block for any remaining imperfections. Pay special attention to corners, edges, and intricate details. If necessary, sand these areas with folded sandpaper or a sanding block for better precision.
- Final Sanding: Before moving on to the next step, perform a final sanding pass using a high grit sandpaper, such as 220 grit. This helps to achieve a silky-smooth finish and prepares the wood surface for the application of the finish.
Sanding the wood block is an important step in achieving a professional-looking finish. Remember to be patient, work systematically, and take your time to ensure that all surfaces of the block are sanded evenly. Once you are satisfied with the smoothness of the wood block, you’re ready to move on to applying the finish.
Applying a Finish
Applying a finish to your wood knife block not only enhances its appearance but also adds a layer of protection to the wood. The finish helps to seal the pores, prevent moisture absorption, and provide resistance against stains and scratches. Here’s how to apply a finish to your wood block:
- Select the Right Finish: Choose a finish that suits your preferences and the specific requirements of the wood block. Common options include polyurethane, varnish, lacquer, or mineral oil. Consider factors such as durability, ease of application, and the desired finish (matte, satin, or glossy).
- Prepare the Work Area: Set up a well-ventilated work area with adequate lighting. Lay down a drop cloth or newspaper to protect the surrounding surfaces from any accidental spills or drips.
- Apply the First Coat: Dip a clean, high-quality brush or foam brush into the finish and apply a thin and even coat to the wood block. Work in the direction of the wood grain and take care to avoid any drips or pooling of the finish.
- Allow Drying and Sanding: Follow the manufacturer’s instructions regarding drying time. Once the first coat is dry, lightly sand the surface with a fine-grit sandpaper (such as 320 grit) to smooth out any imperfections. Wipe away the sanding dust with a clean, dry cloth.
- Apply Additional Coats: Repeat the process of applying thin and even coats of the finish, allowing each coat to dry and sanding in between layers. The number of coats depends on the desired level of protection and the type of finish. Typically, three to four coats are sufficient.
- Final Sanding and Buffing: After the final coat has dried, lightly sand the surface one last time to ensure a smooth finish. Use a high-grit sandpaper (such as 400 or 600 grit) and sand gently. Remove any sanding dust and buff the surface gently with a clean, dry cloth to bring out the shine.
Applying a finish to your wood knife block is a rewarding process that adds beauty and protection to your creation. Take your time, follow the instructions carefully, and enjoy the transformation as your knife block comes to life with a stunning finish.
Oiling or Waxing the Knife Block
To further enhance the durability and beauty of your wood knife block, you can consider oiling or waxing the surface. Oiling or waxing provides additional protection to the wood, helps maintain its natural luster, and adds a smooth touch. Here’s how to oil or wax your knife block:
- Choose the Right Product: Select a high-quality wood oil or wax that is specifically formulated for culinary use. Look for products that are food-safe and provide long-lasting protection. Popular options include mineral oil, tung oil, or a blend of natural waxes.
- Prepare the Surface: Ensure that the wood block is clean and free from any dust or debris. If necessary, lightly sand the surface to remove any rough spots or imperfections. Wipe away the sanding dust with a clean, dry cloth.
- Apply the Oil or Wax: Using a clean, lint-free cloth or a brush, apply a thin and even layer of oil or wax to the entire surface of the wood block. Work in the direction of the wood grain and pay particular attention to any end grains or exposed edges.
- Allow Absorption: Let the oil or wax penetrate the wood for the recommended time as specified on the product label. This allows the wood to absorb the oil or wax, providing deep nourishment and protection.
- Remove Excess: After the absorption phase, use a clean cloth to wipe away any excess oil or wax from the surface. This step helps to achieve a smooth and non-greasy finish.
- Repeat if Necessary: Depending on the product and the condition of the wood, you may need to repeat the oiling or waxing process multiple times. Follow the instructions provided with the product to determine the appropriate number of applications.
Oiling or waxing your knife block not only enhances its appearance but also helps protect the wood from moisture and wear. Regular maintenance, including reapplication of oil or wax, will keep the wood in optimal condition and ensure the longevity of your knife block.
Adding Decorative Touches
Adding decorative elements to your wood knife block can elevate its visual appeal and make it a unique piece that stands out in your kitchen. Whether you prefer a simple and minimalist design or a more intricate and ornate look, here are some ideas to consider when adding decorative touches to your knife block:
- Engravings or Carvings: Personalize your knife block by incorporating engravings or carvings into the wood. This could include your name, initials, or meaningful symbols. Consider hiring a professional engraver or, if you have the skills and tools, try carving the designs yourself.
- Inlays: Enhance the aesthetics of your knife block by adding decorative inlays made from contrasting wood or other materials like brass or mother-of-pearl. Inlays can be in the form of patterns, logos, or even intricate mosaics, depending on your artistic preferences.
- Burned Designs: Wood burning, also known as pyrography, allows you to create intricate designs and patterns by using a heated tool. This technique can add a rustic and artistic touch to your knife block. Consider designs inspired by nature, geometric patterns, or custom motifs.
- Paint or Stain: Explore different paint or stain options to add color and depth to your knife block. You can choose to paint the entire block or use a stencil to create unique patterns. Staining the wood allows the natural grain to show through while changing the overall tone of the block.
- Decorative Hardware: Add decorative hardware, such as metal drawer pulls, knobs, or hinges, to accentuate the look of your knife block. Choose hardware that complements the style and finish of your kitchen or matches the overall theme of the block.
- Natural Elements: Incorporate natural elements into your knife block design, such as small stones, shells, or pieces of driftwood. These can be embedded in the wood or strategically placed on the surface of the block for a unique and organic touch.
Adding decorative touches to your wood knife block allows you to infuse your personal style and creativity into its design. Whether you opt for subtle details or bold accents, these decorative elements will transform your knife block into a functional work of art.
Testing and Fine-tuning
Once you have completed the main steps of finishing your wood knife block, it’s essential to perform some testing and fine-tuning to ensure that everything is in order. This step allows you to make any necessary adjustments or refinements to ensure that the knife block meets your expectations. Here’s what you should do during the testing and fine-tuning phase:
- Test the Fit: Insert your knives into the slots of the knife block and check the fit. The knives should fit securely without being too tight or loose. Make any adjustments to the slots if needed, such as widening or refining the shape, so that the knives sit comfortably and securely.
- Check Stability: Place the knife block on a flat surface and ensure that it rests stably without wobbling or tipping. If necessary, sand or trim the bottom of the block to achieve better stability.
- Examine Finish: Inspect the finish of the wood block for any imperfections, such as drips, bubbles, or unevenness. If you notice any flaws, lightly sand the affected areas and apply an additional coat of finish to achieve a smooth and polished result.
- Assess Functionality: Consider the practicality and functionality of the knife block. Are the knife slots easy to access and remove the knives from? Does the block accommodate the knives of various sizes and types that you own? Make any necessary adjustments to enhance the usability and convenience of the block.
- Fine-tune Appearance: Take a critical look at the overall appearance of the knife block. Are there any areas that could benefit from additional decorative touches or refinements? Consider adding any final touches or making slight adjustments to achieve the desired visual appeal.
Testing and fine-tuning are essential steps to ensure that your wood knife block is not only visually appealing but also functional and durable. Spending some time to refine the block’s fit, stability, finish, and overall appearance will help you achieve a final product that exceeds your expectations and meets your specific needs.