
Gather Your Supplies
When it comes to cleaning your rug without a carpet cleaner, having the right supplies is essential. Here are the items you will need:
- Vacuum cleaner: Start by thoroughly vacuuming the rug to remove any loose dirt and debris.
- Baking soda: This common household ingredient will help eliminate any lingering odors from your rug.
- Mild dish soap: Choose a gentle dish soap that is suitable for delicate fabrics.
- Bucket: Fill a bucket with warm water to create your cleaning solution.
- Soft brush or sponge: Select a brush or sponge with soft bristles to effectively scrub the rug without damaging the fibers.
- Clean towels: Have a stack of clean towels ready to absorb excess water from the rug.
- Fans or open windows: Proper ventilation and air circulation are necessary to ensure the rug dries completely.
Before you begin the cleaning process, make sure you have all these supplies readily available. This will help streamline the process and ensure you have everything you need at your fingertips.
Now that you have gathered your supplies, let’s move on to the next steps to effectively clean your rug without the need for a carpet cleaner.
Remove Loose Dirt and Debris
The first step in cleaning your rug without a carpet cleaner is to remove any loose dirt and debris. This will make the subsequent cleaning process more effective. Here’s how to do it:
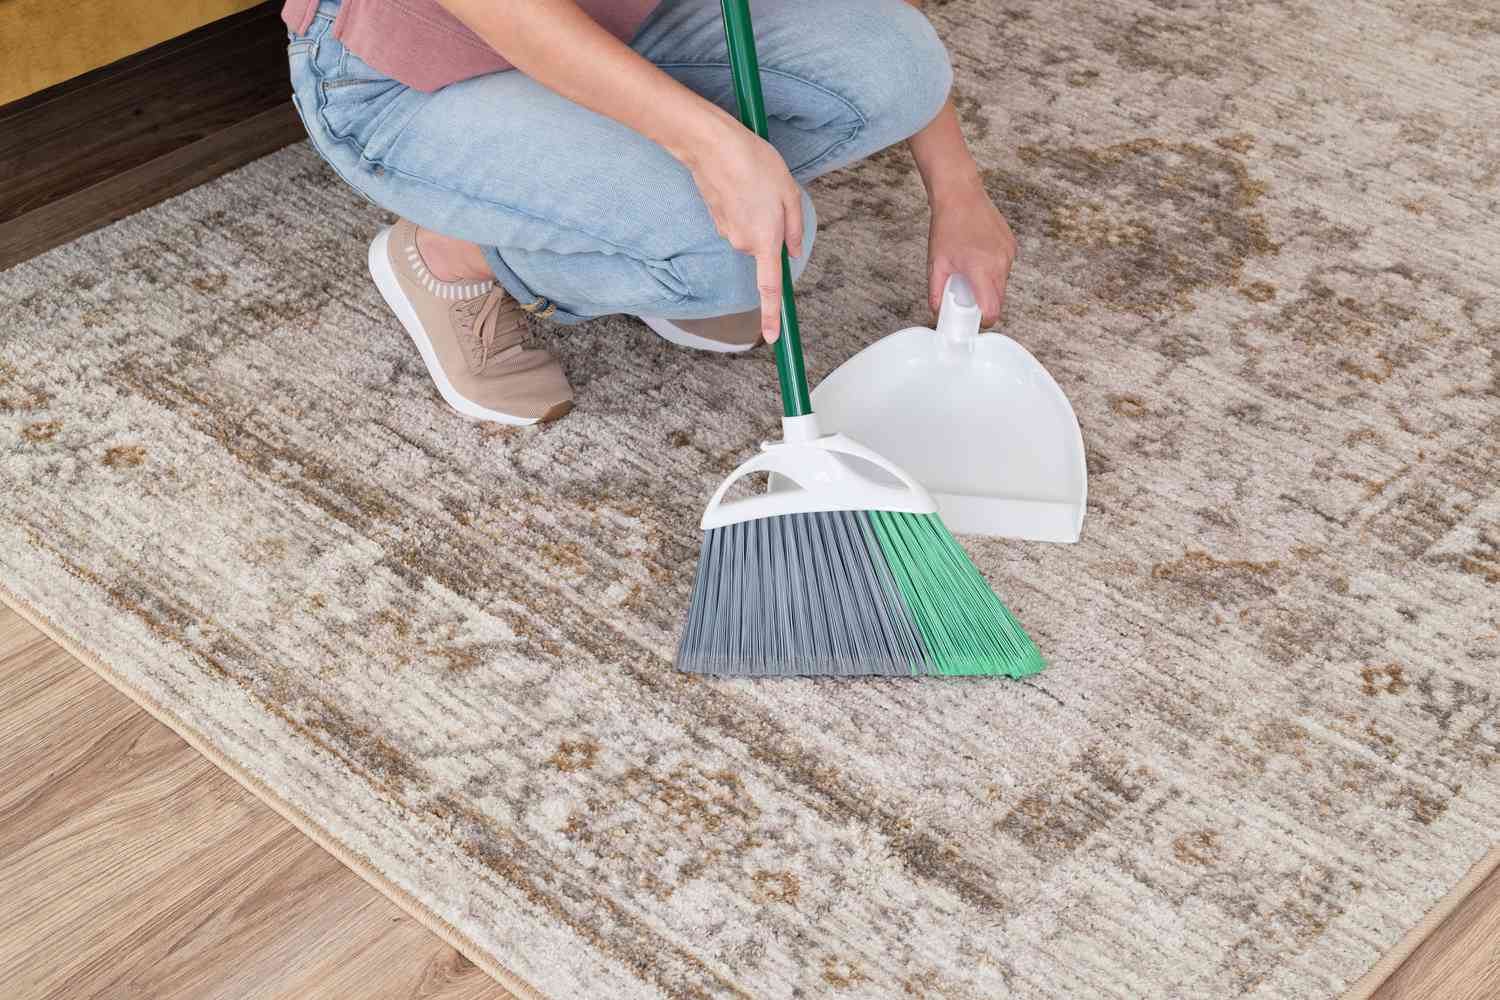
- Vacuum: Start by using a vacuum cleaner with a suitable attachment to vacuum the surface of the rug. Make sure to go over the entire rug, including the edges and corners. This will help remove loose dirt, dust, and debris that might be trapped within the fibers.
- Shake or beat: If your rug is small enough, you can take it outside and shake it vigorously to loosen and remove any additional dirt. Alternatively, you can hang the rug on a clothesline or railing and beat it gently with a broom or rug beater. This will help dislodge and release any stubborn particles.
- Brush: For rugs with longer fibers or shaggy rugs, you can use a soft brush or a broom to gently brush the surface in the direction of the fibers. This will help lift any embedded dirt or debris and make it easier to remove during the cleaning process.
By taking the time to thoroughly remove loose dirt and debris from your rug, you are laying the foundation for a more effective and efficient cleaning process. It will also help prevent the dirt from spreading and becoming more difficult to remove.
Once you have completed this step, you can proceed to the next stage of cleaning your rug without a carpet cleaner.
Use Baking Soda to Eliminate Odors
If your rug has any unpleasant odors, using baking soda can be an effective solution to eliminate them. Baking soda is a natural deodorizer that can help absorb and neutralize odors. Here’s how you can use it:
- Sprinkle baking soda: Generously sprinkle baking soda over the entire surface of the rug. Focus on areas that are particularly odorous or have absorbed the smell of pets or spills. Make sure to cover the rug evenly with a thin layer of baking soda.
- Leave overnight: Allow the baking soda to sit on the rug overnight or for at least a few hours. This will give it enough time to absorb the odors effectively. In the meantime, you can go about your day or take care of other tasks.
- Vacuum: Once the baking soda has had enough time to work its magic, use a vacuum cleaner to thoroughly remove it from the rug. Use a brush attachment or a vacuum setting suitable for cleaning rugs. Make sure to vacuum all areas of the rug, ensuring the baking soda is completely removed.
Baking soda is a safe and affordable way to get rid of unpleasant odors from your rug. It is particularly useful for eliminating pet odors, smoke smells, and other common household odors. By using this method, you can enjoy a fresh and clean-smelling rug without the need for harsh chemicals or professional cleaning services.
Now that you have eliminated the odors, it’s time to move on to the next steps of cleaning your rug without a carpet cleaner.
Create a DIY Cleaning Solution
After removing loose dirt, debris, and odors from your rug, it’s time to create a DIY cleaning solution that will effectively cleanse the fibers and remove any stains. Here’s how you can make your own cleaning solution:
- Fill a bucket with warm water: Start by filling a bucket with warm water. The water should be warm but not hot, as hot water can damage certain rug materials.
- Add mild dish soap: Add a small amount of mild dish soap to the warm water. Be sure to use a gentle dish soap that is suitable for delicate fabrics. Avoid using harsh chemicals or bleach, as they can damage or discolor the rug fibers.
- Mix well: Stir the water and dish soap combination well to create a sudsy cleaning solution. Ensure that the soap is thoroughly dissolved in the water.
Your DIY cleaning solution is now ready to be applied to the rug. Remember to test the solution on a hidden or inconspicuous area of the rug first to ensure that it doesn’t cause any discoloration or damage. If the test area is unaffected, you can proceed with confidence.
Creating your own cleaning solution allows you to have control over the ingredients used and ensures a safer and more gentle approach to cleaning your rug. Now let’s move on to the next steps of cleaning the rug without a carpet cleaner.
Test a Hidden Area
Before applying any cleaning solution to your entire rug, it is crucial to test it on a hidden or inconspicuous area first. This step will help you determine if the solution is safe to use on your rug and avoid any potential damage or discoloration. Follow these steps to test the cleaning solution:
- Choose a hidden area: Select a small, hidden area on the rug, such as a corner, edge, or underneath a piece of furniture. This will allow you to test the solution without it being noticeable.
- Apply the cleaning solution: Dampen a clean cloth or sponge with the cleaning solution you created earlier. Gently blot or rub it onto the hidden area of the rug.
- Check for any adverse reactions: After applying the solution, observe the area for any signs of discoloration, bleeding, or damage to the fibers. If there are no negative reactions, you can proceed with confidence.
It’s important to note that different rugs may react differently to cleaning solutions, so always perform a test patch to ensure the best outcome. If you notice any adverse reactions, consider using a different cleaning solution or consult a professional rug cleaner.
By taking the time to test a hidden area, you can safeguard your rug from any potential damage and confidently proceed with the cleaning process.
Now that you’ve completed the test, you’re ready to apply the cleaning solution to the rest of your rug. Let’s move on to the next step in cleaning your rug without a carpet cleaner.
Apply the Cleaning Solution to the Rug
With the test patch successful, you can now proceed to apply the cleaning solution to the rest of your rug. Follow these steps to effectively treat the entire surface:
- Dampen a clean cloth or sponge: Soak a clean cloth or sponge in the cleaning solution you prepared earlier. Make sure it is thoroughly dampened but not dripping wet.
- Gently blot or rub the solution: Begin by blotting or gently rubbing the damp cloth or sponge onto a small section of the rug. Work in a circular motion and pay extra attention to areas with visible stains or dirt buildup.
- Avoid excessive moisture: Be mindful not to oversaturate the rug with the cleaning solution. Excessive moisture can cause damage and prolong the drying process.
- Continue working section by section: Gradually move across the rug, treating one section at a time. Remember to consistently dampen the cloth or sponge with the cleaning solution to maintain its effectiveness.
Take your time with this step to ensure that the entire rug is treated evenly. If necessary, apply additional solution to stubborn stains or heavily soiled areas. However, avoid excessive scrubbing or rubbing, as this can damage the fibers of the rug.
Now that you have applied the cleaning solution to the entire rug, you are ready to move on to the next step: scrubbing the rug to further agitate and lift dirt and stains.
Scrub the Rug with a Brush or Sponge
Now that the cleaning solution has been applied to the rug, it’s time to scrub and agitate the fibers to dislodge any dirt or stains. This step will help ensure a thorough cleaning. Here’s how to scrub the rug effectively:
- Select a brush or sponge: Choose a soft-bristled brush or sponge to gently scrub the rug’s surface. This will help loosen debris and lift stains without causing damage to the fibers.
- Begin scrubbing: Starting from one side of the rug, work in small, circular motions with the brush or sponge. Target areas with visible stains or heavy soiling, but be sure to cover the entire rug to achieve an even clean.
- Apply moderate pressure: Apply moderate pressure while scrubbing, but avoid excessive force. The goal is to agitate the fibers without causing them to fray or weaken.
- Focus on stubborn stains: For stubborn stains, you can concentrate your scrubbing efforts on those areas. Apply a bit more pressure and continue to scrub until the stain begins to lift.
Take your time during this step to ensure that you thoroughly scrub the entire rug’s surface. Pay attention to any areas that may require extra attention, but be cautious not to over-scrub, as this can damage the rug’s fibers.
Once you have completed the scrubbing process, it’s time to move on to the next step: rinsing the rug with plain water.
Rinse the Rug with Plain Water
After scrubbing the rug with the cleaning solution, it’s important to rinse it thoroughly with plain water to remove any remaining cleaning solution or loosened dirt. Here’s how you can rinse your rug effectively:
- Prepare a bucket of clean water: Fill a bucket with clean, lukewarm water. Make sure the water is neither too hot nor too cold, as extreme temperatures can damage the rug fibers.
- Dampen a clean cloth or sponge: Soak a clean cloth or sponge in the water and gently squeeze out the excess moisture. The cloth should be damp but not dripping wet.
- Start rinsing: Begin by blotting or gently rubbing the damp cloth or sponge onto the rug’s surface. Work in sections, starting from one side and moving across the rug. This will help ensure even rinsing.
- Change the water if necessary: If the water becomes visibly dirty or soapy, empty the bucket and refill it with fresh, clean water. This will prevent any dirt or residue from being redeposited on the rug.
Rinsing the rug with plain water is crucial to remove any remaining cleaning solution and dirt particles. It will also help restore the rug’s natural texture and cleanliness. Make sure to be thorough, paying close attention to areas that were heavily soiled or stained.
Once you have finished rinsing the rug, it’s time to remove the excess water before moving on to the drying process.
Remove Excess Water from the Rug
After rinsing the rug with plain water, it’s important to remove excess moisture to facilitate the drying process. Here are some effective methods to remove excess water:
- Blot with towels: Take clean towels and gently press them onto the wet rug. Blot the rug surface, applying gentle pressure to absorb as much water as possible. Repeat this step with dry towels until you’ve removed a significant amount of moisture.
- Use a wet/dry vacuum: If you have a wet/dry vacuum cleaner, you can use it to extract excess water from the rug. Follow the manufacturer’s instructions to properly use the vacuum on wet surfaces and ensure effective water removal.
- Avoid excessive squeezing or wringing: While it might be tempting to squeeze or wring out the water from the rug, avoid doing so as it can damage the fibers and distort the shape of the rug.
- Patience for natural drying: If weather conditions permit, you can take the rug outdoors and lay it flat on a clean surface under the sun. Allow it to air dry naturally, periodically flipping it over to ensure both sides dry evenly.
- Use fans or open windows: If you prefer to dry the rug indoors, make sure the room is well-ventilated. Position fans or open windows to increase air circulation and expedite the drying process.
Removing excess water from the rug is crucial to prevent the growth of mold and mildew while ensuring efficient drying. Remember to be gentle during this step to avoid causing any damage to the rug fibers.
Once you have removed most of the excess water, it’s time to allow the rug to dry completely. Let’s move on to the next step in cleaning your rug without a carpet cleaner.
Dry the Rug Properly
Properly drying your rug is crucial to ensure that it retains its shape, prevent mold and mildew growth, and restore its texture. Here are some effective methods to dry your rug properly:
- Air drying: Lay the rug flat on a clean, dry surface in a well-ventilated area. Allow it to air dry naturally. This method works best for smaller rugs that can be easily moved.
- Hang drying: For larger rugs or those with sturdy materials, you can hang them outside or in a well-ventilated space. Use a sturdy clothesline or a railing to hang the rug and let it dry. Ensure that the rug is evenly stretched to avoid distortion during drying.
- Rotate the rug: Periodically rotate the rug during the drying process to ensure that both sides dry evenly. This is especially important if you’re air drying the rug indoors.
- Avoid direct sunlight: While sunlight can help with drying, prolonged exposure to direct sunlight can fade the colors of a rug. If you’re air drying the rug outside, make sure to move it to a shaded area after the initial drying phase.
- Use fans or dehumidifiers: If the weather conditions are not ideal for air drying, you can supplement the drying process by using fans or dehumidifiers. Position the fans or dehumidifiers in the room where the rug is drying to increase air circulation and decrease humidity.
Depending on the size and thickness of your rug, the drying process may take several hours to a few days. It’s important to exercise patience during this step to ensure that the rug is completely dry before putting it back into use.
Once the rug is thoroughly dried, it’s time to give it a final refreshing touch by vacuuming it to remove any loose fibers or particles.
Vacuum the Rug
After your rug has been properly cleaned, dried, and refreshed, the final step is to vacuum it. Vacuuming not only helps remove any remaining loose debris and fibers but also fluffs up the rug, restoring its texture. Here’s how to effectively vacuum your rug:
- Select the right attachment: Choose a vacuum cleaner attachment suitable for rugs and carpets. Opt for a nozzle or brush attachment with soft bristles to avoid damaging the rug fibers.
- Adjust the height: Adjust the vacuum cleaner’s height setting to the appropriate level for your rug. This will ensure that the suction is effective without causing excess pressure on the rug.
- Vacuum in different directions: Slowly and steadily vacuum the rug in different directions, making overlapping passes to ensure thorough cleaning. Pay extra attention to high-traffic areas and any remaining stains or debris.
- Focus on the edges and corners: Use a smaller attachment or the crevice tool to vacuum along the edges and in the corners of the rug. Dust and debris tend to accumulate in these areas, so a detailed cleaning will ensure no dirt is left behind.
- Take your time: Move the vacuum cleaner slowly over the rug to allow the suction to effectively lift dirt particles. Rushing through the process may result in inadequate cleaning.
Vacuuming the rug after it has been cleaned and dried is an essential step to keep it looking fresh and maintain its cleanliness. Regular vacuuming, even when the rug appears clean, helps prevent dirt buildup and extends the life of the rug.
With the completion of the vacuuming process, your rug is now fresh, clean, and ready to be enjoyed once again.
Repeat the Cleaning Process if Necessary
Sometimes, certain stains or heavily soiled areas may require additional cleaning to achieve desired results. If you find that the initial cleaning did not completely remove stains or dirt, don’t fret. You can repeat the cleaning process to tackle stubborn spots. Here are some steps to follow:
- Identify problem areas: Assess the rug for any remaining stains, dirt, or odors. Take note of the specific areas that need further attention.
- Spot treatment: For specific stains, you can use a targeted spot treatment method. Research appropriate stain removal techniques or consult a professional for guidance.
- Reapply the cleaning solution: Mix a fresh batch of the DIY cleaning solution and apply it to the problem areas. Allow the solution to sit for a few minutes to penetrate the fibers.
- Repeat scrubbing: Use a soft brush or sponge to gently scrub the problem areas. Apply moderate pressure and work in circular motions to agitate the fibers and lift the dirt or stains.
- Rinse and dry: Rinse the treated areas with clean water and remove excess moisture. Ensure the rug is properly dry before putting it back into use.
By repeating the cleaning process on specific spots or heavily soiled areas, you can tackle any lingering stains or dirt that may have persisted after the initial cleaning. However, it’s important to use caution and test any spot treatments on a hidden area to avoid any potential damage to the rug.
Always keep in mind that certain stains or severe damage may require professional cleaning services. If your rug continues to present challenges, it’s advisable to consult an expert in rug cleaning for advice or assistance.
With the completion of any necessary additional cleaning, your rug should now be fresh, clean, and revived.