
Gather the Necessary Supplies
Before you start cleaning your paint brush, it is important to gather all the necessary supplies. Having the right tools and materials on hand will make the cleaning process much easier and more efficient. Here are the essential supplies you will need:
- A container or bowl for the cleaning solution
- Mineral spirits or paint thinner
- Soap or dish detergent
- Warm water
- A brush comb or old toothbrush
- A clean cloth or paper towels
Make sure you have these items readily available before you begin. This will prevent any unnecessary delays or interruptions during the cleaning process. It is also a good idea to work in a well-ventilated area, as some cleaning agents emit strong fumes.
In addition to these supplies, it is also helpful to have some protective gear. Rubber gloves will protect your hands from harsh chemicals, and wearing old clothes or an apron will keep your clothing clean in case of any accidental spills.
Gathering the necessary supplies beforehand will ensure that you can clean your paint brush thoroughly and effectively. This preparation will save you time and effort, allowing you to focus on restoring your brush to its optimal condition.
Remove Excess Paint
Before you can start the cleaning process, it is important to remove as much excess paint from the brush as possible. This will make the subsequent cleaning steps more effective and efficient. Here’s how you can remove excess paint from your brush:
- Scrape off any excess paint on the brush using a putty knife or the edge of a paint can.
- Gently squeeze or tap the bristles against the inside of the paint can or container to release any remaining paint.
- If you have a larger amount of excess paint on the brush, you can also wipe it against a rag or paper towel to remove more paint.
Remember to be careful when removing excess paint to avoid damaging the bristles. Use gentle pressure and avoid excessively bending or twisting the brush. Taking the time to remove as much paint as possible at this stage will make the cleaning process much easier in the following steps.
Once you have removed as much excess paint as you can, you’re ready to move on to the next step: rinsing the brush in mineral spirits.
Rinse the Brush in Mineral Spirits
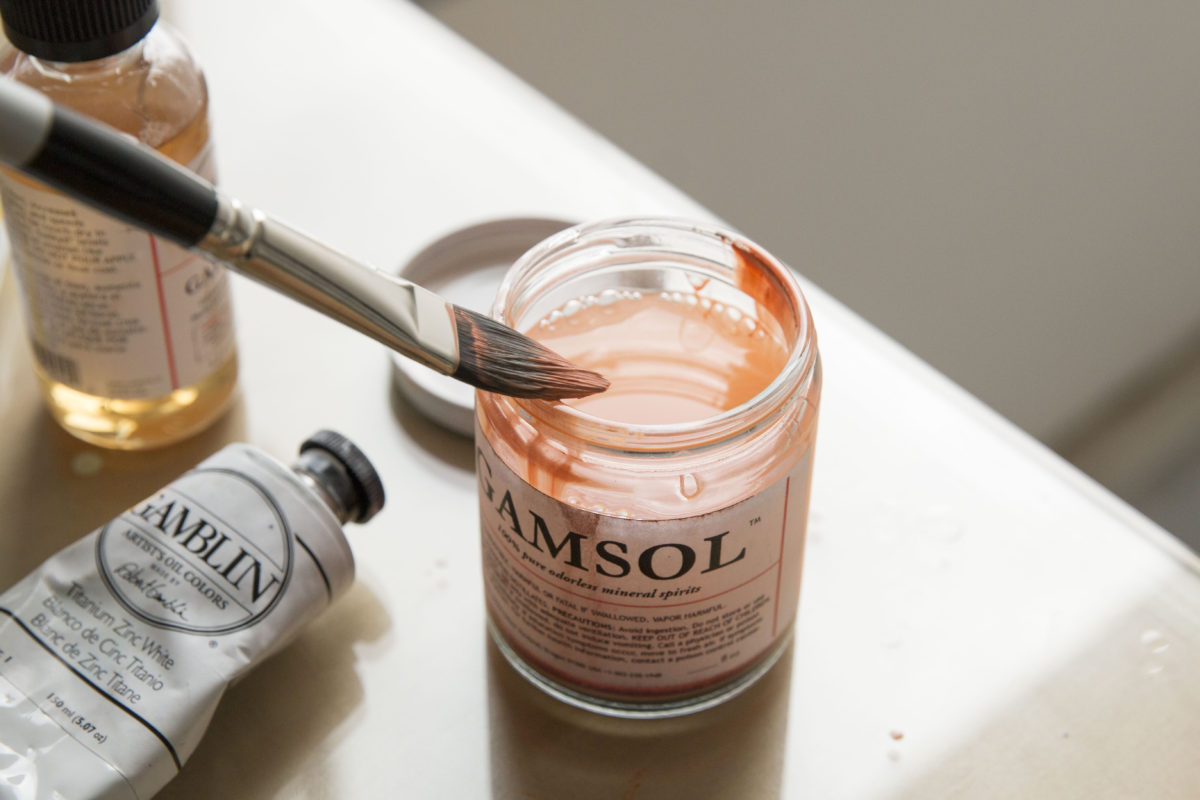
After removing the excess paint from your brush, the next step is to rinse it in mineral spirits. Mineral spirits, also known as paint thinner, are commonly used to clean oil-based paints from brushes. Here’s how you can rinse your brush in mineral spirits:
- Fill a container or bowl with enough mineral spirits to fully submerge the bristles of your brush.
- Gently dip the brush into the mineral spirits, making sure that the bristles are completely covered.
- Swirl the brush in the mineral spirits, agitating the bristles to loosen any remaining paint.
- Continue swirling the brush for a few minutes, allowing the mineral spirits to dissolve and remove the paint.
- If the mineral spirits become excessively dirty, replace them with fresh solvent to ensure effective cleaning.
While rinsing the brush, you may notice that the mineral spirits become discolored as they remove the paint. This is normal and indicates that the cleaning process is working.
Once you are satisfied that the brush has been thoroughly rinsed, remove it from the container and gently shake off any excess mineral spirits.
Next, you’ll need to proceed to the next step: using soap and warm water for further cleaning.
Use Soap and Warm Water for Further Cleaning
After rinsing your brush in mineral spirits, it’s time to give it a thorough cleaning with soap and warm water. This step will help remove any remaining paint residue and residue from the mineral spirits. Follow these steps to clean your brush using soap and warm water:
- Prepare a mixture of warm water and a gentle soap or dish detergent in a clean container or sink.
- Dip the bristles of the brush into the soapy water, making sure they are fully submerged.
- Gently swirl the brush in the water, using your fingers to work the soap into the bristles.
- Continue swirling and agitating the brush for a few minutes to ensure thorough cleaning.
- Rinse the brush under warm running water to remove the soap and paint residue.
- Repeat the process if necessary until the water runs clear and there are no traces of paint or soap.
While cleaning with soap and water, you can also use a brush comb or an old toothbrush to gently scrub the bristles, helping to dislodge any stubborn paint particles. Be careful not to apply too much pressure, as this can damage the bristles.
Once the brush is clean, squeeze out any excess water and reshape the bristles. Make sure to remove any remaining soap residue, as it can affect the quality of future paint applications.
Now that your brush is clean, the next section will guide you on how to comb through the bristles for better maintenance and longevity.
Comb Through the Bristles
After cleaning your paint brush with soap and warm water, it is important to comb through the bristles to remove any tangles or clumps of paint. This step will help restore the shape and softness of the bristles, ensuring optimal performance and longevity of the brush. Follow these steps to comb through the bristles:
- Remove any excess water from the brush by gently squeezing or blotting it with a clean cloth or paper towel.
- Hold the brush firmly near the ferrule (the metal or plastic part that holds the bristles together).
- Using a brush comb or an old toothbrush, gently comb through the bristles starting from the base and working your way towards the tips.
- Make sure to comb through each bristle individually, removing any clumps or residues that may be present.
- If you encounter stubborn paint buildup, soak the bristles in a mixture of warm water and vinegar for a few minutes before combing through.
- Continue combing through the bristles until they are clean, smooth, and free from any paint residue.
Combing through the bristles not only improves the appearance of the brush but also helps restore its functionality. Properly aligned bristles allow for smoother paint application and prevent any unwanted streaks or marks.
Once you have combed through the bristles and ensured they are clean and well-maintained, it’s time to move on to the final step: properly drying the brush.
Dry the Brush Properly
Properly drying your paint brush is crucial to maintain its shape, prevent any moisture-related issues, and ensure its longevity. Follow these steps to effectively dry your brush:
- Gently squeeze out any excess water from the bristles using a clean cloth or paper towels.
- Make sure to remove as much moisture as possible to prevent prolonged drying times and potential mold or mildew growth.
- Reshape the brush by gently running your fingers along the bristles to bring them back to their original form.
- Avoid bending or misshaping the bristles, as this can affect the brush’s performance.
- Transfer the brush to a well-ventilated area, preferably with good air circulation and away from direct sunlight or heat sources.
- Hang the brush upside down or lay it flat on clean paper towels or a clean cloth.
- Allow the brush to air dry completely. This process may take several hours or overnight, depending on the brush’s size and the surrounding humidity.
- Check the bristles periodically during the drying process to ensure they are returning to their natural state.
- Avoid using a hairdryer or any other artificial heat sources to speed up the drying process, as this can damage the bristles.
By properly drying your paint brush, you are preventing the growth of mold or mildew and ensuring that the bristles remain in good condition for future use. Taking the time to dry it thoroughly will contribute to maintaining the brush’s effectiveness and longevity.
Once your brush is completely dry, it’s important to store it correctly to keep it in optimal condition for future projects.
Store the Brush Correctly
Properly storing your paint brush is key to preserving its shape, preventing damage, and ensuring its longevity. Follow these guidelines to store your brush correctly:
- Make sure the brush is completely dry before storing it. Any residual moisture can lead to mold or mildew growth.
- If the brush came with a protective cover or sleeve, use it to keep the bristles in shape and protect them from dust or debris.
- Place the brush in a clean, dry container or wrap it with a clean cloth or paper towel to prevent any dust or dirt from settling on the bristles.
- Avoid storing the brush upright with the bristles hanging down, as this can cause them to bend or deform.
- Alternatively, you can suspend the brush by its handle, making sure the bristles are not touching any surfaces or other brushes.
- If you have multiple brushes, consider using a brush holder or organizer to keep them separated and prevent damage to the bristles.
- Choose a storage location that is cool, dry, and away from direct sunlight or extreme temperatures.
- Avoid placing the brush near any solvents or chemicals that could potentially damage or degrade the bristles.
- Regularly check on your stored brushes to ensure they remain clean, dry, and in good condition.
By following these storage guidelines, you will help maintain the shape and quality of your paint brush, allowing it to be ready for use whenever you need it.
Properly storing your brush is the final step in the cleaning process, ensuring that it remains in excellent condition for your future painting endeavors.