
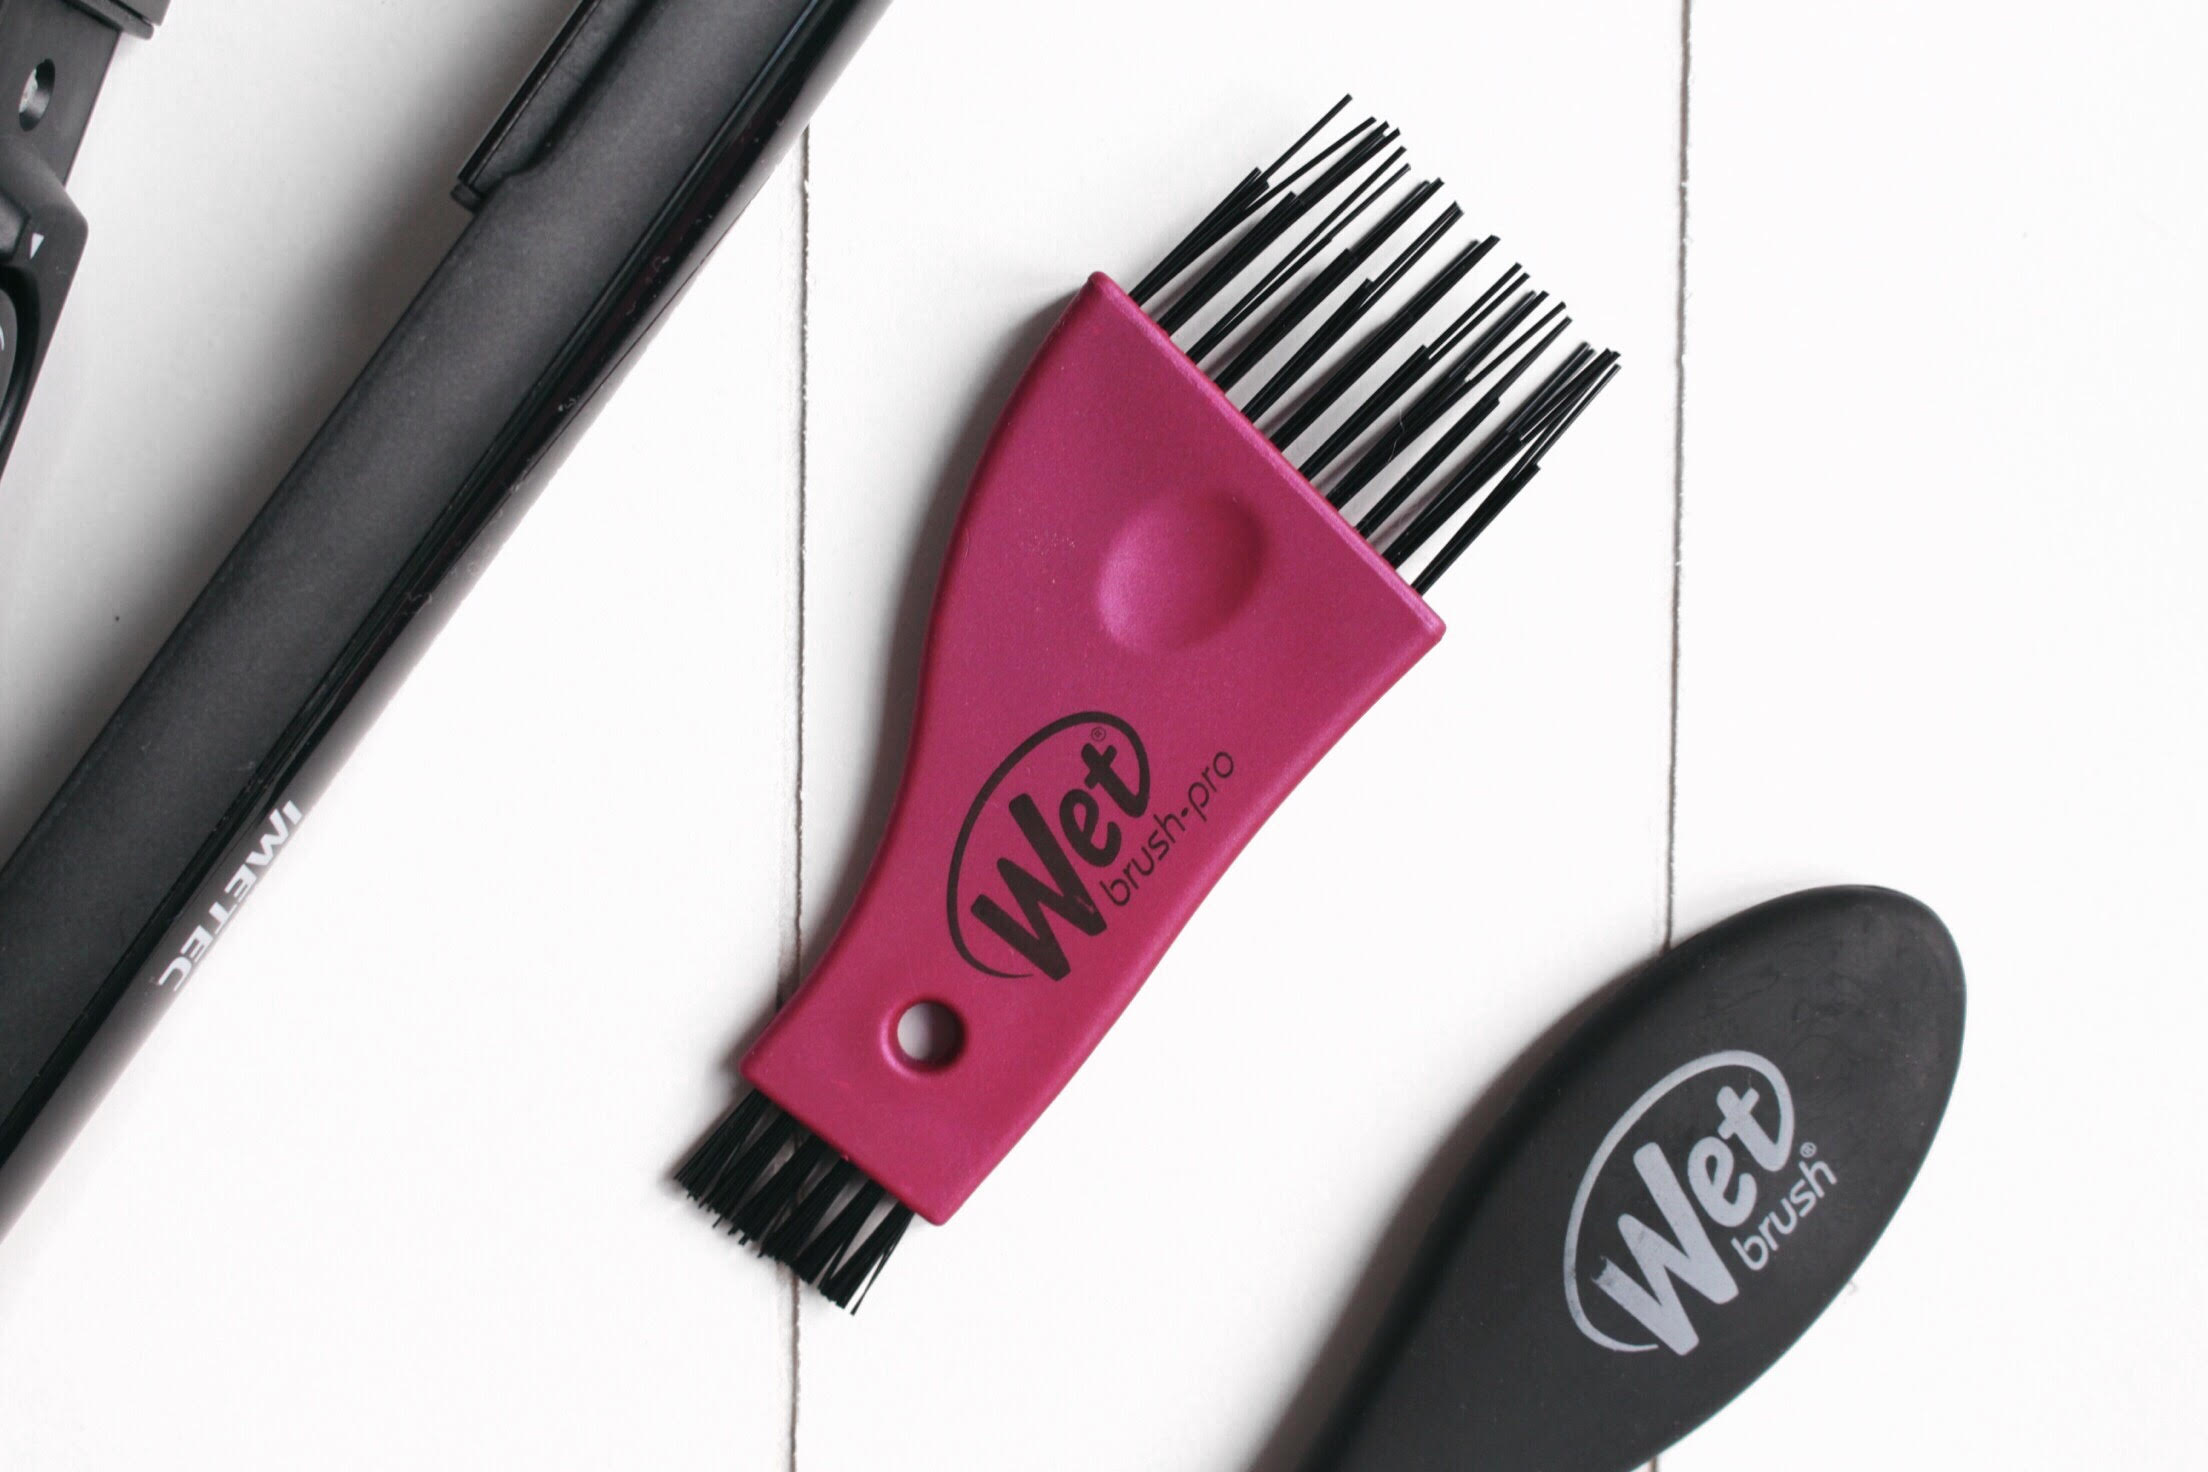
Choosing the Right Cleaning Solution
When it comes to cleaning your wet brush, choosing the right cleaning solution is essential. The type of solution you use can make a significant difference in the effectiveness of the cleaning process and the longevity of your brush. Here are a few options to consider:
- Mild Shampoo: A mild shampoo mixed with water can be a gentle and effective solution for cleaning your wet brush. Look for shampoos that are free of harsh chemicals and sulfates to avoid damaging the bristles.
- Warm Water and Vinegar: If you prefer a natural cleaning solution, mix warm water with a small amount of vinegar. Vinegar can help break down product buildup and remove any residue from the brush.
- Antibacterial Soap: If you’re concerned about disinfecting your brush, consider using an antibacterial soap. This can effectively remove bacteria and germs that may accumulate on your brush over time.
When choosing a cleaning solution, it’s important to consider the type of bristles your brush has. Some brushes have natural bristles, while others have synthetic bristles. Natural bristle brushes may require more delicate cleaning solutions to ensure the bristles stay intact.
Remember to test the cleaning solution on a small area of the brush before applying it to the entire brush. This will help ensure that the solution does not cause any damage or discoloration.
Once you have chosen the right cleaning solution for your wet brush, you can move on to the next steps in the cleaning process. Removing hair from the brush is the first and crucial step in ensuring a thorough cleaning. Read on to learn more about this important task.
Removing Hair from the Brush
Before you start cleaning your wet brush, it’s important to remove any hair that has accumulated in the bristles. Hair can easily get tangled in the brush, making it difficult to clean properly. Here’s how you can effectively remove hair from your brush:
- Use Your Fingers: Start by using your fingers to gently pull out the hair strands from the bristles. Start from one end of the brush and work your way towards the other end. Be careful not to pull too hard to avoid damaging the bristles.
- Use a Comb or Toothpick: For stubborn hair strands that are hard to remove with your fingers, you can use a comb or a toothpick. Gently insert the comb or toothpick between the bristles and carefully lift the hair strands out. Be gentle to avoid bending or breaking the bristles.
- Cut Long Hair: If there are long hair strands that are tightly tangled in the bristles, it may be easier to cut them rather than trying to remove them. Use a pair of small scissors to cut the hair close to the base of the brush. Be careful not to cut the bristles in the process.
Removing hair from the brush is an important step as it allows the cleaning solution to come into direct contact with the bristles, ensuring a more effective cleaning process. Once you have removed all the hair from the brush, you can move on to soaking the brush in warm water, which will be discussed in the next section.
Soaking the Brush in Warm Water
After removing the hair from your wet brush, the next step is to soak it in warm water. Soaking helps to loosen any dirt, debris, or product buildup that may be stuck in the bristles. Follow these steps to soak your brush:
- Fill a Bowl with Warm Water: Fill a bowl or basin with warm water. The water should be warm but not too hot, as hot water can damage the bristles of the brush.
- Submerge the Brush: Place the wet brush in the bowl, ensuring that the bristles are fully submerged in the warm water. Allow the brush to soak for about 10-15 minutes.
- Gently Swirl the Brush: Every few minutes, gently swirl the brush in the water to help dislodge any dirt or debris that may be stuck in the bristles. Be careful not to apply too much pressure to avoid bending or misshaping the bristles.
- Let the Brush Soak: Once you have swirled the brush a few times, let it continue soaking for the remaining time. This will give the warm water more time to break down any stubborn residue.
Soaking the brush in warm water is an effective way to loosen dirt and product buildup, making the cleaning process easier. After the soaking process, it’s time to move on to the next step – using a comb to loosen dirt from the bristles.
Using a Comb to Loosen Dirt from Bristles
Once you have soaked your wet brush in warm water, the next step is to use a comb to loosen any remaining dirt or debris from the bristles. This step helps ensure a thorough cleaning. Here’s how you can effectively use a comb to loosen dirt from the bristles:
- Select a Wide-Toothed Comb: Choose a comb with wide-spaced teeth. This will prevent the bristles from getting caught or damaged during the combing process.
- Hold the Brush and Comb: Hold the wet brush firmly in one hand and the comb in the other hand. Position the comb so that the teeth are aligned with the bristles of the brush.
- Start Combing: Gently comb through the bristles, starting from the base of the brush and working your way towards the tips. Use slow and steady strokes, ensuring that the comb reaches all the bristles.
- Focus on Problem Areas: Pay special attention to areas where dirt or debris might be more concentrated, such as near the base or in between the bristles. Use the comb to gently tease out any stubborn dirt.
- Continue Until Clean: Keep combing through the bristles until you no longer see any dirt or debris coming off the brush. This indicates that the brush is now thoroughly cleaned.
Using a comb to loosen dirt from the bristles is an important step in the cleaning process. It allows for a more effective removal of dirt and ensures that the brush is ready for the next step – applying the cleaning solution. Let’s move on to the next section to learn how to apply the cleaning solution to the bristles.
Applying Cleaning Solution to Bristles
Once you have loosened the dirt from the bristles of your wet brush, it’s time to apply the cleaning solution. The cleaning solution helps to break down any remaining residue and sanitize the bristles. Follow these steps to effectively apply the cleaning solution:
- Dilute the Cleaning Solution: If you are using a concentrated cleaning solution, dilute it with water according to the instructions on the packaging. This will ensure that the solution is not too harsh on the bristles.
- Dampen the Bristles: Dip the bristles of the wet brush into the cleaning solution or use a clean cloth to dampen the bristles with the solution. Make sure that the bristles are fully coated with the cleaning solution.
- Allow the Solution to Sit: Let the cleaning solution sit on the bristles for a few minutes. This gives the solution time to break down any remaining dirt or product buildup.
- Gently Work the Solution: Use your fingers or a soft cloth to gently work the cleaning solution into the bristles. Move your fingers or cloth back and forth along the bristles, ensuring that the solution reaches all areas.
- Pay Attention to Problem Areas: Focus on areas where dirt or residue may be more stubborn, such as near the base or between the bristles. Use gentle motions to work the solution into those areas.
Applying the cleaning solution to the bristles helps to remove any remaining dirt and sanitize the brush. After working the solution into the bristles, it’s time to move on to the next step – scrubbing the brush gently. Read on to find out how to do this effectively.
Scrubbing the Brush Gently
After applying the cleaning solution to the bristles of your wet brush, it’s time to gently scrub the brush. This step helps to further remove any dirt, residue, or remaining cleaning solution from the bristles. Follow these steps to scrub your brush effectively:
- Use Your Fingers or Soft Brush: Begin by using your fingers or a soft brush to scrub the bristles of the wet brush. Make sure to scrub in gentle, circular motions to ensure you reach all areas of the bristles.
- Pay Attention to Problem Areas: Focus on areas where dirt or residue may be more stubborn, such as near the base of the bristles or in between them. Spend a little extra time scrubbing these areas to ensure a thorough cleaning.
- Be Gentle: Remember to be gentle while scrubbing to avoid damaging the bristles. Excessive force can cause the bristles to bend or break, compromising the effectiveness of the brush.
- Rinse Frequently: Rinse the brush frequently during the scrubbing process to remove any loosened dirt or residue. This will prevent any debris from being redeposited onto the bristles.
- Repeat if Necessary: If the brush is still not clean after the first scrubbing, repeat the process until you are satisfied with the cleanliness of the bristles.
Scrubbing the brush gently is an important step in the cleaning process. It ensures that all dirt, residue, and cleaning solution are thoroughly removed from the bristles. Once you have finished scrubbing, it’s time to proceed to the next step – rinsing the brush thoroughly. Continue reading to learn how to do this properly.
Rinsing the Brush Thoroughly
After scrubbing the bristles of your wet brush, it’s crucial to rinse it thoroughly to remove any remaining cleaning solution, dirt, or residue. Proper rinsing ensures that the brush is clean and ready to use. Follow these steps to rinse your brush effectively:
- Hold the Brush Under Running Water: Start by holding the brush under running water. Make sure the water is set to a moderate temperature – not too hot or too cold.
- Rinse the Bristles: Use your fingers to separate the bristles and allow the water to flow through them. This will help to wash away any loosened dirt or residue.
- Gently Squeeze the Bristles: Gently squeeze the bristles from base to tip to further remove any trapped water, dirt, or residue.
- Repeat the Rinsing Process: Repeat the rinsing process multiple times, if necessary, until the water runs clear and there is no visible residue left on the brush.
- Inspect the Bristles: After rinsing, take a close look at the bristles to ensure there are no traces of residue or cleaning solution left. If needed, rinse again until the bristles are completely clean.
Rinsing the wet brush thoroughly is an essential step to ensure that all cleaning solution, dirt, and residue are completely removed. This step will help maintain the cleanliness and effectiveness of the brush. Once the brush has been thoroughly rinsed, it’s time to move on to the final step – drying the brush properly. Keep reading to learn how to do this effectively.
Drying the Brush Properly
After rinsing your wet brush thoroughly, it’s important to dry it properly to prevent any mold or mildew growth and maintain its quality. Here are some steps to follow for proper drying:
- Shake off Excess Water: Give the brush a gentle shake to remove any excess water from the bristles. This will help speed up the drying process.
- Pat Dry with a Towel: Use a clean, dry towel to gently pat the bristles and handle of the brush. Absorb as much moisture as possible without applying excessive force.
- Air Dry: Place the wet brush on a clean, dry surface or hang it with the bristles facing downward to air dry naturally. Avoid placing the brush in direct sunlight or near a heat source, as this can damage the bristles.
- Keep the Bristles Straight: To maintain the shape of the bristles, avoid compressing them while drying. Allow the bristles to air dry in their natural position to prevent misshaping.
- Ensure Complete Drying: Give the brush enough time to dry completely before using it again. This will prevent any moisture from getting trapped in the bristles, which could lead to mold or mildew growth.
Properly drying your wet brush is essential for its longevity and hygiene. By following these steps, you can ensure that your brush is ready for use when needed. With a clean and properly dried brush, you can now enjoy its benefits and maintain its effectiveness.