
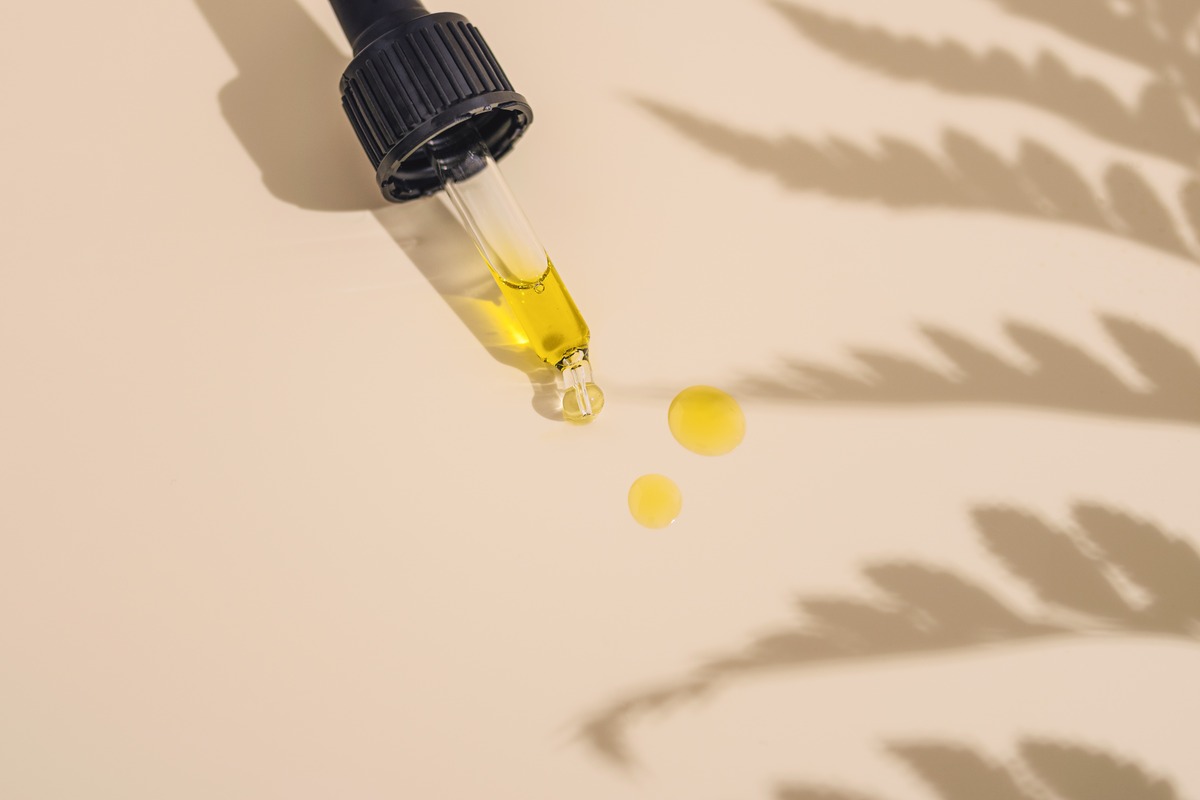
Choosing the Right Cleaning Method
Dealing with an essential oil spill can be a daunting task, but with the right approach, you can effectively clean up the mess and minimize any potential damage. The key to successfully tackling an essential oil spill is to choose the appropriate cleaning method based on the type of surface and the specific oil involved. Here are some guidelines to help you make the right decision:
- Know the Surface: Different surfaces require different cleaning techniques. For hard surfaces like countertops or floors, you can usually use stronger cleaning agents. However, for delicate surfaces such as fabrics or carpets, you’ll need to be more cautious to avoid damage.
- Identify the Oil: Essential oils come in various types, each with its own properties and constituents. Some oils may stain or leave residues, while others may be more volatile and evaporate quickly. It’s important to identify the specific oil involved in the spill so you can choose the most suitable cleaning method.
- Consider Safety: Certain essential oils can be hazardous if ingested or come into contact with the skin. Before deciding on a cleaning method, always check the safety precautions for the oil in question and take necessary precautions like wearing gloves or using protective gear.
- Consult the Manufacturer: If you’re unsure about the best cleaning method for a particular surface or oil, consult the manufacturer’s guidelines or contact the company directly for advice. They will have valuable insights and recommendations based on their product’s specific properties and formulation.
By taking these factors into consideration, you can choose the most appropriate cleaning method for your essential oil spill. Remember, the goal is not only to clean the area but also to minimize any potential damage to the surface and prevent any lingering stains or odors. Now that we have discussed how to choose the right cleaning method, let’s move on to assessing the extent of the spill.
Assessing the Extent of the Spill
Before diving into the cleaning process, it’s important to assess the extent of the essential oil spill. This will help you determine the level of cleaning required and the potential damage it may have caused. Here are some steps to follow when assessing the spill:
- Observe the Area: Take a careful look at the affected area. Note the size of the spill, whether it has spread, and if there are any visible stains or residue. This initial observation will give you an idea of the intensity of the cleaning process needed.
- Check Absorbency: Absorbent surfaces like fabrics or carpets may require additional cleaning steps to remove the oil effectively. Assess how deeply the oil has soaked into the material by gently pressing a clean white cloth against it. This will help you understand the level of absorption and the appropriate cleaning approach.
- Inspect Surrounding Areas: Examine the surrounding areas to see if the spill has spread beyond the initial spot. Essential oils can be volatile and easily spread, so it’s crucial to check for any traces or potential damage in nearby surfaces or objects.
- Consider Potential Stain or Damage: Some essential oils have natural pigments or strong properties that can cause stains or damage to certain surfaces. Assess the type of oil involved in the spill and evaluate the surface’s vulnerability to staining or long-term damage.
By thoroughly assessing the extent of the spill, you’ll have a better understanding of the cleaning approach required. This will ensure that you take the necessary steps to effectively remove the oil and minimize any potential damage. Once you have completed the assessment, it’s time to gather the necessary supplies for the cleaning process.
Gathering the Necessary Supplies
Once you have assessed the extent of the essential oil spill, it’s time to gather the necessary supplies before embarking on the cleaning process. Having the right tools and materials at hand will enable you to effectively tackle the spill and ensure a successful cleanup. Here are some essential supplies you will need:
- Absorbent Materials: Start by grabbing some absorbent materials like paper towels or clean white cloths. These will be used to blot and soak up the excess oil. The absorbent material will help prevent the oil from spreading further or seeping deeper into the surface.
- Mild Dish Soap: Mild dish soap is a versatile and gentle cleaner that can effectively remove essential oil residues from various surfaces. Look for a mild formula that is safe for the specific surface you are cleaning. Avoid using harsh chemicals or strong detergents, as they can cause damage or leave residues.
- Baking Soda or Cornstarch: Baking soda or cornstarch acts as a natural absorbent and deodorizer. These powders can help lift any remaining oil and eliminate lingering odors. Sprinkle them on the affected area after blotting up the excess oil and allow them to sit for a while before vacuuming or sweeping them away.
- Stain Remover: If the essential oil has caused a stain on fabric or carpet, you may need a suitable stain remover. Look for a stain remover that is safe for the specific material and follow the instructions carefully to minimize damage and effectively remove the stain.
- Protective Gear: Depending on the type of oil and the cleaning method you choose, it may be necessary to wear protective gear. This can include gloves, goggles, or a face mask to protect your skin, eyes, and respiratory system from potential hazards.
Having these supplies readily available will make the cleaning process more efficient and ensure that you have everything you need to successfully tackle the essential oil spill. Once you have gathered the necessary supplies, it’s time to move on to the next step: blotting the spill to absorb the excess oil.
Blotting the Spill
Blotting the essential oil spill is an important initial step in the cleaning process as it helps to absorb the excess oil and prevent it from spreading further. By acting quickly and using the proper technique, you can minimize the extent of the spill and make the cleaning process more manageable. Here’s how to effectively blot the spill:
- Act Fast: As soon as the spill occurs, it’s essential to act quickly. The longer the oil sits, the more it may penetrate the surface or spread to surrounding areas.
- Prevent Spreading: Place an absorbent material, such as paper towels or clean white cloths, on top of the spill. Gently press down on the material to absorb as much oil as possible. Avoid rubbing or scrubbing the spill, as this can cause the oil to spread and saturate the surface or material further.
- Change Materials: If the initial absorbent material becomes saturated, replace it with a fresh one. Continuously blot the spill until no more oil is being absorbed.
- Repeat if Necessary: For larger spills or deeply absorbed oil, you may need to repeat the blotting process several times to ensure thorough extraction. Be patient and persistent in your efforts.
- Dispose of Materials Properly: After blotting the spill, dispose of the used absorbent materials in a sealed plastic bag to prevent any residual oil from leaking or spreading. Check with local waste management guidelines for proper disposal procedures.
Remember, blotting is crucial to prevent the oil from seeping deeper into the surface and causing more significant damage. However, blotting alone might not completely remove the stain or odor. For that, we will move on to the next step: treating the stain.
Treating the Stain
Dealing with a stubborn stain caused by an essential oil spill requires specific treatments to effectively remove it from different surfaces. Depending on the type of material affected and the severity of the stain, there are several approaches you can take to treat the stain:
- Pre-treating Fabric: If the stain is on fabric, pre-treating is essential. Start by gently blotting any excess oil using an absorbent material. Then, apply a small amount of mild dish soap or a stain remover specifically designed for fabric onto the stained area. Let it sit for a few minutes to penetrate the fibers. Gently rub the fabric together or use a soft-bristled brush to work the stain remover into the fabric. Rinse thoroughly with cold water and launder as usual.
- Cleaning Hard Surfaces: For hard surfaces like countertops or floors, start by blotting up as much oil as possible. Then, mix a small amount of mild dish soap with warm water. Dip a clean cloth or sponge into the soapy water and gently scrub the stained area. Avoid scrubbing too hard, as it may damage the surface. Rinse the area with clean water and dry it thoroughly.
- Using Natural Cleaning Agents: Alternatively, you can try using natural cleaning agents like baking soda or vinegar to treat the stain. Create a paste using baking soda and water or a mixture of vinegar and water. Apply the paste to the stained area and let it sit for a few minutes. Scrub gently with a soft cloth or sponge, then rinse and dry the surface.
- Seeking Professional Help: In some cases, especially for delicate or expensive materials, it’s best to seek professional help. Professional cleaners have the expertise and the necessary tools to remove stubborn stains without causing any damage.
Remember to always test any cleaning solution on a small, inconspicuous area before applying it to the entire stained surface. This will help ensure that the treatment does not cause any discoloration or damage. Once the stain has been successfully treated, it’s time to address any lingering odor caused by the spill.
Removing the Odor
After cleaning up an essential oil spill, you may be left with a lingering odor that can be unpleasant or overpowering. Removing the odor is crucial to restore a fresh and clean environment. Here are some effective methods to help eliminate the odor caused by the spill:
- Ventilation: Open windows and doors to allow fresh air circulation. This will help dissipate the odor and replace it with fresh air. Use fans or air purifiers to enhance air circulation and speed up the process.
- Odor Absorbers: Place odor-absorbing materials such as activated charcoal, baking soda, or coffee grounds in a bowl or cloth bag. These natural odor absorbers can help neutralize and absorb the lingering scent of the essential oil. Leave them near the affected area for several hours or overnight, then discard or refresh them as needed.
- Essential Oil Diffusers: Utilize the power of other essential oils to mask or counteract the odor. Diffusing essential oils with pleasant aromas, such as citrus or lavender, can help mask the lingering scent of the spilled oil. Follow the manufacturer’s instructions for proper use of the diffuser.
- Cleaning with Vinegar: Vinegar is known for its natural deodorizing properties. Mix equal parts of white vinegar and water in a spray bottle and lightly mist the affected area. The vinegar will help neutralize the odor. Be sure to test in an inconspicuous area first to ensure it does not damage the surface.
- Professional Cleaning Services: If the odor persists or the spill has deeply penetrated the surface, consider seeking professional cleaning services. Professionals have access to specialized equipment and solutions to effectively remove stubborn odors without causing further damage.
Throughout the odor removal process, ensure proper ventilation and take breaks if you feel overwhelmed by the scent. With these techniques, you can successfully eliminate the lingering odor and restore a fresh and pleasant environment. Now, let’s move on to the next step: drying the area to prevent any potential damage or mold growth.
Drying the Area
After cleaning up an essential oil spill and addressing any lingering odor, it’s crucial to ensure that the affected area is properly dried. Drying the area thoroughly is important to prevent any potential damage to the surface and to minimize the risk of mold growth. Here’s how to effectively dry the area:
- Absorb Excess Moisture: After cleaning the spill and treating any stains, use clean towels, paper towels, or a wet-dry vacuum to absorb any remaining moisture. Gently press the towels or use the vacuum to extract the moisture from the surface or material.
- Improve Air Circulation: Increase air circulation in the room by using fans, opening windows, or using a dehumidifier if necessary. This will help dry the area more quickly and prevent moisture from lingering or causing potential damage.
- Avoid Heat Sources: While it may be tempting to speed up the drying process with direct heat from a hairdryer or other appliances, it’s best to avoid using intense heat sources. High heat can potentially damage certain surfaces, fabrics, or materials. Stick to natural air drying methods whenever possible.
- Monitor Humidity: If you live in a humid climate or the spill occurred in a high-humidity area, it’s important to monitor the humidity levels. Excess humidity can prolong the drying process and create an environment conducive to mold growth. Use a hygrometer to measure the humidity levels and take appropriate actions to maintain a healthy level.
- Continue Drying Time: Depending on the size of the spill and the absorbency of the surface or material, it may take several hours or even days for the area to completely dry. Be patient and allow sufficient drying time to ensure that there is no residual moisture.
By thoroughly drying the area, you can prevent any potential damage and minimize the risk of mold growth. Once the area is completely dry, it’s essential to take precautions to prevent future spills and stains. We will discuss how to do that in the next section.
Preventing Future Spills and Stains
After experiencing the hassle and potential damage caused by an essential oil spill, it’s important to take preventive measures to avoid future incidents. Here are some tips to help you prevent future spills and stains:
- Secure Containers: Ensure that essential oil bottles and containers are tightly sealed and properly stored. Store them in an upright position in a cool, dry place to prevent leaks or spills.
- Use Drip Trays or Mats: Place a drip tray or mat under diffusers, vaporizers, or any device that uses essential oils. This will catch any drips or spills, preventing them from reaching the surface below.
- Be Mindful During Use: Exercise caution and mindfulness when using essential oils. Avoid placing open bottles near the edges of counters or tables, and be careful not to knock them over accidentally.
- Keep Oils Away from Children and Pets: Store essential oils out of reach of children and pets to prevent accidental spills or ingestion. Consider using childproof caps on essential oil bottles for added safety.
- Use Appropriate Dilution: Dilute essential oils properly when using them in homemade cleaning solutions or personal care products. This can help minimize the risk of spills or stains caused by undiluted oils.
- Read Product Labels: Familiarize yourself with the specific properties and recommendations for each essential oil you use. Some oils may be more prone to staining or have particular guidelines for use.
- Be Prepared: Have a spill cleanup kit readily available, including absorbent materials, mild dish soap, stain removers, and odor-neutralizing agents. Being prepared will allow for quick action in the event of a spill.
- Seek Professional Help: If you are unsure about cleaning up a spill or dealing with a stubborn stain, it’s best to seek professional assistance. Professional cleaners have the expertise and specialized tools to handle difficult situations safely and effectively.
By implementing these preventive measures, you can significantly reduce the risk of future spills and stains caused by essential oils. Remember to always be mindful and cautious when handling these potent substances. With proper care and attention, you can enjoy the benefits of essential oils without the worry of potential mishaps.