
Supplies Needed
Before embarking on the task of cleaning dry candle wax, be prepared with the following supplies:
- Freezer
- Ice cubes or ice pack
- Plastic bag or Ziploc bag
- Heat source (such as a hairdryer or hot water)
- Old towel or cloth
- Iron
- Ironing board or heat-resistant surface
- Scraping tool (e.g., butter knife or credit card)
- Old toothbrush
- Warm water
- Mild dish soap
- Cotton balls or paper towels
- White vinegar
- Carpet cleaner (if cleaning wax from carpet)
Having these supplies readily available will make the process of cleaning dry candle wax much easier and more efficient.
Method 1: Freezing the Wax
Freezing the wax is a simple and effective method to remove dry candle wax from various surfaces. Follow these steps to successfully clean up the wax:
- Start by placing ice cubes or an ice pack in a plastic bag.
- Place the bag on top of the hardened wax and let it sit for a few minutes.
- The cold temperature will cause the wax to harden even further, making it easier to remove.
- Once the wax is frozen, use a scraping tool, such as a butter knife or credit card, to gently lift the wax off the surface.
- Be cautious not to scratch or damage the surface while scraping.
- If there is any remaining residue, you can repeat the process or move on to another method to remove the remaining wax.
This method is particularly effective for removing wax from hard surfaces such as countertops, tables, or floors. Remember to let the wax completely freeze before attempting to remove it, as this will minimize any potential damage to the surface.
Method 2: Using Heat
Using heat is another effective technique to remove dry candle wax from surfaces. Proceed with the following steps to successfully clean up the wax using heat:
- First, identify the source of heat you will be using. A hairdryer or hot water can work well.
- If using a hairdryer, set it to a medium or high heat setting.
- Hold the hairdryer a few inches away from the wax and direct the hot air onto the affected area.
- The heat will soften the wax, making it easier to remove.
- As the wax softens, use a scraping tool, such as a butter knife or credit card, to gently lift the wax off the surface.
- Be careful not to apply too much pressure or scrape too vigorously, as this may cause damage to the surface.
- If using hot water, boil some water and pour it over the wax stain.
- Allow the hot water to sit for a few minutes to soften the wax.
- Then, use a scraping tool to gently remove the softened wax.
- Repeat the process if needed, and wipe the area clean with a cloth or towel.
Remember to exercise caution when using heat on delicate surfaces to avoid any damage. Always test the heat source on a small, inconspicuous area before applying it to the entire wax stain.
Method 3: Ironing the Wax
Ironing the wax is a clever method to remove dry candle wax from fabrics or surfaces that can withstand heat. Follow these steps to effectively clean up the wax using an iron:
- First, plug in the iron and set it to a low to medium heat setting.
- Place a clean, old towel or cloth over the wax stain to protect the surface.
- Gently press the heated iron on top of the towel or cloth, directly over the wax stain.
- The heat from the iron will melt the wax, and the towel or cloth will absorb it.
- Move the iron around in small circular motions without applying too much pressure.
- As the wax melts, it will transfer to the cloth or towel.
- Continue moving the iron and applying heat until no more wax transfers onto the cloth or towel.
- If there is any remaining residue, use a scraping tool, such as a butter knife or credit card, to gently lift off the residue.
- Be cautious not to damage the fabric or surface while scraping.
- Finally, launder the fabric as per its care instructions to remove any lingering wax or residue.
Before using the ironing method, ensure that the fabric or surface can withstand the heat of the iron. It is always recommended to test the iron on a small, inconspicuous area before applying it to the entire wax stain.
Method 4: Dissolving the Wax
Dissolving the wax is a useful method for cleaning up dry candle wax from surfaces that are sensitive to heat or cannot withstand scraping. Follow these steps to effectively dissolve the wax:
- Start by filling a bowl or basin with warm water.
- Add a few drops of mild dish soap to the warm water and gently stir to create a soapy solution.
- Dip a cotton ball or paper towel into the soapy solution and squeeze out any excess liquid.
- Press the dampened cotton ball or paper towel onto the wax stain.
- Allow the soapy solution to sit on the wax for a few minutes to soften it.
- Gently wipe the softened wax using the cotton ball or paper towel.
- As you work, replace the cotton ball or paper towel with a clean one to prevent spreading the wax around.
- If necessary, repeat the process multiple times until all the wax is dissolved and removed.
- Once the wax is completely removed, rinse the area with clean water.
- Dry the surface thoroughly with a clean towel or cloth.
This method is particularly effective for cleaning wax from surfaces like glass, ceramics, or plastic. However, it may not be suitable for fabrics or materials that can be damaged by water. Always test the soapy solution on a small, inconspicuous area before applying it to the entire wax stain.
Method 5: Scraping and Absorbing Wax Residue
If you have already removed the bulk of the dry candle wax but are left with stubborn residue, scraping and absorbing the wax residue can help you get rid of it. Follow these steps to effectively clean up wax residue:
- Using a scraping tool, such as a butter knife or credit card, gently scrape away any remaining wax residue.
- Be careful not to damage or scratch the surface while scraping.
- Once the majority of the residue is scraped off, dampen an old toothbrush with warm water.
- Gently scrub the affected area in a circular motion to loosen any remaining wax.
- As you scrub, the warm water will help to dissolve the wax residue.
- Use a clean cloth or paper towel to absorb the dissolved wax.
- Continue scrubbing and absorbing until the surface is free from any wax residue.
- For stubborn residue, you can also try dabbing the area with a cloth or paper towel dipped in white vinegar.
- Vinegar can help break down the wax and make it easier to remove.
- Once the residue is fully removed, rinse the surface with clean water and dry it thoroughly.
This method is suitable for surfaces like countertops, floors, or furniture. It is important to be gentle when scraping and scrubbing to avoid causing any damage. If in doubt, always test the scraping and absorbing method on a small, inconspicuous area before applying it to the entire wax residue.
Method 6: Cleaning Wax Stains from Fabric
Dealing with wax stains on fabric can be a bit challenging, but with the right approach, you can effectively remove them. Follow these steps to clean wax stains from fabric:
- Start by allowing the wax to harden completely. This can be done by placing an ice pack or ice cubes wrapped in a plastic bag on top of the wax stain. Leave it for a few minutes until the wax hardens.
- Once the wax is hardened, use a dull knife or your fingernail to gently scrape off as much of the hardened wax as possible. Be careful not to damage the fabric.
- Next, place a clean paper towel or brown paper bag on both sides of the fabric, covering the wax stain.
- Set your iron to a low heat setting without steam. Place it on top of the paper towel or paper bag and slowly move it in gentle circular motions. This will transfer the melted wax onto the paper towel or bag.
- Keep moving to a clean area of the towel or bag as the wax is transferred. Repeat this process until no more wax transfers onto the towel or bag.
- If there is any residual wax or discoloration, mix a solution of warm water and mild dish soap.
- Gently blot the stained area with a clean cloth or sponge soaked in the soapy water mixture. Avoid rubbing, as it may spread the stain.
- Rinse the fabric under cold water to remove any soapy residue.
- If the stain persists, you can try using a stain remover specifically designed for fabrics. Follow the instructions provided by the manufacturer.
- Finally, launder the fabric as per its care instructions to remove any lingering wax or stain remover residue.
Patience and caution are essential when treating wax stains on fabric. Test any cleaning solution or stain remover on a small, inconspicuous area of the fabric before using it on the entire stain. This will help ensure the fabric is not damaged or discolored by the treatment.
Method 7: Removing Wax from Hard Surfaces
When it comes to removing wax from hard surfaces such as countertops, tables, or floors, there are several effective methods you can use. Follow these steps to successfully remove wax from hard surfaces:
- Start by allowing the wax to harden completely. You can expedite the process by placing an ice pack or ice cubes wrapped in a plastic bag on top of the wax stain.
- Once the wax is hardened, use a scraping tool, such as a butter knife or credit card, to gently lift off as much of the hardened wax as possible.
- Be careful not to scratch or damage the surface while scraping.
- If there is any remaining wax residue, dampen a cloth or sponge with warm water and mild dish soap.
- Gently scrub the residue in circular motions to help loosen it from the surface.
- If the residue persists, you can also try using a non-abrasive cleaner or a mixture of white vinegar and water.
- Apply the cleaner or vinegar solution to the residue and let it sit for a few minutes.
- Scrub the area again with a cloth or sponge to remove the remaining residue.
- Rinse the surface with clean water to remove any soapy or vinegar residue.
- Dry the surface thoroughly with a clean towel or cloth.
Remember to test any cleaning solution or vinegar solution on a small, inconspicuous area of the surface before applying it to the entire wax stain. This will help ensure that the cleaner does not damage or discolor the surface.
Method 8: Removing Wax from Carpet
Accidental candle wax spills on carpets can be a cause for concern, but with the right approach, you can successfully remove the wax without causing damage. Follow these steps to effectively remove wax from carpet:
- Start by allowing the wax to harden completely. You can place an ice pack or ice cubes wrapped in a plastic bag on top of the wax stain to speed up the hardening process.
- Once the wax is hardened, use a dull knife or your fingernail to gently scrape off as much of the hardened wax as possible. Be cautious not to damage the carpet fibers.
- Next, place a clean brown paper bag or several layers of paper towels over the remaining wax stain.
- Set your iron to a low heat setting without steam. Gently press the iron onto the paper bag or paper towels, moving it in circular motions over the wax stain.
- The heat from the iron will melt the wax, and the paper bag or towels will absorb it.
- Move the iron to a clean area of the paper bag or towels as the wax transfers onto them. Repeat this process until no more wax transfers onto the paper bag or towels.
- If there is any residual wax or discoloration, mix a solution of warm water and mild dish soap.
- Blot the stained area with a clean cloth or sponge soaked in the soapy water mixture. Avoid rubbing, as it may spread the stain.
- Rinse the area with cold water to remove any soapy residue.
- Finally, blot the carpet with a clean towel or cloth to absorb excess moisture, and allow the carpet to air dry completely.
Patience is key when removing wax from carpet. Take your time and repeat the steps if necessary to ensure a thorough removal. Always test any cleaning solution or heat method on a small, inconspicuous area of the carpet before applying it to the entire wax stain to prevent potential damage or discoloration.
Method 9: Dealing with Colored Wax Stains
Colored wax stains can be a bit more challenging to remove compared to regular candle wax stains. However, with the right approach, you can effectively tackle these stains. Follow these steps to clean colored wax stains:
- Start by allowing the colored wax to harden completely. You can place an ice pack or ice cubes wrapped in a plastic bag on top of the stain to speed up the hardening process.
- Once the wax is hardened, use a dull knife or your fingernail to gently scrape off as much of the hardened wax as possible. Be careful not to spread the colored wax to other areas of the surface.
- Next, mix a cleaning solution of warm water and mild dish soap.
- Dampen a cloth or sponge with the soapy solution and gently blot the colored wax stain. Avoid rubbing, as it may push the color deeper into the surface.
- If the stain persists, you can try using a mild fabric stain remover or a solution of hydrogen peroxide and water.
- Always read and follow the instructions on the stain remover product carefully.
- Gently dab the stained area with the stain remover using a clean cloth or sponge.
- Allow the stain remover to sit on the stain for the recommended amount of time.
- Blot the area with a clean, damp cloth to remove any residual stain remover solution.
- Rinse the cloth or sponge and blot the area again with clean water to ensure all the detergent or stain remover is removed.
- Finally, dry the surface thoroughly with a clean towel or cloth.
Dealing with colored wax stains may require additional steps and care compared to regular wax stains. Test any cleaning solution or stain remover on a small, inconspicuous area before applying it to the stained area to avoid any potential damage or discoloration of the surface.
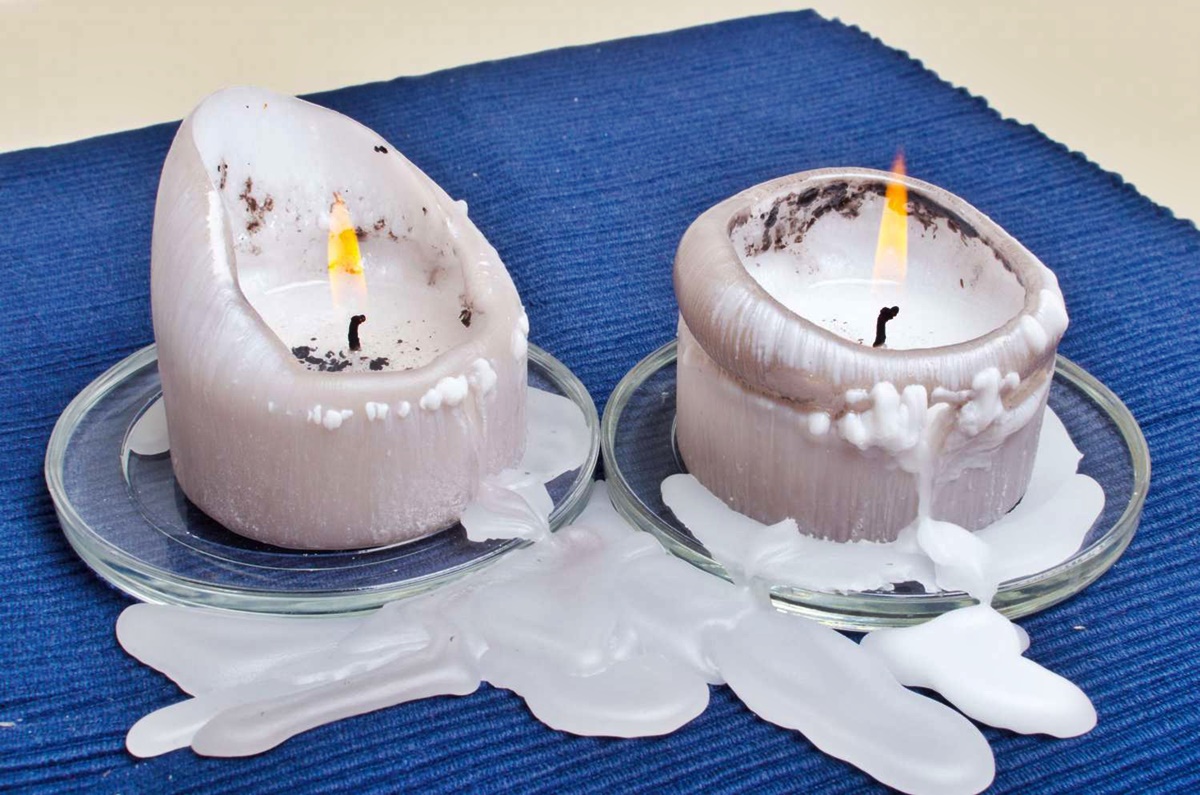
Tips for Preventing Future Wax Spills
To avoid the hassle of cleaning up wax spills in the future, consider implementing the following tips to prevent wax spills:
- Use candle holders or containers specifically designed for candles. These can help catch any dripping wax and prevent it from spilling onto surfaces.
- Ensure that the surface where you place the candle is stable and heat-resistant. Unstable surfaces or surfaces that can be damaged by heat may increase the risk of wax spills.
- Keep candles away from areas with high foot traffic or where they can be easily knocked over. This reduces the chances of accidental spills.
- Trim the wicks of your candles to an appropriate length before lighting them. Long wicks can cause larger flames, increasing the risk of wax splatter or spills.
- Never leave burning candles unattended. Always extinguish candles before leaving the room or going to sleep.
- Consider using dripless or low-drip candles that are designed to minimize wax drips and spills.
- Place a protective barrier, such as a tray or dish, underneath the candle to catch any potential wax spills.
- If using scented or decorative candles that come in glass containers, ensure that the containers are sturdy and do not easily break or tip over.
- Keep candles out of reach of children and pets to prevent accidental spills or injury.
- If hosting an event or gathering, consider using flameless LED candles as a safer alternative to traditional candles.
By taking these preventative measures, you can greatly reduce the risk of future wax spills and make your candle experience more enjoyable and worry-free.