
Why Cleaning Your Brush After Lice is Important
Dealing with head lice can be a stressful and frustrating experience. Once you have successfully treated the infestation, you may think that the battle is over. However, it is crucial to remember that lice can survive on combs and brushes, making them potential sources of reinfestation. That is why cleaning your brush after lice is of utmost importance.
One of the main reasons to clean your brush is to prevent a recurrence of lice. Even if you have diligently treated your hair and eliminated the lice, their eggs, known as nits, can still be present on your brush. Failure to clean the brush can lead to these nits hatching and starting the cycle of infestation all over again.
Furthermore, lice can survive off the human scalp for up to 48 hours. If your brush is infested with lice or nits, they can easily transfer to another person’s hair when they borrow your brush. By cleaning your brush thoroughly, you can prevent the spread of lice to family members, friends, or anyone else who may come into contact with the brush.
In addition to preventing reinfestation and the spread of lice, cleaning your brush after lice is also vital for maintaining good hygiene. Lice are not only unpleasant but can also carry bacteria and other germs. When you use a lice-infested brush, you risk exposing your scalp to these microorganisms, which can lead to infections or other skin issues.
Cleaning your brush also helps to keep your hair healthy and free from dirt and debris. Over time, brushes can accumulate hair products, oils, and dead skin cells, which can weigh down your hair and make it appear dull. Regularly cleaning your brush will ensure that you are brushing your hair with a clean tool, allowing it to look and feel its best.
Gathering the Necessary Materials
Before you start cleaning your brush after dealing with lice, it’s important to gather the necessary materials. Having everything prepared beforehand will make the process smoother and more efficient. Here are the materials you will need:
- Disposable gloves: Wearing gloves will help protect your hands from direct contact with lice or any potential chemical solutions you may use.
- A fine-toothed lice comb: This specialized comb is designed to remove lice and nits from the hair shaft. It’s an essential tool for thorough lice removal.
- A basin or sink: You’ll need a clean basin or sink to soak your brush in hot water.
- Mild shampoo: A gentle shampoo will be used to clean the brush and remove any debris or residue.
- Hot water: Hot water helps kill any lice or nits on the brush. Ensure it’s not excessively hot to prevent damage to the brush.
- A clean towel: You’ll need a towel to dry the brush after cleaning and soaking.
- Optional disinfectant solution: If desired, you can use a commercial disinfectant specifically formulated for combs and brushes. Alternatively, you can opt for natural disinfectants like tea tree oil or vinegar.
Make sure to gather these materials before you begin the cleaning process. Having everything ready will save you time and ensure that you can clean your brush effectively.
Removing Any Visible Lice or Eggs
Before cleaning your brush, it’s essential to remove any visible lice or eggs that may be present. This step helps prevent the spread of lice and ensures a more effective cleaning process. Here’s how you can remove visible lice or eggs from your brush:
- Put on disposable gloves: To protect your hands from direct contact with lice or nits, wear disposable gloves throughout the process.
- Hold the brush over a sink or garbage bin: Position the brush over a sink or a garbage bin to catch any lice or eggs that may fall off during the removal process.
- Use a fine-toothed lice comb: Take a fine-toothed lice comb and carefully comb through the bristles of the brush. This will help dislodge any lice or eggs that are trapped in the bristles.
- Inspect the comb: After each stroke with the lice comb, examine the comb for any lice or eggs that may have been removed. Wipe the comb onto a tissue or paper towel to remove any lice or eggs caught in the teeth.
- Repeat the combing process: Continue combing through the brush, focusing on each bristle section, until no more lice or eggs are visible.
It’s important to be thorough during this step to ensure that you remove as many lice and eggs as possible. Remember to dispose of any collected lice or nits in a sealed plastic bag to prevent reinfestation.
Once you have finished removing visible lice or eggs from your brush, you can proceed to the next step of the cleaning process.
Soaking the Brush in Hot Water
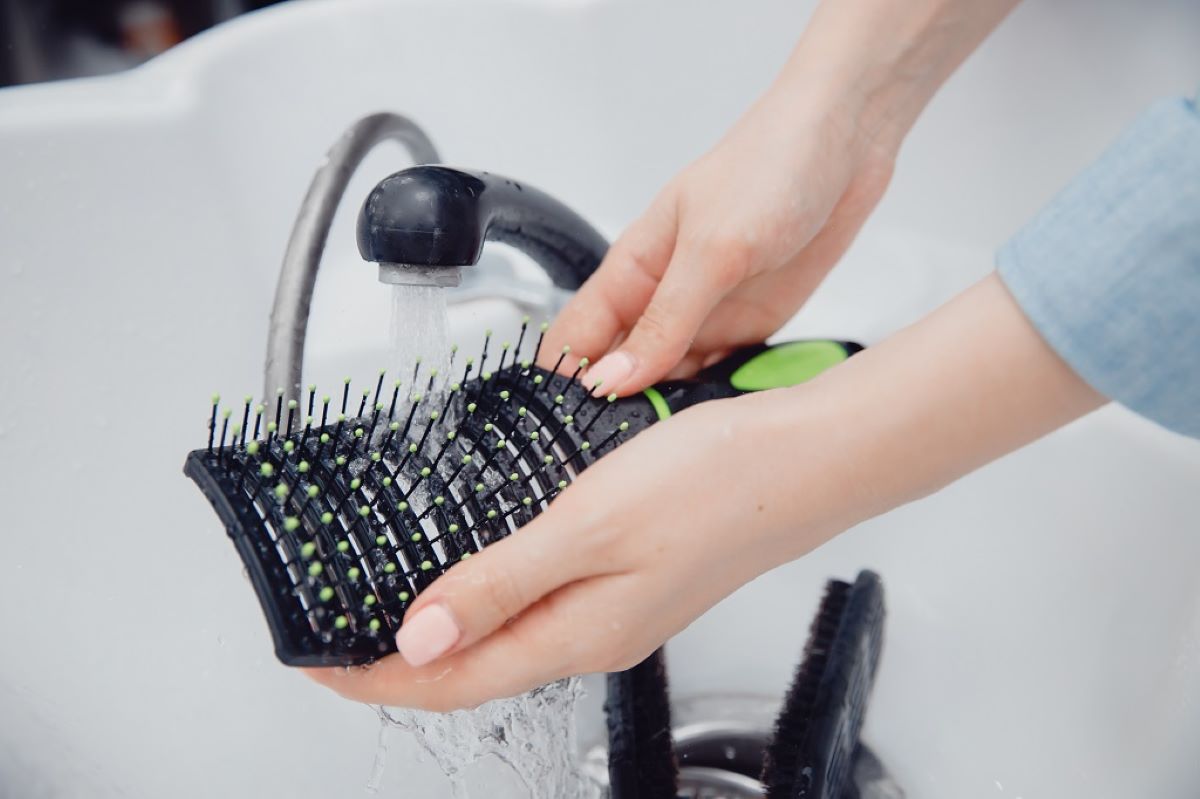
After removing any visible lice or eggs from your brush, it’s time to proceed with soaking it in hot water. Soaking the brush in hot water helps kill any remaining lice or nits that may be present. Here’s how you can do it:
- Fill a basin or sink with hot water: Fill a clean basin or sink with hot water. Ensure that the water is hot but not scalding to prevent damaging the brush.
- Submerge the brush in the hot water: Place the brush in the basin or sink, ensuring that it is fully submerged in the hot water. Allow it to soak for at least 10 to 15 minutes.
- Swirl the brush in the water: While the brush is submerged, you can gently swirl it in the hot water to ensure that all areas of the brush come into contact with the water.
- Agitate the bristles: To dislodge any remaining lice or eggs, you can use your fingers or a soft brush to gently agitate the bristles of the brush while it is still in the hot water.
Hot water effectively kills lice and nits, ultimately removing any potential sources of reinfestation. Keep in mind that soaking time may vary depending on the thickness of the bristles and the type of brush you are using.
After the appropriate soaking time, remove the brush from the hot water and proceed to the next step of the cleaning process.
Drying the Brush Thoroughly
Once you have soaked the brush in hot water to eliminate any remaining lice or nits, it’s crucial to ensure that the brush is dried thoroughly. Proper drying helps prevent the growth of bacteria or mold, ensuring that your brush is clean and ready for future use. Here’s how you can dry your brush effectively:
- Shake off excess water: Before drying the brush, gently shake it to remove any excess water that may be trapped in the bristles.
- Place the brush on a clean towel: Lay a clean towel on a flat surface and place the brush on top of it. Ensure that the bristles are facing downward.
- Allow air drying: Let the brush air dry naturally in a well-ventilated area. Avoid using hair dryers or other heat sources, as they may damage the bristles or handle of the brush.
- Rotate the brush: To ensure proper drying, flip the brush over after a few hours to allow both sides to dry evenly.
- Confirm complete dryness: Before storing or using the brush again, make sure it is completely dry. Check the bristles, handle, and any other parts for any signs of moisture.
Properly drying the brush after cleaning is essential for maintaining its longevity and preventing any potential issues that may arise from excessive moisture. It also ensures that the brush is ready for use whenever needed.
Once the brush is thoroughly dried, you can proceed to the next step of disinfecting the brush to further ensure its cleanliness.
Disinfecting the Brush Using Solutions or Natural Remedies
After cleaning and drying your brush, it’s important to disinfect it to kill any remaining bacteria or germs. Disinfecting the brush adds an extra layer of cleanliness, ensuring that it is safe for future use. Here are two methods you can use to disinfect your brush:
- Commercial disinfectant solutions: There are numerous disinfectant solutions available on the market specifically designed for combs and brushes. These solutions are often alcohol-based and can effectively kill bacteria and germs. Follow the instructions provided by the manufacturer to disinfect your brush properly.
- Natural remedies: If you prefer a natural approach, there are several remedies you can utilize to disinfect your brush. One effective option is to use vinegar. Mix equal parts of water and white vinegar in a clean basin or sink. Submerge the brush in the mixture for around 10-15 minutes, then rinse it thoroughly with water. Vinegar has antimicrobial properties that can help eliminate bacteria and germs.
Regardless of the method you choose, it’s crucial to thoroughly rinse the brush after disinfection to remove any residue. Residue from commercial disinfectants or vinegar could potentially irritate the scalp or leave behind an unpleasant odor. Rinse the brush with water and pat it dry with a clean towel.
By disinfecting your brush, you ensure that it remains free from bacteria, germs, and potential contaminants. This step is particularly important if the brush is shared among family members or used by multiple individuals.
Once your brush is disinfected, it’s essential to follow proper practices and take precautions to prevent reinfestation and maintain good hygiene.
Additional Tips and Precautions for Preventing Reinfestation
After cleaning, drying, and disinfecting your brush, it’s important to take additional measures to prevent reinfestation. Here are some helpful tips and precautions to keep in mind:
- Wash bedding and clothing: Lice can survive off the human scalp for a short period, so it’s essential to wash any bedding, clothing, or accessories that may have come in contact with an infested individual. Use hot water and a high heat setting in the dryer to effectively kill lice and nits.
- Check family members: Examine the scalps of family members regularly to identify any signs of lice infestation early on. Prompt treatment can prevent the spread of lice and minimize the chances of reinfestation.
- Avoid sharing personal items: Encourage family members and individuals in close contact to avoid sharing brushes, combs, hats, or other personal items that come into contact with the hair. This helps prevent the transfer of lice.
- Inform close contacts: If you or a family member has had lice, it’s important to inform close contacts, such as friends or classmates, so they can take the necessary precautions to prevent the spread of lice.
- Regularly clean and inspect brushes: It’s a good practice to clean and inspect brushes regularly, even when there is no sign of lice. This helps maintain cleanliness and prevents any potential infestation from going unnoticed.
- Use lice repellent products: There are various lice repellent products available in the market that can help deter lice infestation. These products often contain natural ingredients like tea tree oil or essential oils known to repel lice.
By following these additional tips and precautions, you can reduce the risk of reinfestation and promote a lice-free environment for yourself and your loved ones.
How Often Should You Clean Your Brush?
Cleaning your brush regularly is an important part of maintaining good hygiene and preventing the buildup of dirt, debris, and potential lice infestation. However, the frequency of cleaning your brush may vary depending on individual circumstances. Here are some factors to consider when determining how often you should clean your brush:
- Lice infestation: If you or someone in your household has recently dealt with a lice infestation, it is recommended to clean the brush thoroughly after each use during the infestation. This is crucial to prevent the spread of lice and eliminate any remaining nits or lice that may be present on the brush.
- Regular maintenance: Even without a lice infestation, it is a good practice to clean your brush regularly as part of your hair care routine. This helps remove any accumulated hair products, oils, and dirt that can weigh down your hair and affect its appearance.
- Shared brushes: If you share brushes with family members or use brushes in communal settings, such as salons or sports facilities, it is important to clean them more frequently. Regular cleaning helps minimize the risk of spreading lice or other microbial contaminants.
- Personal preference and comfort: Some individuals may prefer to clean their brush more often for personal comfort or peace of mind. If you feel more comfortable cleaning your brush frequently, there is no harm in doing so as long as you are using proper cleaning methods.
As a general guideline, aim to clean your brush at least once a week as part of your regular hair care routine. However, adjust the frequency based on the aforementioned factors and your personal needs.
Remember, cleaning your brush is not only crucial for maintaining cleanliness but also for promoting a healthy scalp and hair. By cleaning your brush regularly, you can enjoy the benefits of clean and healthy hair.
Other Methods for Cleaning Lice Combs Effectively
While the previous sections have covered the general process of cleaning brushes after lice infestation, it is important to note that there are other methods you can employ for cleaning lice combs specifically. Lice combs are designed with fine teeth to help remove lice and nits more effectively. Here are a few additional methods you can use to clean lice combs:
- Boiling: One effective method for cleaning lice combs is by boiling them. Place the comb in a pot of boiling water and let it boil for around 10 minutes. This high temperature helps kill any lice or nits that may be present on the comb.
- Medical-grade alcohol: Soaking the lice comb in a solution of medical-grade alcohol can help disinfect it. Simply submerge the comb in alcohol for around 10 minutes, then rinse it thoroughly with water.
- Combing with hot, soapy water: In addition to boiling or using alcohol, you can also clean lice combs by combing through them with hot, soapy water. Fill a basin with hot water and add a mild shampoo or dish soap. Submerge the comb and comb through it in the soapy water, making sure to remove any debris and lice or nits that may be stuck between the teeth.
These alternative cleaning methods ensure that lice combs are thoroughly cleaned and disinfected, preventing any potential reinfestation. Remember to rinse the combs thoroughly after cleaning, and allow them to air dry before storing or using them again.
It’s important to choose a method that works best for your specific situation and comfort level. Be sure to follow proper cleaning techniques to ensure the effectiveness of these methods.
With these additional cleaning methods, you can confidently clean and sanitize your lice combs, maintaining a lice-free environment and promoting better hair and scalp hygiene.