
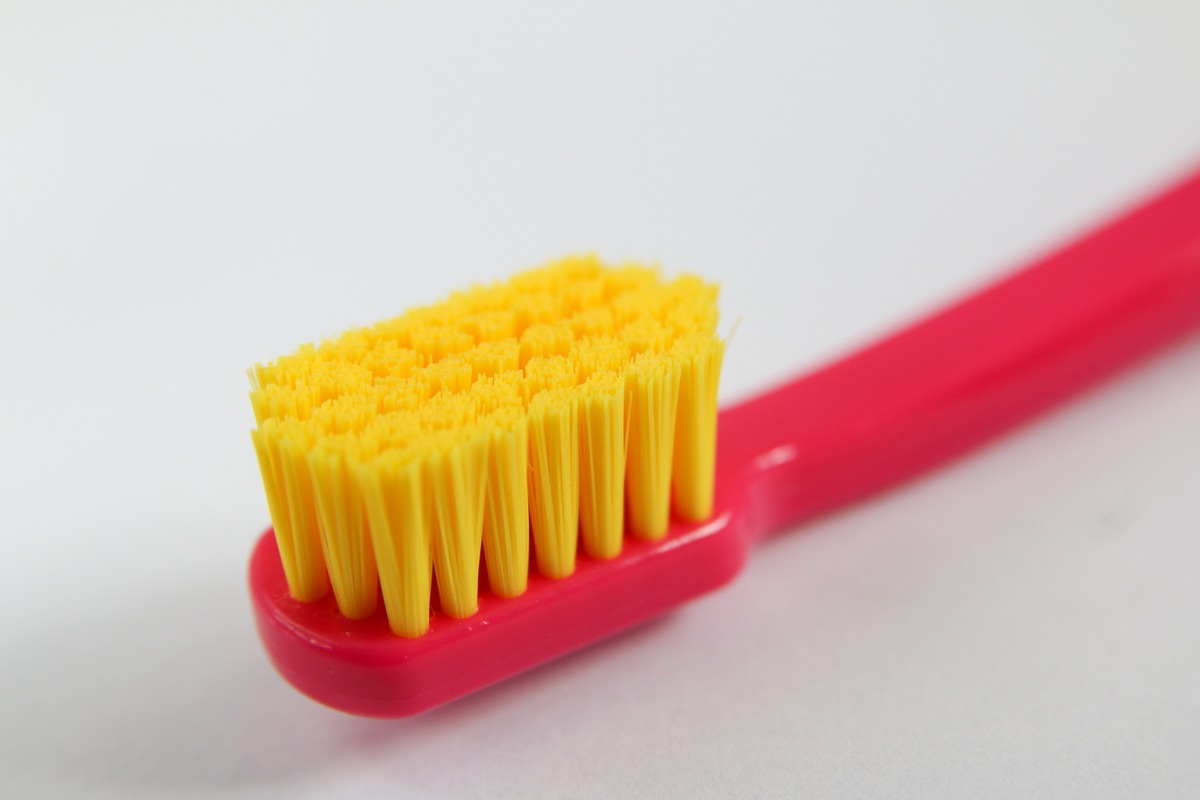
Why Clean Your Toothbrush?
Your toothbrush is an essential tool for maintaining good oral hygiene. It is essential to keep it clean to ensure its effectiveness and prevent the spread of bacteria. Here are a few reasons why you should make cleaning your toothbrush a priority:
- Prevent Bacterial Build-up: When you brush your teeth, your toothbrush collects bacteria, food particles, and saliva from your mouth. If left uncleaned, these can accumulate on the bristles and handle, creating a breeding ground for harmful bacteria.
- Maintain Oral Health: Cleaning your toothbrush helps to maintain good oral health. By removing the bacteria and debris from the brush, you ensure that each time you use it, you are not reintroducing harmful bacteria into your mouth.
- Extend Toothbrush Lifespan: Regular cleaning can help extend the lifespan of your toothbrush. A clean brush is less likely to suffer from bristle damage or accumulation of residue, ensuring that it remains effective for longer.
- Prevent Cross-Contamination: If you or someone in your household is sick, cleaning your toothbrush becomes even more important. By doing so, you can minimize the risk of cross-contamination and prevent the spread of germs and viruses.
Overall, cleaning your toothbrush is crucial for maintaining good oral hygiene, preventing bacterial build-up, and ensuring the longevity of your toothbrush. By incorporating regular cleaning practices, you can protect your oral health and reduce the risk of infection or illness.
When Should You Clean Your Toothbrush?
Regularly cleaning your toothbrush is essential to maintain its cleanliness and effectiveness. Here are a few key moments when you should prioritize cleaning your toothbrush:
- After Every Use: Cleaning your toothbrush after each use should be a standard practice. Rinse it thoroughly under running water to remove any toothpaste residue, food particles, and saliva. This simple step helps to minimize bacterial build-up on the bristles.
- When You Are Sick: If you have been ill, it is crucial to clean your toothbrush before you start using it again. Germs and bacteria can linger on the bristles and handle, potentially reinfecting you or spreading the illness to others. Consider replacing your toothbrush after a severe illness to ensure a fresh start.
- When It’s Been Exposed to Contaminants: If your toothbrush has been in contact with any contaminants, such as dropping it on a dirty surface or accidentally sharing it with someone else, clean it immediately. It is better to be safe than sorry when it comes to preventing the spread of bacteria.
- Every Few Months: Even with regular cleaning, toothbrushes wear out over time and can accumulate bacteria and debris that are difficult to remove. It is advisable to replace your toothbrush every three to four months (or sooner if the bristles become frayed or damaged).
By cleaning your toothbrush after every use, especially during illness, and being mindful of potential contaminants, you will ensure its cleanliness and maintain optimal oral hygiene. Remember to replace your toothbrush regularly to ensure its effectiveness in keeping your teeth clean and healthy.
How to Clean Your Toothbrush
Cleaning your toothbrush is a simple process that can be done using a few easy steps. Here’s how to effectively clean your toothbrush:
- Rinse: After each use, thoroughly rinse your toothbrush under warm running water to remove any toothpaste, food particles, and saliva. This helps to remove surface debris and reduce bacterial build-up.
- Soak: For a deeper clean, you can soak your toothbrush in an antibacterial mouthwash or a mixture of water and hydrogen peroxide. Place the head of the toothbrush in the solution for a few minutes to kill any lingering bacteria. Ensure that the handle is not immersed in the liquid.
- Scrub: Use your finger or a clean toothbrush to gently scrub the bristles of your toothbrush to dislodge any remaining debris. Be careful not to apply excessive pressure, as this can damage the bristles.
- Rinse again: After soaking and scrubbing, rinse your toothbrush thoroughly under running water. This will help to remove any traces of the cleaning solution and ensure that your toothbrush is ready for use.
- Dry: Allow your toothbrush to air dry in an upright position. Placing it in a toothbrush holder or cup with the bristles facing upwards will allow moisture to evaporate, preventing bacterial growth. Avoid storing your toothbrush in closed containers or covers, as this can create a moist environment conducive to bacterial growth.
By following these simple steps, you can effectively clean your toothbrush and maintain its cleanliness and functionality. Remember to clean your toothbrush after each use and consider incorporating a deeper cleaning method, such as soaking, to ensure optimal oral hygiene.
Using Antibacterial Solutions
In addition to regular cleaning, using antibacterial solutions can provide an extra level of cleanliness for your toothbrush. Here are some considerations when using antibacterial solutions:
1. Mouthwash: One effective option is to soak your toothbrush in an antibacterial mouthwash. Choose a mouthwash that contains ingredients like chlorhexidine or cetylpyridinium chloride, known for their antimicrobial properties. Place the head of the toothbrush in the mouthwash for about 5-10 minutes to ensure thorough disinfection.
2. Hydrogen Peroxide: Another option is to create a mixture using hydrogen peroxide and water. Mix equal parts of hydrogen peroxide (3%) and water in a clean cup or container. Submerge the toothbrush head in this solution for a few minutes, then rinse it thoroughly under running water before use.
3. Vinegar: Some people also use vinegar as a natural antibacterial solution. Create a 50:50 mixture of white distilled vinegar and water, and soak your toothbrush in it for about 30 minutes. Rinse the toothbrush thoroughly before using it again to remove any residual vinegar taste.
4. Denture Cleaning Tablets: Denture cleaning tablets can be used to clean your toothbrush as well. Dissolve one tablet in water according to the package instructions, and let your toothbrush soak in the solution for the recommended time. Rinse the toothbrush thoroughly before using it again.
Note: It’s important to remember that using an antibacterial solution regularly should not replace your regular cleaning routine. It should be done as an occasional supplement to enhance cleanliness and disinfection.
Before using any antibacterial solutions, always read the instructions carefully and make sure they are safe for use on toothbrushes. Additionally, remember to rinse your toothbrush thoroughly after soaking it in any solution to remove any residual chemicals before using it on your teeth.
By incorporating the use of antibacterial solutions into your toothbrush cleaning routine, you can enhance the cleanliness of your toothbrush and reduce the presence of bacteria, helping to maintain good oral hygiene.
Soaking Your Toothbrush
Soaking your toothbrush in a disinfecting solution can provide an extra level of cleanliness and help eliminate bacteria and germs. Here are some important points to consider when soaking your toothbrush:
1. Antibacterial Solutions: Use an antibacterial mouthwash, hydrogen peroxide, or a vinegar-water mixture as mentioned earlier. These solutions contain properties that can help kill bacteria and disinfect your toothbrush.
2. Duration: Soak your toothbrush in the solution for approximately 5-10 minutes. This duration allows ample time for the antibacterial properties to act on the bristles and handle, ensuring effective disinfection.
3. Dilution: If using a concentrated solution like hydrogen peroxide, make sure to dilute it with water as directed. Avoid using undiluted solutions as they may be too strong and could damage the bristles or handle of your toothbrush.
4. Rinse Thoroughly: After soaking your toothbrush, it is crucial to rinse it thoroughly under running water. This step helps remove any residual solution and ensures that no harmful chemicals remain on the bristles or handle.
5. Pat Dry: Gently pat dry your toothbrush with a clean towel or let it air dry in an upright position. Avoid using a blow dryer or placing it in a closed container while it is still damp, as moisture can encourage bacterial growth.
6. Frequency: Soaking your toothbrush can be done as a weekly or bi-weekly routine, especially if you want to give it an additional deep cleaning. Remember, regular rinsing and thorough drying after each use are sufficient for daily maintenance.
Note: Soaking your toothbrush can help disinfect it, but it does not guarantee 100% germ elimination. Always remember to replace your toothbrush every 3-4 months or sooner if the bristles become frayed or damaged, as this is the best way to ensure optimal oral hygiene.
By incorporating regular soaking into your toothbrush cleaning routine, you can elevate the cleanliness of your toothbrush and minimize the presence of bacteria and germs, contributing to better oral health.
Cleaning Your Toothbrush Holder
Regularly cleaning your toothbrush holder is important to maintain a clean and hygienic environment for your toothbrush. Here are some steps to effectively clean your toothbrush holder:
1. Empty and Disassemble: Start by removing all toothbrushes from the holder and emptying out any water or debris that may have collected. Disassemble the holder, if possible, to access all the nooks and crannies.
2. Scrub with Soap and Water: Use a small brush or a toothbrush dedicated to cleaning tasks, along with some mild soap and warm water. Scrub the inside and outside of the toothbrush holder, paying extra attention to any hard-to-reach areas or buildup of grime and residue.
3. Rinse Thoroughly: Rinse the toothbrush holder thoroughly under running water to remove all traces of soap or cleaner. Ensure that all surfaces are rinsed well, leaving no residue behind.
4. Disinfect: To ensure optimal cleanliness, you can use an antibacterial solution like vinegar or hydrogen peroxide. Soak a clean cloth or paper towel in the solution and wipe down the toothbrush holder, focusing on areas that come into contact with the toothbrushes.
5. Dry Completely: Allow the toothbrush holder to air dry completely before reassembling it and placing the toothbrushes back inside. Moisture promotes the growth of bacteria, so ensuring the holder is dry helps maintain a clean environment for your toothbrushes.
6. Regular Maintenance: Make it a habit to clean your toothbrush holder at least once a week or whenever you notice any visible signs of dirt or residue. This routine maintenance will help prevent the buildup of bacteria and keep your toothbrushes in a clean and hygienic environment.
Note: If your toothbrush holder is made of plastic or other non-porous materials, it can be cleaned in the dishwasher using a gentle cycle.
By regularly cleaning your toothbrush holder, you create a clean and sanitary space for your toothbrushes, reducing the risk of bacteria and promoting better oral hygiene for you and your family.
Storing Your Toothbrush
The way you store your toothbrush is important to maintain its cleanliness and prevent the growth of bacteria. Here are some guidelines for effective toothbrush storage:
1. Keep It Upright: Store your toothbrush in an upright position to allow it to air dry between uses. This helps prevent moisture from accumulating on the bristles, which can promote the growth of bacteria.
2. Avoid Contact: Make sure your toothbrush does not come into contact with other toothbrushes. Allow some space between each brush to prevent cross-contamination and the spread of bacteria.
3. Keep it Covered: While it is important to keep your toothbrush uncovered during drying, it is advisable to use a toothbrush cover or holder to protect it from external contaminants when not in use. Look for covers that allow for proper ventilation to prevent a moist environment.
4. Avoid Closed Containers: Do not store your toothbrush in closed containers, as humid and enclosed environments can encourage bacterial growth. Opt for open-air storage solutions instead.
5. Keep Away from the Toilet: Store your toothbrush away from the toilet area. When you flush the toilet, microscopic particles aerosolize and can potentially land on nearby surfaces, including your toothbrush.
6. Change Toothbrush Position: Alternate the position of your toothbrush holder or cup periodically. This helps ensure that each toothbrush gets equal exposure to airflow and prevents moisture buildup in one specific area.
7. Replace Regularly: Remember to replace your toothbrush every 3-4 months, or sooner if the bristles become frayed or damaged. This ensures that you are using a clean and effective toothbrush to maintain your oral hygiene.
By following these guidelines, you can store your toothbrush properly, reducing the risk of bacterial contamination and maintaining its cleanliness for optimal oral hygiene.
Replacing Your Toothbrush
Regularly replacing your toothbrush is essential to maintain effective oral hygiene. Over time, toothbrushes can accumulate bacteria, become less effective, and even cause harm to your teeth and gums. Here are some key points to consider when replacing your toothbrush:
1. Timeline: It is recommended to replace your toothbrush every 3-4 months, or sooner if the bristles become frayed or damaged. This timeline ensures that your toothbrush remains in good condition and effective at cleaning your teeth.
2. Signs of Wear: Look closely at the bristles of your toothbrush. If they start to splay, fray, or show signs of excessive wear, it’s time for a replacement. Worn-out bristles are less effective at cleaning and may not reach all areas of your teeth and gums properly.
3. After Illness: If you have been sick, it is crucial to replace your toothbrush once you have recovered. Bacteria and germs can linger on the bristles, potentially reinfecting you or spreading the illness to others.
4. Sharing Toothbrushes: Never share toothbrushes with others. Each person should have their own toothbrush to maintain good oral hygiene and prevent the spread of bacteria and infections.
5. Use as Directed: Follow the manufacturer’s instructions for your specific toothbrush. Some toothbrushes have color indicators or feature bristle technology that can help determine when it’s time for a replacement.
6. Store Properly: Proper storage of your toothbrush can help prolong its lifespan. Ensure it’s stored upright in a clean, dry area to allow for proper air circulation and to prevent moisture buildup that can lead to bacterial growth.
7. Considerations for Electric Toothbrushes: Electric toothbrush heads should also be replaced as recommended by the manufacturer, usually every 3-4 months. Some electric toothbrush models have built-in indicators that alert you to when it’s time for a replacement.
Remember, a fresh and clean toothbrush allows for effective plaque removal and contributes to maintaining good oral health. By regularly replacing your toothbrush and staying mindful of signs of wear, you can ensure optimal hygiene and protect your teeth and gums.