
Materials Needed
When it comes to cleaning a spatula effectively, having the right materials on hand is crucial. Here are the items you’ll need to tackle this cleaning task:
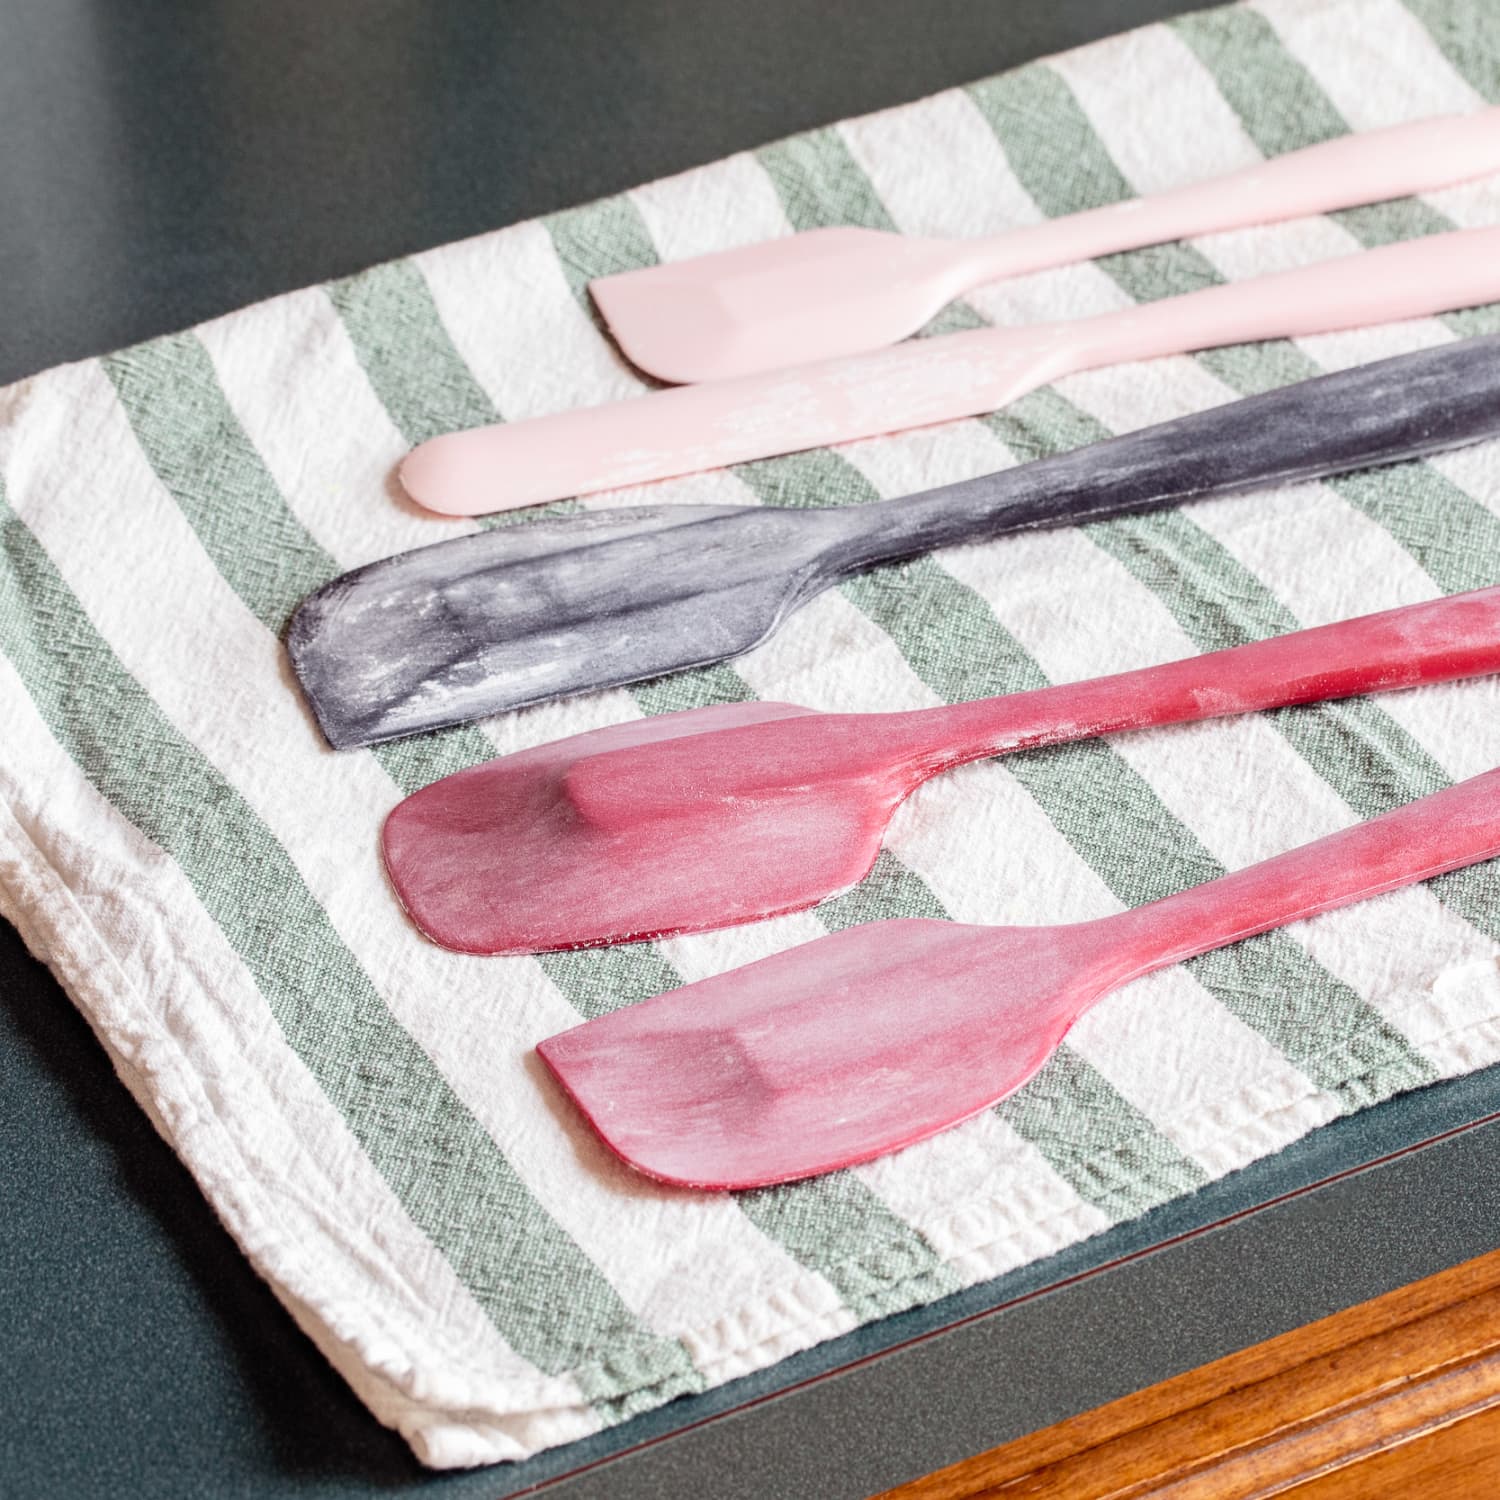
- A spatula: Make sure you have the spatula you want to clean readily available.
- Warm water: Get a bowl or sink filled with warm water that’s comfortable to touch.
- Dish soap: Choose a mild dish soap that is tough on grease and food residue.
- A non-abrasive sponge: Look for a sponge that won’t scratch the surface of your spatula.
- Dishcloth or towel: Have a clean dishcloth or towel nearby to dry the spatula after cleaning.
- Vinegar or hydrogen peroxide (optional): If you want to disinfect the spatula, you can use either vinegar or hydrogen peroxide.
Gather these materials before starting the cleaning process to ensure a smooth and efficient experience. Once you have everything ready, you’re all set to begin cleaning your spatula and restoring it to its former glory.
Step 1: Remove Excess Residue
Before diving into cleaning your spatula, it’s essential to remove any excess residue or food particles on its surface. Follow these simple steps to ensure a thorough cleaning process:
- Using a soft, damp cloth or paper towel, wipe off any visible residue from the spatula. This step will help eliminate loose debris and make the cleaning process more effective.
- If you have stubborn, dried-on residue, gently scrape it off using the edge of a spoon or a plastic scraper. Be careful not to damage the spatula’s surface while doing this.
- Once you’ve removed the visible residue, take a moment to inspect the spatula for any remaining bits of food or grime. If you notice any, use your fingertips or a toothpick to carefully dislodge them.
By removing excess residue from your spatula beforehand, you’ll set the stage for a more successful and efficient cleaning process. This step ensures that you’re starting with a clean slate and gives you a better chance of thoroughly removing any accumulated dirt or food particles.
Step 2: Soak in Warm Soapy Water
Soaking your spatula in warm soapy water is a great way to soften any hardened residue and make it easier to remove. Follow these steps to effectively soak your spatula:
- Fill a bowl or sink with warm water. Ensure that the water is warm but not scalding hot, as this can damage certain types of spatulas.
- Add a small amount of mild dish soap to the water. This will help break down grease and food residue on the spatula.
- Place the spatula in the warm soapy water, making sure it is fully submerged. Allow it to soak for at least 10-15 minutes. This will give the soap ample time to loosen the dirt and grime.
- If your spatula has a removable head or any detachable parts, you can also soak them separately to ensure a thorough cleaning.
During the soaking process, the warm soapy water will work its magic, loosening up any hardened residue and making it easier to clean. This step is particularly useful for spatulas that have been used with sticky or greasy substances.
Step 3: Scrub with a Non-abrasive Sponge
Now that your spatula has soaked in warm soapy water, it’s time to scrub away any remaining dirt or residue. Follow these steps to ensure a thorough cleaning:
- Take a non-abrasive sponge and wet it with warm water. The sponge should be soft enough to avoid scratching the surface of the spatula.
- Apply a small amount of dish soap directly to the sponge. This will provide additional cleaning power and help remove stubborn stains.
- Gently scrub the entire surface of the spatula, paying extra attention to areas with visible residue or buildup. Use circular or back-and-forth motions to effectively remove the dirt.
- For tough-to-clean spots, you can use a bit of baking soda on the sponge to create a mild abrasive. This can help lift stubborn stains without damaging the spatula.
- Rinse the sponge frequently to remove any accumulated residue and keep it clean throughout the scrubbing process.
By using a non-abrasive sponge and a little elbow grease, you can effectively remove any remaining dirt or residue from your spatula. This step ensures that you’re getting rid of any lingering grime that may have survived the soaking process.
Step 4: Pay Special Attention to Crevices and Edges
While scrubbing the surface of your spatula is important, it’s equally crucial to pay special attention to the crevices and edges where dirt and residue can easily accumulate. Follow these steps to ensure a thorough cleaning:
- Inspect the crevices and edges of your spatula and identify any areas with trapped food particles or residue.
- Use a small brush with soft bristles, such as a toothbrush or a cleaning brush, to clean these hard-to-reach areas. Dip the brush into warm soapy water or apply a bit of dish soap directly to it.
- Gently scrub the crevices and edges, ensuring that the bristles reach into all the nooks and crannies. Use a back-and-forth or circular motion to dislodge any trapped dirt or debris.
- Rinse the spatula under warm running water to remove any loosened dirt or residue.
- Inspect the crevices and edges once again to ensure that all traces of dirt have been removed. If necessary, repeat the brushing process until the spatula is completely clean.
By paying special attention to the crevices and edges of your spatula, you can ensure that no hidden residue remains. Properly cleaning these areas will help maintain the hygiene and functionality of your spatula, ensuring it’s ready for your next cooking adventure.
Step 5: Rinse Thoroughly
After scrubbing your spatula and removing all traces of dirt and residue, it’s essential to rinse it thoroughly to remove any remaining soap or cleaning solution. Follow these steps to ensure a proper rinse:
- Hold the spatula under warm running water. Make sure the water is at a comfortable temperature and not too hot.
- Rotate and maneuver the spatula to ensure that all surfaces, including the front and back, are thoroughly rinsed.
- Use your fingers or a soft cloth to gently rub the spatula while rinsing. This will help remove any leftover soap or cleaning solution.
- Continue rinsing until the water runs clear and there are no signs of soap or residue on the spatula.
Rinsing your spatula thoroughly is important to prevent any leftover soap or cleaning solution from tainting your food or affecting its taste. Properly rinsing ensures that your spatula is clean and ready for future use.
Step 6: Dry Completely
Once you’ve finished rinsing your spatula, it’s important to ensure that it is dried completely before storing it. Follow these steps to effectively dry your spatula:
- Shake off any excess water from the spatula to prevent water spots or dripping.
- Use a clean dishcloth or towel to gently pat dry the spatula. Make sure to dry all surfaces, including the handle and the head of the spatula.
- Allow the spatula to air dry for a few minutes to ensure that any remaining moisture evaporates.
- If you’re in a hurry or want to speed up the drying process, you can wipe the spatula with a dry cloth or use a hairdryer on a low heat setting to remove any lingering moisture.
Ensuring that your spatula is completely dry is crucial to prevent the growth of mold or bacteria. Storing a wet spatula can also lead to a damp and musty odor. By thoroughly drying your spatula, you’ll help maintain its cleanliness and prolong its lifespan.
Step 7: Disinfect (optional)
While regular cleaning is usually sufficient to keep your spatula clean and safe to use, you may choose to disinfect it for an extra layer of cleanliness. Follow these steps to disinfect your spatula:
- Prepare a disinfecting solution by mixing equal parts water and white vinegar or hydrogen peroxide.
- Submerge the spatula in the disinfecting solution and let it soak for 5-10 minutes. This will help kill any bacteria or pathogens present on the surface.
- After the soaking time, rinse the spatula thoroughly with water to remove any traces of the disinfecting solution.
- Alternatively, you can use disinfecting wipes or sprays specifically designed for kitchen utensils to sanitize your spatula.
It’s important to note that disinfecting is an optional step and is particularly recommended if your spatula has been in contact with raw meat or other potentially harmful substances. However, if you regularly clean your spatula using hot water and dish soap, disinfecting may not be necessary.
Step 8: Store Properly
After cleaning and drying your spatula, it’s crucial to store it properly to maintain its cleanliness and functionality. Follow these steps to ensure proper storage:
- Choose an appropriate storage location for your spatula. Ideally, it should be stored in a clean and dry area, away from any potential sources of contamination.
- If your spatula has a hole or a hanging loop, you can hang it on a hook or a utensil rack. This not only keeps your spatula easily accessible but also allows it to dry completely between uses.
- If hanging is not an option, you can place the spatula in a utensil holder or a drawer, making sure it doesn’t come into contact with other utensils to avoid cross-contamination.
- Consider using a spatula sleeve or a protective cover to keep the spatula clean and prevent dust or other debris from settling on the surface.
Proper storage helps preserve the cleanliness of your spatula and extends its lifespan. It also ensures that the spatula is readily available whenever you need it for your cooking tasks.