
Choosing the Right Materials
When building a mantel shelf for your fireplace, one of the most important steps you need to take is selecting the right materials. Your choice of materials will not only impact the aesthetic appeal of the shelf but also its durability and longevity. Here are some factors to consider when choosing the materials for your mantel shelf:
- Wood: Wood is a popular choice for mantel shelves due to its natural beauty and versatility. You can opt for hardwoods like oak, maple, or cherry for a traditional and elegant look, or go for softer woods like pine or cedar for a more rustic charm. Make sure the wood is kiln-dried to prevent warping and cracking over time.
- Stone: If you prefer a more contemporary or sleek look, consider using stone for your mantel shelf. Natural stone, such as marble or granite, can add a touch of luxury and sophistication to your fireplace. However, keep in mind that stone can be heavier and more expensive than wood.
- Metal: For a modern and minimalist design, you can also choose metal materials like stainless steel or wrought iron. Metal mantel shelves can create a sleek and industrial look, perfect for contemporary or urban-style interiors. Ensure that the metal is treated to resist rust and corrosion.
Aside from the aesthetic considerations, it’s important to choose materials that can withstand the heat generated by the fireplace. Ensure that the materials you select have been fire-rated or are specifically designed for fireplace use to prevent any safety hazards. Remember to check local building codes to ensure compliance.
Additionally, consider the overall style and decor of your living space. The material you choose for the mantel shelf should complement the existing furniture and finishes in the room. Pay attention to the color, grain pattern, and texture of the materials to ensure a cohesive and visually pleasing result.
By carefully considering the different material options for your mantel shelf, you can create a beautiful and functional addition to your fireplace that will enhance the overall aesthetic of your living space.
Taking Measurements
Accurate measurements are crucial when building a mantel shelf for your fireplace. Taking precise measurements ensures that the shelf fits perfectly, both aesthetically and functionally. Here’s a step-by-step guide on how to take accurate measurements for your mantel shelf:
- Measure the width: Start by measuring the width of the fireplace opening. Use a tape measure to determine the distance between the sidewalls or the distance between the outer edges of any existing trim.
- Measure the depth: Next, measure the depth from the wall to the front edge of the fireplace. This measurement will determine how far the mantel shelf will extend from the wall. Consider the proportions of the room and the size of the fireplace when deciding on the depth of the shelf.
- Measure the height: Measure the height from the top of the firebox opening to the desired height of the mantel shelf. Take into account any clearance requirements for the fireplace, such as flue or ventilation regulations.
- Consider the overhang: Decide on the desired overhang of the mantel shelf. This refers to how much the shelf will extend beyond the width of the fireplace. Typically, a 1-3 inch overhang is recommended for a balanced and visually pleasing look.
When measuring, make sure to take into account any irregularities or unevenness in the fireplace surround or walls. Use a level and straightedge to check for any inconsistencies and adjust your measurements accordingly.
Keep in mind that these measurements are just a starting point. Depending on your personal preferences and the style of your home, you may need to make adjustments. It’s always a good idea to create a mock-up or template of the mantel shelf using cardboard or foam board to ensure the measurements are accurate and visually appealing before proceeding with the actual construction.
By taking accurate measurements, you can ensure that your mantel shelf fits perfectly and enhances the overall look and functionality of your fireplace.
Cutting the Wood
Once you have chosen the materials for your mantel shelf and taken accurate measurements, it’s time to cut the wood to the correct dimensions. Follow these steps to cut the wood for your mantel shelf:
- Gather the necessary tools: Equip yourself with essential woodworking tools such as a circular saw, miter saw, or table saw, depending on the type of cuts you need to make. Ensure that the blades are sharp and in good condition for clean cuts.
- Mark the measurements: Use a measuring tape and a pencil to mark the measurements directly on the wood. Double-check the accuracy of the measurements before making any cuts.
- Safety first: Before proceeding, put on safety goggles and gloves to protect yourself from any potential harm.
- Cut the pieces: Begin by cutting the main horizontal piece of the mantel shelf according to the measured width. Use a straightedge or a guide to ensure a straight and precise cut. Next, cut the side vertical pieces to the desired height. If there are any decorative elements, such as corbels or brackets, cut them accordingly.
- Make any additional cuts: If your mantel shelf design includes angled or mitered edges, use a miter saw or a table saw to make the necessary cuts. Take your time and ensure that the angles are accurate for a seamless fit.
- Sand the edges: After cutting the wood, use sandpaper or a sanding block to smooth out any rough edges or imperfections. This step will ensure a professional and polished appearance for your mantel shelf.
Remember to always measure twice and cut once to prevent any mistakes and wasted materials. Take your time and work with precision to achieve clean and accurate cuts.
Additionally, it’s a good idea to label the cut pieces and organize them in the order of assembly to avoid confusion during the next steps of the construction process.
By cutting the wood with care and precision, you can create the necessary components for your mantel shelf and move forward with the assembly process.
Sanding and Finishing
Once you have cut the wood for your mantel shelf, it’s time to sand and finish the pieces to achieve a smooth and polished surface. Sanding and finishing not only improve the appearance of the shelf but also protect the wood from moisture and wear. Follow these steps to sand and finish your mantel shelf:
- Prepare the workspace: Find a well-ventilated area, preferably outdoors, to sand and finish the wood. Lay down a drop cloth or newspaper to catch any dust or drips.
- Sand the wood: Start by using coarse-grit sandpaper to remove any rough spots or imperfections caused by cutting. Sand along the grain to achieve a smooth and even surface. Gradually switch to finer-grit sandpaper (e.g., 120 to 220) to achieve a polished finish.
- Round the edges: To add a subtle decorative touch, consider rounding the exposed edges of the mantel shelf with sandpaper or a router. This can soften the appearance and prevent sharp edges.
- Clean the wood: After sanding, use a tack cloth or a soft brush to remove any dust or debris from the wood. Ensure that the surface is clean and free of particles before applying any finishes.
- Apply the finish: Choose a finish that aligns with your desired aesthetics and the durability required for your mantel shelf. Options include stain, paint, varnish, or a combination of these. Apply the finish using a brush or a cloth, following the manufacturer’s instructions. Allow the finish to dry completely between coats, and sand lightly between each application for a smooth and even finish.
- Protect the finish: To protect the finish and prolong the life of your mantel shelf, consider applying a clear topcoat or a sealant. This will provide added resistance against moisture, UV rays, and everyday wear and tear.
Remember to work in a well-ventilated area and use protective gear, such as goggles and gloves, when sanding and applying finishes. Follow all product instructions and allow ample drying time between each step.
Sanding and finishing your mantel shelf will enhance its appearance and provide a protective layer, ensuring its longevity and beauty for years to come.
Assembling the Shelf
Once you have prepared the wood for your mantel shelf by cutting, sanding, and finishing, it’s time to assemble the pieces. Assembling the shelf requires careful attention to detail to ensure a sturdy and secure final product. Follow these steps to assemble the mantel shelf:
- Dry fit the pieces: Before permanently attaching the components, do a dry fit to ensure that all pieces align correctly and the measurements are accurate. Make any necessary adjustments if the pieces don’t fit together properly.
- Apply adhesive: Use a strong wood adhesive, such as wood glue or construction adhesive, to bond the joints and secure the pieces together. Apply the adhesive to the mating surfaces as per the manufacturer’s instructions.
- Clamp the pieces: Use clamps to hold the pieces firmly together while the adhesive dries. Make sure the clamps are evenly distributed to apply consistent pressure. Use a damp cloth to wipe off any excess adhesive that squeezes out of the joints.
- Check for squareness: Use a carpenter’s square or a measuring tape to check if the assembled mantel shelf is perfectly square. This will ensure that the shelf sits flush against the wall when installed.
- Allow the adhesive to dry: Follow the recommended drying time specified by the adhesive manufacturer. Avoid applying any stress or weight to the assembled shelf until the adhesive has fully cured.
While assembling the mantel shelf, it’s essential to work patiently and double-check the alignment and measurements at each step. Any mistakes during this process can lead to an unstable or crooked shelf.
If your mantel shelf design includes corbels, brackets, or other decorative elements, make sure to attach them securely to the main structure following the manufacturer’s instructions.
By carefully assembling the pieces and allowing the adhesive to properly dry, you’ll create a sturdy and well-built mantel shelf that is ready for installation.
Attaching the Shelf to the Wall
Once you have assembled the mantel shelf, it’s time to attach it securely to the wall above your fireplace. Proper installation is essential to ensure the safety and stability of the shelf. Follow these steps to attach the mantel shelf to the wall:
- Locate the wall studs: Use a stud finder to locate the wall studs behind the drywall. Mark the location of the studs with a pencil.
- Measure and mark: Measure and mark the desired height for the mantel shelf on the wall. Use a level to ensure that the marks are straight and level.
- Position the mantel: With the help of a friend or family member, carefully lift the mantel shelf and position it against the wall at the marked height. Double-check the alignment and make any necessary adjustments.
- Attach the shelf: Use a drill and screws to secure the mantel shelf to the wall studs. Make sure to drive the screws into the studs for maximum stability. Alternatively, if there are no studs available at the desired mounting location, use wall anchors or toggle bolts to provide sufficient support.
- Check for level: Use a level to ensure that the mantel shelf is straight and level once it is attached to the wall. Make any adjustments as needed.
- Fill the screw holes: If desired, fill the screw holes with wood putty or a filler that matches the color of the mantel shelf. This will create a seamless and finished look.
- Allow for curing time: If you used any adhesives or fillers during the installation process, allow sufficient time for them to fully cure before proceeding to the next steps.
It’s essential to follow the manufacturer’s instructions when attaching the mantel shelf and use appropriate hardware for your specific wall type. If you are unsure about the installation process, consult a professional or seek guidance from an experienced contractor.
By securely attaching the mantel shelf to the wall, you’ll create a safe and stable foundation for your fireplace display and decorations.
Mounting the Mantel Shelf
After securely attaching the mantel shelf to the wall, the next step is to mount it and ensure that it is level and stable. Proper mounting is crucial to prevent any accidents or damage. Follow these steps to mount the mantel shelf:
- Prepare the mounting hardware: Depending on the design of your mantel shelf, you may need to use mounting brackets, cleats, or other hardware. Ensure that you have the necessary hardware and that it is compatible with the mounting surface and weight of the shelf.
- Position the mounting hardware: Determine the appropriate positioning of the mounting hardware based on the design and structure of your mantel shelf. Follow the manufacturer’s instructions to ensure proper installation.
- Secure the hardware: Using a drill and screws, secure the mounting hardware to the back of the mantel shelf. Make sure to drive the screws tightly to ensure a secure attachment.
- Mark the mounting location: With the help of a level, mark the mounting location on the wall. Double-check the alignment and make any necessary adjustments.
- Secure the shelf to the wall: Lift the mantel shelf and carefully position it onto the mounted hardware. Ensure that the shelf is level and aligned with the markings on the wall. Double-check for any gaps or unevenness.
- Secure the shelf in place: Using screws or other appropriate fasteners, secure the mantel shelf to the mounting hardware. Follow the manufacturer’s instructions and ensure that the screws or fasteners are tight and secure.
- Check for stability: Once the mantel shelf is mounted, gently test its stability. Ensure that it is securely attached to the wall and does not wobble or move.
It’s important to use appropriate hardware and follow proper mounting techniques to ensure the stability and safety of your mantel shelf. If you are unsure about the mounting process, consider seeking assistance from a professional or experienced installer.
By properly mounting the mantel shelf, you can enjoy a beautifully displayed fireplace focal point that enhances the overall aesthetics of your space.
Decorating the Mantel Shelf
Once you have completed the construction and installation of your mantel shelf, it’s time to unleash your creativity and decorate it to enhance the overall look and feel of your space. The mantel shelf serves as a focal point, and through thoughtful decoration, you can showcase your personal style and add charm to your fireplace area. Here are some decorating ideas to inspire you:
- Display artwork or mirrors: Hang a piece of art or a mirror above the mantel shelf to create a visually pleasing backdrop. Choose artwork or mirrors that complement the style and color scheme of your room.
- Add greenery: Incorporate plants or flowers on the mantel shelf to bring a touch of nature and freshness to the space. Opt for potted plants, vases of flowers, or even a small terrarium.
- Showcase collectibles: Use the mantel shelf to display your favorite collectibles or decorative items. This could include sculptures, figurines, or sentimental objects that reflect your personality.
- Install lighting: Consider adding task lighting or accent lighting to highlight specific objects or elements on the mantel shelf. This can create a warm and inviting ambiance in the room.
- Include candles: Arrange candles of varying heights and sizes on the mantel shelf to create a cozy and intimate atmosphere. Choose scented candles or candle holders that match your decor style.
- Show off books: Stack books on the mantel shelf, either vertically or horizontally, to add visual interest and create a cozy reading nook. You can also display a decorative bookend or book holder.
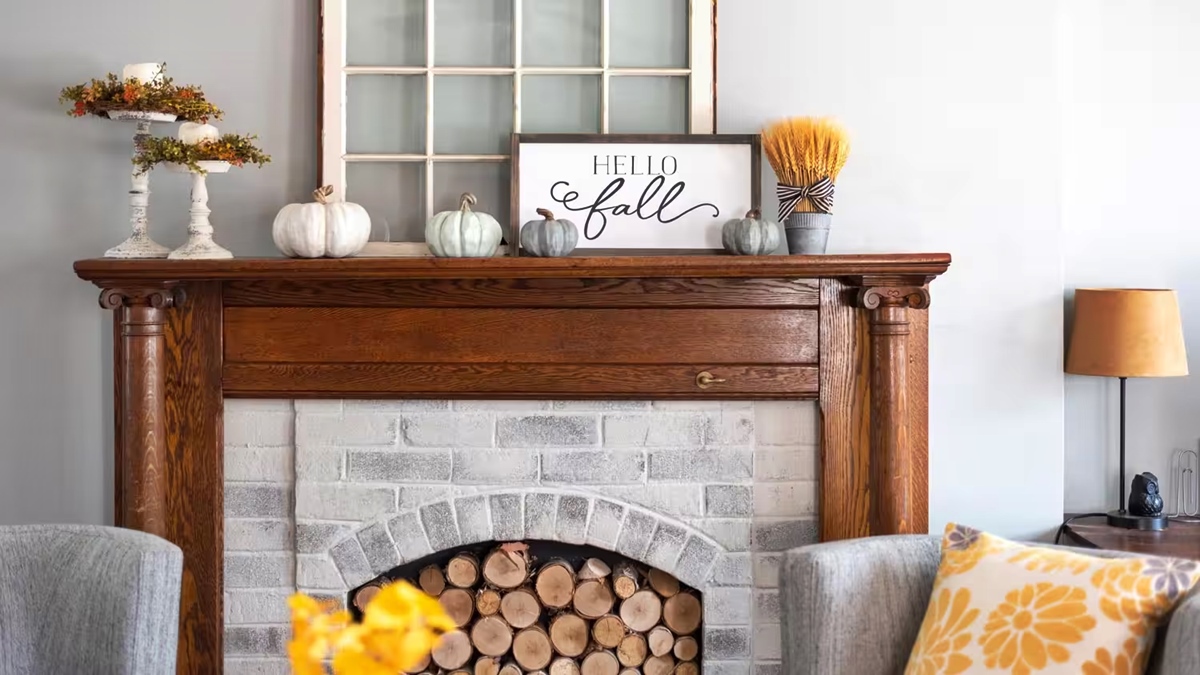
- Add seasonal elements: Swap out decor items based on the season or upcoming holidays. Incorporate seasonal wreaths, garlands, or festive ornaments to give your mantel shelf a fresh and festive look.
Experiment with different arrangements and combinations to find the perfect display that suits your style and complements your overall decor. You can easily change the decorations whenever you want to refresh the look or create a new theme.
Remember to keep the scale and proportion in mind when styling your mantel shelf. Strive for balance, symmetry, or asymmetry, depending on your desired aesthetic. Take a step back and assess the overall look to ensure that it is visually appealing.
By incorporating decorative elements, you can transform your mantel shelf into an eye-catching centerpiece that adds character and personality to your living space.
Maintenance Tips
To keep your mantel shelf looking beautiful and in good condition, regular maintenance is essential. Follow these maintenance tips to ensure the longevity and durability of your mantel shelf:
- Clean regularly: Dust and wipe down the mantel shelf regularly to remove any dirt, debris, or particles. Use a soft cloth or microfiber cloth to avoid scratching the surface.
- Avoid moisture: Keep the mantel shelf dry and free from moisture. Avoid placing wet or damp objects directly on the shelf, as it can lead to water damage or warping of the wood.
- Protect from heat: If your mantel shelf is located above a working fireplace, make sure it is properly protected from excessive heat. Use a fireplace screen or install a heat-resistant barrier to prevent damage to the shelf.
- Inspect for damage: Regularly inspect the mantel shelf for any signs of damage, such as cracks, chips, or loose screws. Address any issues promptly to prevent further damage or accidents.
- Refinish when needed: Over time, the finish on your mantel shelf may wear off or become dull. If needed, refinish the shelf by sanding it down gently and applying a fresh coat of stain, paint, or varnish.
- Avoid direct sunlight: If your mantel shelf is exposed to direct sunlight, consider using window treatments or UV-protective film to prevent fading or discoloration of the wood.
- Be cautious with decorations: When placing and arranging decorations on the mantel shelf, avoid using heavy or sharp objects that can scratch or damage the surface. Use protective pads or coasters under objects that may cause scratches.
- Check for stability: Occasionally, check the mounting and attachment of the mantel shelf to ensure it is still secure and stable. Tighten any loose screws or fasteners if necessary.
- Follow manufacturer’s instructions: If your mantel shelf has specific care and maintenance instructions provided by the manufacturer, be sure to follow them to ensure proper upkeep and to maintain any warranties.
By following these maintenance tips, you can prolong the life of your mantel shelf and keep it looking beautiful for years to come.