
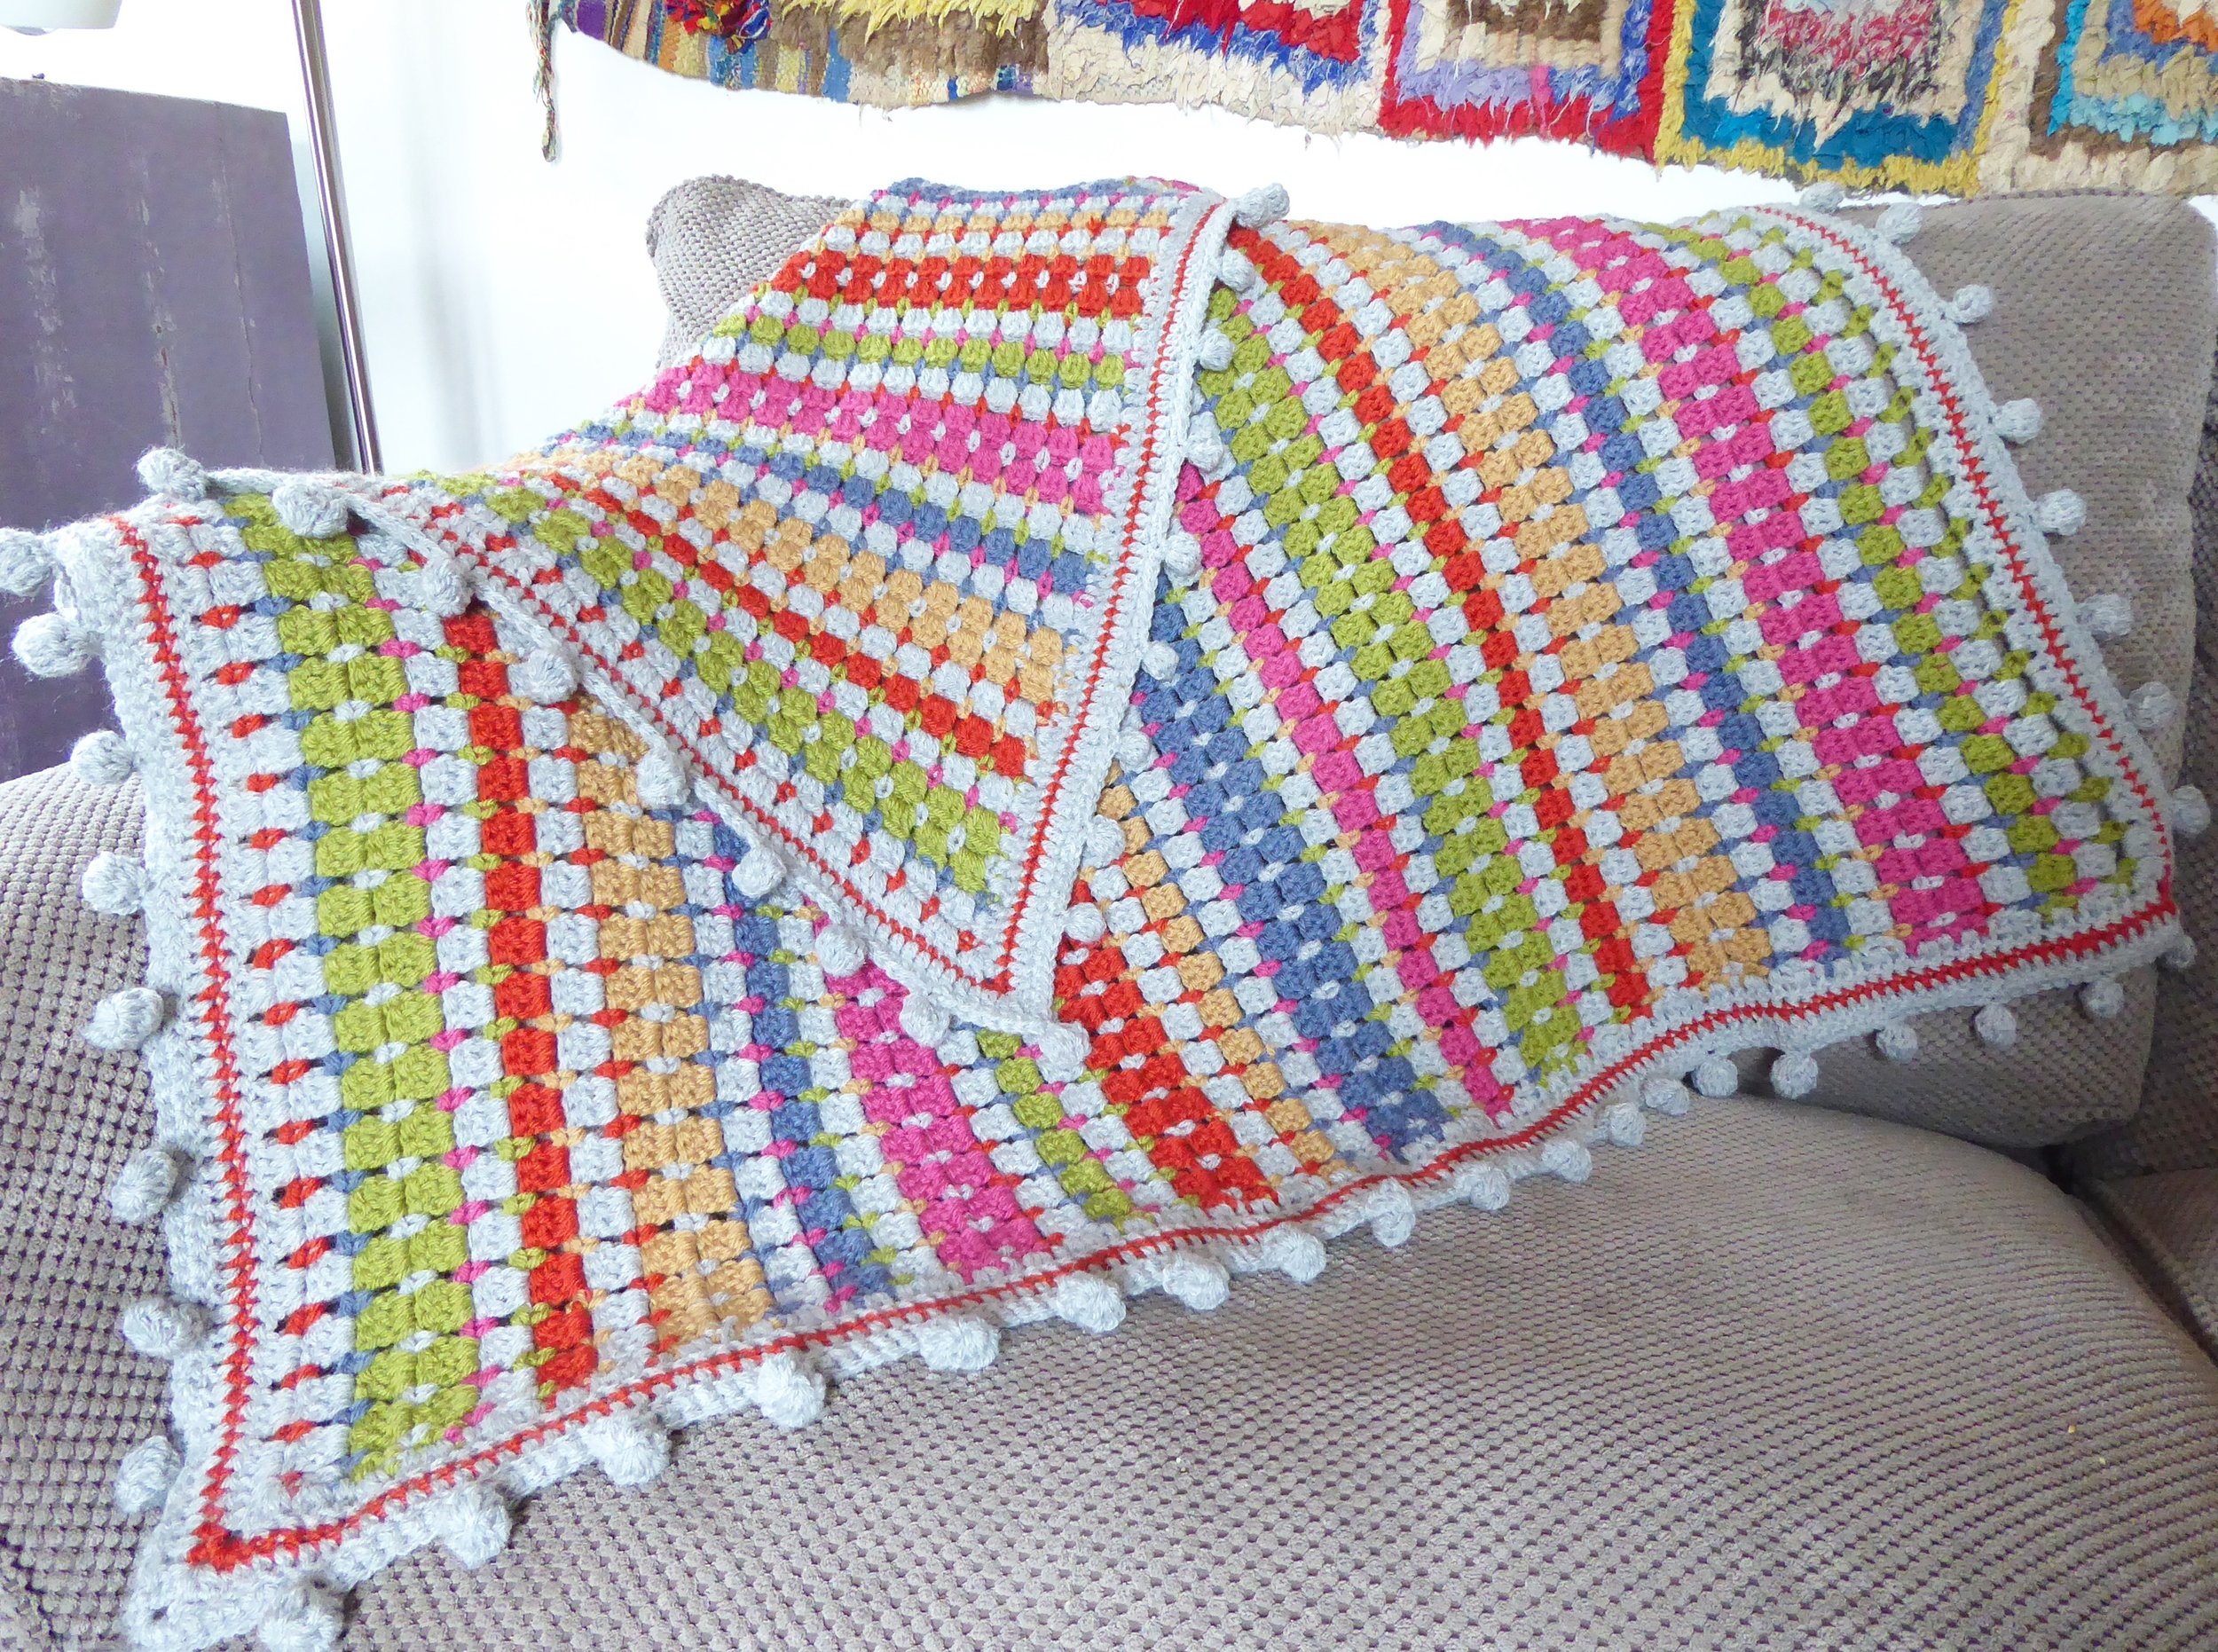
What is Blocking?
Blocking is an essential technique in the world of crochet, used to give your finished projects a polished and professional look. It involves reshaping and sizing a crocheted item to help it achieve the desired dimensions and to ensure that the stitches are even and balanced.
When you crochet a blanket, the individual stitches can become distorted or uneven due to tension variations, stretching during the stitching process, or the natural tendencies of the yarn. Blocking can correct these imperfections by allowing the fibers to relax and settle into their proper place.
There are different methods of blocking, including wet blocking, steam blocking, and pin blocking. Each method has its own advantages and is suitable for different types of yarn and preferences. The choice depends on the desired outcome and the materials you are working with.
Blocking is not only limited to blankets; it can be utilized for any crocheted item, such as garments, accessories, or home decor. It can make a significant difference in the appearance and drape of your finished project, enhancing the overall beauty and quality.
By taking the time to block your crochet blanket, you are investing in the longevity of your creation. It allows the stitches to settle, ensuring that the blanket maintains its shape and structure even after regular use and washing.
Why Block a Crochet Blanket?
Blocking a crochet blanket may seem like an extra step in the finishing process, but it offers several benefits that are worth the time and effort. Here are some reasons why you should consider blocking your crochet blanket:
- Evenness of Stitches: When you complete a large crochet project, such as a blanket, it’s common for the stitches to be uneven or distorted due to the tension variations or stretching during the stitching process. Blocking helps to even out the stitches, making your blanket look more professional and polished.
- Shape and Size: Blocking allows you to adjust the shape and size of your crochet blanket. If your blanket has become stretched out or has inconsistent dimensions, blocking can help rectify these issues, ensuring that it has the desired measurements.
- Opens up Lacework and Stitch Patterns: If your crochet blanket features lacework or intricate stitch patterns, blocking is essential to showcase the beauty of these designs. Blocking helps to stretch out the fabric, making the lace or stitches more defined and visually appealing.
- Improved Drape: Blocking enhances the drape and flow of the crochet fabric. It allows the yarn fibers to relax, settle, and align correctly, resulting in a more fluid and graceful drape of your blanket.
- Professional Finishing: Blocking gives your crochet blanket a finished and professional look. It smooths out any imperfections, such as uneven edges or bumps, giving your blanket a polished appearance that will impress both yourself and others.
Overall, blocking is a crucial step in achieving the best possible outcome for your crochet blanket. It ensures the evenness of stitches, corrects shaping issues, highlights intricate stitch patterns, improves drape, and gives a professional finishing touch. So, don’t overlook the benefits of blocking and take the time to transform your crochet blanket into a true work of art.
Materials Needed for Blocking
Before you begin blocking your crochet blanket, it’s important to gather the necessary materials to ensure a successful outcome. Here are the primary materials you’ll need:
- Pins: Choose rustproof T-pins or blocking pins that are long enough to penetrate through the fabric and hold it in place. These pins will secure your blanket to the blocking surface during the blocking process.
- Blocking Surface: You’ll need a clean, flat surface to lay your blanket on during blocking. This can be a foam blocking mat, a padded ironing board, or even an old towel or bedsheet.
- Measuring Tape: A measuring tape is essential for checking the dimensions of your blanket and ensuring that it is blocked to the desired size.
- Spray Bottle: If you’re planning to wet block your blanket, a spray bottle filled with water will be handy to moisten the fabric evenly.
- Steamer or Iron: If you prefer steam blocking, you’ll need a steamer or an iron with a steam function. Make sure to follow the manufacturer’s instructions for using them safely.
- Clean Towels: Have a few clean towels or absorbent cloths on hand to remove excess moisture during wet blocking.
- Optional: Blocking Wires: If you’re working on a project with intricate lacework or delicate edges that require precise shaping, blocking wires can be a useful tool. They help to maintain straight lines and smooth edges.
It’s important to note that different blocking methods may require additional materials. For instance, if you’re combining wet blocking with pin blocking, you’ll need extra pins to secure the edges. Likewise, if you’re steam blocking, a pressing cloth can be beneficial to protect your crochet fabric from direct contact with the iron.
By ensuring you have the necessary materials on hand, you’ll be equipped to effectively block your crochet blanket and achieve the desired results. So gather these materials together before you begin your blocking journey.
Preparing the Blanket for Blocking
Before you can start the blocking process, it’s essential to prepare your crochet blanket properly. Preparing the blanket ensures that it is clean, free from any loose fibers or debris, and ready for the blocking method of your choice. Follow these steps to prepare your blanket for blocking:
- Clean the Blanket: Gently hand wash your crochet blanket using a mild detergent appropriate for the type of yarn used. Avoid using harsh chemicals or agitating the fabric too vigorously, as this can cause damage to your hard work. Rinse thoroughly and gently squeeze out excess water, taking care not to wring or twist the blanket.
- Remove Excess Water: Lay the blanket on a clean towel and roll it up to press out excess water. Avoid vigorous wringing, as it can stretch and misshape the fabric.
- Spread the Blanket: Lay your pre-washed blanket onto the blocking surface, such as a foam blocking mat or a padded ironing board. Smooth out any wrinkles or folds gently.
- Measure and Pin: If you have specific dimensions in mind for your crochet blanket, use a measuring tape to ensure the blanket is stretched to the desired size. Pin the edges of the blanket to the blocking surface, using T-pins or blocking pins. This will help keep the blanket in position while it dries and during the blocking process.
- Shape the Blanket: Gently manipulate the blanket into the desired shape. If you’re working with a square or rectangular blanket, make sure the corners are squared off. For circular or oval blankets, ensure the edges are smooth and even.
- Wet Blocking: If you are wet blocking your blanket, evenly spray it with water using a spray bottle. Make sure to moisten the fabric thoroughly but not to the point where it is soaked. Allow the blanket to dry completely before unpinning.
- Steam Blocking: For steam blocking, hold the steamer or iron a few inches away from the fabric and lightly steam the surface. Take caution not to press the fabric with the steamer or iron directly, as it can flatten the stitches. Allow the blanket to cool and dry completely before unpinning.
<
It’s important to be patient during the drying process to prevent any distortion or misshape. Once the blanket is completely dry, unpin it carefully, removing the pins one by one to avoid snags or damage to the fabric.
By properly preparing your crochet blanket for blocking, you will ensure that the blocking process goes smoothly, allowing you to achieve the desired shape and dimensions for your finished project.
Wet Blocking Method
Wet blocking is a popular and effective method for shaping and sizing crochet blankets. This method involves soaking the blanket in water, allowing the fibers to relax and settle into their intended position. Here’s how to wet block your crochet blanket:
- Fill a Container: Start by filling a clean basin or sink with lukewarm water. The water should be at a comfortable temperature for your hands and not too hot, as it can cause the colors to bleed or the yarn to become damaged.
- Submerge the Blanket: Gently lower the crochet blanket into the water, making sure it is fully submerged. Lightly press the fabric down to ensure it is saturated with water.
- Soak the Blanket: Let the blanket soak in the water for about 15 to 30 minutes. This allows the fibers to absorb moisture and relax, making them more pliable for the shaping process.
- Remove Excess Water: Carefully lift the blanket out of the water, supporting the weight with your hands or using the help of a clean towel. Avoid twisting or wringing the fabric, as this can cause stretching or damage to the stitches.
- Lay the Blanket: Place the saturated blanket onto a clean and absorbent towel. Gently roll up the towel with the blanket inside to press out excess water. Repeat this process with another dry towel if needed.
- Pin the Blanket: Lay the damp blanket onto the blocking surface and spread it out to the desired shape and dimensions. Secure the edges of the blanket using T-pins or blocking pins, making sure the corners are square and the fabric is smooth and flat.
- Allow the Blanket to Dry: Leave the blanket undisturbed in a well-ventilated area to dry completely. This can take anywhere from 24 to 48 hours, depending on the yarn and the humidity level. Avoid direct sunlight, as it can fade the colors.
- Unpin and Enjoy: Once the blanket is completely dry, carefully remove the pins, lifting them one by one to prevent any snags or damage to the fabric. Your crochet blanket is now beautifully blocked and ready to be enjoyed!
Wet blocking is particularly effective for natural fibers such as wool or cotton, as they have a tendency to hold their shape when wet. However, it’s important to consider the care instructions for the specific yarn you’re using, as some synthetic fibers may require alternative blocking methods.
By following these steps, you can successfully wet block your crochet blanket, giving it a professional finish and ensuring that the stitches are even and balanced.
Steam Blocking Method
Steam blocking is an alternative method for shaping and sizing crochet blankets that uses the power of steam to relax the yarn fibers. This method is particularly useful for delicate or synthetic yarns that may not tolerate wet blocking well. Here’s how to steam block your crochet blanket:
- Set up Your Steamer or Iron: To steam block your crochet blanket, you will need a handheld steamer or an iron with a steam function. Ensure that your steamer or iron is clean and in good working condition.
- Prep Your Blocking Surface: Lay a clean towel or padded ironing board on your blocking surface to protect it from any potential moisture or heat damage.
- Position the Blanket: Place your crochet blanket on top of the protective towel or ironing board, ensuring that it is smooth and free of any wrinkles or folds.
- Steam the Blanket: Hold the steamer or iron a few inches away from the fabric and gently steam the entire surface of the blanket. Move the steamer or iron in a sweeping motion, evenly distributing the steam across the fabric. Avoid pressing the fabric directly with the steamer or iron, as this can flatten the stitches.
- Shape and Size: While steaming, use your hands to gently reshape the blanket as desired. Pull on the edges to make them straight and smooth out any bumps or uneven sections. If necessary, measure the blanket to ensure it is at the desired dimensions.
- Allow the Blanket to Cool and Dry: After steaming, allow the blanket to cool completely before unpinning. This will ensure that the stitches retain their shape. Depending on the yarn and the ambient temperature, the drying process may take a few hours.
- Unpin and Enjoy: Once the blanket is cool and dry, carefully remove the pins, lifting them one by one to prevent any snags or damage to the fabric. Your crochet blanket is now beautifully blocked and ready to be admired!
Steam blocking is a quick and efficient method, perfect for those who prefer not to immerse their projects in water. It is particularly useful for delicate yarns or projects with intricate stitch patterns that may be prone to distortion with wet blocking.
When using steam to block your crochet blanket, ensure that you follow the manufacturer’s instructions for your specific steamer or iron. Be cautious not to expose the fabric to heat or steam for too long, as it can cause damage to sensitive fibers.
With these steps, you can effectively steam block your crochet blanket, achieving the desired shape and size while preserving the integrity of delicate or synthetic yarns.
Pin Blocking Method
Pin blocking is a popular method for shaping and sizing crochet blankets, particularly when you want to maintain the flexibility to adjust the shape during the blocking process. This method involves securing the edges of the blanket with pins to hold it in place as it dries. Here’s how to pin block your crochet blanket:
- Prepare Your Blocking Surface: Lay a clean towel or foam blocking mat on your blocking surface to provide a surface for pinning and to absorb any excess moisture.
- Spread Out the Blanket: Lay your crochet blanket flat on the blocking surface, gently smoothing out any wrinkles or folds to ensure an even surface.
- Measure and Shape: If you have specific dimensions in mind, use a measuring tape to check the size of your blanked and adjust as needed. Shape the blanket into the desired shape, making sure the corners are square and the edges are straight.
- Pin the Edges: Starting from one corner, use T-pins or blocking pins to secure the edges of the blanket to the blocking surface. Space the pins evenly, about 1-2 inches apart, ensuring the blanket lies flat without any puckering or distortion.
- Adjust and Smooth: With the edges secured, assess the overall shape of the blanket and make any necessary adjustments. You can gently tug on the fabric or stretch it to achieve the desired shape.
- Let It Dry: Once the blanket is properly pinned and shaped, let it dry completely. This can take anywhere from 24 to 48 hours, depending on the thickness of the yarn and the ambient humidity level.
- Remove the Pins: Once the blanket is dry, carefully remove the pins, lifting them one by one to prevent any snags or damage to the fabric. Take your time and pay attention to the stitches as you remove the pins.
Pin blocking allows for greater flexibility in adjusting the shape and dimensions of your crochet blanket compared to other blocking methods. It is recommended for blankets with intricate stitch patterns or uneven edges that require more precise adjustments.
While pin blocking can take longer to dry compared to other methods, it offers the advantage of allowing you to periodically reassess the blanket’s shape and make any necessary modifications during the drying process.
Follow these steps to successfully pin block your crochet blanket, achieving the desired shape and size with precision and control.
Combining Blocking Methods
When it comes to blocking crochet blankets, you’re not limited to just one method. In fact, combining different blocking techniques can yield even better results. By incorporating multiple methods, you can address specific challenges and enhance the overall appearance of your blanket. Here are some ways to combine blocking methods:
- Wet and Pin Blocking: This combination is particularly useful for blankets with intricate stitch patterns or those that require significant reshaping. Start by wet blocking the blanket to relax the fibers and even out the stitches. Once the blanket is partially dry, use pin blocking to fine-tune the shape and stretch specific areas as needed.
- Steam and Pin Blocking: When working with delicate or synthetic yarns that may not tolerate wet blocking well, combining steam and pin blocking can be effective. Begin by steam blocking the blanket to relax the fibers and achieve the desired shape. After steaming, use pin blocking to secure the edges and maintain the shape as the blanket dries.
- Pinning and Spot Blocking: Pinning is often combined with spot blocking, which focuses on specific areas of the blanket that require extra attention. Use pin blocking to secure the edges and major parts of the blanket, and then use additional pins to shape and stretch problematic areas, such as uneven edges or corners.
- Combining Wet, Steam, and Pin Blocking: For blankets that require extensive reshaping or correction, a combination of wet, steam, and pin blocking can be employed. Wet blocking relaxes the fibers, steam blocking helps reshape the fabric, and pin blocking secures the blanket in place during the drying process.
When combining blocking methods, it’s essential to consider the characteristics of your yarn, the desired outcome, and any specific challenges you need to address. Every crochet project is unique, and the combination of blocking techniques can be tailored to meet its individual needs.
Remember to follow the instructions for each blocking method carefully and allow sufficient drying time between different stages of blocking. Do not rush the process to avoid damaging the fabric or compromising the final result.
By combining blocking methods, you can maximize the benefits of each technique and achieve a perfectly blocked crochet blanket that showcases your skills and ensures a professional finish.
Blocking Do’s and Don’ts
Blocking is an important step in achieving a professional and polished finish for your crochet blanket. To ensure the best possible results, here are some do’s and don’ts to keep in mind:
Do’s:
- Do read the care instructions: Before blocking, review the care instructions for your yarn to ensure that it is suitable for your chosen blocking method.
- Do block all your crochet pieces: Not just blankets, but also garments and accessories can benefit from blocking. Take time to block all the parts of your project for a more uniform and finished look.
- Do test a small swatch: If you’re unsure about how a specific yarn or stitch pattern will react to blocking, it’s a good idea to make a small swatch and block it first to avoid surprises.
- Do allow enough drying time: Be patient and allow your crochet blanket to dry completely before unpinning or moving it. Rushing the process can result in distorted or misshapen stitches.
- Do block with intention: Have a clear vision of how you want your crochet blanket to look and the dimensions you want to achieve. Measure and shape the blanket accordingly to achieve your desired results.
Don’ts:
- Don’t skip the preparatory steps: Taking the time to prepare your blanket properly before blocking is crucial. Ensure it is clean, free from loose fibers, and laid out flat on a clean blocking surface.
- Don’t use excessive force: During the blocking process, handle your crochet blanket with care. Avoid stretching, pulling, or manipulating the fabric too forcefully, as this can lead to distortion or damage to the stitches.
- Don’t expose delicate fibers to heat: When using the steam blocking method, be cautious not to subject delicate or synthetic yarns to too much heat. Ensure that your iron or steamer is set at the appropriate temperature and keep a safe distance from the fabric to avoid damage.
- Don’t rush the drying process: Allow your crochet blanket to dry naturally and completely. Avoid using excessive heat or direct sunlight, as it can cause fading or damage to the yarn fibers.
- Don’t forget to enjoy the process: Blocking may require time and effort, but take pleasure in the transformation of your crochet blanket. Embrace the opportunity to enhance its beauty and appreciate the craftsmanship of your work.
By keeping these do’s and don’ts in mind, you’ll be better prepared to tackle the blocking process with confidence and achieve outstanding results for your crochet blanket. Happy blocking!
Tips for Successful Blocking
Blocking can significantly enhance the appearance and quality of your crochet blanket. To ensure a successful blocking process and achieve the best possible results, consider the following tips:
- Tip 1: Read and understand the pattern: Before starting the blocking process, thoroughly read and understand the crochet pattern for your blanket. Familiarize yourself with the recommended blocking method and any specific instructions provided by the pattern designer.
- Tip 2: Practice on a swatch: If you’re unsure about how your yarn or stitch pattern will react to blocking, it’s a good idea to create a small swatch and block it first. This will help you determine the appropriate blocking technique and prevent any surprises or disappointments with the final result.
- Tip 3: Use blocking aids: Implement blocking aids such as blocking wires, rulers, or templates to help maintain accurate dimensions and shape during the blocking process. These aids can be especially useful for complex stitch patterns or when achieving precise symmetry is important.
- Tip 4: Monitor the humidity: Ambient humidity can play a role in how quickly your crochet blanket dries during the blocking process. In areas with high humidity, consider using a dehumidifier or placing a fan nearby to help expedite drying.
- Tip 5: Check the fiber content: Different yarn fibers behave differently during blocking. Natural fibers like wool or cotton have more memory and are more amenable to shape changes, while synthetic fibers may not hold their shape as well. Tailor your blocking technique to suit the specific fiber content of your yarn.
- Tip 6: Test colorfastness: If you’re concerned about the vibrancy of the colors in your crochet blanket, perform a colorfastness test before blocking. Dampen a colored cloth and gently rub it against the yarn to see if any color transfers. If so, consider using a color catcher or blocking your project with a towel to prevent color bleeding.
- Tip 7: Take progress photos: Document the blocking process by taking progress photos. This will not only allow you to appreciate the transformation but also serve as a reference for future projects or troubleshooting.
- Tip 8: Block in a clean environment: Ensure that your blocking surface is clean and free from dust or debris that could transfer onto your blanket. Keep pets away from the area to avoid any unwanted fibers or fur adhering to the damp fabric.
- Tip 9: Consider steam or spritzing: If you encounter stubborn wrinkles or uneven areas during blocking, carefully use a handheld steamer or spray bottle to apply steam or water to specific spots. Gently pat or smooth the dampened area to encourage the fibers to relax and reshape.
- Tip 10: Prioritize patience: Blocking takes time, and rushing the process can lead to unsatisfactory results. Exercise patience and allow your crochet blanket to dry completely before unpinning or using it.
By following these tips, you’ll be well-equipped to successfully block your crochet blanket, enhancing its appearance and showcasing your stitches with pride.
Frequently Asked Questions about Blocking Crochet Blankets
Blocking crochet blankets can sometimes raise questions and uncertainties. Here are answers to some frequently asked questions to help clarify the process:
Q1: Do I need to block all crochet blankets?
A1: While blocking is not mandatory, it is highly recommended for achieving a professional and polished finish. Blocking can even out stitches, improve the drape, and ensure the blanket maintains its shape over time.
Q2: When should I block my crochet blanket?
A2: It is best to block your crochet blanket once it is complete and before adding any embellishments or joining pieces together. Blocking helps to address any tension variations, reshape the fabric, and prepare it for the final assembly.
Q3: What blocking method should I use?
A3: The choice of blocking method depends on the yarn used, the desired outcome, and personal preference. Wet blocking is suitable for natural fibers, steam blocking works well for delicate or synthetic yarns, and pin blocking is useful for precise shaping. Choose the method that best suits your project.
Q4: Can I block my crochet blanket without pins?
A4: While pins provide stability and control during blocking, they are not always necessary. You can achieve some level of blocking by gently shaping the blanket and allowing it to air dry flat on a clean surface. However, using pins helps to maintain the desired dimensions and shape more effectively.
Q5: How long does it take for a crochet blanket to dry after blocking?
A5: The drying time after blocking can vary depending on factors such as yarn thickness, humidity levels, and ambient temperature. On average, it can take anywhere from 24 to 48 hours. Make sure to allow sufficient time for the blanket to dry completely before unpinning or using it.
Q6: Can I block my acrylic yarn blanket?
A6: Acrylic yarn has less elasticity compared to natural fibers, making it less responsive to blocking. However, you can still block acrylic blankets using the steam or pin blocking method with caution. Avoid using excessive heat and steam, as acrylic yarn can be sensitive to heat damage.
Q7: Can I block a blanket made with mixed yarns?
A7: Yes, you can block a blanket made with mixed yarns. Consider the characteristics and care instructions for each yarn in the blend when choosing the appropriate blocking method. Take extra care not to damage any delicate or heat-sensitive fibers within the mix.
Q8: Can I block a blanket that has a decorative border?
A8: Yes, you can block a blanket with a decorative border. When pinning, pay close attention to the border to ensure it is straight and evenly shaped. Use additional pins if needed to secure any intricate details or scalloped edges.
Q9: Can I reblock a blanket if I’m not satisfied with the initial result?
A9: Yes, you can reblock a blanket if you’re not satisfied with the initial outcome. Wet or steam blocking can be reversed by soaking or re-steaming the blanket and re-shaping it. However, it’s important to be gentle with the fibers to prevent damage or distortion.
Q10: How often should I block my crochet blanket?
A10: The frequency of blocking depends on the usage and care of your blanket. Generally, it is not necessary to block your blanket after every wash. However, if your blanket loses its shape or needs refreshing, you can reblock it as needed to restore its appearance.
By understanding these frequently asked questions about blocking crochet blankets, you can feel more confident in the process and achieve the desired results with your own projects.