
Types of Candles Made with Beeswax
Beeswax is a versatile material that can be used to create a wide range of candles, each with its own unique characteristics and benefits. Here are some popular types of candles made with beeswax:
- Pillar Candles: Pillar candles are cylindrical in shape and can stand alone, making them perfect for decorative purposes. Beeswax pillar candles have a natural golden color and a pleasant honey-like scent when burned, creating a warm and inviting atmosphere.
- Taper Candles: Taper candles are long and slender, designed to fit into candle holders. Beeswax taper candles have a slow and even burn, producing a beautiful natural glow. They are often used for formal occasions and add an elegant touch to any setting.
- Votive Candles: Votive candles are small and compact, typically placed in glass holders. Beeswax votive candles have a longer burn time compared to other materials, making them ideal for extended periods of use or for creating a cozy ambiance.
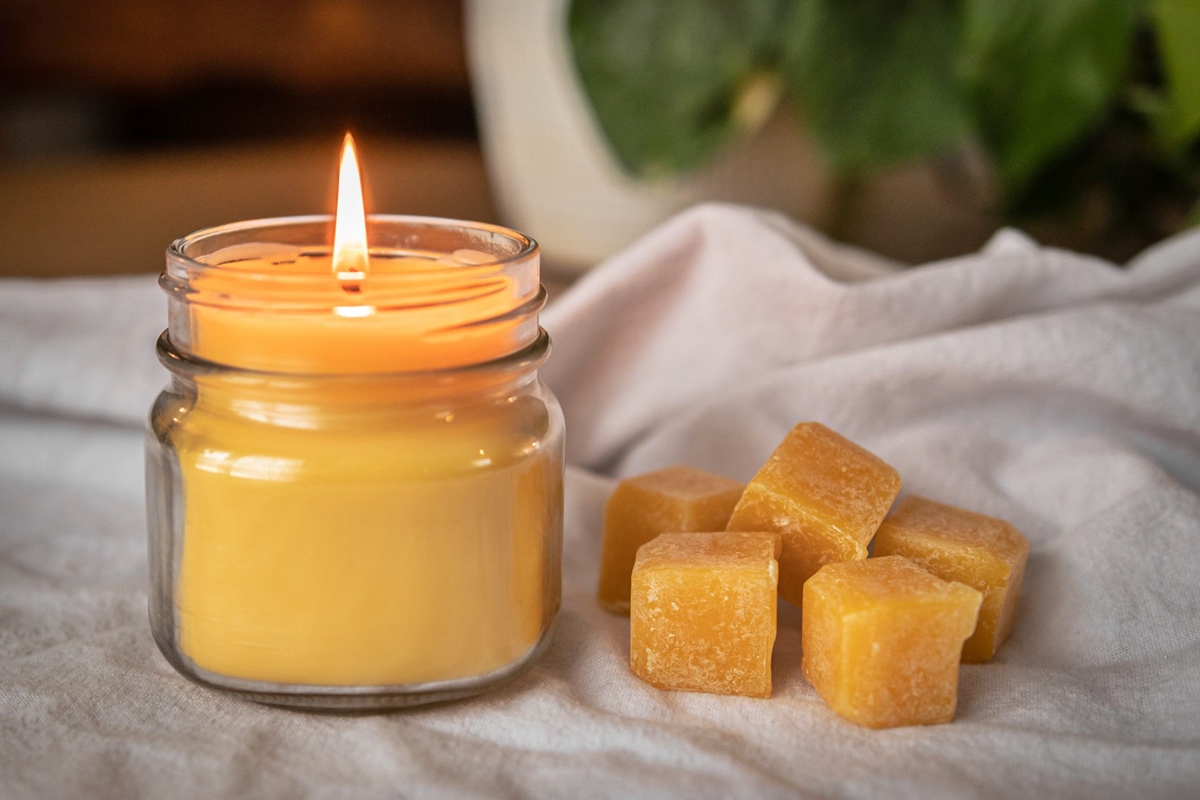
- Container Candles: Container candles are made by pouring melted wax into containers such as jars or tins. Beeswax container candles have a smooth and creamy appearance and can be scented with essential oils for added fragrance. They are popular for their natural and eco-friendly qualities.
- Tealight Candles: Tealight candles are small, usually encased in metal or plastic cups. Beeswax tealight candles burn longer and cleaner compared to paraffin-based tealights, making them a healthier choice for both indoor and outdoor use.
These are just a few examples of the many types of candles that can be made with beeswax. The natural properties of beeswax, such as its long burn time, pleasant scent, and beautiful golden hue, make it a preferred choice for candle makers and enthusiasts.
Understanding the Different Forms of Beeswax
When it comes to working with beeswax for candle making, it’s important to be familiar with the different forms it can come in. Understanding these forms will help you choose the right type for your specific candle making needs. Here are the most common forms of beeswax:
- Raw Beeswax: Raw beeswax is the unprocessed form of beeswax, straight from the bee combs. It typically contains impurities such as pollen, propolis, and beeswax scales. Raw beeswax may require additional filtering or processing before use in candle making.
- Filtered Beeswax: Filtered beeswax goes through a filtering process to remove impurities, resulting in a cleaner and purer form of beeswax. Filtered beeswax is commonly used in candle making as it is easier to work with and produces a more consistent candle quality.
- Beeswax Pellets or Pastilles: Beeswax pellets or pastilles are small, pellet-shaped pieces of beeswax. They are convenient to work with as they melt quickly and evenly. Beeswax pellets are a popular choice for candle makers, especially those who prefer easy measuring and melting.
- Beeswax Sheets: Beeswax sheets are thin sheets of beeswax that can be rolled or cut to create candles. They are often used for making decorative or novelty candles, such as rolled beeswax candles or beeswax taper candles. Beeswax sheets come in various colors and can be easily shaped into different designs.
Each form of beeswax has its own advantages and considerations. Raw beeswax may require more effort in filtering and processing, but it retains the natural scent and color of beeswax. Filtered beeswax is a popular choice for its cleanliness and consistency. Beeswax pellets offer convenience and easy measurement, while beeswax sheets provide versatility and creativity in candle making.
Before selecting a form of beeswax for your candles, consider the specific requirements of your project, your personal preference, and the desired outcome. Whether you choose raw, filtered, pellets, or sheets, working with beeswax adds a touch of natural beauty and charm to your handmade candles.
Factors to Consider When Determining the Amount of Beeswax
When it comes to making candles with beeswax, getting the right amount of beeswax is crucial for achieving the desired candle size and burn time. There are several factors to consider when determining the amount of beeswax needed for your candle-making project:
- Candle Size: The size of the candle is a key factor in determining the amount of beeswax required. Larger candles will naturally require more beeswax compared to smaller ones. Measure the height and width of your desired candle size to determine the appropriate amount of beeswax needed.
- Candle Shape: The shape of the candle can also impact the amount of beeswax needed. A cylindrical pillar candle will require more beeswax compared to a flat votive or container candle with the same height. Consider the shape and dimensions of your candle mold or container when calculating the beeswax quantity.
- Density of Beeswax: Beeswax can vary in density depending on its purity and filtration process. Denser beeswax will require less volume to achieve the same weight compared to less dense beeswax. Be aware of the density of the beeswax you’re using and adjust your calculations accordingly.
- Wick Type: The type and size of the wick used in your candle will also impact the amount of beeswax needed. A larger wick will require more wax to achieve a proper burn pool, while a smaller wick will require less wax. Follow wick manufacturer recommendations for the best results.
- Desired Burn Time: Consider the desired burn time for your candle. If you want a longer burn time, you may need to increase the amount of beeswax to ensure a sufficient fuel source. Conversely, if you prefer a shorter burn time, you can decrease the amount of beeswax used.
By taking these factors into account, you can determine the appropriate amount of beeswax needed for your candle project. It is always a good idea to start with a smaller batch and test the burn time and performance before scaling up your production. Remember, a little experimentation and adjustment may be required to achieve the optimal balance of wax quantity and candle characteristics.
Calculating Beeswax Quantity based on Candle Size
Accurately calculating the right amount of beeswax required for your candle size is essential to ensure a well-proportioned and properly burning candle. Here is a step-by-step guide to help you calculate the beeswax quantity:
- Measure Candle Dimensions: Start by measuring the height and diameter of your desired candle size. If the candle has irregular shapes, measure the widest point for the diameter measurement.
- Convert Measurements to Inches: It’s important to use consistent units when calculating the beeswax quantity. If your measurements are in centimeters, convert them to inches by multiplying by 0.39. For example, a candle height of 10 centimeters would be 3.9 inches.
- Calculate the Volume: To calculate the volume of your candle, use the formula for the volume of a cylinder: V = π * r^2 * h, where V represents volume, π is Pi (approximately 3.14), r is the radius (diameter divided by 2), and h is the height. For example, for a candle with a diameter of 2 inches and a height of 4 inches, the volume would be approximately 25.12 cubic inches.
- Convert Volume to Weight: Beeswax is typically measured by weight, so you need to convert the volume calculated in the previous step to weight. The density of beeswax can vary, but a common average density is around 0.960 grams per cubic centimeter. Multiply the volume by the density to obtain the weight in grams.
- Convert Weight to Ounces or Pounds: If you prefer to work with ounces or pounds, convert the weight from grams to your preferred unit of measurement. There are approximately 28.35 grams in an ounce and 16 ounces in a pound.
This step-by-step calculation process will give you a rough estimate of the amount of beeswax needed for your candle size. Keep in mind that factors such as wax density, wick size, and desired burn time may require adjustments to your calculations. It’s always a good idea to start with a smaller batch, test the results, and make any necessary adjustments for future candle-making projects.
Beeswax to Wick Ratio
Establishing the correct beeswax to wick ratio is crucial for ensuring a well-balanced and efficiently burning beeswax candle. The ratio between the amount of beeswax and the size of the wick can greatly impact the burn time, flame size, and overall performance of the candle. Here are some considerations when determining the beeswax to wick ratio:
- Wick Size: The size of the wick plays a significant role in determining the appropriate amount of beeswax it can efficiently burn. A wick that is too small for the amount of beeswax will result in a weak flame, tunneling, and poor burn performance. Conversely, a wick that is too large may produce an excessively large flame and cause the candle to burn too quickly.
- Wick Type: Different types of wicks have varying levels of performance and burn characteristics. Cotton wicks work well with beeswax and are commonly used in beeswax candle making. However, it is important to consider the specific recommendations of the wick manufacturer to ensure compatibility with beeswax and achieve optimal results.
- Burn Diameter: The desired width of the melt pool, or burn diameter, is an important factor in determining the appropriate beeswax to wick ratio. A proper burn diameter allows for even wax consumption and a steady, well-contained flame. As a general guideline, the melt pool should be approximately 1/2 to 3/4 inch deep for every 1 inch in diameter.
- Testing and Adjusting: Achieving the ideal beeswax to wick ratio often requires some experimentation and testing. It is advisable to test different wick sizes and lengths with a small batch of candles to determine the optimal burn performance. Observe the flame size, burn rate, and any signs of tunneling or wick drowning, and make necessary adjustments to achieve the desired results.
Keep in mind that the beeswax to wick ratio can vary depending on the specific candle size, shape, and desired burn characteristics. Consider the recommendations of experienced candle makers, consult wick manufacturer guidelines, and rely on empirical testing to find the perfect balance between beeswax and wick for your beeswax candles.
Adjusting Beeswax Quantity for Fragrance and Dye
When incorporating fragrance oils and dyes into your beeswax candles, it is important to consider how these additives can affect the overall quantity of beeswax needed. Fragrance oils and dyes can impact the performance and appearance of the candle, and therefore, adjustments to the beeswax quantity may be necessary. Here are some factors to consider:
- Fragrance Oils: Fragrance oils are commonly used to add scent to candles. They can vary in strength, with some oils being more potent than others. Before adding fragrance oils to your beeswax, determine the recommended usage rate provided by the fragrance oil manufacturer. It is important to note that adding fragrance oils can slightly increase the volume of the candle, and a higher fragrance concentration may require a larger amount of beeswax to maintain the desired ratio with the oil.
- Dyes: Dyes can be used to add color and visual appeal to your beeswax candles. The amount of dye needed will depend on the desired intensity of color. Follow the instructions provided by the dye manufacturer to determine the recommended usage rate. Adding dyes to your beeswax may slightly increase the volume of the candle, which may require a larger quantity of beeswax to maintain the desired ratio between the wax and the dye.
- Testing and Adjustment: It is crucial to perform small-scale test batches when working with fragrance oils and dyes to determine their impact on wax consistency, burn performance, and overall candle appearance. Start with a small amount of beeswax, fragrance oil, and dye, and test the resulting candle to evaluate the scent throw, color vibrancy, and burn characteristics. Make adjustments to the beeswax quantity as needed to achieve the desired outcome.
Keep in mind that fragrance oils and dyes can vary in their compatibility with beeswax, so it is important to use high-quality additives specifically designed for candle making. It is also recommended to document the ratios and adjustments made during your testing phase, ensuring consistency in future batches.
By carefully considering the impact of fragrance oils and dyes on the beeswax quantity and conducting thorough testing, you can create beautiful and fragrant beeswax candles that meet your desired scent and color preferences.
Tips for Making Beeswax Candles
Making beeswax candles can be a rewarding and enjoyable craft. To help you achieve the best results, here are some helpful tips to keep in mind:
- Choose High-Quality Beeswax: Start with high-quality beeswax that is free from impurities. Look for beeswax from reputable sources to ensure its purity and optimal burn performance.
- Properly Melt the Beeswax: Use a double boiler or a dedicated wax melting pot to melt the beeswax gently and evenly. Avoid overheating, as excessive heat can degrade the quality of the wax. Stir the melting wax occasionally to ensure uniform melting.
- Preheat Candle Containers: If you are making container candles, preheat the containers before pouring in the melted beeswax. This helps to minimize air pockets and adhesion issues between the wax and the container.
- Select the Right Wick Size: Choose the appropriate wick size based on your candle size and desired burn characteristics. A wick that is too small may result in poor burning, while a wick that is too large can lead to a smoky flame or excessive wax consumption.
- Experiment with Fragrances and Dyes: Be creative with fragrance oils and dyes to personalize your beeswax candles. Remember to follow manufacturer guidelines for safe usage rates and perform small test batches to determine the ideal scent throw and color intensity.
- Trim the Wick: Trim the wick to an appropriate length (around ¼ inch) before each use. This helps to maintain optimal burning conditions and reduce soot or excessive smoking.
- Store Candles Properly: Store your finished beeswax candles in a cool and dry place away from direct sunlight. Extreme heat or sunlight exposure can cause the wax to melt or fade the color.
- Enjoy the Candle-Burning Experience: Finally, take the time to relax and enjoy the gentle glow and natural fragrance of your handmade beeswax candles. Embrace the soothing ambiance they create and the warmth they bring to your space.
Remember, practice makes perfect. Don’t be afraid to experiment, learn from your experiences, and refine your techniques as you continue to make beeswax candles. With time and patience, you’ll develop your own unique style and create beautiful candles to enjoy or share with others.