
What Is a Drip Tray in a Fridge?
A drip tray, also known as a drain pan or condensate pan, is an important component of a refrigerator. It is a shallow container located at the bottom of the fridge, designed to collect any excess moisture or liquid that may accumulate during normal operation. The purpose of the drip tray is to prevent water from spilling onto the floor or causing damage to the internal components of the refrigerator.
The drip tray serves as a reservoir for the water that is produced when the fridge goes through its cooling cycle. When warm air enters the refrigerator, it comes into contact with the cold surfaces inside, causing condensation to form. This condensation drips down and collects in the drip tray, where it can evaporate naturally or be drained out of the fridge.
Most modern refrigerators have automatic defrost systems, which further contribute to the need for a drip tray. During the defrost cycle, any frost or ice on the cooling coils will melt and turn into water. This water is also directed into the drip tray, preventing it from accumulating inside the fridge or freezer compartments.
It’s worth noting that not all refrigerators have visible or easily accessible drip trays. In some models, the drip tray may be hidden beneath a removable panel or located in a less obvious spot. However, regardless of its visibility, every refrigerator needs a drip tray to manage condensation effectively.
Why Is a Drip Tray Necessary?
A drip tray plays a critical role in maintaining the proper functioning and longevity of a refrigerator. Here are several reasons why a drip tray is necessary:
1. Preventing water damage: The main purpose of a drip tray is to collect and contain any excess moisture or liquids that accumulate inside the fridge. Without a drip tray, water could drip onto the floor, causing damage to the surrounding area and potentially leading to accidents or mold growth.
2. Preserving food quality: Excess moisture and water inside the refrigerator can contribute to the spoilage of food. A drip tray helps to prevent water from pooling around stored items, keeping them fresh for longer periods.
3. Maintaining cleanliness: Condensation inside the fridge can cause unpleasant odors and promote bacterial growth. By collecting and evaporating the moisture, the drip tray helps to maintain a clean and hygienic environment inside the refrigerator.
4. Preventing ice build-up: Without a properly functioning drip tray, water droplets may freeze and form ice on the cooling coils or in the freezer compartment. This ice build-up can hinder the cooling process and reduce the overall efficiency of the refrigerator.
5. Protecting internal components: By collecting excess water, the drip tray helps to prevent damage to important internal components, such as the compressor or the electrical wiring. Water leaking onto these components could lead to costly repairs or even render the fridge inoperable.
Overall, a drip tray is an essential feature of a refrigerator that ensures proper functionality and prevents potential issues that can arise from excess moisture. Regular maintenance and cleaning of the drip tray can help to prolong the lifespan of the fridge and maintain optimal performance.
Where Is the Drip Tray Located in a Fridge?
The location of the drip tray in a fridge may vary depending on the model and make of the refrigerator. However, in most cases, you can find the drip tray at the bottom of the fridge, positioned either at the front or the back.
For refrigerators with a front-facing drip tray, you can typically access it by removing the kick plate or grille at the bottom of the fridge. The kick plate is usually secured with clips or screws that can be easily loosened or removed. Once the kick plate is off, you should be able to see the drip tray sitting underneath the refrigerator. It may be necessary to pull it out from its designated area for cleaning or maintenance.
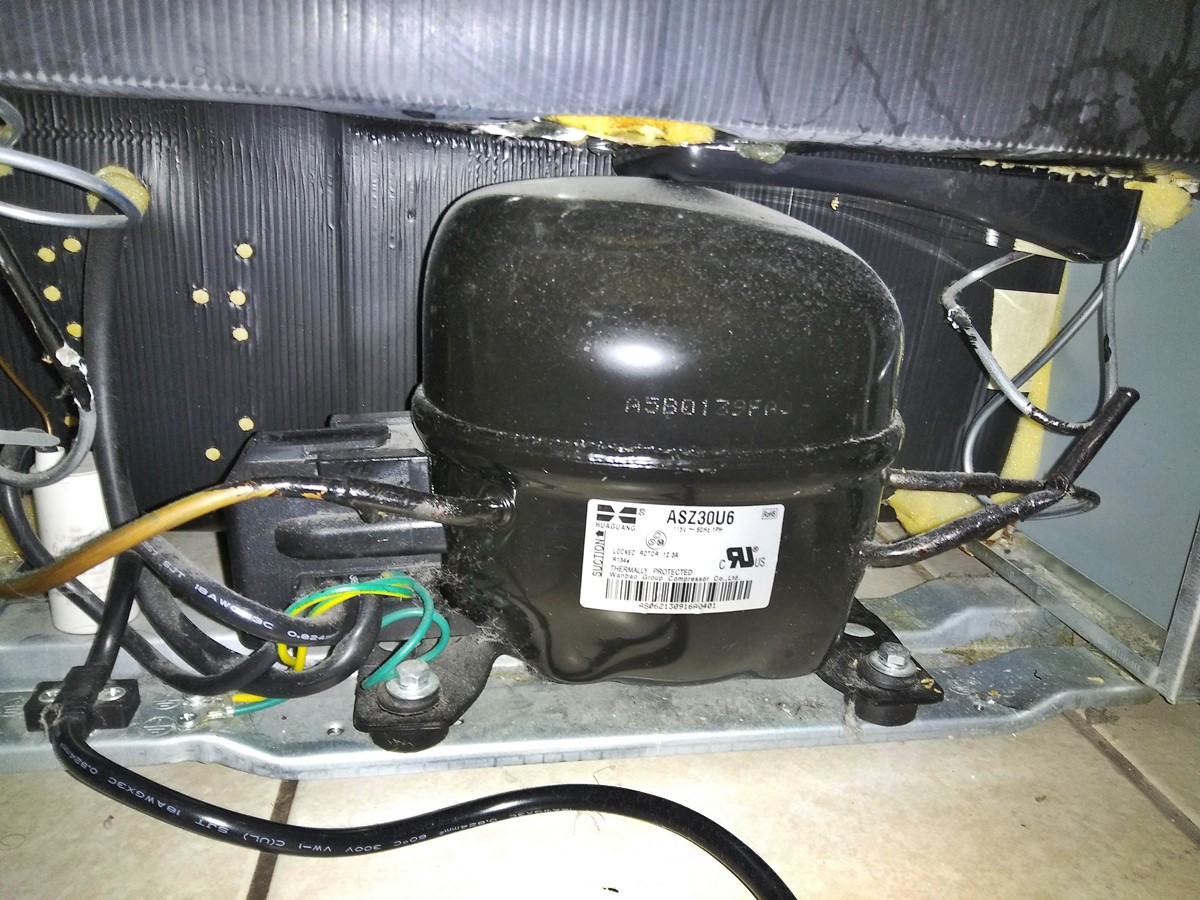
Some fridges have a rear-access drip tray design. This means that the drip tray is located at the back of the fridge, behind a removable panel. To access the drip tray in such cases, you will need to unplug the refrigerator and carefully remove the panel. The drip tray should be situated near the compressor area.
It’s important to note that not all drip trays are easily visible or accessible. Some refrigerators have concealed or integrated drip tray systems. In these cases, the drip tray may be hidden behind a panel or tucked away in a less conspicuous spot. Consult the refrigerator’s user manual or manufacturer’s guidelines for specific instructions on locating and accessing the drip tray.
Once you have located the drip tray, it is recommended to clean it regularly to prevent bacteria growth and foul odors. Follow the manufacturer’s instructions for proper cleaning techniques and frequency.
Removing and Cleaning the Drip Tray
Regular cleaning and maintenance of the drip tray in your fridge is essential to prevent odors and keep it functioning effectively. Here’s a step-by-step guide on how to remove and clean the drip tray:
1. Locate the drip tray: Refer to your refrigerator’s user manual to determine the exact location of the drip tray. It is typically found at the bottom of the fridge, either at the front or the back.
2. Prepare for cleaning: Before removing the drip tray, unplug the refrigerator from the power source to ensure safety. It’s also a good idea to empty the contents of the fridge and remove any shelves or drawers that might obstruct access to the drip tray.
3. Remove the drip tray: If your fridge has a front-facing drip tray, gently pull or slide it out from its position. For rear-access drip trays, carefully remove the rear panel using the appropriate tools. Take care to avoid damaging any components or wiring during the process.
4. Clean the drip tray: Once the drip tray is removed, empty any collected liquid and dispose of it properly. Use warm water and a mild detergent to clean the tray thoroughly. Pay attention to any stubborn stains or residue, and gently scrub if necessary. Rinse the tray well with clean water to ensure all soap residue is removed.
5. Dry and sanitize: After cleaning, thoroughly dry the drip tray with a clean cloth or allow it to air-dry completely. To sanitize the tray, you can use a mixture of equal parts water and white vinegar. Wipe the tray with this solution, then rinse and dry it again.
6. Reinstall the drip tray: Once the drip tray is clean and dry, carefully slide it back into its original position. Ensure it is securely in place to avoid any leaks or malfunctioning of the refrigerator.
7. Perform regular maintenance: To keep the drip tray clean and odor-free, make it a habit to clean it at least once every few months. Regularly check for any signs of leakage or damage that may require professional intervention.
By following these steps and incorporating drip tray maintenance into your routine, you can ensure that your refrigerator operates efficiently and remains odor-free.
Troubleshooting Common Issues with the Drip Tray
While the drip tray in your fridge is designed to function smoothly, there may be instances where you encounter certain issues. Here are some common problems that you may experience with the drip tray:
1. Overflowing drip tray: If you notice that the drip tray is overflowing with water, it could indicate a clog in the drain line or a malfunctioning defrost system. Check for any blockages in the drain line and clear them if necessary. If the problem persists, it may require professional assistance to diagnose and fix the issue.
2. Leaking drip tray: If water is pooling around the drip tray or leaking onto the floor, there may be a problem with the tray itself or its positioning. Ensure that the drip tray is properly aligned and securely in place. If there are any cracks or damages, consider replacing the drip tray to prevent further leaks.
3. Foul odor: If there is a strong and unpleasant odor coming from the drip tray, it could indicate bacteria or mold growth. Thoroughly clean the drip tray using a mixture of warm water and vinegar to sanitize it. You can also place a deodorizer or absorbent material (like baking soda) near the drip tray to help absorb odors.
4. Excessive ice formation in the drip tray: If you find ice accumulating in the drip tray, it may be due to a faulty defrost system or a blockage in the drain line. Check for any obstructions or ice build-up in the drain line and defrost it if necessary. If the issue persists, it is advisable to consult a professional technician to assess and repair the defrost system.
5. Drip tray not visible or accessible: Some refrigerators have concealed or integrated drip tray systems, making them less visible or difficult to access. Refer to the refrigerator’s user manual or contact the manufacturer for guidance on how to locate and access the drip tray for cleaning and maintenance purposes.
Remember, if you encounter any persistent or complex issues with the drip tray, it is best to consult a professional refrigerator technician or reach out to the manufacturer for specialized support and guidance.
Tips for Preventing Drip Tray Problems
Taking preventive measures can help you avoid potential problems with the drip tray in your refrigerator. Here are some useful tips to prevent drip tray issues:
1. Regular cleaning: Make it a habit to clean the drip tray at least once every few months, or as recommended by the manufacturer. Regular cleaning helps to prevent the build-up of bacteria, mold, and odors, ensuring optimal functioning of the drip tray.
2. Wipe down spills: If you accidentally spill liquids inside the refrigerator, promptly wipe them up to prevent excess moisture from reaching the drip tray. This helps to maintain a clean and dry environment inside the fridge and avoids potential overflow or leaks from the drip tray.
3. Clear the drain line: Check the drain line connected to the drip tray for any obstructions, such as food particles or debris. Clear any blockages using a pipe cleaner or a mixture of water and vinegar to ensure proper drainage and prevent overflow.
4. Monitor freezer settings: If the freezer temperature is set too low, it can lead to excessive frost or ice build-up on the evaporator coils. This can result in excess water in the drip tray. Ensure that the freezer temperature is set according to the manufacturer’s recommendations to maintain optimal performance.
5. Inspect the drip tray for damage: Regularly inspect the drip tray for any cracks, leaks, or damages. If you notice any issues, consider replacing the drip tray to prevent further problems with water leakage or overflow.
6. Keep the refrigerator level: Ensure that your refrigerator is level to prevent any issues with the drainage system. An uneven refrigerator can cause water to accumulate and not drain properly into the drip tray. Use a spirit level to check the refrigerator’s alignment and adjust the leveling feet if necessary.
7. Follow manufacturer’s guidelines: Always refer to the refrigerator’s user manual for specific care and maintenance instructions related to the drip tray. Different models may have different requirements, so it’s important to follow the manufacturer’s recommendations to avoid any potential problems.
By implementing these preventive measures, you can reduce the risk of drip tray problems and ensure the efficient and smooth operation of your refrigerator’s drainage system.