
Why You Should Set Your Microwave Clock
Setting the clock on your microwave may seem like a small and insignificant task, but it actually serves several important purposes. Here are a few reasons why you should take the time to set your microwave clock:
- Precise Timing: When you set the clock on your microwave, it allows you to accurately time your cooking tasks. Whether you’re reheating leftovers, defrosting frozen food, or cooking a meal from scratch, having a reliable clock ensures that your food is cooked for the right amount of time.
- Convenience: Having the clock on your microwave set not only allows for precise timing but also adds convenience to your daily routine. You can easily check the time while using your microwave, eliminating the need for accessing other devices or checking the wall clock.
- Timer Functionality: Many microwaves have a built-in timer function that is synced with the clock. By setting the clock, you can use the timer feature for various purposes like setting a reminder for cooking, timing household chores, or managing your schedule.
- Avoiding Power Interruptions: In case of a power outage or interruption, having the microwave clock set ensures that it will display the correct time and continue working seamlessly once the power is restored. This saves you the hassle of resetting the clock every time there is a power fluctuation.
- Energy Efficiency: Some microwaves have a power-saving mode that activates when the clock is set. By setting the clock and enabling this mode, your microwave can conserve energy and reduce electricity consumption, resulting in cost savings and environmental benefits.
By taking a few moments to set your microwave clock, you can enjoy the convenience, accuracy, and additional features that it offers. It’s a small task that can make a big difference in your daily kitchen routines.
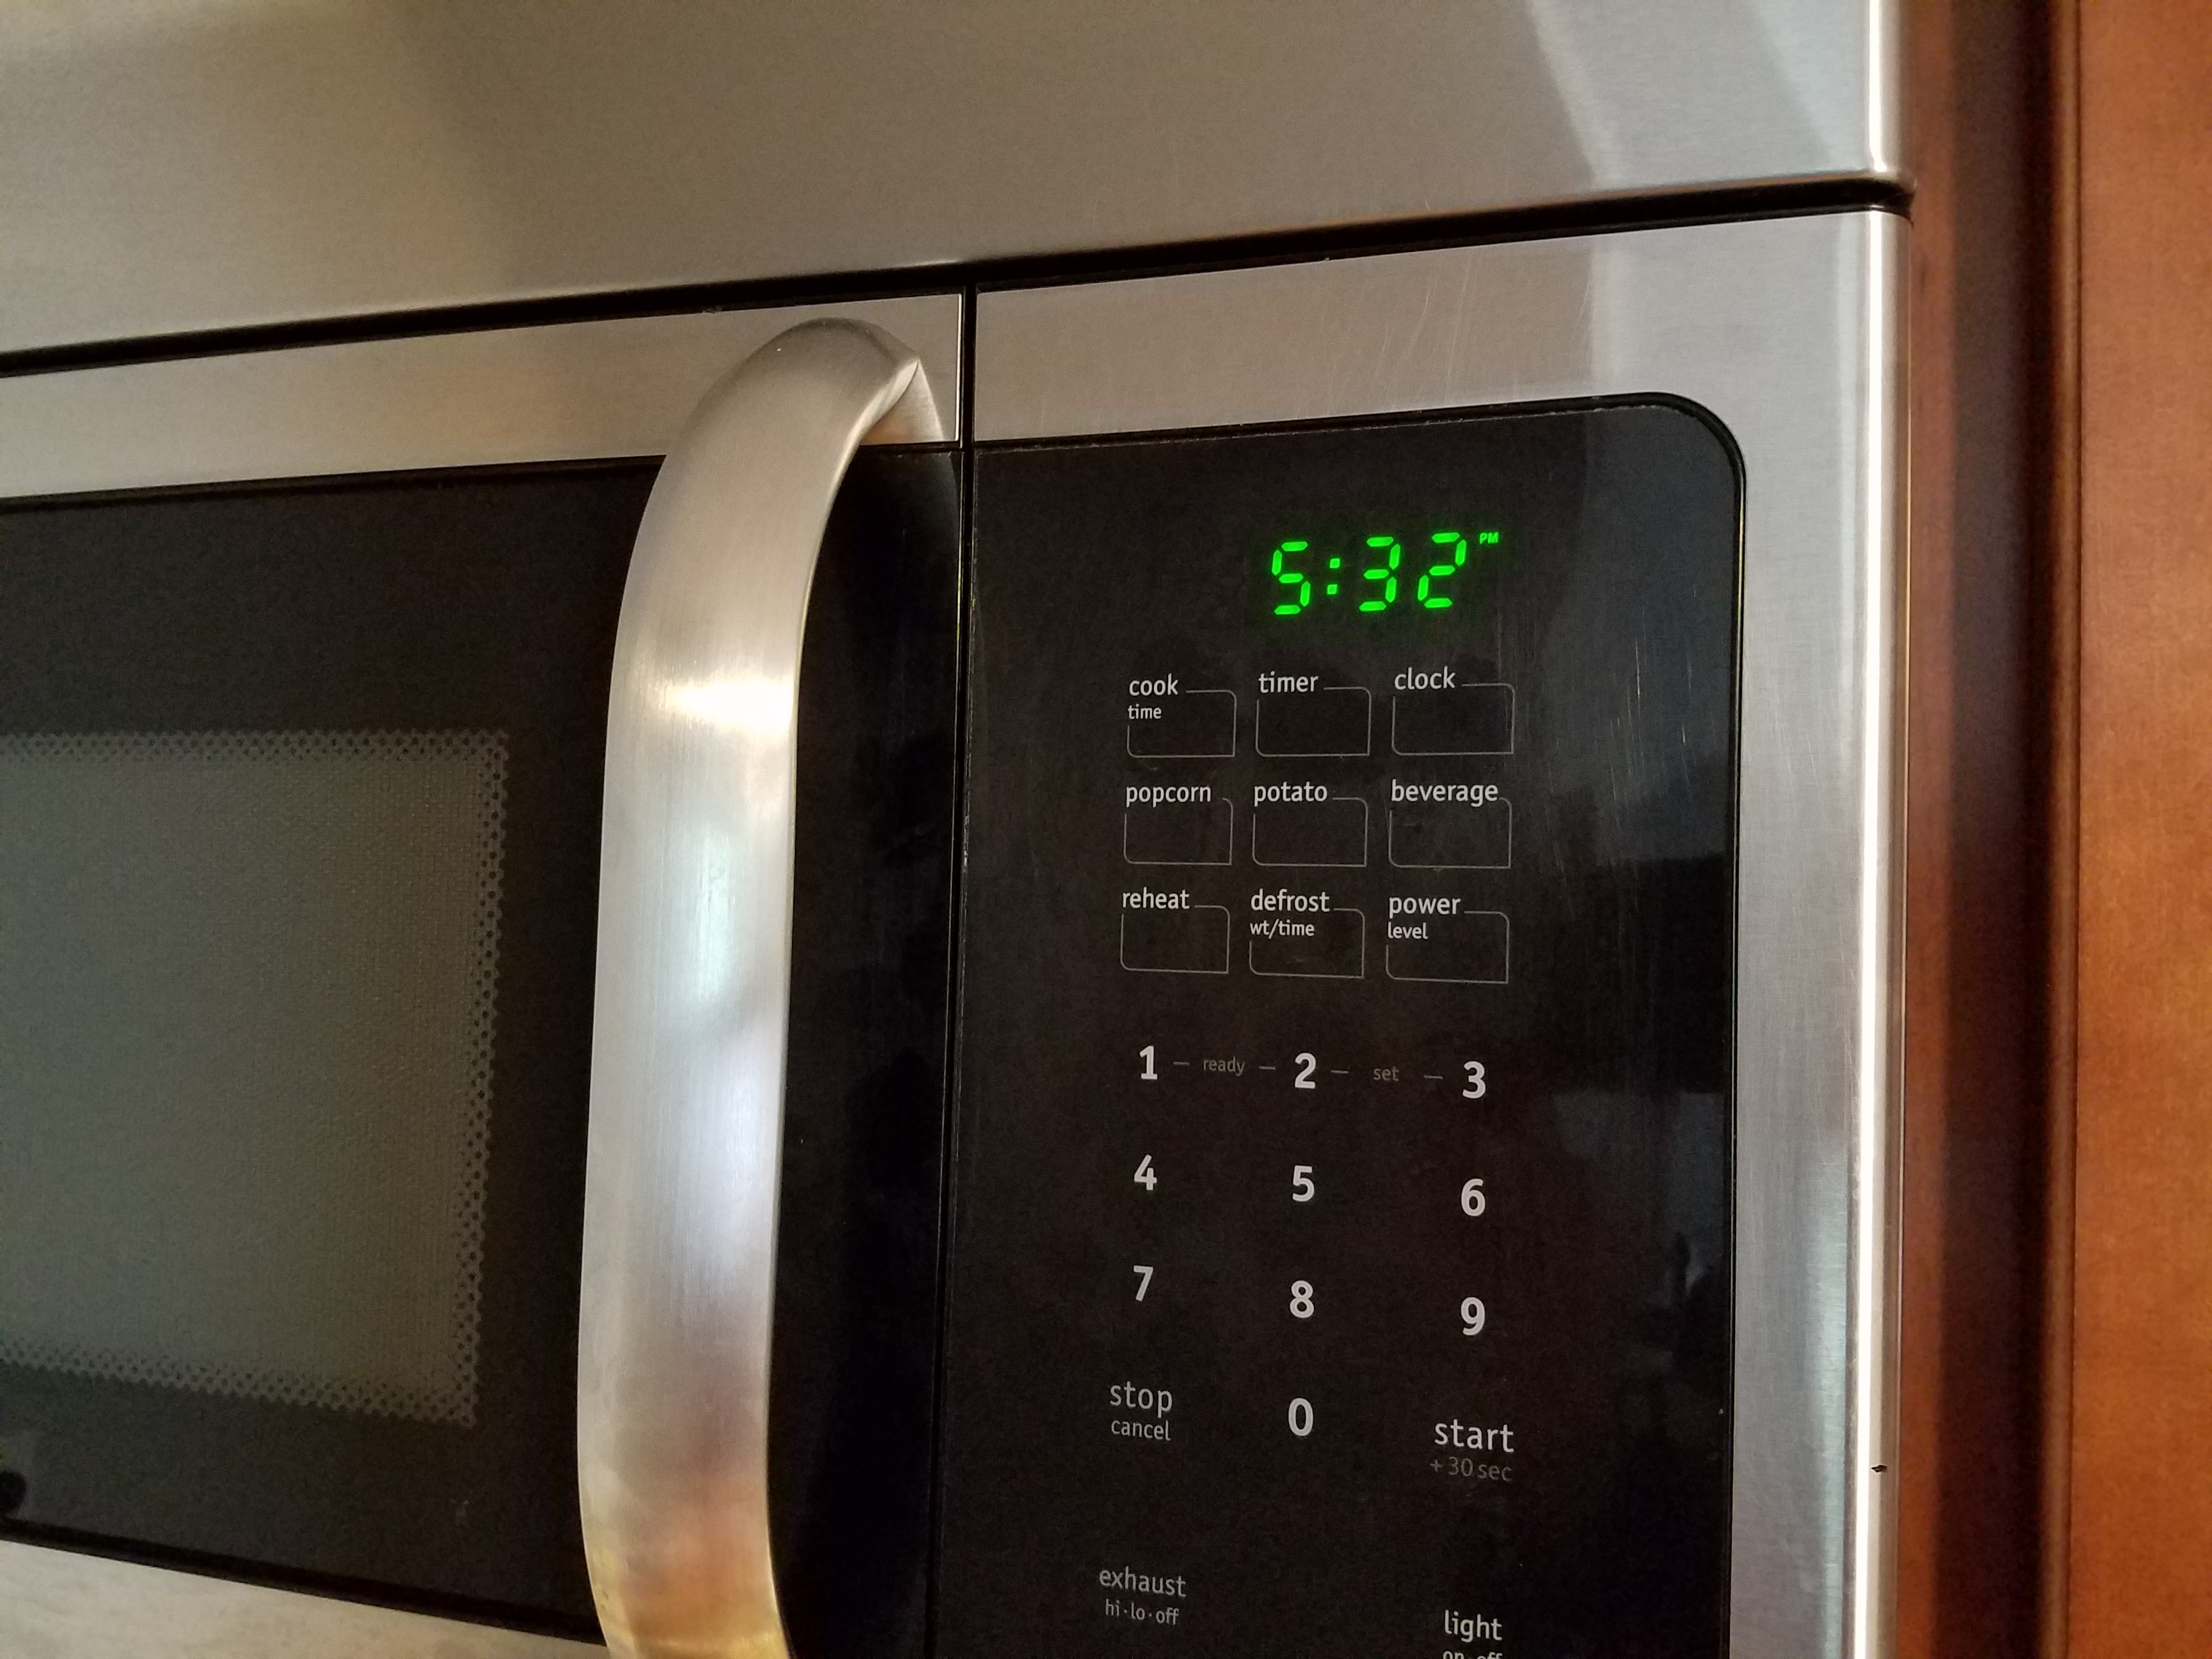
Step 1: Find the Clock Button
Setting the clock on your microwave is a straightforward process, and it all starts with finding the clock button. Although the location may vary depending on the model and brand of your microwave, it is usually located on the control panel and is clearly labeled as “Clock” or with a clock icon.
Here are a few steps you can follow to locate the clock button on your microwave:
- Inspect the Control Panel: Take a close look at the control panel of your microwave. Look for any buttons or icons that indicate time or clock settings. These buttons are often grouped together in a separate section or labeled individually.
- Refer to the User Manual: If you’re having trouble locating the clock button, consult the user manual that came with your microwave. The manual will provide specific instructions and illustrations to help you find the clock button and navigate through the settings menu.
- Online Resources: If you no longer have the user manual or can’t find the information you need, try searching online. Most manufacturers have digital copies of user manuals available on their websites. You can also find instructional videos or forums where users share their experiences and tips for setting the clock on different microwave models.
Once you have located the clock button, you are ready to move on to the next step of setting the clock on your microwave. Remember, every microwave is different, so it’s crucial to familiarize yourself with the specific controls and features of your model.
Step 2: Select Clock Setting Mode
After finding the clock button on your microwave, the next step is to enter the clock setting mode. This mode allows you to make adjustments and set the time on your microwave’s display.
Follow these simple steps to select the clock setting mode:
- Press the Clock Button: Once you’ve located the clock button, press it to initiate the clock setting mode. In some cases, you may need to press and hold the button for a few seconds until the screen changes or a beep is heard.
- Use Navigation Buttons: Depending on your microwave’s design, you may have dedicated navigation buttons or a dial to move through the menu options. Utilize these buttons to navigate to the clock setting or time adjustment mode.
- Refer to the User Manual: If you’re unsure about how to enter the clock setting mode, consult the user manual that came with your microwave. The manual will provide clear instructions and guide you through the necessary steps.
It’s important to note that each microwave will have its own interface and control panel layout. Therefore, it’s essential to familiarize yourself with the specific buttons and their functions on your particular model.
Once you have successfully entered the clock setting mode, you are ready to proceed with setting the time on your microwave. The following steps will explain how to adjust the time to reflect the current hour and minute accurately.
Step 3: Set the Time
With the clock setting mode activated on your microwave, it’s time to set the correct time on the display. Follow these simple steps to adjust the time:
- Use the Navigation Buttons: Depending on your microwave’s interface, use the navigation buttons or dial to select the hour and minute digits of the time. The buttons may be labeled as “Up” and “Down,” or they may have numeric symbols to represent the digits.
- Adjust the Hour: Start by adjusting the hour digit. Press the appropriate button or turn the dial to increase or decrease the digit until it matches the current hour. Pay attention to whether the time is displayed in a 12-hour or 24-hour format, as it may affect the input method.
- Set the Minutes: Once the hour is set correctly, move on to adjusting the minutes. Use the navigation buttons or dial to increase or decrease the minutes until they match the current time.
- AM/PM Setting: If your microwave operates in a 12-hour format, you may need to specify whether it’s AM or PM. Refer to your microwave’s instructions or look for a separate button labeled “AM/PM” to toggle between the two options if applicable.
- Double-Checking: After setting the hour, minute, and AM/PM if necessary, check the display to ensure that the time is accurately reflected. Make any adjustments if needed, ensuring the time displayed matches the current time.
Once you have set the time on your microwave, you can proceed to the next step, which involves configuring the clock format to suit your preferred display style.
Step 4: Adjust the AM/PM
If your microwave operates in a 12-hour format, it’s important to adjust the AM/PM setting to ensure accurate time display. Follow these steps to adjust the AM/PM setting on your microwave:
- Locate the AM/PM Button: Look for a dedicated button labeled “AM/PM” on your microwave’s control panel. It is typically positioned near the clock or time adjustment buttons.
- Toggle Between AM and PM: Press the AM/PM button to switch between AM and PM. Most microwaves use a toggle mechanism, so each press will alternate between the two options. Pay attention to the display to confirm whether it is currently set to AM or PM.
- Observe the Indicator: Some microwaves have an indicator light or a small letter display that shows the current AM/PM setting. This can help you double-check and ensure that the correct setting is selected.
- Set the Desired AM/PM: In case the AM/PM setting is not automatically adjusted during the time setting process, use the AM/PM button to set it manually. Make sure it corresponds to the correct period of the day – AM for morning hours and PM for afternoon and evening hours.
Adjusting the AM/PM setting correctly ensures that the time displayed on your microwave accurately represents the desired period of the day. This step is particularly crucial for scheduling cooking tasks or timed functions on your microwave.
If your microwave operates in a 24-hour format, you will not need to adjust the AM/PM setting as the time will be displayed continuously from 00:00 (midnight) to 23:59 (11:59 PM).
Once you have adjusted the AM/PM setting, you can proceed to the next step, which involves configuring the clock format on your microwave.
Step 5: Configure the Clock Format
Configuring the clock format on your microwave allows you to choose how you want the time to be displayed. Follow these steps to configure the clock format according to your preference:
- Access the Clock Settings: Depending on your microwave’s user interface, you may need to press a dedicated button, go through a settings menu, or use specific key combinations to access the clock format settings. Refer to your microwave’s user manual for precise instructions.
- Select Clock Format: Once you have accessed the clock settings, look for an option related to clock format. It may be labeled as “Time Format,” “Clock Style,” or something similar. Use the navigation buttons or dial to scroll through the available options.
- Choose 12-Hour or 24-Hour Format: Select the desired clock format by highlighting it and pressing the appropriate button. Choose between a 12-hour format (AM/PM) or a 24-hour format (military time) based on your preference and familiarity with each style.
- Save the Setting: After selecting your preferred clock format, save the setting by pressing the appropriate button or following the instructions provided on the display. Some microwaves automatically save the setting once you make a selection, while others require you to confirm and save the changes manually.
Configuring the clock format to your liking ensures that the time is displayed in a manner that you find most convenient and easy to read. Whether you prefer the standard 12-hour format or the 24-hour format used in some regions, setting the clock format to suit your needs is a simple adjustment.
Once you have configured the clock format, you can proceed to the final step, which involves confirming and saving all the settings you have made for your microwave clock.
Step 6: Confirm and Save the Settings
After making all the necessary adjustments to the time, AM/PM setting, and clock format on your microwave, it’s important to confirm and save these settings to ensure they are preserved. Follow these final steps to complete the process:
- Review the Settings: Take a moment to go through each setting you have adjusted, including the time, AM/PM setting, and clock format. Verify that everything is accurately set according to your preference.
- Confirm the Settings: Once you are satisfied with the adjustments, look for a “Confirm” or “OK” button on your microwave’s control panel. Press this button to confirm and save the settings you have made.
- Observe the Display: After confirming and saving the settings, observe the display on your microwave. Ensure that the time is correctly displayed in the chosen format, and the AM/PM indicator (if applicable) is accurately shown.
- Test the Functionality: To ensure that the settings are properly saved, test the functionality of your microwave. Use it to cook, defrost, or heat food items, and observe if the timer, as well as the clock, operates as expected.
By confirming and saving the settings, you ensure that the time, AM/PM setting, and clock format adjustments on your microwave are retained even after unplugging or power interruptions. This prevents the need for frequently resetting the clock and ensures accurate time display when using your microwave.
With the settings successfully confirmed and saved, you have completed the process of setting your microwave clock. Enjoy the convenience of having an accurate and reliable time display whenever you use your microwave.
Troubleshooting Tips
Setting the clock on your microwave may not always go as smoothly as expected. If you encounter any issues or difficulties during the process, try these troubleshooting tips to resolve them:
- Power Cycle the Microwave: If the clock setting mode is unresponsive or the display is frozen, try disconnecting the microwave from the power source for a few minutes. Then, plug it back in and attempt to set the clock again.
- Refer to the User Manual: If you’re unsure about any specific steps or buttons involved in the clock setting process, consult your microwave’s user manual. The manual contains detailed instructions and troubleshooting information for your specific model.
- Check for Firmware Updates: Some microwave models can receive firmware updates that may address known issues or improve functionality. Check the manufacturer’s website or contact customer support to see if there are any available updates for your microwave.
- Contact Customer Support: If you have tried troubleshooting steps and are still experiencing issues, don’t hesitate to reach out to the manufacturer’s customer support. They can provide further assistance and guidance to resolve any technical problems.
- Reset the Microwave: In some cases, performing a factory reset on the microwave can help resolve persistent issues. Refer to the user manual or contact customer support to learn how to perform a reset specific to your model.
Remember, each microwave model may have its own unique troubleshooting steps, so it’s important to consult the user manual or reach out to customer support for guidance tailored to your specific microwave.
By following these troubleshooting tips, you can overcome any obstacles and successfully set the clock on your microwave, ensuring accurate timing and convenient usage.