
Why Set the Clock?
Setting the clock on your GE microwave is an essential step to ensure accurate timekeeping and improve the functionality of the appliance. While it may seem like a minor task, having the correct time displayed on your microwave can help you keep track of cooking durations, meal planning, and even coordinate your cooking activities with other kitchen appliances.
One of the primary reasons to set the clock on your GE microwave is for convenience. With the correct time displayed, you can easily glance at the microwave to check the time without having to reach for your phone or look at a wall clock. This is especially helpful when you’re in a hurry or have multiple things cooking simultaneously.
Another benefit of setting the clock on your microwave is the synchronization it provides with other kitchen appliances. Many modern kitchens feature appliances that can communicate with each other, and having the correct time set on your microwave ensures that timers and other cooking functions work seamlessly across devices. This can be particularly useful when using features such as delayed start or synchronized cooking.
Accuracy is also a significant advantage of setting the clock on your GE microwave. Whether you’re using the microwave for defrosting, reheating leftovers, or cooking a meal, knowing the exact time is crucial for achieving optimal results. Precise timing can help prevent overcooking or undercooking food, ensuring that it is cooked to perfection.
Additionally, setting the clock on your GE microwave demonstrates your attention to detail and commitment to maintaining a well-organized kitchen. It adds a polished touch to your cooking space and can contribute to a more efficient and enjoyable cooking experience.
Overall, setting the clock on your GE microwave is a simple yet important task that provides convenience, synchronization with other appliances, accuracy, and a well-organized kitchen space. By taking a few minutes to set the clock, you can enhance your cooking experience and make the most of your GE microwave’s features.
Step 1: Locating the Clock Button
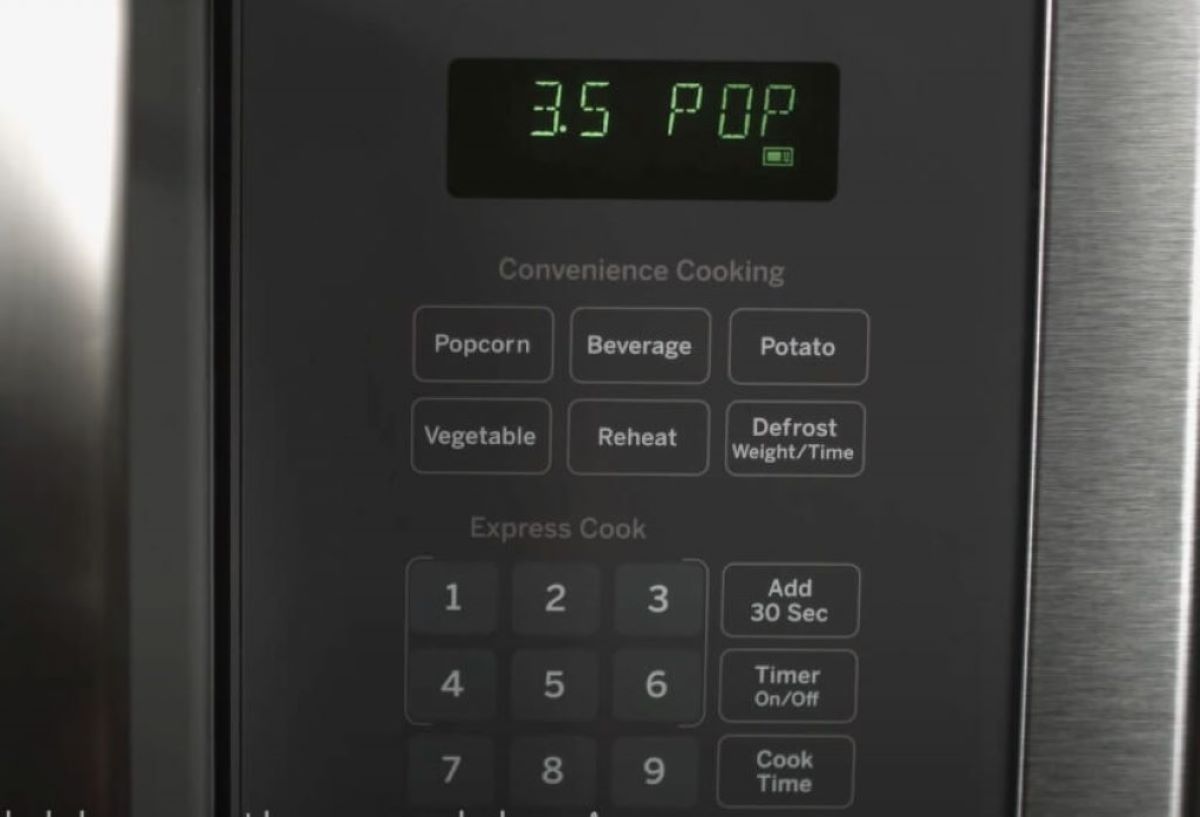
Before you can set the clock on your GE microwave, you need to locate the clock button. The exact placement of the button may vary depending on the model of your microwave, but it is typically found on the control panel along with other buttons or settings.
Start by examining the control panel of your GE microwave. Look for a button labeled “Clock” or an icon that resembles a clock. This button is specifically designed to access the clock setting function. It may be located in the upper corner, bottom corner, or in between other buttons.
If you are having trouble finding the clock button, refer to the user manual that came with your GE microwave. The manual should provide detailed instructions and illustrations to help you locate the button based on your specific model.
Once you have identified the clock button, make sure the microwave is not in use or displaying any active settings. This will ensure that you can access the clock setting function without interruption.
Keep in mind that some GE microwaves may have a separate button for “Clock” and “Time.” In this case, you will need to press the “Clock” button first to enter the clock setting mode.
Once you have successfully located the clock button on your GE microwave, you are ready to move on to the next step of setting the time.
Step 2: Setting the Time Format
After locating the clock button on your GE microwave, the next step is to set the time format. Most GE microwaves offer the option to choose between a 12-hour or 24-hour time format based on your preference.
To set the time format, follow these simple steps:
- Press the clock button on the control panel. This will activate the clock setting mode.
- Look for a button labeled “Format” or “Time Format.” It is typically located near the clock button or within the settings menu.
- Press the “Format” button to cycle through the available options. The display will indicate whether you are selecting the 12-hour format (typically AM/PM) or the 24-hour format (military time).
- Once you have selected your preferred time format, press the “Enter” or “Save” button to confirm your choice.
Some models may have a separate button for selecting the time format, while others may use the same button for both the clock and time format settings. Refer to your GE microwave’s user manual for specific instructions based on the model you own.
It is important to note that once you have set the time format on your GE microwave, it will be displayed consistently whenever you view the clock throughout its usage. This allows you to keep track of time easily and effectively while using your microwave for various cooking tasks.
With the time format successfully set, you are now ready to move on to the next step of selecting the current time for your GE microwave.
Step 3: Selecting the Current Time
Once you have set the time format on your GE microwave, the next step is to select the current time. This ensures that the clock on your microwave accurately reflects the current time.
To select the current time on your GE microwave, follow these step-by-step instructions:
- Press the clock button on the control panel to enter the clock setting mode.
- Look for a button labeled “Time” or “Set Time.” It is usually located near the clock button or within the settings menu.
- Press the “Time” button to initiate the process of selecting the current time.
- Use the number pad on the control panel to enter the current time. If your microwave has separate buttons for hours and minutes, enter the hours first followed by the minutes.
- Pay attention to any prompts or indicators on the display to ensure you are entering the time correctly.
- After entering the correct time, press the “Enter” or “Save” button to confirm your selection.
Some GE microwaves also have additional features that allow you to adjust the time in smaller increments, such as seconds or tens of seconds. If applicable, refer to your user manual for instructions on how to navigate these additional settings.
Remember to consider whether you have set the time format to 12-hour or 24-hour when entering the current time on your GE microwave. This will ensure that the displayed time is accurate and corresponds to the correct format.
Once you have successfully selected the current time on your GE microwave, you can move on to the next step of adjusting the time if necessary.
Step 4: Adjusting the Time
After selecting the current time on your GE microwave, you may find the need to adjust the time due to various reasons such as daylight saving time changes or discrepancies in the displayed time. Adjusting the time is a straightforward process that can be done easily on most GE microwave models.
To adjust the time on your GE microwave, follow these simple steps:
- If your microwave has a dedicated button for time adjustment, locate it on the control panel. It is typically labeled “Time Adjust” or “Adjust Time.” If your microwave doesn’t have a specific button, simply continue to the next step.
- Press and hold down the time adjust button. Most microwaves will display a prompt indicating that you are in time adjustment mode.
- While holding down the time adjust button, use the number pad to enter the desired time adjustment. You can increase or decrease the time in minutes or seconds, depending on your microwave’s capabilities.
- Check the display to ensure that the adjusted time is accurately reflected.
- Release the time adjust button to save the new adjusted time.
It’s important to note that some GE microwaves may have different methods for adjusting the time. Refer to the user manual provided with your specific model for detailed instructions on adjusting the time.
Whether you need to advance or delay the time on your GE microwave, adjusting the time ensures that it remains aligned with your desired settings and stays accurate throughout its usage.
Once you have successfully adjusted the time on your GE microwave, you can proceed to the final step of saving the time.
Step 5: Saving the Time
After setting the clock, selecting the time format, choosing the current time, and adjusting the time if needed, the final step is to save the time on your GE microwave. Saving the time ensures that the clock continues to display the correct time without any further changes.
To save the time on your GE microwave, follow these straightforward instructions:
- Press the clock button or any dedicated button that indicates saving or confirming the time. The specific button may vary depending on your GE microwave model.
- Check the display to ensure that the time is saved and remains unchanged.
- Observe the clock for a few moments to ensure that it continues to display the correct time without any discrepancies.
Once you have saved the time, you can rely on the clock of your GE microwave for accurate timekeeping in all your cooking activities.
It is worth noting that some GE microwaves have an auto-clock feature that automatically adjusts the time based on your location or other settings. If your microwave has this feature and it is enabled, you may not need to manually save the time.
If you are unsure whether your GE microwave has an auto-clock feature or how to enable it, refer to the user manual provided with your specific model for detailed instructions.
By saving the time on your GE microwave, you can ensure that the clock remains accurate and reliable for all your cooking needs.