
Choosing the Right Alarm Clock
When it comes to starting your day off on the right foot, a reliable alarm clock is essential. With a wide variety of options available, it can be overwhelming to choose the right one. Here are some factors to consider when selecting an alarm clock that suits your needs.
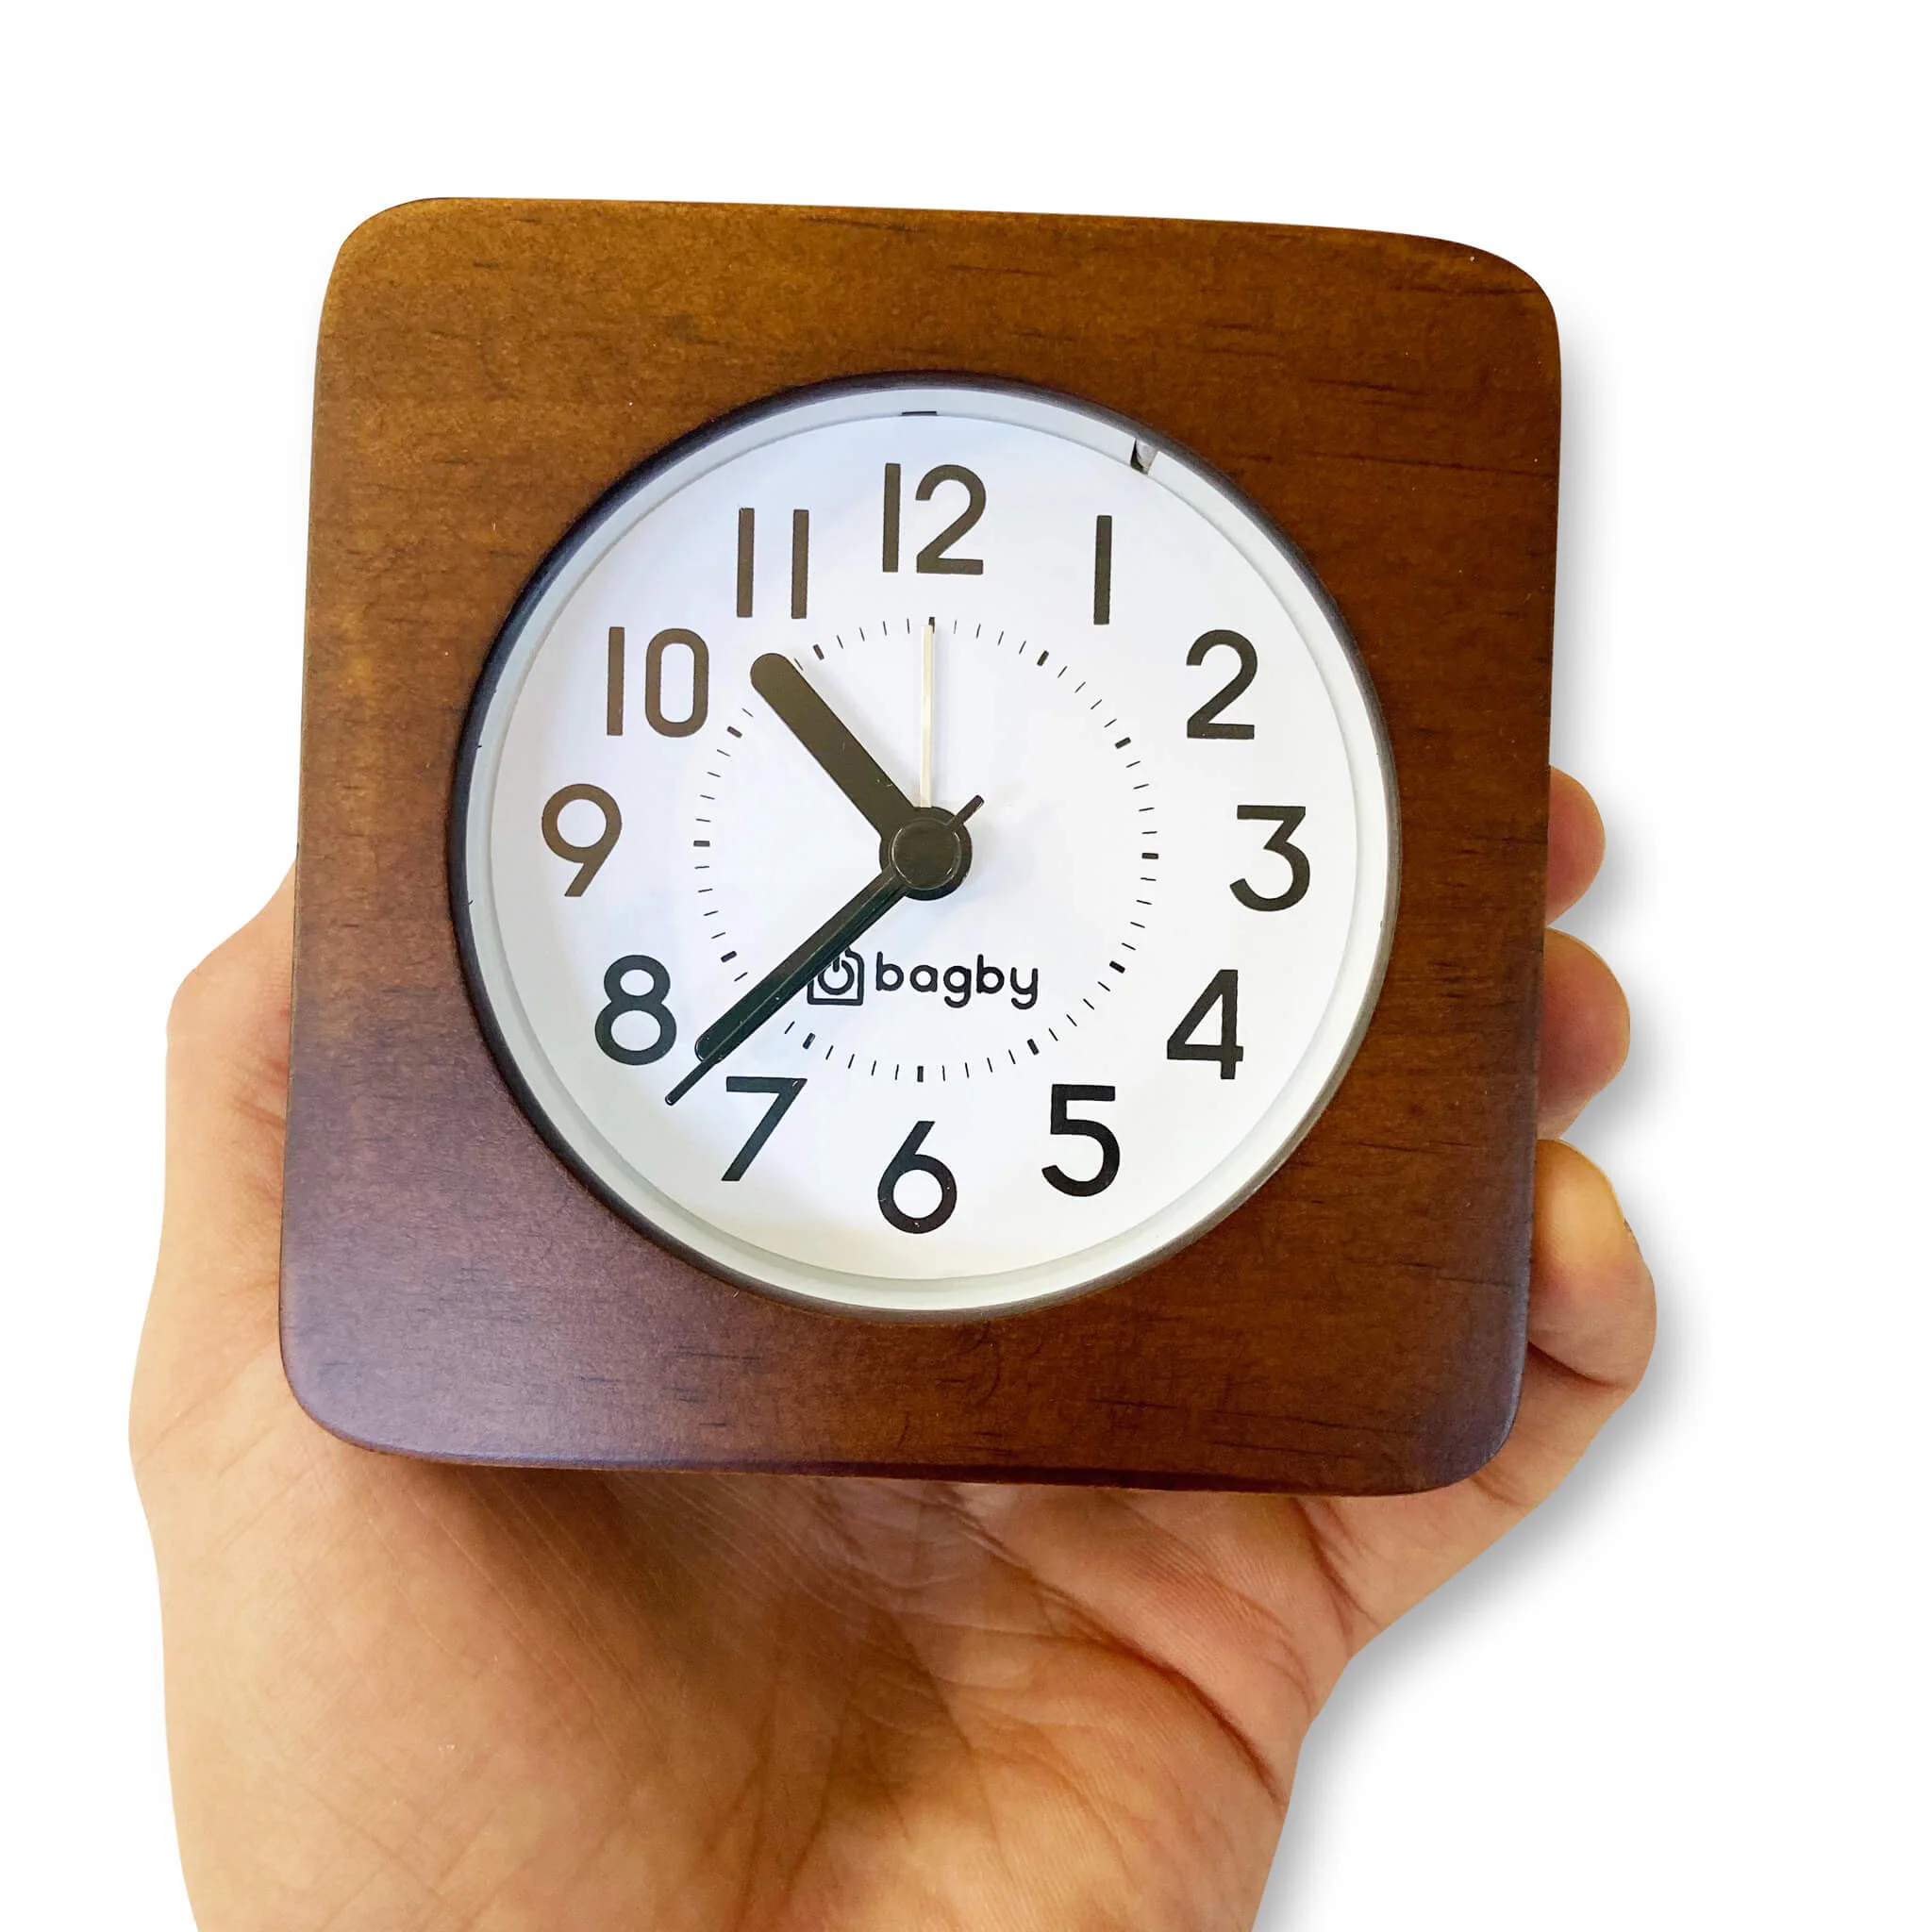
1. Type of Alarm Clock: There are several types of alarm clocks to choose from, including analog and digital. Analog alarm clocks have traditional clock faces with hands, while digital clocks display the time with numbers. Consider which type you prefer and which would be easier for you to read.
2. Style and Design: Alarm clocks come in various styles and designs to match your personal taste and home decor. Whether you prefer a sleek modern design or a vintage-inspired look, there is an alarm clock out there for you. Take some time to explore different options and choose one that reflects your style.
3. Alarm Sound: The sound of your alarm will determine how you wake up in the morning. Some people prefer a gentle, gradual alarm tone, while others need a louder, more jarring sound to wake them up. Consider the volume and type of alarm sound that will be effective for you.
4. Additional Features: Many alarm clocks offer additional features that can enhance your waking experience. These features may include a radio tuner, a USB charging port, a built-in phone dock, or even a sunrise simulation function. Determine which features would be useful for you and prioritize accordingly.
5. Easy to Use: Look for an alarm clock that is easy to set and operate. Complicated controls or difficult-to-read buttons can cause frustration in the morning. Opt for a clock that has intuitive controls and a user-friendly interface.
6. Power Source: Consider the power source of the alarm clock. Some clocks are battery-operated, while others need to be plugged into a power outlet. Think about where you plan to place the clock and choose accordingly to ensure convenience.
By considering these factors, you can select an alarm clock that not only suits your style but also helps you wake up and start your day on time. Remember to read product reviews and compare prices to make an informed decision. Now that you have chosen your ideal alarm clock, let’s move on to setting the clock time!
Setting the Clock Time
Once you’ve chosen the perfect alarm clock, the next step is to set the clock time. Follow these simple steps to ensure you have the correct time displayed on your clock:
1. Locate the Time Setting Button: Check your alarm clock for a designated time setting button. It is usually labeled with an abbreviation, such as “Time” or “Clock Set.”
2. Press and Hold the Time Setting Button: Press and hold the time setting button until you see the numbers on the screen start to blink or flash. This indicates that you have entered the clock setting mode.
3. Use the Up and Down Buttons: Most alarm clocks have separate buttons for adjusting the hours and minutes. Use the up and down buttons to increase or decrease the numbers accordingly. Pay attention to whether the clock uses a 12-hour or 24-hour format and adjust the time accordingly.
4. Set the Correct Time: Use the up and down buttons to set the correct time on your alarm clock. Take into account whether it is AM or PM if you are using a 12-hour format.
5. Confirm the Time: Once you have set the correct time, press the time setting button again to confirm and save the changes. The numbers should stop blinking or flashing, indicating that the clock time has been successfully set.
6. Verify the Accuracy: To ensure the accuracy of the clock time, compare it with a reliable time source, such as your smartphone or a wall clock. Make any necessary adjustments to match the time displayed on your alarm clock.
By following these simple steps, you can easily set the clock time on your alarm clock. Having the correct time displayed not only ensures that your alarm will go off at the desired hour, but it also helps you stay organized and punctual throughout the day. Now that you have set the clock time, let’s move on to setting the alarm time!
Setting the Alarm Time
Now that you have set the clock time on your alarm clock, it’s time to set the alarm time. Follow these steps to ensure you wake up at your desired hour:
1. Locate the Alarm Setting Button: Look for the alarm setting button on your alarm clock. It is commonly labeled with “Alarm” or “Alarm Set.” Press it to enter the alarm setting mode.
2. Adjust the Alarm Hour: Once you are in the alarm setting mode, use the up or down buttons to adjust the hour of the alarm. Take into account whether your clock uses a 12-hour or 24-hour format and adjust accordingly. Make sure to set the correct AM or PM if you are using a 12-hour format.
3. Set the Alarm Minutes: After setting the alarm hour, use the up or down buttons to adjust the minutes of the alarm. Ensure the accuracy of the minutes for an exact wake-up time.
4. Double-Check the Alarm Time: Take a moment to double-check the alarm time you have set. Verify that the time displayed matches your desired wake-up time. Make any necessary adjustments before proceeding.
5. Save the Alarm Time: Once you are satisfied with the alarm time, press the alarm setting button again to save the settings. The alarm indicator on your clock should turn on, indicating that the alarm is set and ready to go off at the selected time.
6. Set Multiple Alarms (If Available): Some alarm clocks offer the option to set multiple alarms. If your clock has this feature and you need to set additional alarms, repeat the above steps for each alarm time you wish to add.
By following these steps, you can easily set the alarm time on your clock, ensuring that you wake up at the desired hour. Remember to double-check the alarm time before finalizing the settings. Now that you have successfully set the alarm time, let’s move on to testing the alarm!
Testing the Alarm
After setting the alarm time on your clock, it is crucial to test it to ensure that it functions properly and wakes you up at the desired time. Follow these steps to test your alarm clock:
1. Confirm Alarm Activation: Ensure that the alarm is turned on and activated. Some alarm clocks have a separate switch or button to toggle the alarm on/off. Check the indicator or display to verify that the alarm is set to ring.
2. Adjust Alarm Volume: If your alarm clock has adjustable volume settings, set it to your preferred level. Start with a moderate volume so that it is audible enough to wake you up but not too loud to startle you.
3. Set a Short Testing Duration: It is recommended to set the alarm for a short duration, such as one or two minutes, for testing purposes. This will give you an idea of how the alarm sounds and whether it effectively wakes you up.
4. Place the Alarm Clock in a Suitable Location: Position the alarm clock in a place where it is easily accessible and within your hearing range. Consider placing it near your bed or on a nightstand, making sure it is within arm’s reach.
5. Observe Alarm Performance: As the set alarm time approaches, observe the performance of the alarm. Listen for the alarm sound and monitor whether it starts at the designated time. Pay attention to any irregularities or issues that may need troubleshooting.
6. Assess Wake-Up Response: Evaluate your wake-up response to the alarm. Assess whether the alarm successfully wakes you up and how you feel upon hearing it. If needed, make adjustments to the volume or alarm time until you find the optimal settings that ensure a proper wake-up.
By testing your alarm clock, you can verify that it functions correctly and effectively wakes you up. If you experience any issues or the alarm fails to function, consult the user manual or seek technical assistance. Now that you have tested the alarm, let’s move on to adjusting the alarm volume.
Adjusting the Alarm Volume
Ensuring that the alarm volume on your clock is set at the right level is essential for a pleasant wake-up experience. Follow these steps to adjust the alarm volume on your alarm clock:
1. Locate the Volume Control: Find the volume control button or knob on your alarm clock. It is usually labeled with a speaker icon or indicated as “Volume” or “Vol.”
2. Adjust the Volume Level: Use the volume control button or knob to adjust the alarm volume. Some clocks have a range of volume levels, while others may offer a gradual volume increase option. Experiment with different settings to find the volume level that suits your preferences.
3. Consider Your Sleeping Environment: Take into account your sleeping environment when adjusting the alarm volume. If you sleep in a quieter environment, you may be able to set the alarm volume lower. However, if you sleep in a noisy environment or have a heavy sleeper, a higher volume may be necessary to ensure you are awakened effectively.
4. Test the Alarm Volume: Once you have adjusted the volume, test the alarm to ensure that it is audible and wakes you up effectively. Pay attention to the sound quality and whether it is clear and pleasant to your ears.
5. Make Fine Adjustments: If you find that the volume is too high or too low, make fine adjustments as needed until you find the optimal volume level. Remember that the goal is to choose a volume that wakes you up comfortably without disturbing others or causing discomfort.
6. Consistency Is Key: Once you have found the ideal alarm volume for your needs, try to keep it consistent. This will ensure that you are accustomed to the alarm sound and can rely on it to wake you up consistently.
By adjusting the alarm volume, you can customize your wake-up experience and ensure that you are effectively awakened at the desired time. Take into consideration your personal preferences and sleeping environment to find the perfect alarm volume for you.
Now that you have adjusted the alarm volume, let’s move on to learning about another useful feature – the snooze function.
Using the Snooze Function
The snooze function is a convenient feature available on many alarm clocks that allows you to temporarily silence the alarm and gain a few extra minutes of sleep. Here’s how you can make the most of the snooze function:
1. Locate the Snooze Button: Look for the snooze button on your alarm clock. It is typically labeled as “Snooze” or indicated with a symbol like a z-shaped arrow or a bell.
2. Set the Snooze Duration: Some alarm clocks allow you to adjust the snooze duration, while others have a fixed duration. If you have the option to set the snooze duration, adjust it to your preference. Common snooze durations range from 5 to 9 minutes.
3. Activate the Snooze Function: When the alarm goes off, press the snooze button to activate the snooze function. This will silence the alarm temporarily and give you a few extra minutes of sleep before it goes off again.
4. Repeat the Snooze Setting: If you wish to snooze again after the initial snooze period ends, press the snooze button once more. This will activate another cycle of silent sleep time.
5. Use with Caution: While the snooze function can provide some additional rest, it is essential to use it with caution. Depending on your sleep patterns, consistently relying on the snooze button may disrupt your sleep cycle and make waking up more challenging.
6. Gradually Wake Up: Instead of relying solely on the snooze function, aim to gradually wake up by using strategies like placing your alarm clock across the room or pairing it with natural light alarm clocks that simulate a sunrise. This will help to gently awaken your body and mind.
By utilizing the snooze function wisely, you can enjoy a brief period of extra rest while still ensuring you wake up on time. Remember to balance the use of the snooze button with a healthy wake-up routine. Now that you are familiar with the snooze function, let’s move on to resetting the alarm for the next day.
Resetting the Alarm for the Next Day
After a good night’s sleep, it’s important to reset the alarm on your clock for the next day to ensure you wake up on time. Here’s how you can easily reset the alarm for the upcoming day:
1. Turn Off the Alarm: Start by turning off the alarm that went off in the morning. This will silence the alarm and prevent it from sounding while you adjust the settings for the next day.
2. Access Alarm Settings: Locate the alarm setting button on your alarm clock. It is typically labeled as “Alarm,” “Alarm Set,” or indicated with a bell icon. Press the button to enter the alarm setting mode.
3. Adjust the Alarm Time: Use the up or down buttons to adjust the alarm time to the desired wake-up time for the next day. Ensure the correct hour and minutes are set based on your schedule.
4. Save the Alarm Settings: Once you have set the alarm time for the next day, press the alarm setting button again or the designated save button to store the new settings. The alarm should now be set for the upcoming day at the selected time.
5. Verify the Alarm Settings: Take a moment to double-check the alarm settings to ensure they are correctly adjusted. Confirm that the time displayed matches your intended wake-up time for the next day.
6. Enable the Alarm: If your alarm clock has a separate switch or button to toggle the alarm on/off, make sure it is activated for the upcoming day. This will ensure that the alarm is ready to go off at the set time.
By following these simple steps, you can easily reset the alarm on your clock for the next day. Having a reliable and properly set alarm will help you stay on schedule and start your day on time. Now that you have successfully reset the alarm, let’s move on to the importance of maintaining and cleaning your alarm clock.
Maintaining and Cleaning the Alarm Clock
To ensure the longevity and optimal performance of your alarm clock, it’s important to maintain and clean it regularly. Follow these simple steps to keep your alarm clock in excellent condition:
1. Read the User Manual: Start by reading the user manual that came with your alarm clock. Familiarize yourself with the manufacturer’s recommendations and instructions for maintenance and cleaning.
2. Dusting: Regularly dust the exterior of your alarm clock using a soft, lint-free cloth. This will help prevent the build-up of dust and keep the clock looking clean and presentable.
3. Cleaning the Display: For digital alarm clocks with a display screen, use a slightly damp, lint-free cloth to gently wipe the screen. Avoid using harsh cleaning agents or abrasive materials that can damage the display surface.
4. Battery Replacement: If your alarm clock runs on batteries, periodically check and replace the batteries as needed. Follow the manufacturer’s guidelines on battery replacement to ensure proper operation.
5. Time Calibration: If you notice any inconsistencies in the clock time, consider calibrating the clock by adjusting the time as outlined in the user manual. This will help maintain accurate timekeeping.
6. Check for Loose Connections: Regularly inspect the power cord and any other connections on your alarm clock to ensure they are secure and not damaged. Loose connections can disrupt the functioning of the clock and may require repair or replacement.
7. Avoid Liquid Exposure: Keep your alarm clock away from liquids or damp environments to prevent damage to the internal components. Accidental spills can cause malfunctioning or electrical hazards.
8. Store Properly: When not in use, store your alarm clock in a safe and dry place. Protect it from extreme temperatures, excessive humidity, or exposure to direct sunlight, as these can potentially damage the clock.
9. Professional Servicing: If your alarm clock experiences persistent issues or needs repair, it is advisable to seek professional servicing. Do not attempt to disassemble or repair the clock yourself, as this can void the warranty or cause further damage.
By following these maintenance and cleaning practices, you can prolong the life of your alarm clock and ensure its reliability. A well-maintained clock will continue to serve you faithfully and help you start your day on time. Now that you know how to maintain and clean your alarm clock, you are ready to enjoy its reliable performance for years to come!