
Choosing the Right Location for Your Clock
When it comes to setting up a battery-operated chime clock, choosing the right location is essential for both functionality and aesthetics. Here are some important factors to consider:
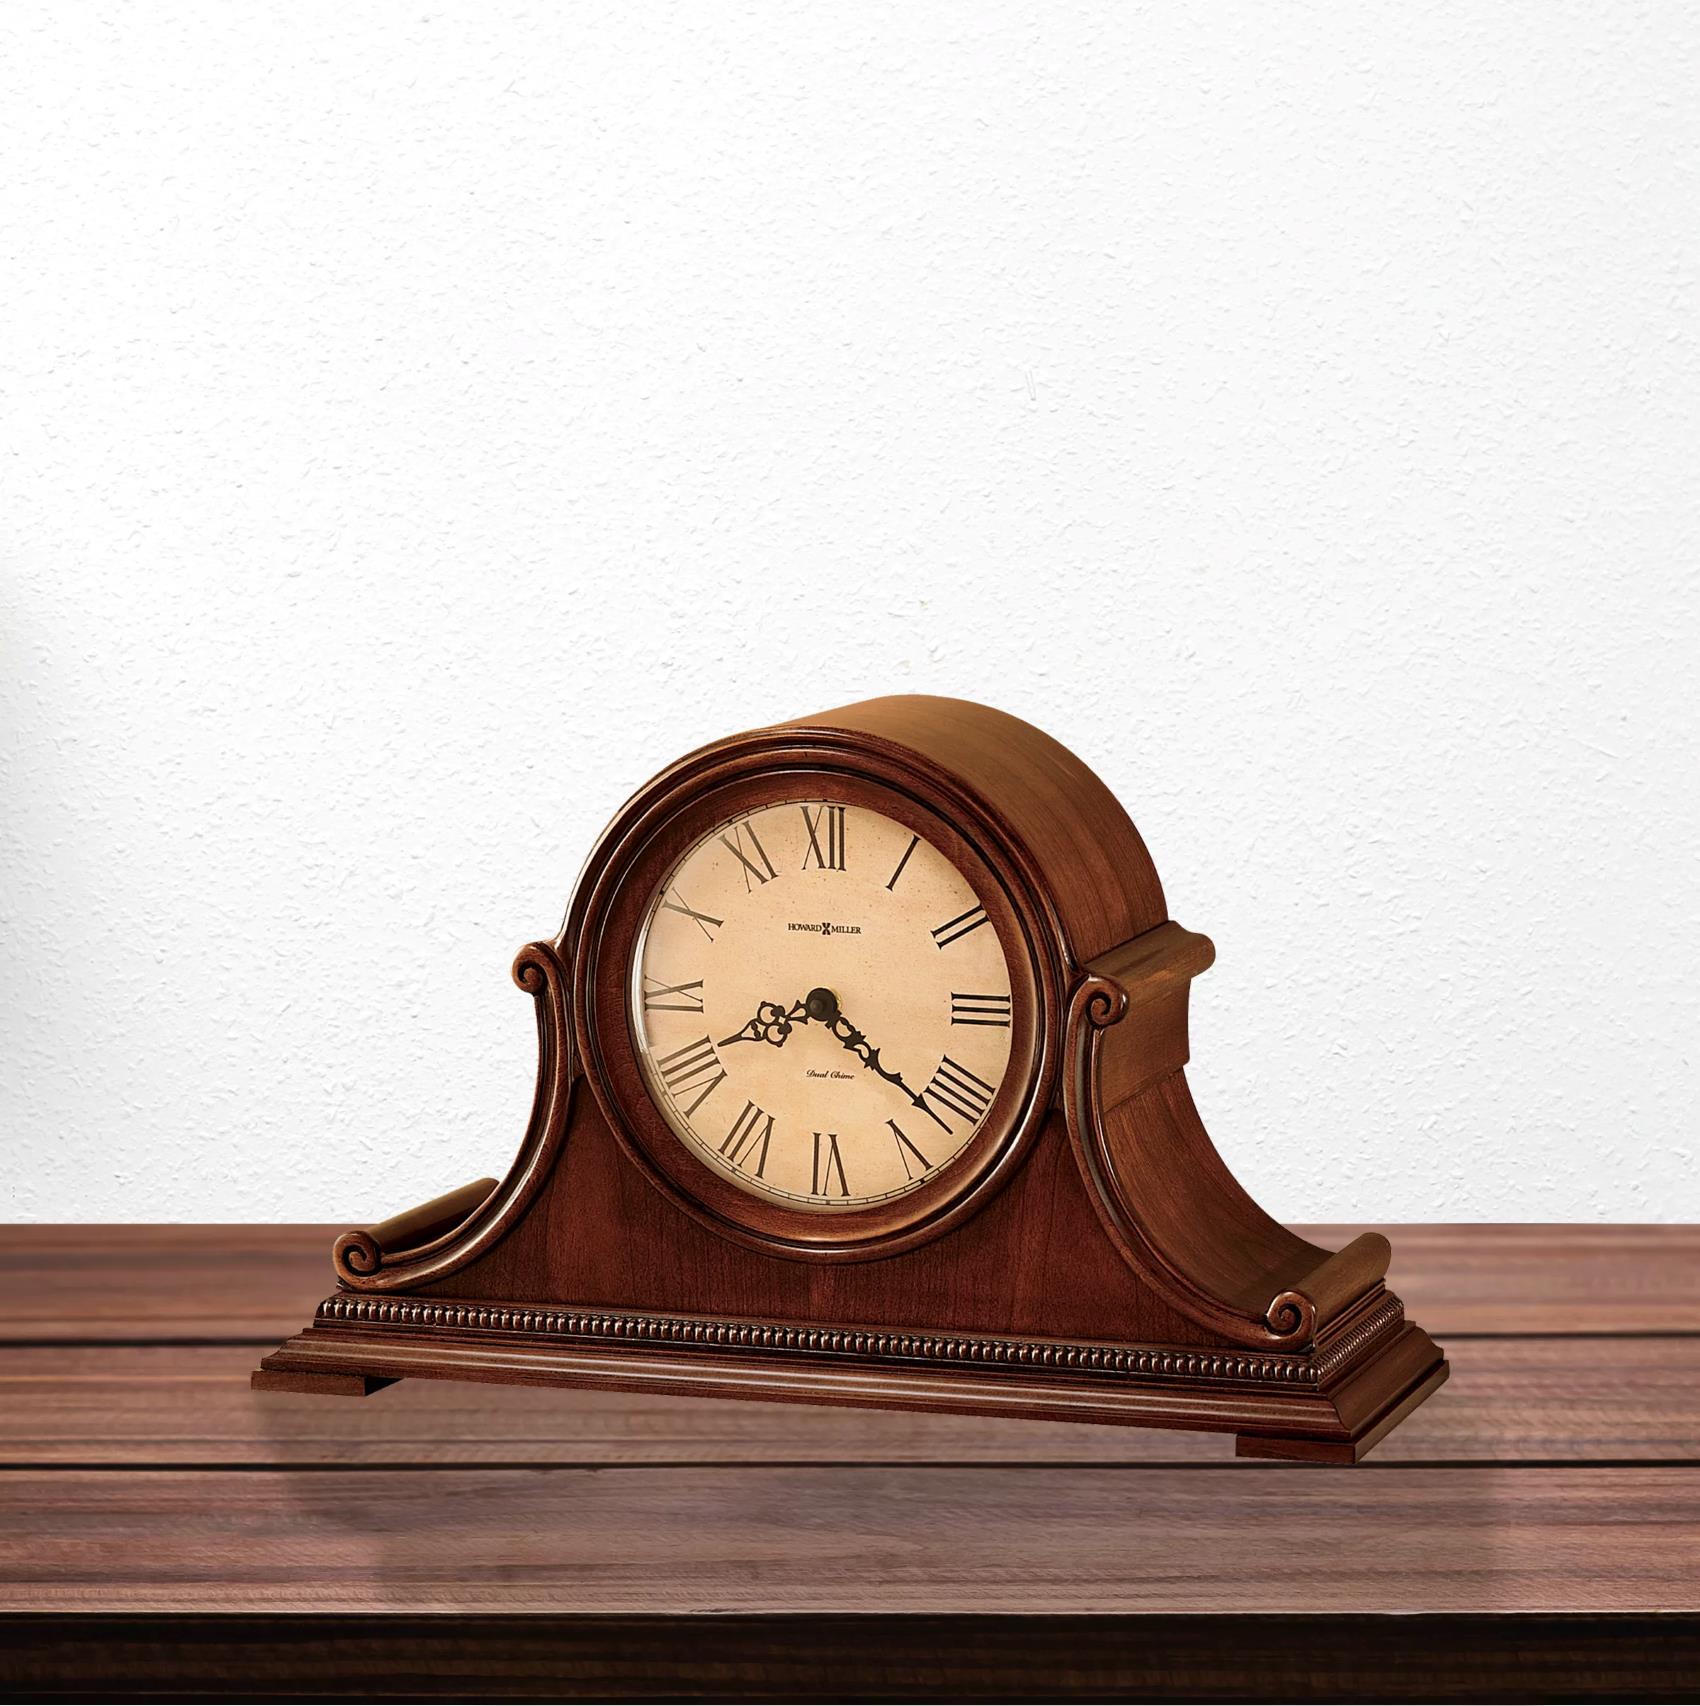
- Find a stable surface: Place your clock on a flat, stable surface to avoid any accidental tipping or damage. A sturdy table or shelf is ideal for this purpose.
- Avoid direct sunlight: Direct sunlight can cause the clock’s mechanism to overheat and may result in inaccurate timekeeping or damage to the internal components. Choose a location away from windows or areas with intense sunlight.
- Avoid extreme temperatures: Fluctuations in temperature can also affect the clock’s performance. Avoid placing the clock in areas that are prone to extreme heat or cold, such as near heating or cooling vents.
- Maintain proper clearance: Make sure there is sufficient space around the clock for the pendulum to swing freely and for the chimes to resonate properly. Avoid placing objects too close to the clock that may obstruct its movement or dampen the sound.
- Consider the room acoustics: The sound of the chimes is an integral part of the clock’s charm. Take into account the acoustics of the room when choosing the location. Rooms with higher ceilings and minimal soft furnishings tend to provide optimal chime resonance.
By taking these factors into consideration, you can ensure that your battery-operated chime clock not only adds a touch of elegance to your space but also functions accurately and reliably. Now that you have chosen the perfect location for your clock, it’s time to move on to the next step: inserting and replacing batteries.
Inserting and Replacing Batteries
Properly inserting and replacing batteries is crucial for the smooth operation of your battery-operated chime clock. Here’s a step-by-step guide to help you:
- Locate the battery compartment: Most battery-operated chime clocks have a small door or panel on the back or side that provides access to the battery compartment. Refer to the manufacturer’s instructions or look for any visible markings.
- Open the battery compartment: Gently open the compartment door or remove the panel to reveal the battery slots. Some clocks may require a small screwdriver or coin to unscrew the compartment.
- Check the battery requirements: Look for any indications inside the compartment or in the instruction manual regarding the type and size of batteries needed for your clock. It is important to use the recommended batteries for optimal performance.
- Insert the new batteries: Place the batteries in the correct orientation as indicated by the + and – symbols. Carefully slide them into their respective slots, making sure they fit securely. In most cases, the clock will require either AA or AAA batteries.
- Replace the battery compartment: Once the batteries are inserted, close the compartment door or panel securely. Ensure it is properly aligned and fastened to prevent any loose connections.
- Test the clock: Turn on the clock or activate its power button to see if it starts running. If all is well, you should see the hands of the clock moving, and you may also hear the chimes if the clock is set to chime at the present time.
- Replace batteries when needed: Keep track of the battery lifespan and replace them as soon as they start losing power or when the clock stops working. Regularly changing the batteries will help avoid any interruptions in the clock’s operation.
By following these steps, you can easily insert and replace batteries in your battery-operated chime clock. Remember to use the recommended batteries and keep extras on hand for future replacements. With the batteries in place, let’s move on to setting the time and date of your clock.
Setting the Time and Date
Setting the time and date on your battery-operated chime clock is a simple process. Here’s a step-by-step guide to help you get it right:
- Identify the time-setting mechanism: Look for the clock’s time-setting wheel or knob located either on the back or front of the clock’s face. Some clocks may have separate knobs for setting the time and date.
- Check if the clock is in ‘time set’ mode: In some clocks, you need to switch the clock to ‘time set’ mode before adjusting the time. This is usually done by pushing or pulling a small lever or pressing a designated button.
- Rotate the time-setting wheel/knob: Gently rotate the time-setting wheel or knob in a clockwise or counterclockwise direction to set the correct time. Take note of the minute hand and hour hand as you adjust them to ensure accurate timekeeping. If your clock features a 24-hour display, make sure to align the hour hand to the correct AM or PM indication.
- Set the date if applicable: If your clock includes a date display, use a separate knob or button to set the date. Some clocks may require you to rotate the time-setting wheel/knob continuously to change the date, while others may have a dedicated button for this purpose. Refer to the clock’s instructions or the manufacturer’s guidelines for specific guidance.
- Confirm the settings: Once you have set the time and date, observe the clock for a few minutes to ensure the hands are moving smoothly and the time is accurate. If necessary, make any minor adjustments to align the hands precisely.
Now that you have successfully set the time and date on your clock, you can enjoy its accurate timekeeping and the delightful chime melodies. However, if the chime volume is too loud or too soft for your preference, you can easily adjust it, as we will explore in the next section.
Adjusting the Chime Volume
One of the great features of a battery-operated chime clock is the ability to adjust the volume of the chime melodies. Here’s how you can adjust the chime volume to suit your preference:
- Locate the volume control: Look for a small dial or switch on the back or bottom of the clock that controls the chime volume. It may be labeled as “Volume” or have symbols indicating high and low volume levels.
- Turn the volume control dial/switch: Use your finger or a small tool as instructed by the clock’s manufacturer to turn the volume control dial or switch. Rotate it clockwise to increase the volume or counterclockwise to decrease the volume. Gradually adjust the volume until you reach your desired level.
- Test the chime volume: After making the adjustment, listen to the chime melodies and check if the volume is to your liking. It’s a good idea to stand at a distance from the clock to get a better sense of how the chimes sound in the intended space.
- Fine-tune if necessary: If the volume is still not satisfactory, you can make further adjustments by repeating the previous steps. Remember to make incremental changes until you find the ideal chime volume.
- Enjoy the personalized chime experience: Once you have set the perfect chime volume, sit back, and appreciate the harmonious melodies that your battery-operated chime clock produces at the specified intervals. It adds a touch of elegance and tranquility to any room.
With the chime volume adjusted to your liking, your clock is now ready to enhance the ambiance of your living space. However, in case you want to explore different chime melodies or encounter any issues with the chime operation, we’ll discuss setting the chime melodies and troubleshooting in the following sections.
Setting the Chime Melodies
Setting the chime melodies on your battery-operated chime clock allows you to customize the sounds that mark each hour. Follow these steps to select your preferred chime melodies:
- Locate the chime selection mechanism: Look for a switch or dial on the back or bottom of the clock that allows you to choose the chime melodies. It may be marked with “Chime Selector” or have different positions for each melody.
- Understand the chime options: Take note of the positions or labels on the chime selection mechanism that correspond to different melodies. Some clocks offer a variety of chime melodies, such as Westminster, Whittington, or St. Michael’s, while others may have different musical tunes or selections.
- Select your desired chime: Adjust the chime selection mechanism to the position that represents your preferred melody. If you are unsure about the chime names or melodies associated with the positions, consult the clock’s instructions or refer to the manufacturer’s guidance.
- Test the selected chime: Once you have made the selection, wait for the next hour to approach, or you can manually advance the clock’s time to hear the chime. Listen carefully to ensure the chosen melody plays correctly and aligns with your personal taste.
- Experiment with different melodies: If your clock offers multiple chime options, you can explore the different melodies available by adjusting the chime selection mechanism to other positions. Take your time to find the melody that resonates with your preferences the most.
By setting the chime melodies on your clock, you can add a touch of charm and elegance to your living space. The beautifully orchestrated sounds will mark the passing of time in a delightful and melodious manner. However, if you encounter any issues with your clock or are unsure about its operation, refer to the troubleshooting section for assistance, which we will cover next.
Troubleshooting Common Issues
While battery-operated chime clocks are designed to operate smoothly, you may occasionally encounter some common issues. Here are a few troubleshooting steps to help you resolve them:
- Check the batteries: Ensure that the batteries are properly inserted and have enough power. Replace the batteries if they are weak or expired. Sometimes, even a small voltage drop can affect the clock’s performance.
- Verify the time and date settings: If the clock is displaying the incorrect time or date, double-check the time and date settings. Make sure they are correctly adjusted using the steps mentioned earlier.
- Ensure proper placement of the clock: If the clock is not chiming or the sound is muffled, verify that the clock is placed on a stable surface and there is enough clearance around it. Adjust the placement to ensure proper pendulum swing and chime resonance.
- Check the volume control: If the chime volume is too low or too high, confirm that the volume control is properly adjusted. Test different volume settings to find the desired level.
- Clean and maintain the clock: Dust and debris can accumulate over time and affect the clock’s mechanism. Regularly clean the clock using a soft cloth or brush. Lubricate any visible gears or moving parts as per the manufacturer’s recommendations.
- Reset the clock: In case of any irregularities in the clock’s operation, try resetting it to its factory settings. Refer to the clock’s instruction manual or contact the manufacturer for specific reset instructions.
- Seek professional assistance: If despite your troubleshooting efforts, the clock continues to have issues, it might be best to consult a professional clock repair service. They have the expertise to diagnose and fix more complex problems.
By following these troubleshooting steps, you can address common issues that may arise with your battery-operated chime clock. Remember that each clock may have specific instructions and requirements, so consult the manufacturer’s guidelines for a more tailored troubleshooting approach. With proper maintenance and timely attention to any issues, your chime clock will continue to enhance your space with its timeless beauty and melodic chimes.