
Measuring and Planning
Before you begin replacing your mirror closet doors, it is important to start with accurate measurements and careful planning. This will ensure that the new doors fit properly and enhance the overall look of your space. Follow these steps to effectively measure and plan for your new doors:
- Measure the Height and Width: Using a tape measure, measure the height and width of your current closet doors. Take measurements at multiple points to account for any variations or irregularities.
- Determine the Door Style: Decide on the style of replacement doors you want, such as sliding, bi-fold, or pivot doors. Consider factors like space limitations, aesthetics, and ease of use in your decision-making process.
- Consider Enhancements: Think about any additional features or enhancements you’d like to incorporate into your new doors. This could include adding frosted or tinted glass, decorative panels, or even a mirrored finish.
- Check Door Opening Orientation: Determine if your existing doors open to the left or right. This is important when selecting replacement doors, as they need to be compatible with the existing door opening orientation.
- Research and Compare: Take the time to research different door manufacturers, materials, and styles available in the market. Compare prices, warranties, and customer reviews to make an informed decision.
- Consult with Experts: If you’re unsure about any aspect of the measuring or planning process, consider consulting with professionals or experts in the field. They can provide guidance and ensure that you make the right choices for your specific needs.
By taking the time to measure accurately and plan carefully, you’ll set yourself up for a successful replacement project. This initial step will help you avoid any costly mistakes and ensure that the new mirror closet doors are a perfect fit for your space.
Removing the Old Doors
Now that you have measured and planned for your new mirror closet doors, it’s time to remove the old ones. Before you begin, gather the necessary tools:
- Phillips screwdriver
- Flathead screwdriver
- Utility knife
- Masking tape
- Plastic sheet or drop cloth
Follow these steps to remove the old doors:
- Clear the Area: Remove any furniture or obstacles near the closet doors to create a clear workspace.
- Protect the Floor: Lay down a plastic sheet or drop cloth to protect the floor from any potential damage or debris.
- Remove the Track: Use a screwdriver to remove the screws securing the track to the top of the door frame. Carefully lift the track off the frame and set it aside.
- Take Off the Doors: Starting with the first door, locate the top track rollers and use a screwdriver to loosen the screws holding them in place. Slide the door towards the center of the closet to disengage it from the track. Repeat this step for the remaining doors.
- Detach Bottom Rollers: Locate the bottom rollers on each door and loosen the screws holding them in place. Lift the doors slightly to disconnect the bottom rollers from the track.
- Remove the Frame: Once the doors are removed, inspect the frame. If there are any screws or nails holding the frame in place, remove them using a screwdriver or hammer.
- Clean the Area: After removing the old doors and frame, take the time to thoroughly clean the closet area. Remove any dust, debris, or adhesive residue left behind.
By following these steps, you can safely and efficiently remove the old mirror closet doors. Make sure to take your time and handle the doors with care to prevent any damage during the removal process.
Choosing the New Doors
When it comes to selecting new mirror closet doors, there are a few factors to consider to ensure you make the right choice. Follow these guidelines to help you choose the perfect doors for your space:
- Door Style: Decide on the style that best suits your needs and complements the overall aesthetic of your room. You can choose from sliding doors, bi-fold doors, or pivot doors, depending on the available space and your personal preference.
- Material: Consider the material of the doors. Common options include wood, metal, or composite materials. Each material has its own advantages in terms of durability, aesthetics, and maintenance requirements.
- Finish: Decide on the finish that fits your desired look for the room. You can choose a mirrored finish for a sleek and modern feel, or opt for frosted or tinted glass for added privacy and style.
- Size and Fit: Ensure that the new doors are the correct size for your closet opening. Take accurate measurements and verify that the doors you choose are compatible with your existing frame and track system.
- Budget: Set a budget for your new doors and consider options within that range. Research different brands and compare prices to find a quality product that fits your budget.
- Durability and Warranty: Check for durability and warranty information before making a final decision. Look for doors that are built to last and come with a warranty to protect your investment.
- Customer Reviews: Read customer reviews and ratings of the doors you are considering. This can provide valuable insights into the quality, ease of installation, and overall satisfaction of previous buyers.
- Professional Advice: If you are unsure about the best doors for your needs, consider consulting with professionals or seeking advice from home improvement experts. They can offer valuable guidance to help you make an informed decision.
By considering these factors, you can choose mirror closet doors that not only enhance the functionality of your space but also add style and value to your room. Take your time, evaluate your options, and select doors that align with your preferences and requirements.
Preparing the Door Frame
Before you can install your new mirror closet doors, it’s important to ensure that the door frame is properly prepared. Follow these steps to get your door frame ready for the installation:
- Inspect the Frame: Examine the door frame for any damages, cracks, or signs of wear. Repair or replace any damaged sections to ensure a solid foundation for the new doors.
- Remove Excess Paint or Adhesive: If there is any excess paint, adhesive, or caulking on the frame, use a scraper or sandpaper to remove it. Smooth out the surface to provide a clean and even base for the installation.
- Fill in Holes or Gaps: If there are any holes or gaps in the door frame, fill them with a suitable wood filler or caulk. Allow the filler to dry completely before sanding it down to create a flush surface.
- Check the Alignment: Ensure that the door frame is level and plumb. Use a level and shims to make any necessary adjustments. This step is crucial to ensure that your new doors will operate smoothly and properly.
- Paint or Stain: If desired, paint or stain the door frame to match your room’s décor. Ensure that the paint or stain is fully dry before proceeding with the installation.
- Install Door Track: If the track was removed during the removal of the old doors, reattach it to the top of the door frame. Use the appropriate screws and ensure that it is securely fastened.
By properly preparing the door frame, you ensure a stable and well-maintained structure for the installation of your new mirror closet doors. Take the time to inspect, repair, and align the frame to avoid any issues during the installation process. A well-prepared frame will contribute to the longevity and smooth operation of your new doors.
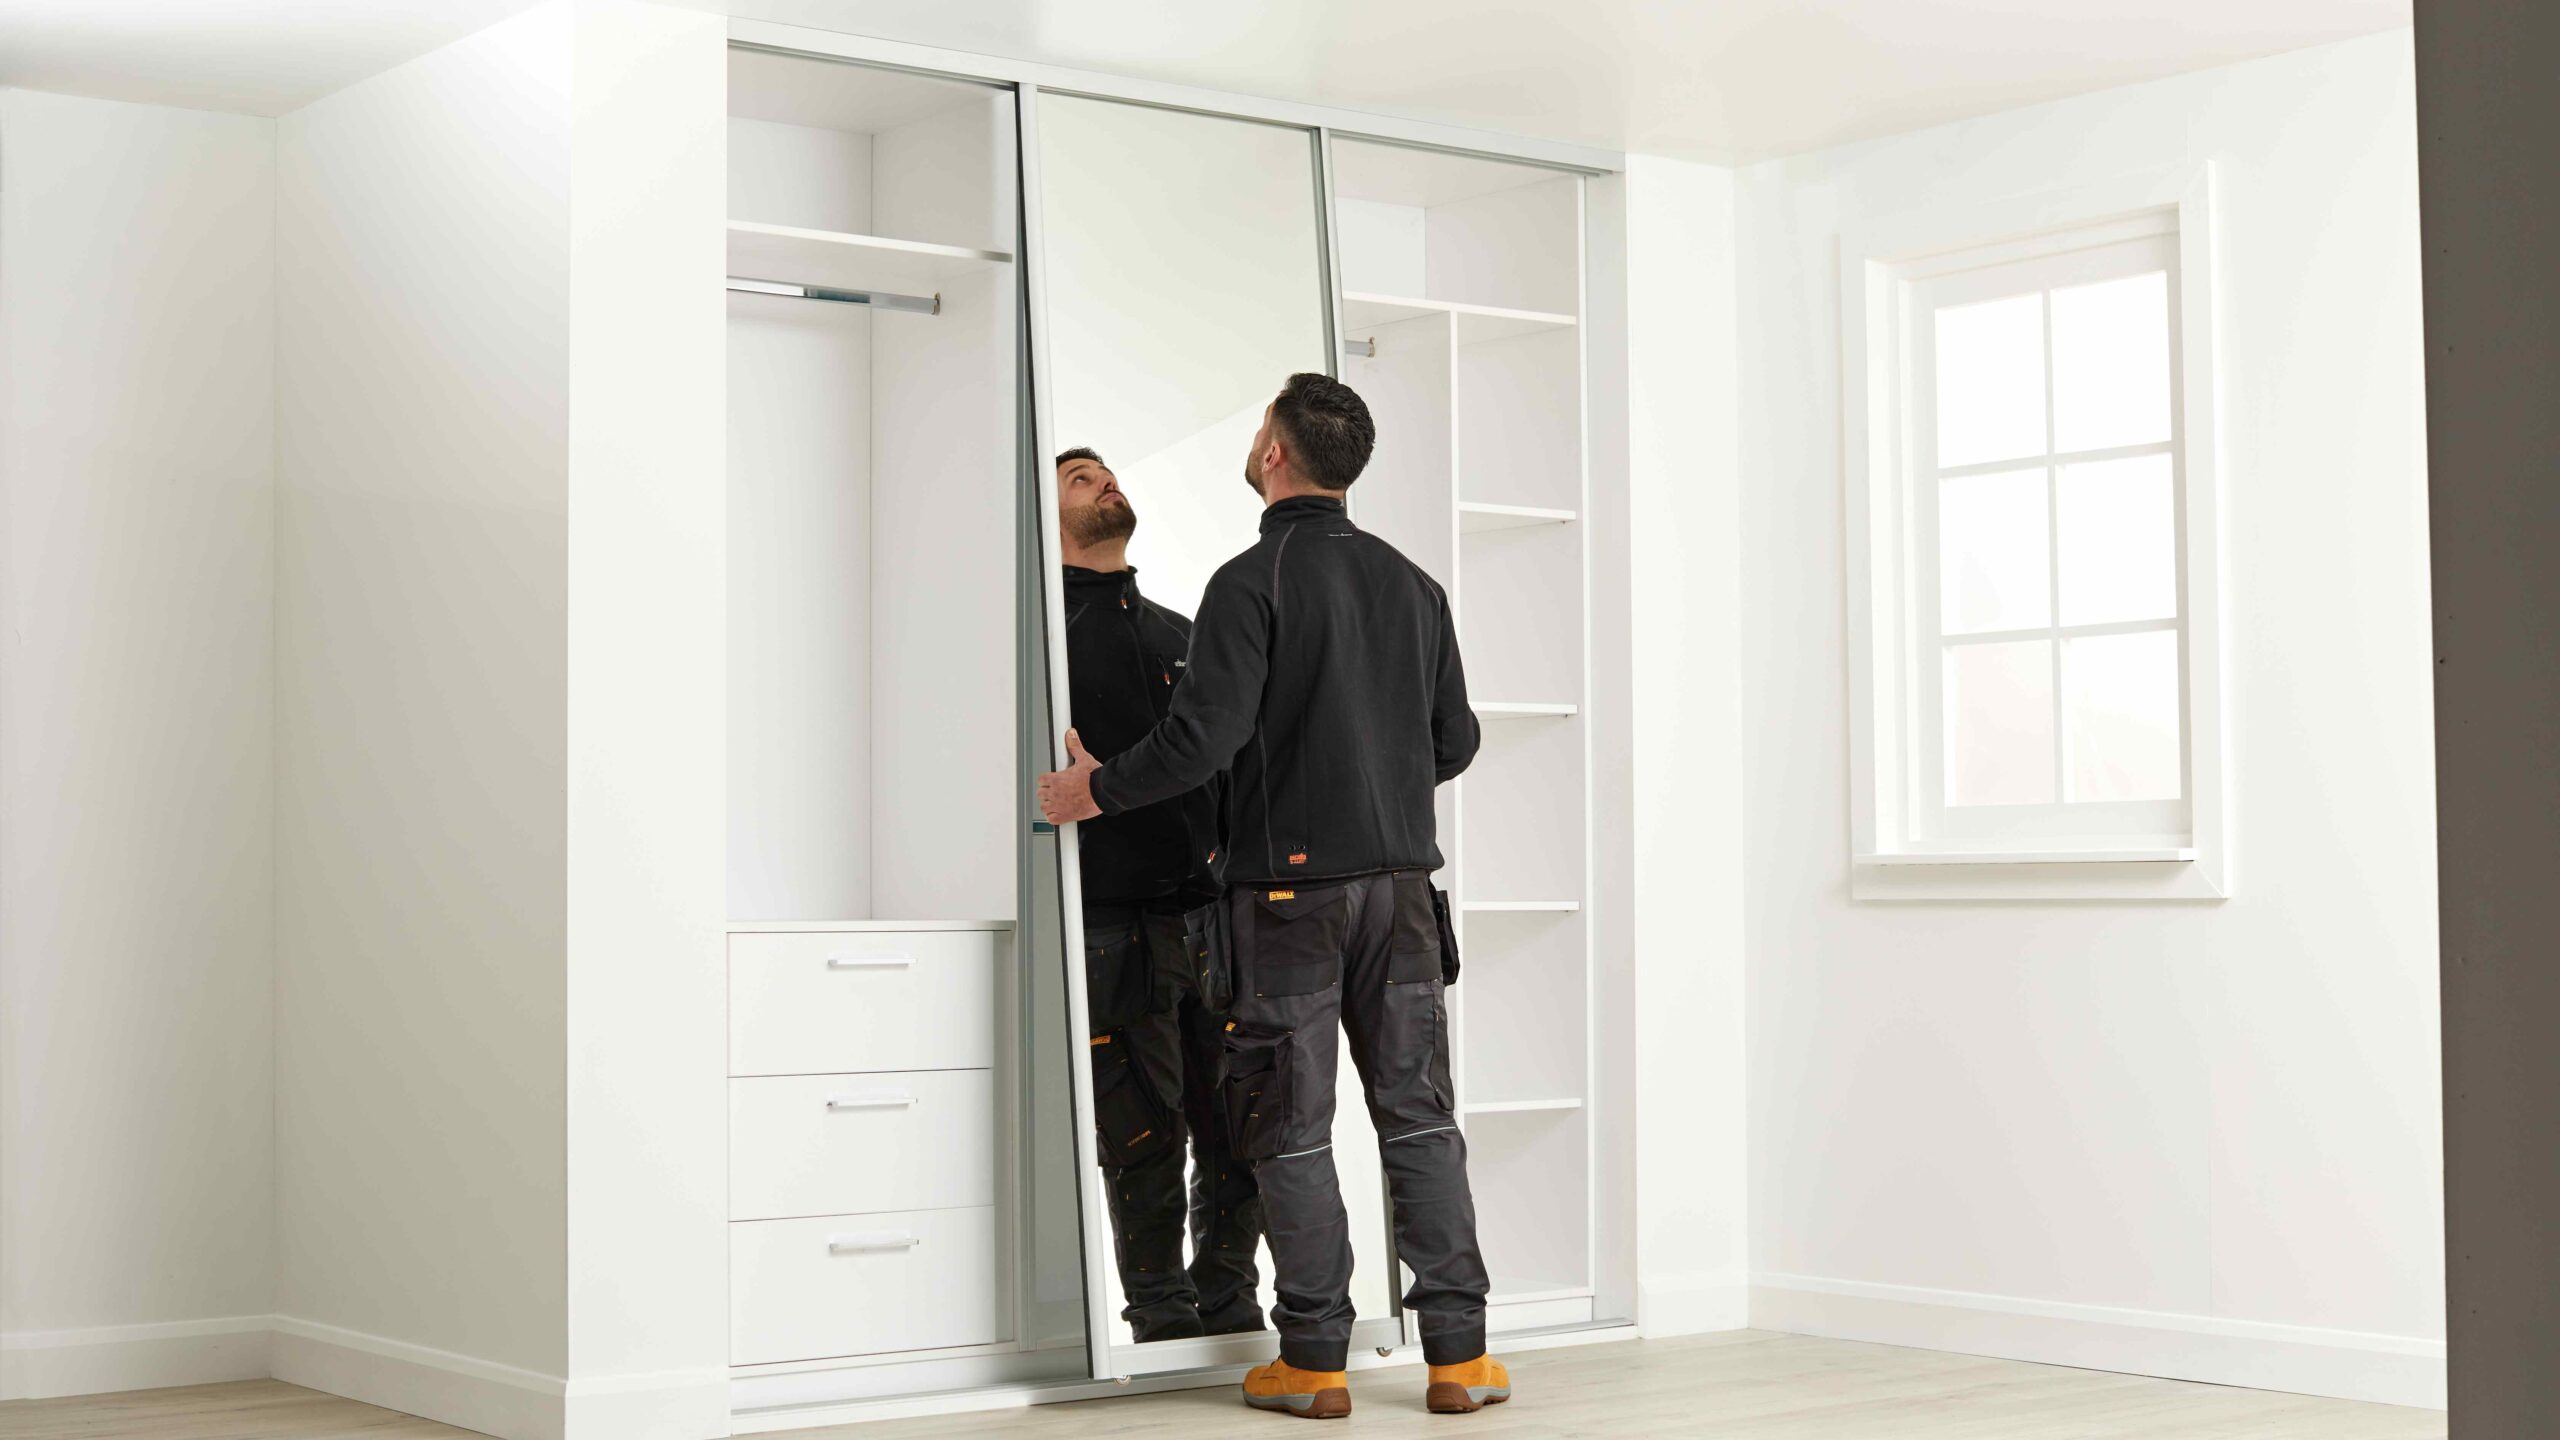
Installing the New Doors
Now that you have prepared the door frame, it’s time to install your new mirror closet doors. Follow these steps for a successful installation:
- Read the Manufacturer’s Instructions: Familiarize yourself with the specific installation instructions provided by the manufacturer. This will ensure that you follow the recommended steps and use the correct hardware.
- Prepare the Doors: Depending on the type of doors you have chosen, you may need to attach any necessary hardware or accessories, such as handles, knobs, or hinges. Refer to the manufacturer’s instructions for proper installation.
- Position the Doors: Lift the first door and carefully place it on the bottom track, lining up the rollers with the track’s grooves. Slide the door along the track until it is in the desired closed position. Repeat this step for the remaining doors.
- Ensure Proper Alignment: Use a level to check that the doors are aligned vertically and horizontally. Make any necessary adjustments by adjusting the height or position of the doors or by using shims.
- Secure the Doors: Once the doors are properly aligned, secure them in place according to the manufacturer’s instructions. This may involve tightening screws, attaching brackets, or other methods specific to the door style and hardware.
- Test the Doors: Open and close the doors to ensure they operate smoothly. Check for any obstructions, sticking points, or misalignment. Make adjustments as needed to ensure proper functionality.
- Install Track Stops or Bumpers: Depending on the style of your doors, you may need to install track stops or bumpers to prevent the doors from sliding too far or banging against the wall. Follow the manufacturer’s instructions for this step.
By following the manufacturer’s instructions and taking your time during the installation process, you can ensure that your new mirror closet doors are securely and properly installed. Make any necessary adjustments and perform thorough testing to verify that the doors are functioning smoothly and aligned correctly.
Adjusting and Finishing Touches
After installing your new mirror closet doors, it’s important to make any necessary adjustments and add finishing touches to ensure they are functioning optimally and enhance the overall look of your space. Follow these steps for final adjustments and finishing touches:
- Check for Smooth Operation: Open and close the doors multiple times to ensure they glide smoothly along the track. If you notice any sticking points or resistance, make minor adjustments to the alignment or lubricate the track and rollers as needed.
- Install Door Handles or Knobs: If your new doors require handles or knobs, install them according to the manufacturer’s instructions. Choose handles or knobs that complement your room’s décor and make it easier to open and close the doors.
- Apply Trim or Molding: Consider adding trim or molding around the door frame to give it a finished look. Measure and cut the trim pieces to fit, then attach them using appropriate tools and techniques.
- Apply Weatherstripping: To improve insulation and reduce drafts, apply weatherstripping along the edges of the door frame. This can help keep your room well-insulated and minimize noise transfer.
- Paint or Stain Touch-up: If any scuffs or marks were made during the installation process, touch up the paint or stain on the door frame to restore its appearance. Ensure that the touch-up paint or stain matches the existing finish.
- Clean the Mirrors: Give the mirrors a thorough cleaning using a glass cleaner and a lint-free cloth. Remove any smudges or fingerprints to ensure that your new mirror closet doors look pristine and reflect light effectively.
- Organize and Decorate: Take the opportunity to organize the items inside your closet and decorate the space. Install organizing systems or shelves to maximize storage efficiency, and add decorative elements to personalize the space.
By making necessary adjustments and adding finishing touches, you can ensure that your new mirror closet doors are not only functional but also visually appealing. Take the time to fine-tune the operation, add any desired enhancements, and organize the space to make it functional and stylish.