
Supplies Needed
Before you begin painting a gold mirror frame, gather the necessary supplies to ensure a smooth and successful project. Here are the essential items you will need:
- A gold mirror frame
- Sandpaper or a sanding block
- Primer
- Gold paint (spray or brush-on)
- Paintbrush or foam brush
- Drop cloth or newspaper
- Protective gloves
- Masking tape
- Lint-free cloth
- Clean water
- Clear sealant or varnish
Having these supplies on hand will make the process of painting your gold mirror frame easier and more efficient. The quality of the materials you use can also have an impact on the final result, so invest in good quality paints and brushes for a professional-looking finish.
Ensure you have a well-ventilated space where you can work comfortably. It’s a good idea to cover any nearby furniture or surfaces with a drop cloth or newspaper to protect them from paint splatters.
Once you have gathered all the necessary supplies, you’re ready to move on to the next steps of preparing and sanding the frame before applying the gold paint.
Preparing the Frame
Before you start painting your gold mirror frame, it’s essential to properly prepare the surface to ensure the paint adheres well and the final result looks flawless. Follow these steps to prepare the frame:
- Remove the mirror (if possible): If your mirror is removable, carefully take it out of the frame to avoid any accidental damage during the painting process.
- Clean the frame: Use a lint-free cloth dampened with clean water to wipe away any dust, dirt, or grime from the frame’s surface. This step will help the paint adhere better to the frame.
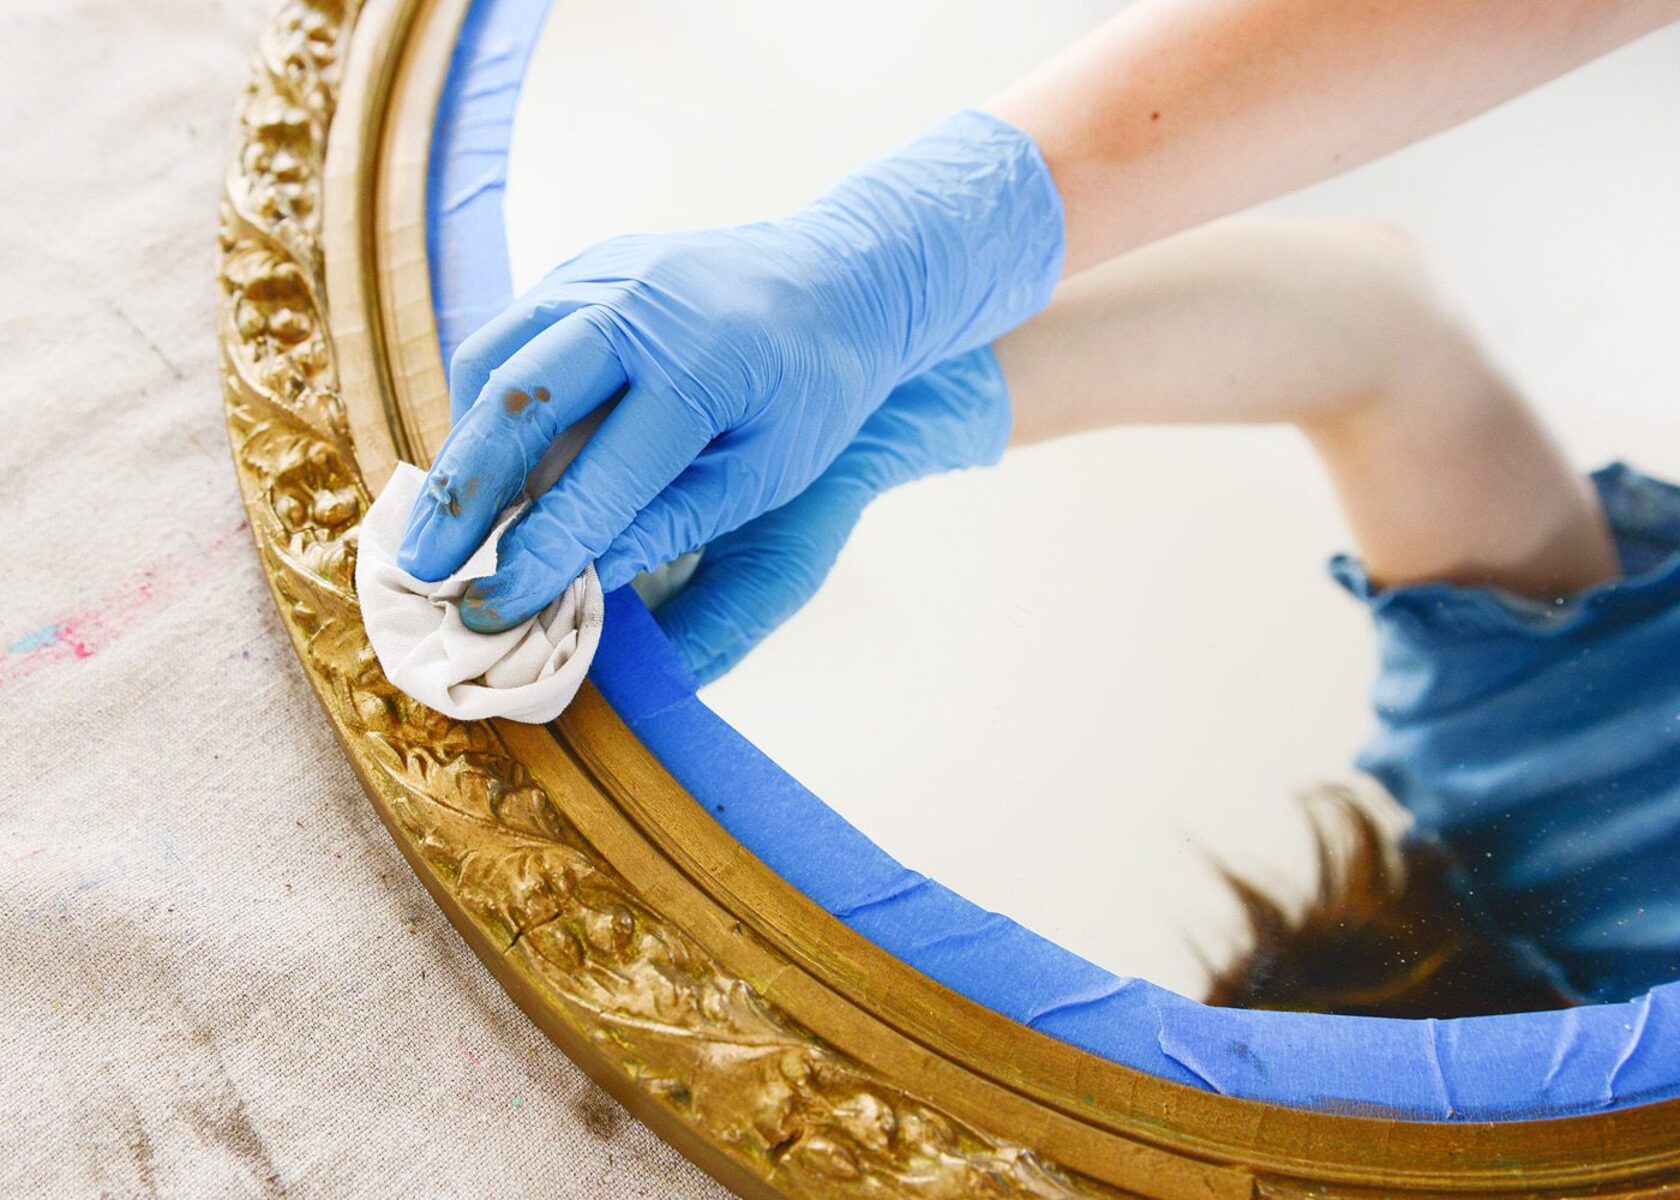
- Mask off any areas: If there are parts of the mirror or other elements of the frame that you don’t want to paint, use masking tape to cover and protect them. This step will ensure clean lines and prevent any accidental paint marks.
- Prepare the work area: Lay down a drop cloth or newspaper in your work area to catch any paint drips or spills. This step will protect your surfaces from any potential damage.
By taking the time to prepare the frame properly, you’ll create a smooth and clean surface for the paint to adhere to. This will result in a professional-looking finish and improve the longevity of your newly painted gold mirror frame.
Sanding the Frame
Sanding the frame is an important step in painting a gold mirror frame as it helps create a smooth surface for the paint to adhere to. Follow these steps to sand your frame effectively:
- Choose the right sandpaper: Depending on the condition of your frame, select the appropriate grit sandpaper. If the frame has a glossy finish or any imperfections, start with a medium-grit sandpaper (around 120-150 grit). If the frame is already in good condition, you can use a finer grit sandpaper (around 220-240 grit) to smooth out any rough edges.
- Sand the frame gently: With the sandpaper wrapped around a sanding block or folded into a palm-sized square, gently sand the entire surface of the frame. Be sure to sand in the direction of the wood grain or frame’s texture to avoid leaving visible scratches.
- Focus on problem areas: Pay extra attention to any uneven spots, chipped edges, or rough patches on the frame. Sand these areas more thoroughly to create a consistent surface.
- Remove dust: After sanding, wipe away the dust with a lint-free cloth or use a soft brush to ensure the frame is clean and dust-free before moving on to the next step.
Sanding the frame not only improves the adhesion of the paint but also helps create a smoother and more professional-looking finish. Remember to take your time and be gentle to avoid damaging the frame’s surface or removing too much of the original finish.
Applying Primer
Priming the frame is an important step before applying the gold paint. A primer creates a smooth and even base, ensuring better adhesion and enhancing the durability of the final paint job. Follow these steps to apply primer to your gold mirror frame:
- Choose the right primer: Select a primer that is suitable for the type of frame material you have. If your frame is made of wood, use a wood primer. If it’s made of metal or plastic, choose a primer specifically designed for those materials.
- Prepare the primer: Stir the primer well to ensure it is thoroughly mixed. If necessary, thin it with a small amount of water according to the manufacturer’s instructions. Pour the primer into a paint tray.
- Apply the primer: Using a paintbrush or foam brush, apply an even coat of primer to the entire surface of the frame. Work in long, smooth strokes, following the direction of the frame’s texture or wood grain. Take care to coat all the nooks, crevices, and intricate details of the frame.
- Allow the primer to dry: Follow the drying time indicated on the primer’s label. Make sure the frame is completely dry before moving on to the next step.
- Inspect and spot-prime: After the primer has dried, examine the frame for any missed spots, thin areas, or imperfections. If necessary, apply additional primer to these areas and let it dry.
Priming the frame provides a solid base for the gold paint, ensuring better coverage and a smoother overall finish. It also helps to prevent the original frame color from bleeding through and affecting the final gold appearance.
Choosing the Gold Paint
Selecting the right gold paint is essential to achieve the desired look for your mirror frame. With a wide range of shades and finishes available, consider the following factors to help you make the best choice:
Color and Shade:
Gold comes in various shades, from warm and bright to soft and muted. Consider the overall aesthetic you want to achieve and choose a gold shade that complements your interior decor. Some popular options include antique gold, champagne gold, and rose gold.
Finish:
The finish of the paint can greatly impact the final appearance of your mirror frame. Gold paint commonly comes in three finishes:
- Metallic: Metallic gold paint provides a shiny and reflective surface that adds a glamorous touch to the frame.
- Satin: Satin finish offers a subtle sheen with a smooth and polished look. It’s a versatile option that can work well with various decor styles.
- Matte: Matte gold paint has a non-reflective, velvety appearance for a more understated and modern aesthetic.
Consider the overall mood and style you want to achieve and choose a finish that aligns with your vision.
Quality and Durability:
Opt for high-quality gold paint that is formulated specifically for furniture or surfaces like wood or metal. These paints are designed to provide good coverage, adhesion, and durability. Read reviews or consult with experienced painters to ensure you choose a reliable and long-lasting product.
Application Method:
Consider the application method that suits your skills and project requirements. Gold paint is available in both spray and brush-on forms. Spray paint provides a smooth and even finish but requires careful application to avoid overspray. Brush-on paint gives you more control but may require multiple coats for complete coverage.
Once you have chosen the right gold paint based on these considerations, you are ready to move on to the next step of applying the paint to your mirror frame.
Applying the Gold Paint
Now that you have selected the perfect gold paint for your mirror frame, it’s time to bring your vision to life. Follow these steps to properly apply the gold paint:
- Prepare your work area: Lay down a drop cloth or newspaper to protect your surfaces from any paint drips or spills. Ensure proper ventilation in the room by opening windows or using a fan.
- Stir the paint: If you are using brush-on gold paint, give it a good stir to ensure it’s thoroughly mixed. If you have opted for spray paint, shake the can according to the manufacturer’s instructions.
- Apply a thin, even base coat: Start by applying a thin and even layer of gold paint to the entire surface of the frame. Use a paintbrush or foam brush for brush-on paint, or hold the spray can an appropriate distance away from the frame for spray paint. Work in smooth and consistent strokes, following the direction of the frame’s texture or wood grain.
- Allow the paint to dry: Follow the drying time mentioned on the paint’s label. Ensure the frame is completely dry before proceeding to the next step. This may take a few hours, depending on the type of paint and environmental conditions.
- Evaluate the coverage: After the first coat has dried, assess the coverage and determine if another coat is needed. If you’re satisfied with the color and coverage, you can move on to the next step. Otherwise, apply additional coats, allowing each layer to dry before proceeding.
When applying the gold paint, be mindful of the thickness of each coat. It’s better to apply multiple thin coats for a more even and professional-looking finish than to apply one thick coat that may lead to drips or uneven coverage.
Remember to maintain a clean and dust-free environment during the application process to prevent any unwanted particles from sticking to the wet paint.
Applying the gold paint is an exciting step that will transform your mirror frame into a stunning focal point. With careful application and attention to detail, you’ll achieve the desired gold finish that enhances the beauty of your mirror.
Adding a Second Coat
Adding a second coat of gold paint is a crucial step in achieving a smooth and flawless finish on your mirror frame. Follow these steps to apply the second coat effectively:
- Assess the first coat: Take a close look at the first coat of gold paint on your mirror frame. Check for any areas that may be thin or unevenly covered. Identifying these spots will help you focus on them during the application of the second coat.
- Prepare the paint: If using brush-on paint, stir it well to ensure consistency. If using spray paint, shake the can as instructed by the manufacturer. Make sure the paint is properly mixed before application.
- Apply the second coat: Use the same technique as before to apply a thin and even layer of gold paint. Work in long, smooth strokes, following the direction of the frame’s texture or wood grain. Concentrate on the areas that need touch-ups or additional coverage.
- Avoid over-application: Be cautious not to apply the paint too heavily, as this could lead to drips and an uneven appearance. It’s better to apply multiple thin coats rather than one thick coat.
- Allow the paint to dry: Follow the drying time specified on the paint’s label. Ensure the frame is completely dry before handling or moving it.
- Evaluate the finish: Once the second coat has dried, assess the overall appearance of the frame. Check for any areas that may still need touch-ups or additional coats. If satisfied with the coverage and finish, you can proceed to the next step.
The second coat of gold paint helps to build up the intensity and depth of color, ensuring a vibrant and professional-looking result. Adding this second layer will provide a more seamless and cohesive finish to your mirror frame.
Take your time during this step to ensure that the paint is applied evenly and that any inconsistencies or patchy areas from the first coat are addressed. This attention to detail will make a significant difference in the final appearance of your painted gold mirror frame.
Protecting the Finish
Once you have achieved the desired gold finish on your mirror frame, it’s important to protect it to ensure its longevity and durability. Follow these steps to effectively protect the finish:
- Allow proper drying time: Ensure that the paint is completely dry before moving on to the next step. Refer to the paint manufacturer’s instructions for the recommended drying time.
- Apply a clear sealant or varnish: Using a paintbrush or foam brush, apply a thin and even layer of clear sealant or varnish to the entire surface of the frame. This protective coating will help seal and safeguard the paint, preventing it from chipping, fading, or being damaged by moisture or sunlight.
- Follow the product instructions: Carefully read and follow the instructions on the sealant or varnish product. Pay attention to the recommended application technique and drying time.
- Allow the sealant to dry: Give the sealant ample time to dry according to the manufacturer’s instructions. Avoid touching or moving the frame during this time to avoid any smudging or damage to the protective coat.
- Inspect and reapply if necessary: After the initial coat of sealant has dried, inspect the frame for any missed spots or areas that may need additional protection. If necessary, apply a second coat following the same process.
By applying a clear sealant or varnish, you’ll create a protective barrier that will help preserve the beautiful gold finish of your mirror frame. This additional layer acts as a shield against daily wear and tear, ensuring that your painted gold frame remains protected and looking its best for years to come.
Remember to follow the appropriate safety measures when working with sealants or varnishes, such as wearing protective gloves and working in a well-ventilated area.
Finishing Touches
After protecting the finish of your gold mirror frame, it’s time to add the final touches to complete the transformation. Consider these additional steps to enhance the overall appearance:
- Reattach the mirror: If you had removed the mirror from the frame during the painting process, carefully place it back into the frame. Ensure it fits securely and is well-aligned.
- Clean the mirror: Use a glass cleaner or a mixture of water and vinegar to clean the mirror’s surface and remove any smudges or fingerprints that may have accumulated during the painting process.
- Inspect for touch-ups: Examine the frame closely for any areas that may need touch-ups or additional gold paint. If you spot any imperfections, use a small brush to carefully apply paint to those areas and blend them with the rest of the frame.
- Consider embellishments: If desired, you can further enhance the mirror frame by adding decorative elements, such as adhesive gems, trim, or stenciled designs. This can add a personalized touch and make your mirror frame truly unique.
- Decide on placement: Determine where you want to display your newly painted gold mirror frame. Consider the room’s decor and choose a spot that allows it to serve as a focal point or complement existing elements.
- Enjoy your transformed mirror: Step back and admire your finished masterpiece. The beautifully painted gold mirror frame adds an elegant and stylish touch to any space, reflecting light and enhancing the overall ambiance.
Remember to regularly dust and clean your gold mirror frame to maintain its shine and keep it looking fresh. Avoid using abrasive cleaners or harsh chemicals that can damage the paint or finish.
With these finishing touches, your gold mirror frame will be ready to dazzle and elevate the aesthetic appeal of your home or any space where it’s displayed.