
Choosing the Right Paint and Supplies
When it comes to painting a car mirror, selecting the right paint and supplies is crucial for achieving a professional-looking finish. Here are some important factors to consider:
- Paint Type: Choose a paint specifically formulated for automotive applications. Acrylic enamel, urethane, and lacquer are commonly used for car mirrors due to their durability and resistance to fading.
- Color Match: Ensure that the paint color you select matches the existing color of your car. Most automotive paint suppliers have color matching services to help you find an accurate match.
- Spray Gun or Aerosol Cans: Decide whether you want to use a spray gun or aerosol cans for applying the paint. A spray gun provides better control and coverage, but aerosol cans are more convenient for small touch-ups.
- Primer: Use a high-quality primer designed for automotive applications to ensure proper adhesion of the paint. The primer should be compatible with the type of paint you’re using.
- Sanding Materials: Prepare for sanding by gathering fine-grit sandpaper (around 320-400 grit) and sanding blocks. These will help in achieving a smooth surface before painting.
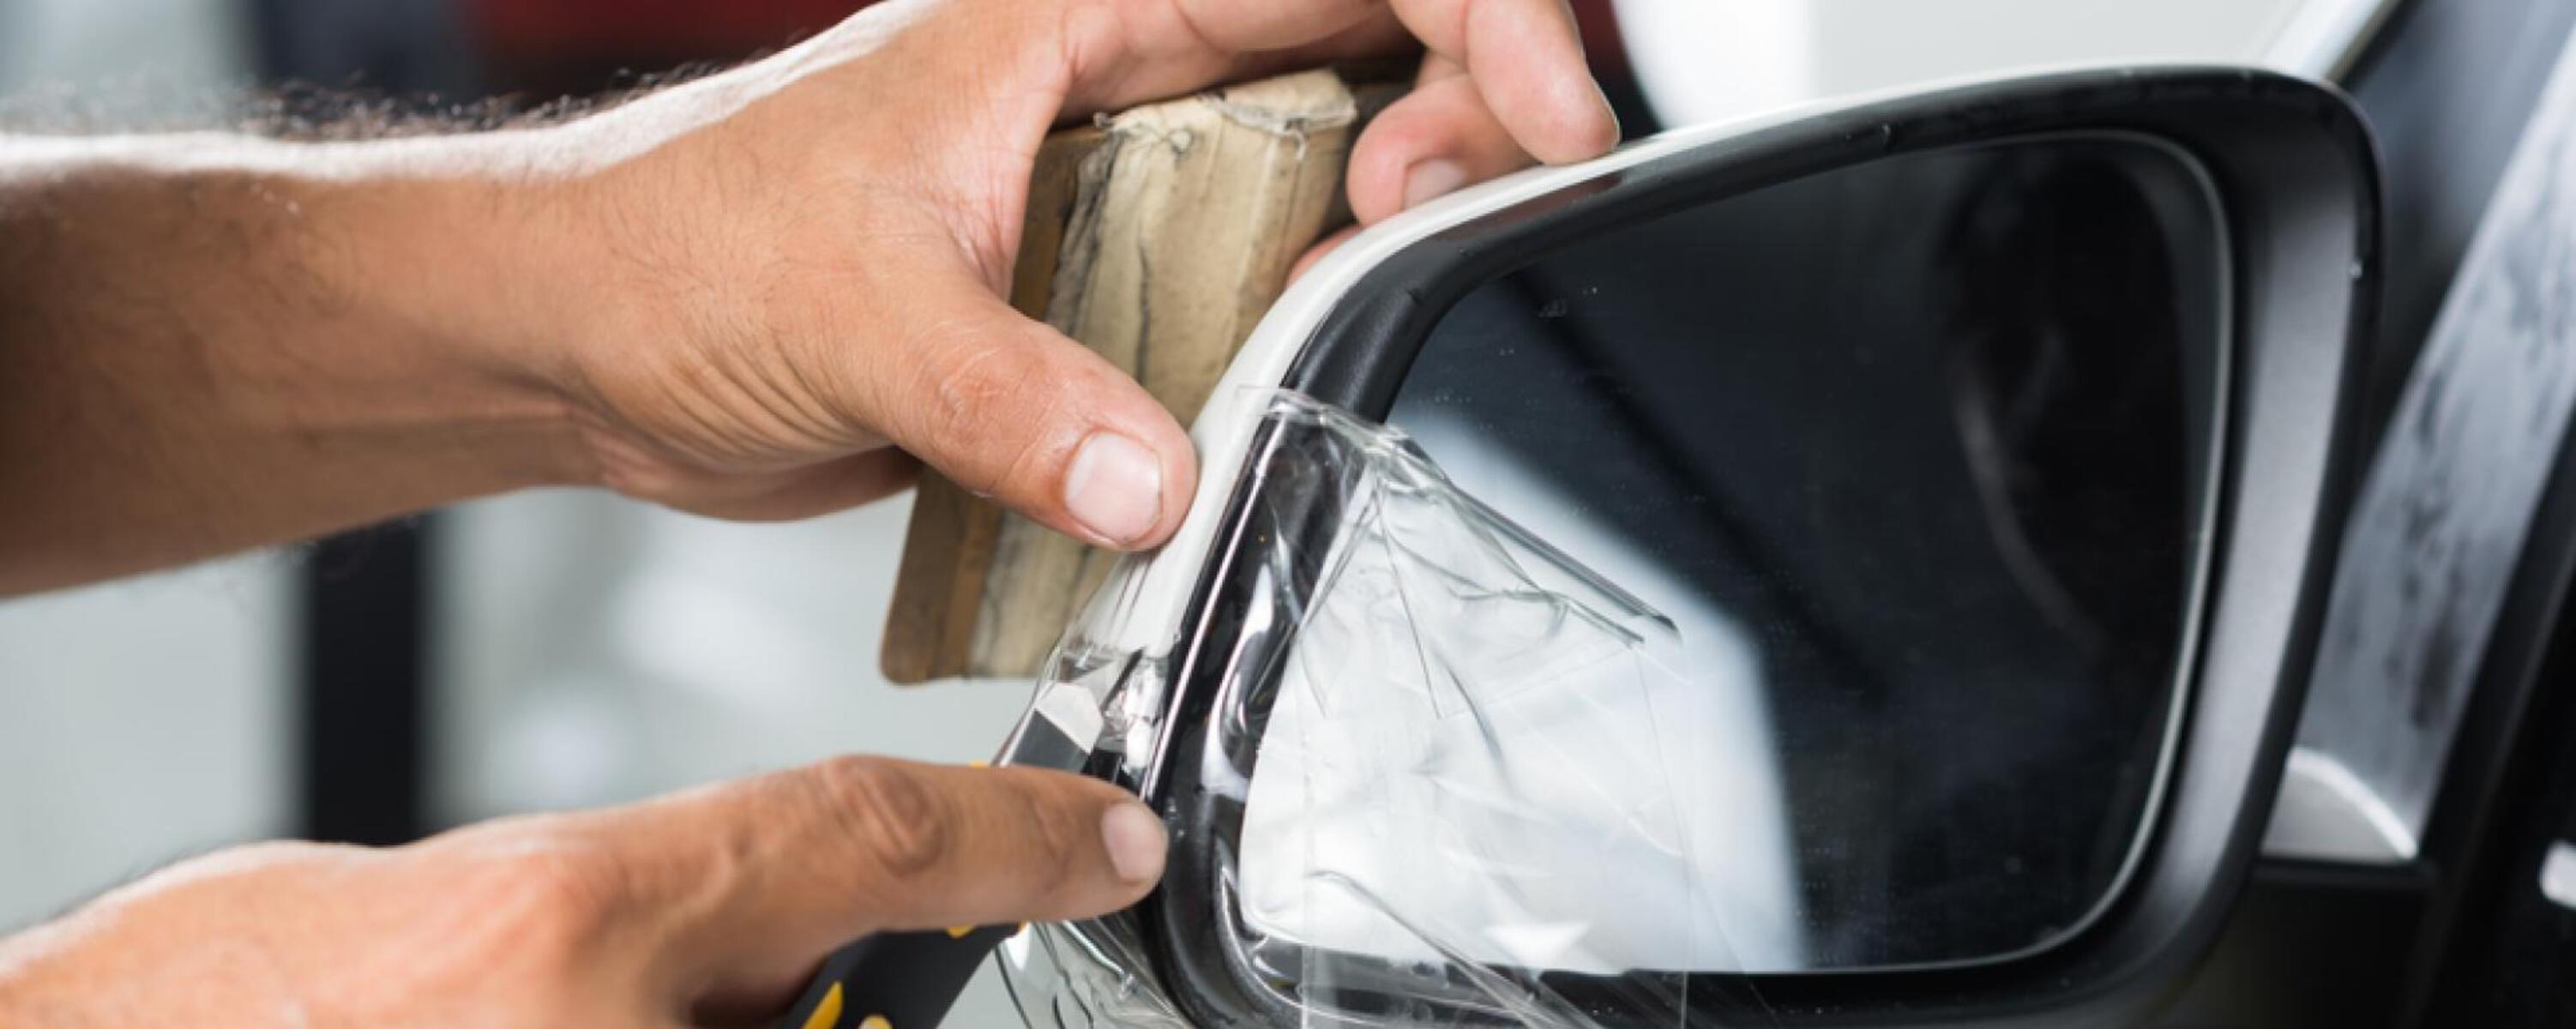
- Masking Tape and Plastic Sheets: Protect the surrounding areas of the car mirror by using high-quality masking tape and plastic sheets. This will prevent overspray and ensure a clean finish.
Remember, choosing the right paint and supplies is essential for successful car mirror painting. Take the time to research and invest in quality products to achieve a professional outcome.
Preparing the Car Mirror for Paint
Before you begin painting the car mirror, it’s important to thoroughly prepare the surface to ensure optimal paint adhesion and a smooth finish. Follow these steps to prepare the car mirror for painting:
- Clean the Mirror: Start by cleaning the car mirror using a mild automotive soap and water. Remove any dirt, grime, and debris from the mirror’s surface. Dry it thoroughly before proceeding to the next step.
- Remove Old Paint or Rust: If there are any traces of old paint or rust on the car mirror, use a fine-grit sandpaper or a paint stripper to remove them. Ensure that the surface is smooth and free from any imperfections.
- Mask Off Surrounding Areas: Protect the surrounding areas of the car mirror by using masking tape and plastic sheets. Cover any parts that you don’t want to be painted, such as the car body or trims, with the plastic sheets. This will prevent overspray and ensure a clean finish.
- Scuff the Surface: Use fine-grit sandpaper (around 320-400 grit) to scuff the surface of the car mirror. This will provide better adhesion for the primer and paint. Make sure to sand in a circular or back-and-forth motion, covering the entire surface.
- Clean the Surface Again: After sanding, clean the surface of the car mirror once again to remove any dust or debris. Use a tack cloth or a microfiber cloth to wipe away any remaining particles. A clean surface is essential for a successful paint application.
By properly preparing the car mirror before painting, you’ll ensure that the paint adheres well and the final result is flawless. Take your time with this step to achieve the best possible outcome.
Sanding the Car Mirror
Sanding the car mirror is a crucial step in the painting process as it helps in achieving a smooth and even surface for optimal paint adhesion. Follow these steps to sand the car mirror properly:
- Choose the Right Sandpaper: Select a fine-grit sandpaper in the range of 320-400 grit. This grit level is ideal for smoothing the surface without causing excessive scratches.
- Wet or Dry Sanding: Decide whether you want to wet or dry sand the car mirror. Wet sanding is recommended as it minimizes dust and provides a smoother result. If you choose to wet sand, keep a bucket of water nearby to periodically wet the sandpaper.
- Sand in a Circular Motion: Begin sanding the car mirror in a circular motion, applying even pressure. Cover the entire surface, paying extra attention to any rough or uneven areas.
- Check the Surface Regularly: Periodically wipe the surface with a clean cloth to assess the progress. Look for any remaining imperfections or scratches that may need additional sanding.
- Switch to Finer Grits (Optional): If you’re aiming for an exceptionally smooth finish, you can gradually switch to finer grit sandpaper, such as 600-800, after the initial sanding. This will further refine the surface.
- Clean the Surface: After sanding, thoroughly clean the car mirror with a tack cloth or microfiber cloth to remove any dust or sanding residue. Inadequate cleaning can affect the adhesion of the primer and paint.
Remember, sanding the car mirror is a critical step for achieving a professional-looking paint job. Take your time and pay attention to detail to ensure a smooth and flawless surface.
Applying Primer to the Car Mirror
Before applying paint to the car mirror, it’s important to apply a primer layer. Primer helps in providing a smooth and stable base for the paint, ensuring better adhesion and a longer-lasting finish. Follow these steps to apply primer to the car mirror:
- Choose the Right Primer: Select a high-quality automotive primer that is compatible with the type of paint you will be using. Different types of primers are available, such as etching primer, epoxy primer, or self-etching primer. Follow the manufacturer’s instructions for the specific primer you choose.
- Prepare the Primer: Mix the primer according to the manufacturer’s instructions, if required. Some primers may need to be thinned with a compatible reducer or activator. Use a stir stick to thoroughly mix the primer and achieve a consistent texture.
- Apply the Primer: Use a spray gun or aerosol can to apply the primer to the car mirror. Start with light and even coats, holding the spray gun or aerosol can at a consistent distance from the surface. Apply multiple thin coats rather than one heavy coat to avoid drips or unevenness.
- Allow for Drying Time: Follow the instructions on the primer for the recommended drying time. Typically, primers require around 30 minutes to an hour to dry before sanding or applying additional coats. Ensure that the primer is completely dry and cured before proceeding to the next step.
- Inspect for Imperfections: After the primer has dried, inspect the car mirror’s surface for any imperfections, such as rough spots, runs, or drips. If necessary, lightly sand the primer with a fine-grit sandpaper to achieve a smooth and even surface.
- Clean the Surface: After sanding, clean the car mirror surface with a tack cloth or microfiber cloth to remove any dust or particles. This will ensure a clean surface for the next steps of the painting process.
Applying primer to the car mirror is a critical step that enhances the final finish and durability of the paint job. Take your time during this process to achieve the best possible results.
Sanding the Primer
After applying the primer to the car mirror, it’s essential to properly sand the surface to ensure a smooth and flawless finish for the final paint layer. Follow these steps to sand the primer on the car mirror:
- Choose the Right Sandpaper: Select a fine-grit sandpaper, such as 400-600 grit, for sanding the primer. This will help in smoothing out any imperfections without removing too much material.
- Wet or Dry Sanding: Decide whether you want to wet or dry sand the primer. Wet sanding is recommended as it reduces dust and provides a smoother result. Keep a bucket of water nearby to periodically wet the sandpaper during the process.
- Sand in a Circular Motion: Begin sanding the car mirror’s primer in a circular motion, applying even pressure. Ensure that you cover the entire surface, paying extra attention to areas with unevenness or visible imperfections.
- Check the Surface Regularly: Periodically wipe the surface with a clean cloth to assess the progress. Look for any remaining rough spots or inconsistencies that may require additional sanding.
- Smooth the Edges: Pay attention to the edges of the car mirror, ensuring that they are smooth and seamlessly blend with the rest of the surface. Use a light touch to avoid inadvertently removing too much primer or creating uneven contours.
- Rinse and Clean the Surface: After sanding, rinse the car mirror with water to remove any sanding residue. Thoroughly clean the surface with a tack cloth or a microfiber cloth to ensure a clean and dust-free surface for the next steps of the painting process.
Sanding the primer is a crucial step in achieving a flawless paint job. Take the time to sand the surface carefully and thoroughly, paying attention to detail for the best possible results.
Applying Paint to the Car Mirror
Now that the car mirror has been properly prepared, primed, and sanded, it’s time to apply the paint. Follow these steps to achieve a smooth and professional-looking finish:
- Prepare the Paint: Ensure that the paint is well-mixed and ready for application. If you’re using a spray gun, adjust the nozzle according to the desired spray pattern.
- Apply Thin Coats: Start by applying thin, even coats of paint to the car mirror. Hold the paint can or spray gun at a consistent distance, typically 6-8 inches away from the surface, and move in smooth, overlapping strokes. Allow each coat to dry before applying the next one.
- Build Up the Layers: Apply multiple thin coats of paint to achieve a rich, uniform color. Building up the layers gradually ensures better coverage and allows the paint to adhere properly to the surface.
- Watch for Drips or Runs: Keep an eye out for any drips, runs, or uneven areas as you apply the paint. If you notice any issues, stop and address them immediately. You can use a brush or a cloth to smooth out drips or excess paint.
- Allow for Drying Time: Follow the manufacturer’s instructions for the recommended drying time between coats. It is essential to allow each coat to dry completely before applying the next one to prevent smudging or damaging the existing layers.
- Inspect and Touch Up: Once you’ve applied the desired number of paint coats, inspect the car mirror for any imperfections. If you find any areas that require touch-ups or additional paint, use a small brush or aerosol can to correct them. Allow the touch-up paint to dry completely.
- Protect the Paint: After the paint has dried, it’s important to protect it from damage. Apply a clear coat or automotive paint sealant to enhance the durability and longevity of the paint job. Follow the instructions provided by the manufacturer for the specific product you are using.
Applying paint to the car mirror requires patience and attention to detail. Take your time and ensure proper coverage and application for a professional-looking finish.
Buffing and Polishing the Car Mirror
After painting the car mirror, the next step is to buff and polish the surface to achieve a smooth and glossy finish. Follow these steps to bring out the shine in your car mirror:
- Clean the Surface: Before beginning the buffing and polishing process, ensure that the painted surface is clean and free from any dust or debris. Use a microfiber cloth and a gentle automotive cleaner to thoroughly clean the car mirror.
- Select the Right Polishing Compound: Choose a high-quality polishing compound that is specifically designed for automotive use. Different compounds are available based on the level of abrasiveness. Select the appropriate one based on the condition of the painted surface.
- Apply the Polishing Compound: Using a clean foam or microfiber applicator pad, apply a small amount of the polishing compound onto the pad. Work in small sections and apply light pressure while spreading the compound evenly on the car mirror’s surface.
- Buff the Surface: Using a polishing machine or a clean, soft microfiber cloth, buff the surface in circular or back-and-forth motions. Ensure that the pressure applied is consistent and avoid staying in one area for too long, as this may result in uneven polishing.
- Inspect and Repeat: Periodically pause and inspect the painted surface for any imperfections or dull areas. If necessary, repeat the application of the polishing compound and continue buffing until the desired shine is achieved.
- Remove Excess Compound: Once the buffing is complete, use a clean microfiber cloth to remove any excess polishing compound from the surface. Wipe gently in a circular motion to ensure a clean and smooth finish.
- Apply a Wax or Sealant: To provide additional protection and enhance the shine, apply a layer of automotive wax or sealant to the car mirror. Follow the manufacturer’s instructions for the specific product you are using.
Buffing and polishing the car mirror is a crucial step in bringing out the glossy finish. Take your time and follow each step carefully to achieve a breathtaking shine.
Sealing the Paint on the Car Mirror
After you have achieved a flawless and glossy paint finish on the car mirror, it is essential to seal and protect it to ensure its longevity and durability. Follow these steps to properly seal the paint on the car mirror:
- Select a Clear Coat: Choose a high-quality automotive clear coat that is compatible with the type of paint you used on the car mirror. Clear coat acts as a protective shield, enhancing the shine and providing resistance against UV rays, weathering, and scratches.
- Clean the Surface: Before applying the clear coat, clean the painted surface using a gentle automotive cleaner and a microfiber cloth. Ensure that the car mirror is free from any dust, debris, or contaminants that may interfere with the adhesion of the clear coat.
- Prepare the Clear Coat: Mix the clear coat according to the manufacturer’s instructions. Some clear coats may require thinning with a compatible reducer or activator. Use a stir stick to thoroughly mix the clear coat and achieve a consistent texture.
- Apply the Clear Coat: Using a spray gun or aerosol can, apply the clear coat to the car mirror in thin, even coats. Start with light passes, holding the spray gun or aerosol can at a consistent distance from the surface. Apply multiple coats, allowing each coat to flash off before applying the next one.
- Allow for Drying Time: Follow the manufacturer’s instructions for the recommended drying time between clear coat coats. It is important to allow adequate drying time to ensure a durable and smooth finish. Avoid touching or disturbing the clear coat during this time.
- Inspect and Polish (Optional): Once the clear coat has dried, inspect the surface for any imperfections or dust particles. If necessary, gently use a fine-grit sandpaper to remove any blemishes. After sanding, buff and polish the surface to restore the shine and achieve a flawless finish.
- Protect and Maintain: After sealing the paint on the car mirror, it is important to regularly clean and maintain it to preserve its appearance. Use a gentle automotive cleaner and microfiber cloth for routine cleaning, and avoid abrasive materials or harsh chemicals that may damage the clear coat.
Sealing the paint on the car mirror is the final step in the painting process. By properly sealing and maintaining the paint, you can enjoy a long-lasting and beautiful finish on your car mirror.